It is possible, but not recommended.
Transmitter Fibra has 2 inputs (Z1 and Z2) to connect a wired device using the AATT (Alarm Alarm Tamper Tamper) scheme.
Copied
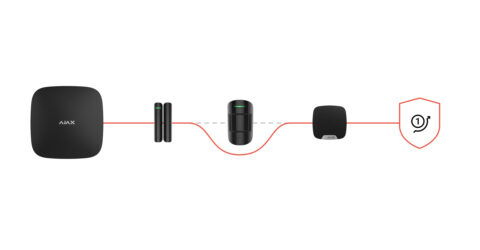
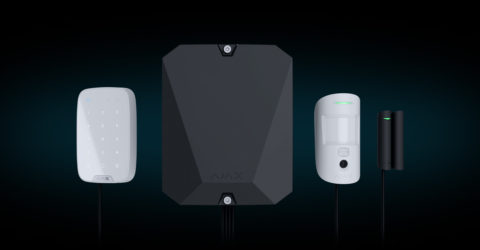
Wired module to integrate one third-party device into the Ajax system
It is possible, but not recommended.
Transmitter Fibra has 2 inputs (Z1 and Z2) to connect a wired device using the AATT (Alarm Alarm Tamper Tamper) scheme.
A fully connected Transmitter Fibra occupies 3 slots of devices on the hub:
The current consumption value of the connected device helps to determine if all devices have enough power from the Fibra line in the current system configuration.
Transmitter Fibra can supply the connected device with 12 V⎓ (10.5–15 V⎓), up to 50 mA of power.
Transmitter Fibra supports EOL resistance up to 15 kΩ per one sensor and up to 40 kΩ per connected third-party device in total.
Transmitter Fibra supports Without EOL, EOL, 2EOL, 3EOL, Roller Shutter, and KeyArm (switch arming modes) device connection types.
In the Ajax app, you can select the normal state (normally open or normally closed) and operating mode (bistable or pulse) for the sensors. This allows connecting any potential-free “dry” contact detector of any configuration to Transmitter Fibra.
The maximum cable length for connecting a third-party device to Transmitter Fibra is 3 meters.
Recommended cable type — signal cable with a 0.22 mm² copper conductor.
To connect a wired device to Transmitter Fibra, we recommend using the accessory 5-pin cable included in the complete set. It has the required connector and is designed to place the integration module inside the third-party device casing.
No, the complete set does not include any casing for a separate installation of the integration module.
Transmitter Fibra should be installed inside the wired detector casing. The module requires a minimum space with dimensions of 40 × 15 × 12.2 mm (1.57″ × 0.59″ × 0.48″).
The complete set includes a double-sided tape adhered to the Transmitter Fibra board to fix the integration module inside the third-party device casing.
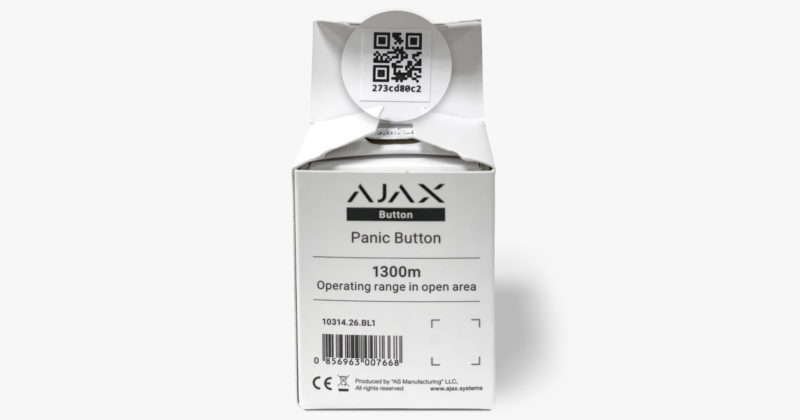
The identifier (ID) is the serial number of the device. It is located under the QR code on the body, board, and packaging of the device.
ID at the bottom of the box

ID under the lid
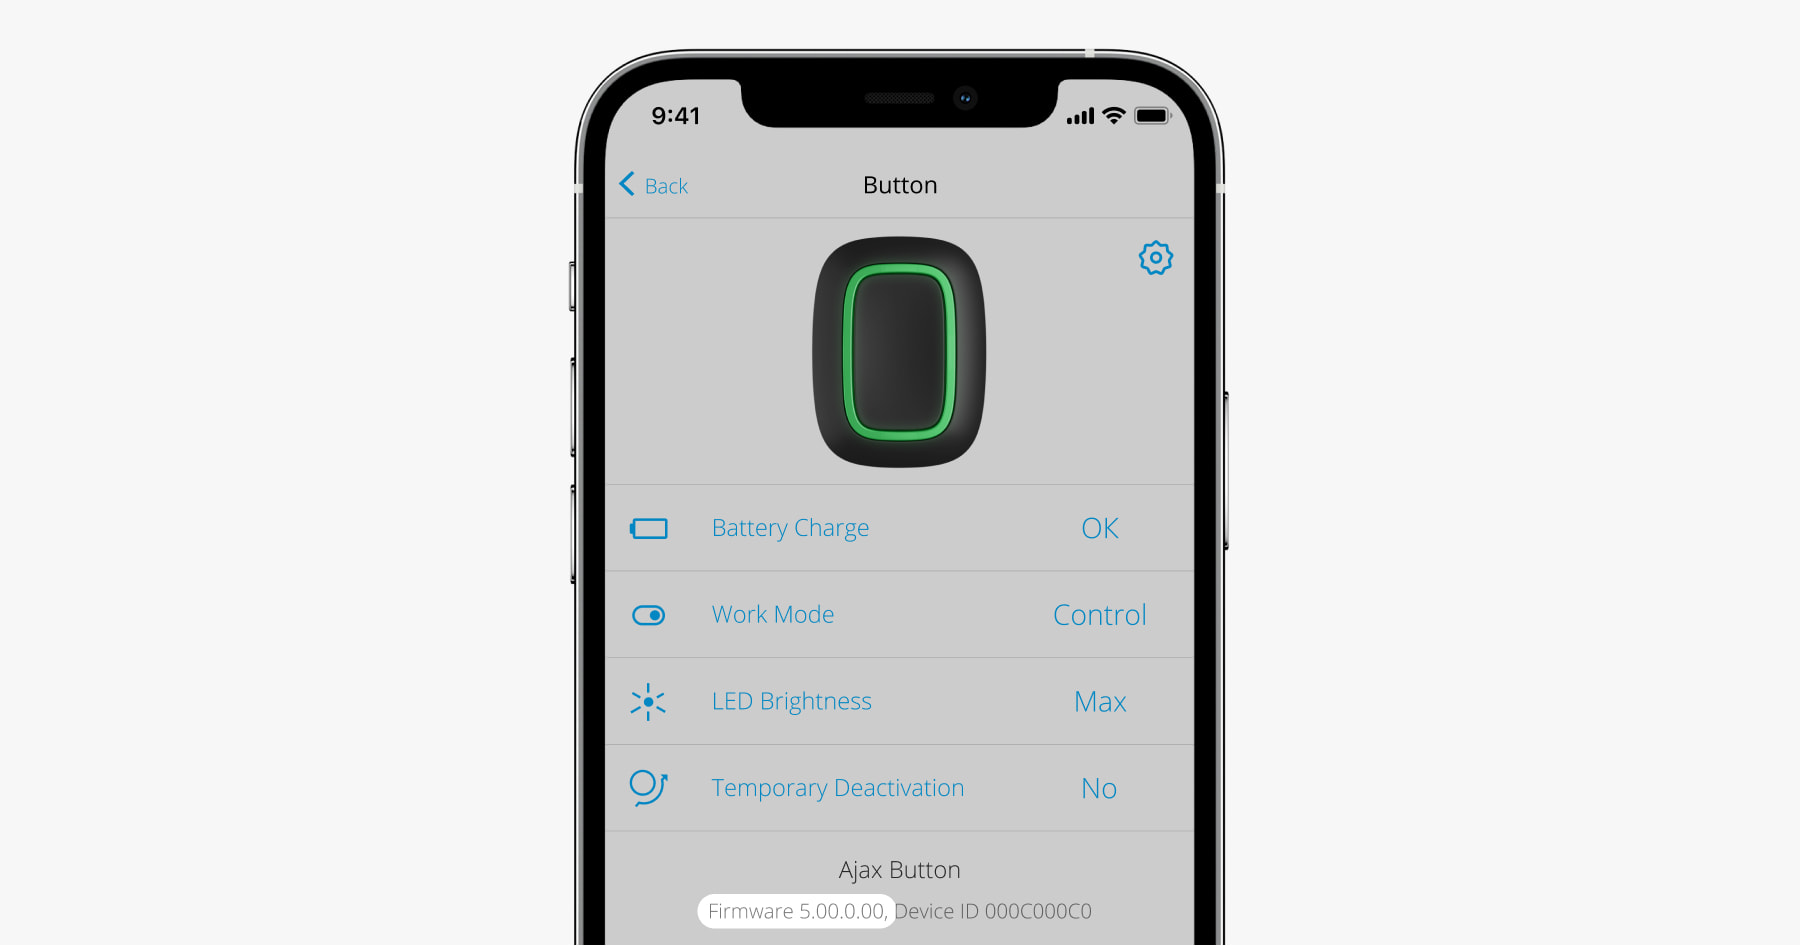
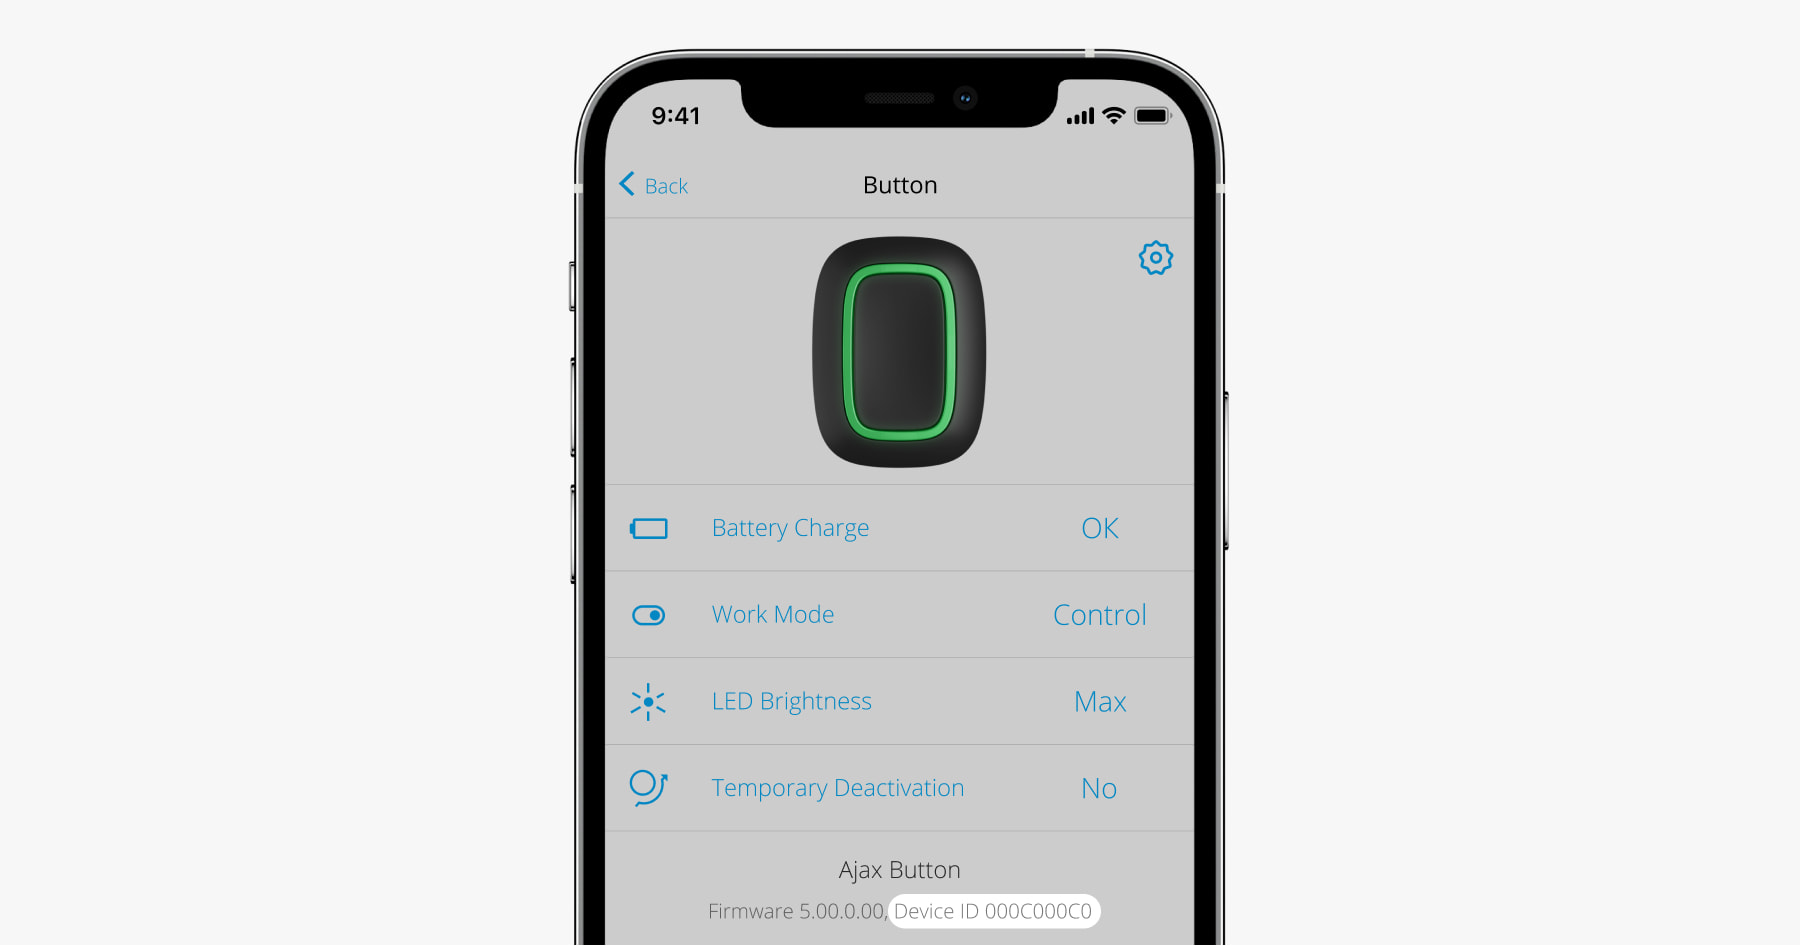
The ID can also be found in the device states in the Ajax app.
In the states of each Fibra device, you can see its loop (zone) number as well as number of the line to which it is connected. When using the Ring topology, you can see to which ring the device is connected.
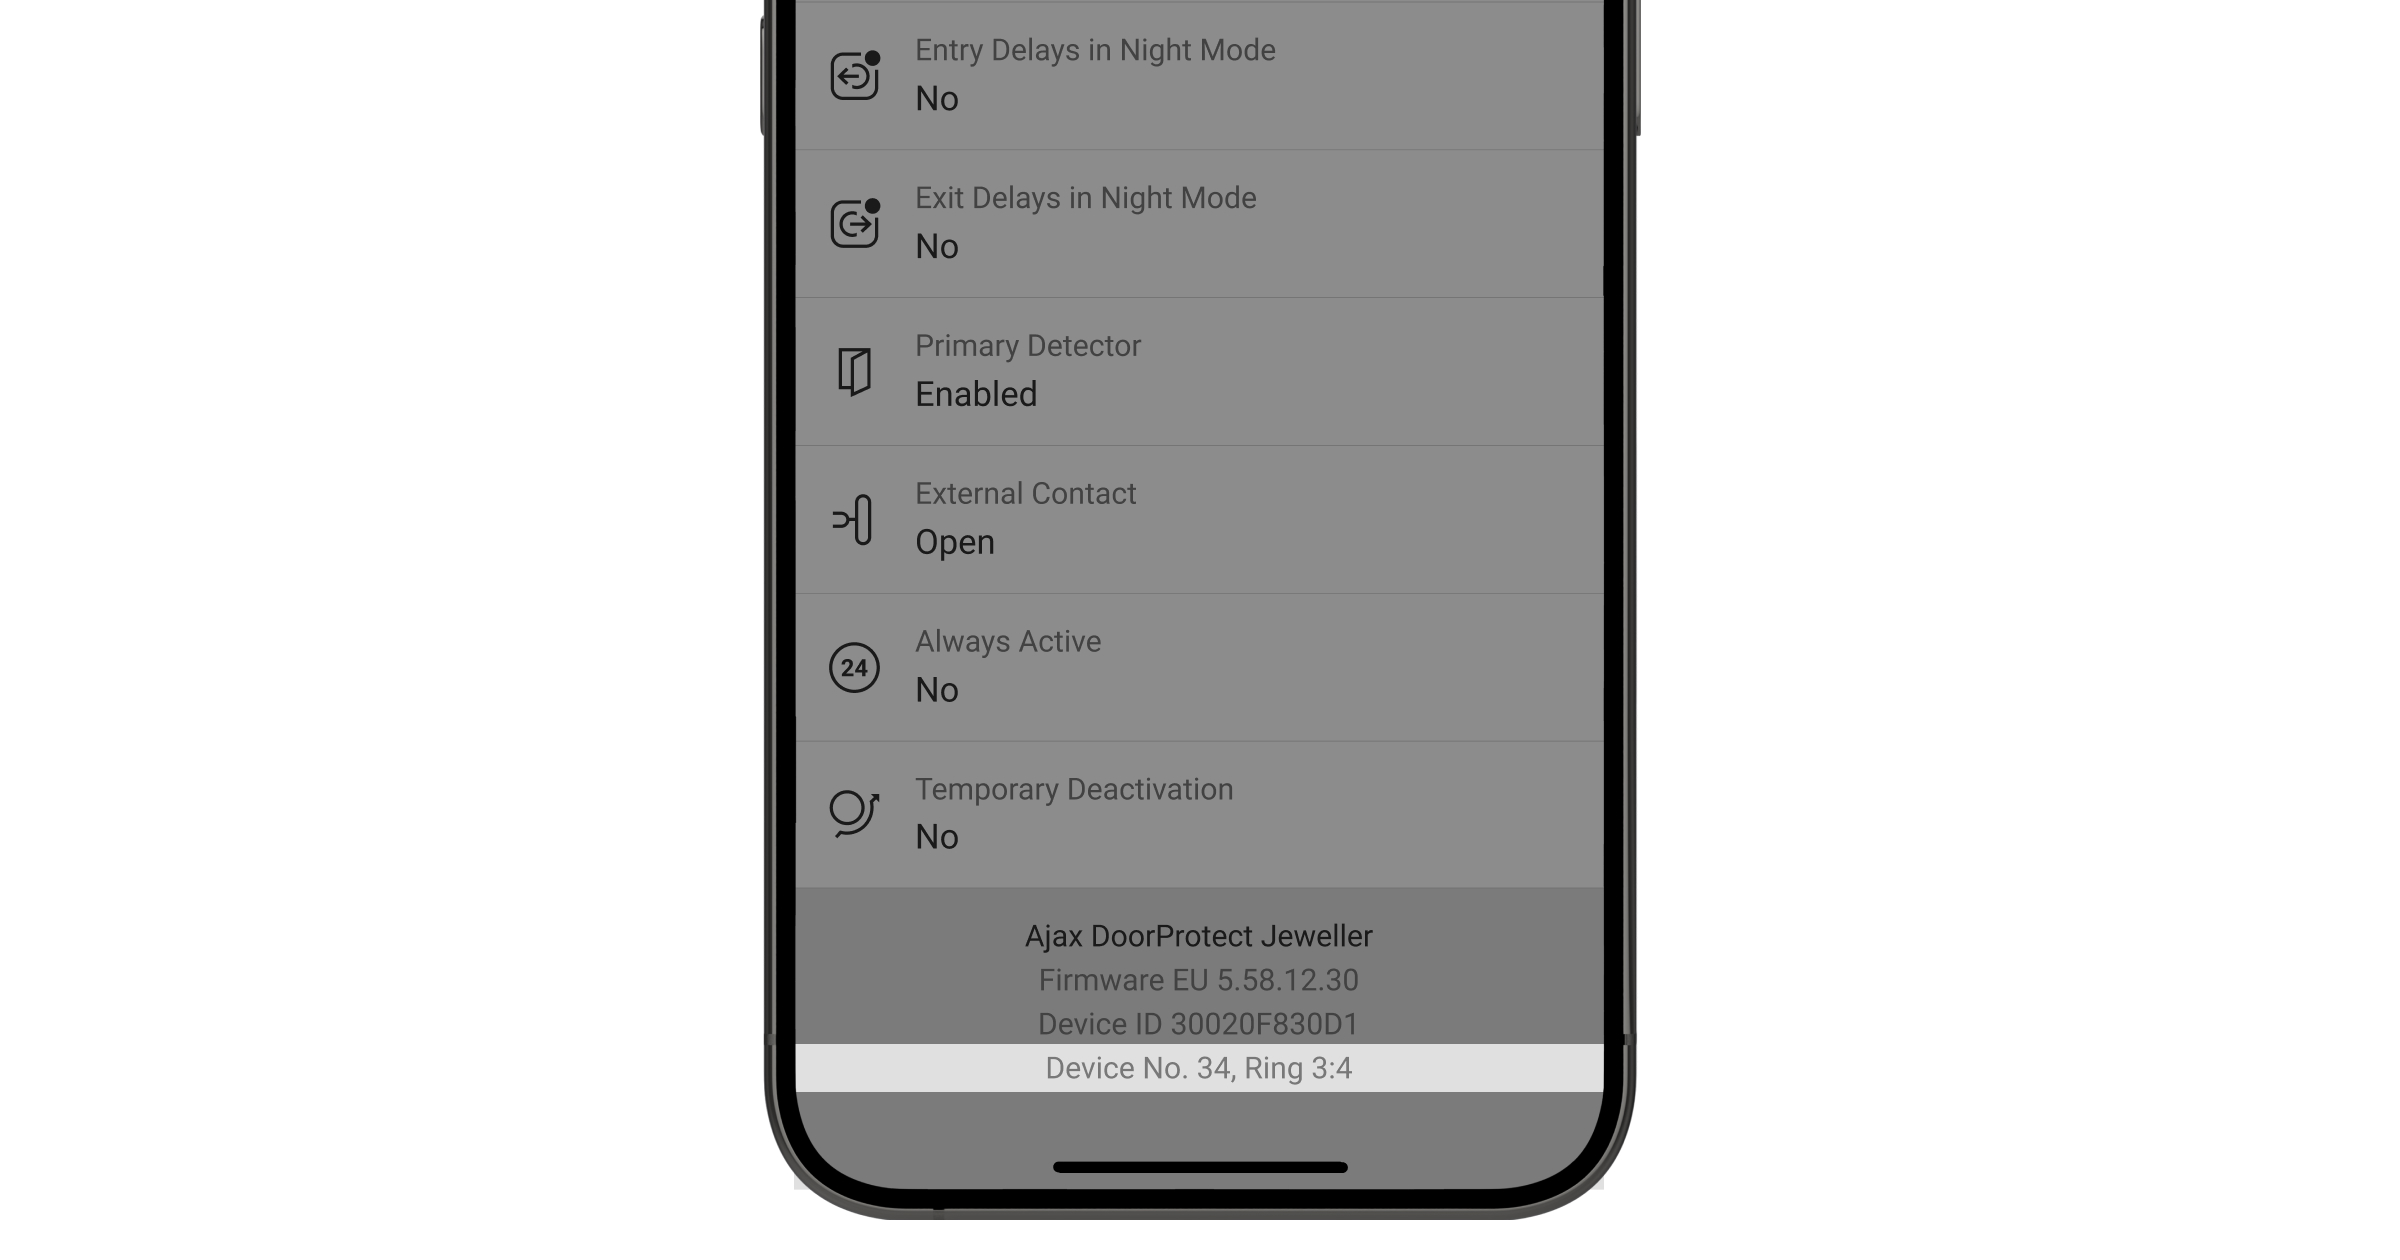
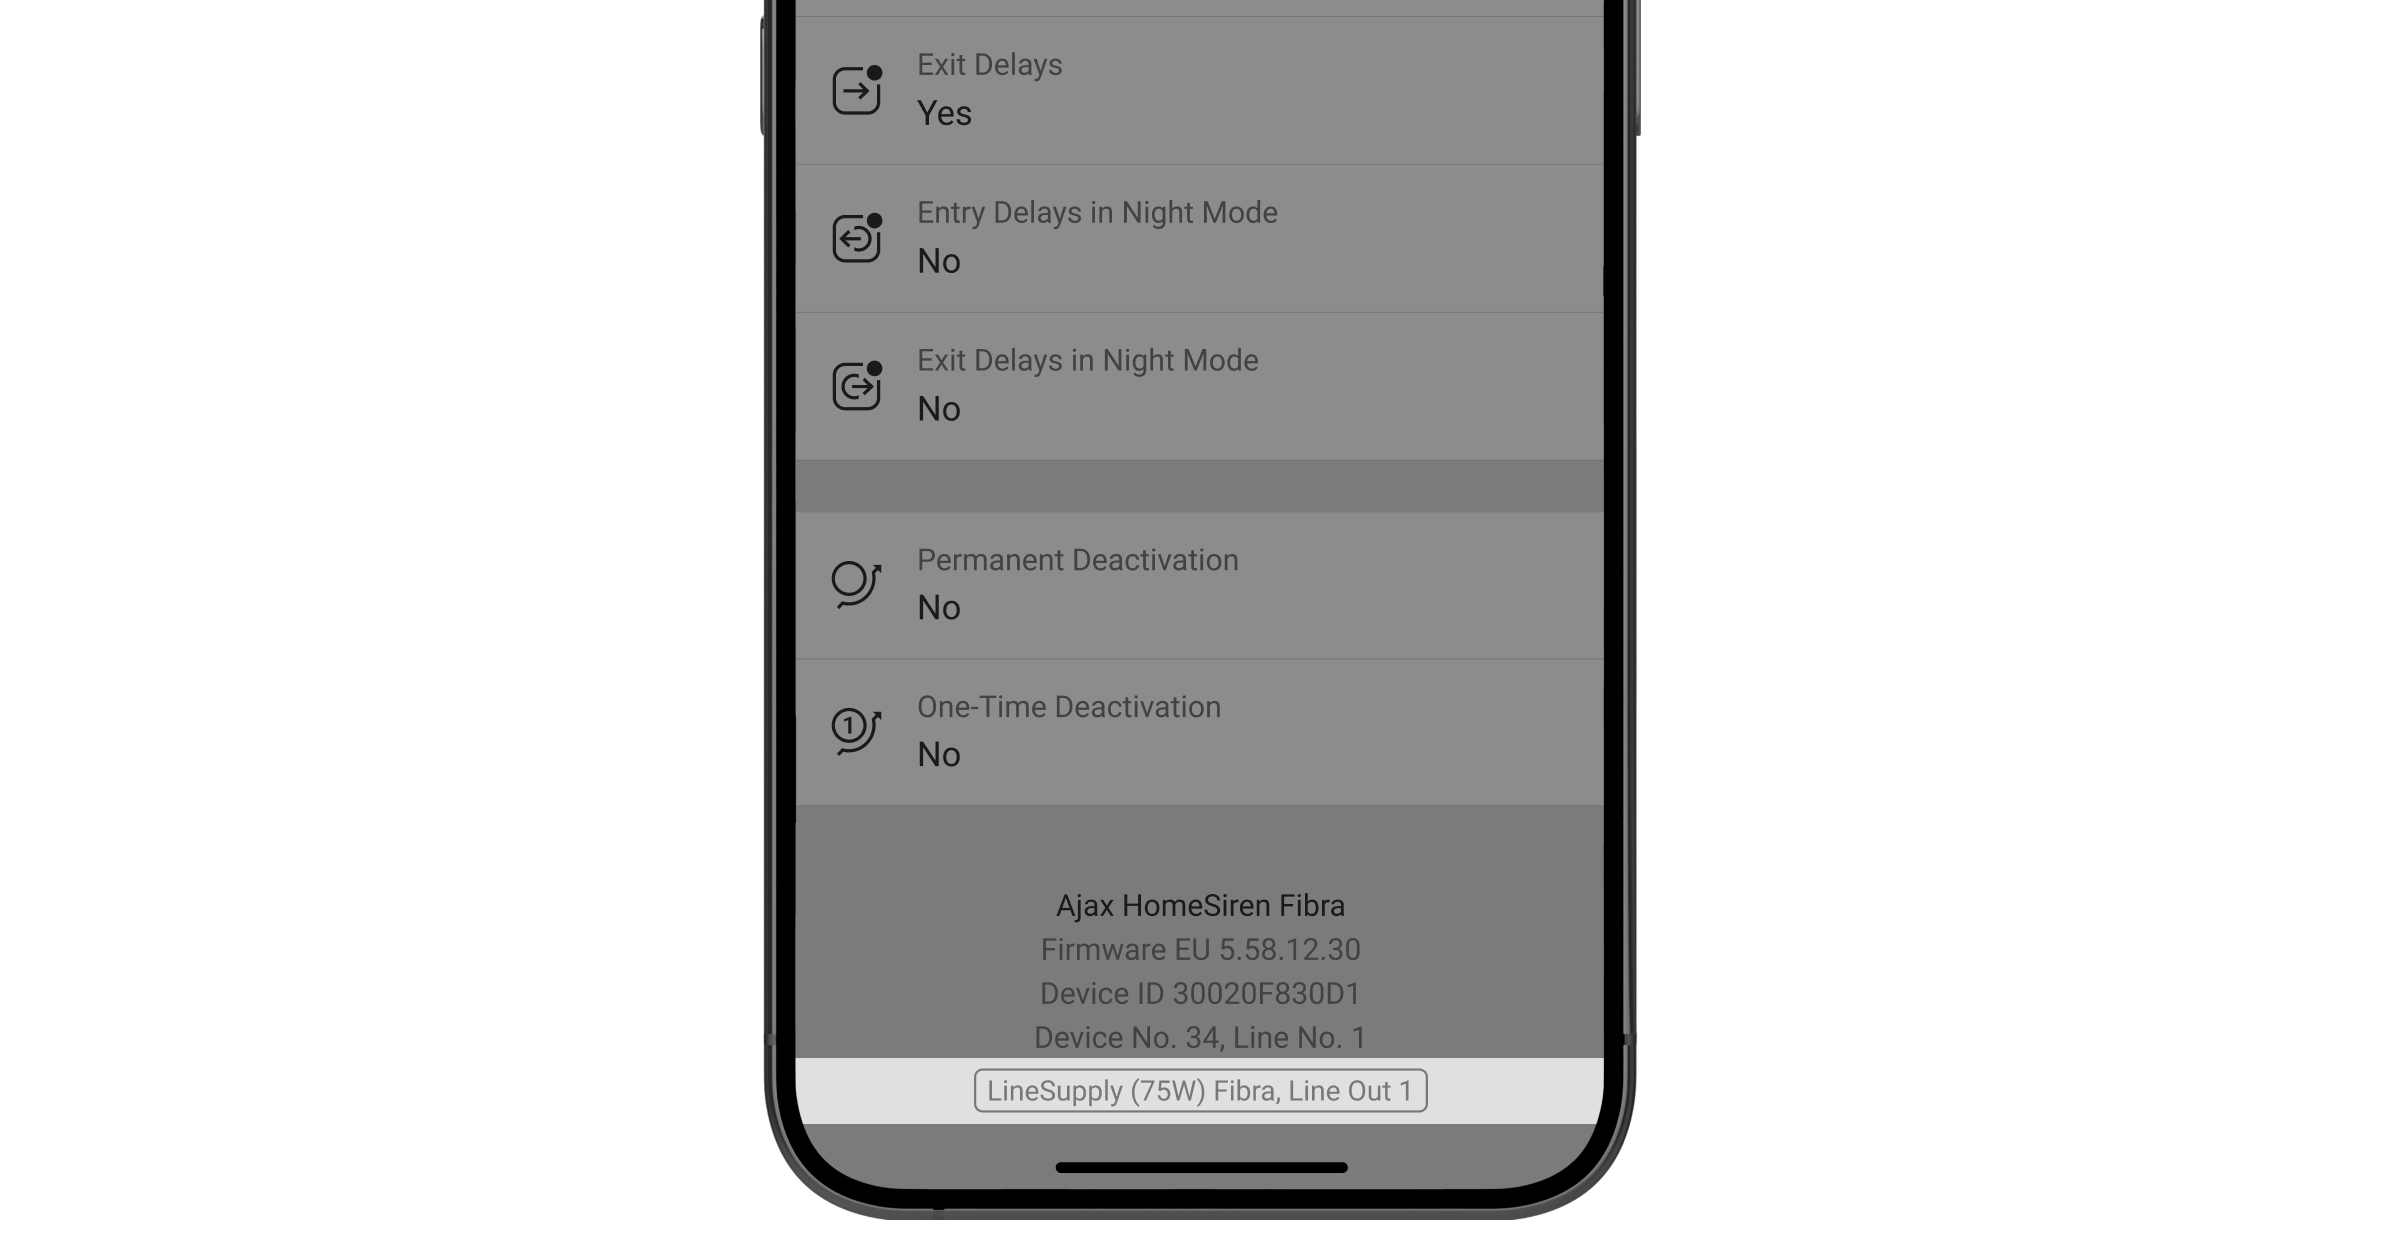
If the device is added to the hub, for example, using LineSupply (75 W) Fibra, you can see the module name and the output line number in the states.
The firmware version can be found in the device states in the Ajax app.