No such option is provided for. Deleting security system events is prohibited under the requirements of EN 50131.
Copied
Partner Portal

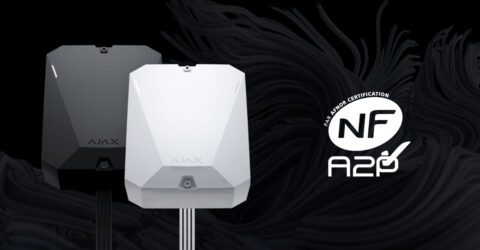
Radio signal range extender with alarm photo verification support
No such option is provided for. Deleting security system events is prohibited under the requirements of EN 50131.
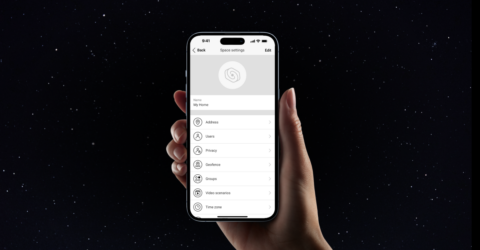
To do this, in the Ajax app:
Internal tests and feedback from partners show that the system can work stably with Wi-Fi bridges, VPN tunnels and networks where there are no traffic restrictions.
We cannot guarantee a stable system operation under any other conditions or with any other equipment. Therefore, before installing devices, we recommend testing the system with the network equipment you plan to use.
Note that the network to which ReX 2 is connected must allow broadcast requests, and the 4269 port must be open for all types of traffic.
No. Both ReX 2 and the hub must be connected via Ethernet for this communication channel to work.
In this case, all alarms, events and photos are transmitted via Ethernet.
If ReX 2 loses connection with the hub via Ethernet, the range extender continues to transmit all alarms, events and photos via radio.
If the range extender loses connection with the hub through both communication channels — users and the security company receive notifications about the loss of connection with the range extender and all the connected devices. The time it takes to send messages depends on the hub settings: the Jeweler settings for hubs that support Ajax wireless devices and the Jeweler/Fibra settings for hubs that support wired and wireless devices.
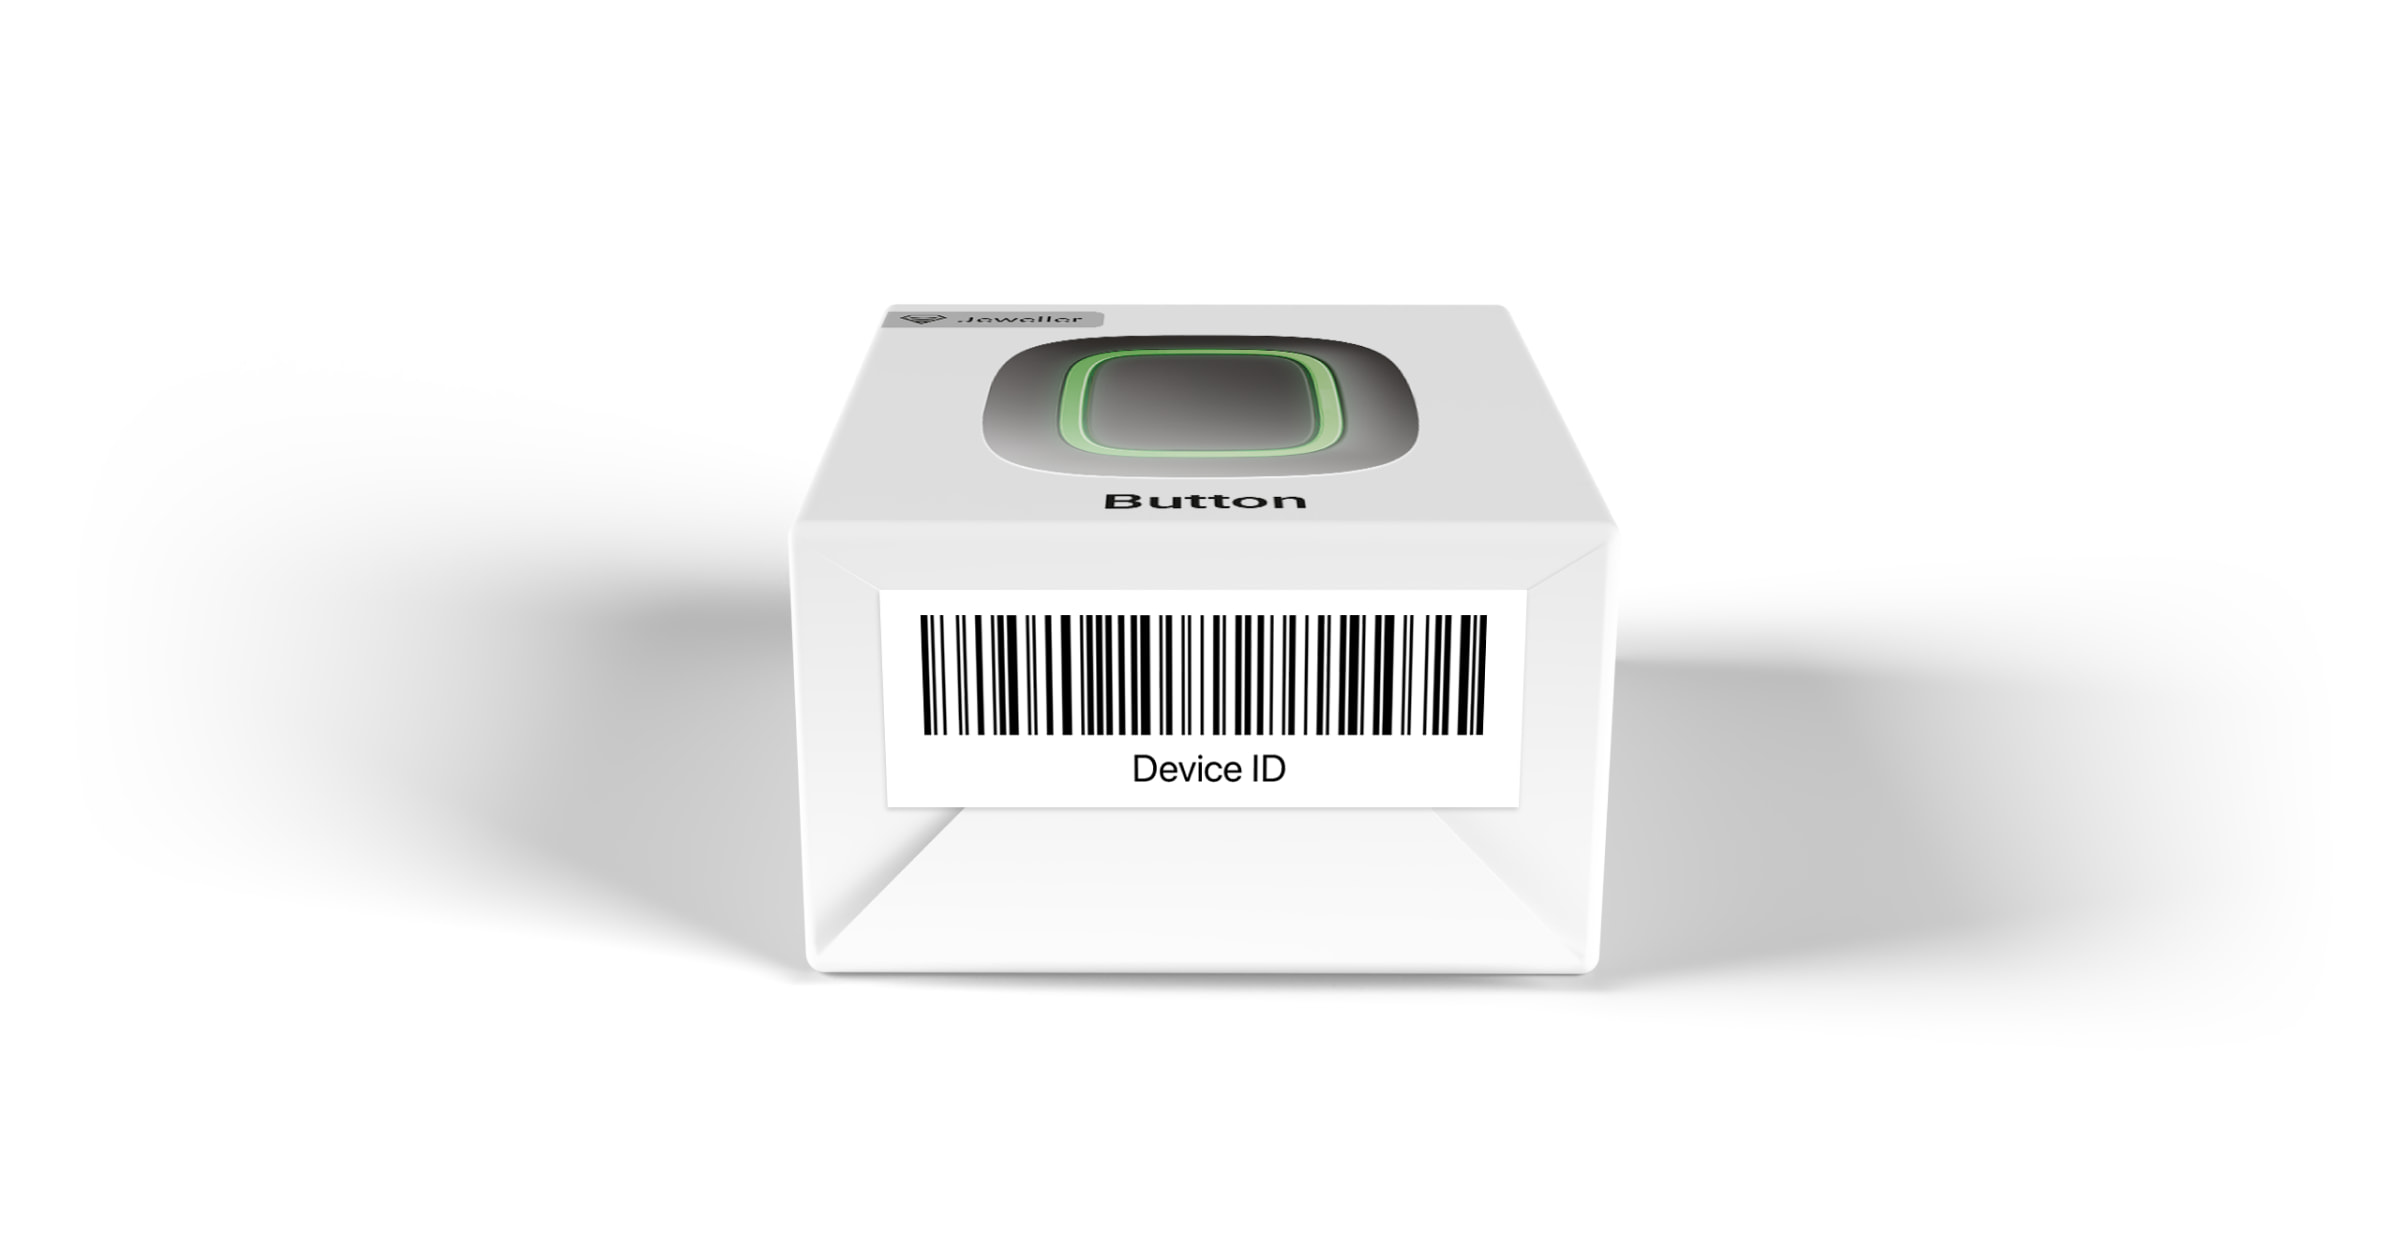
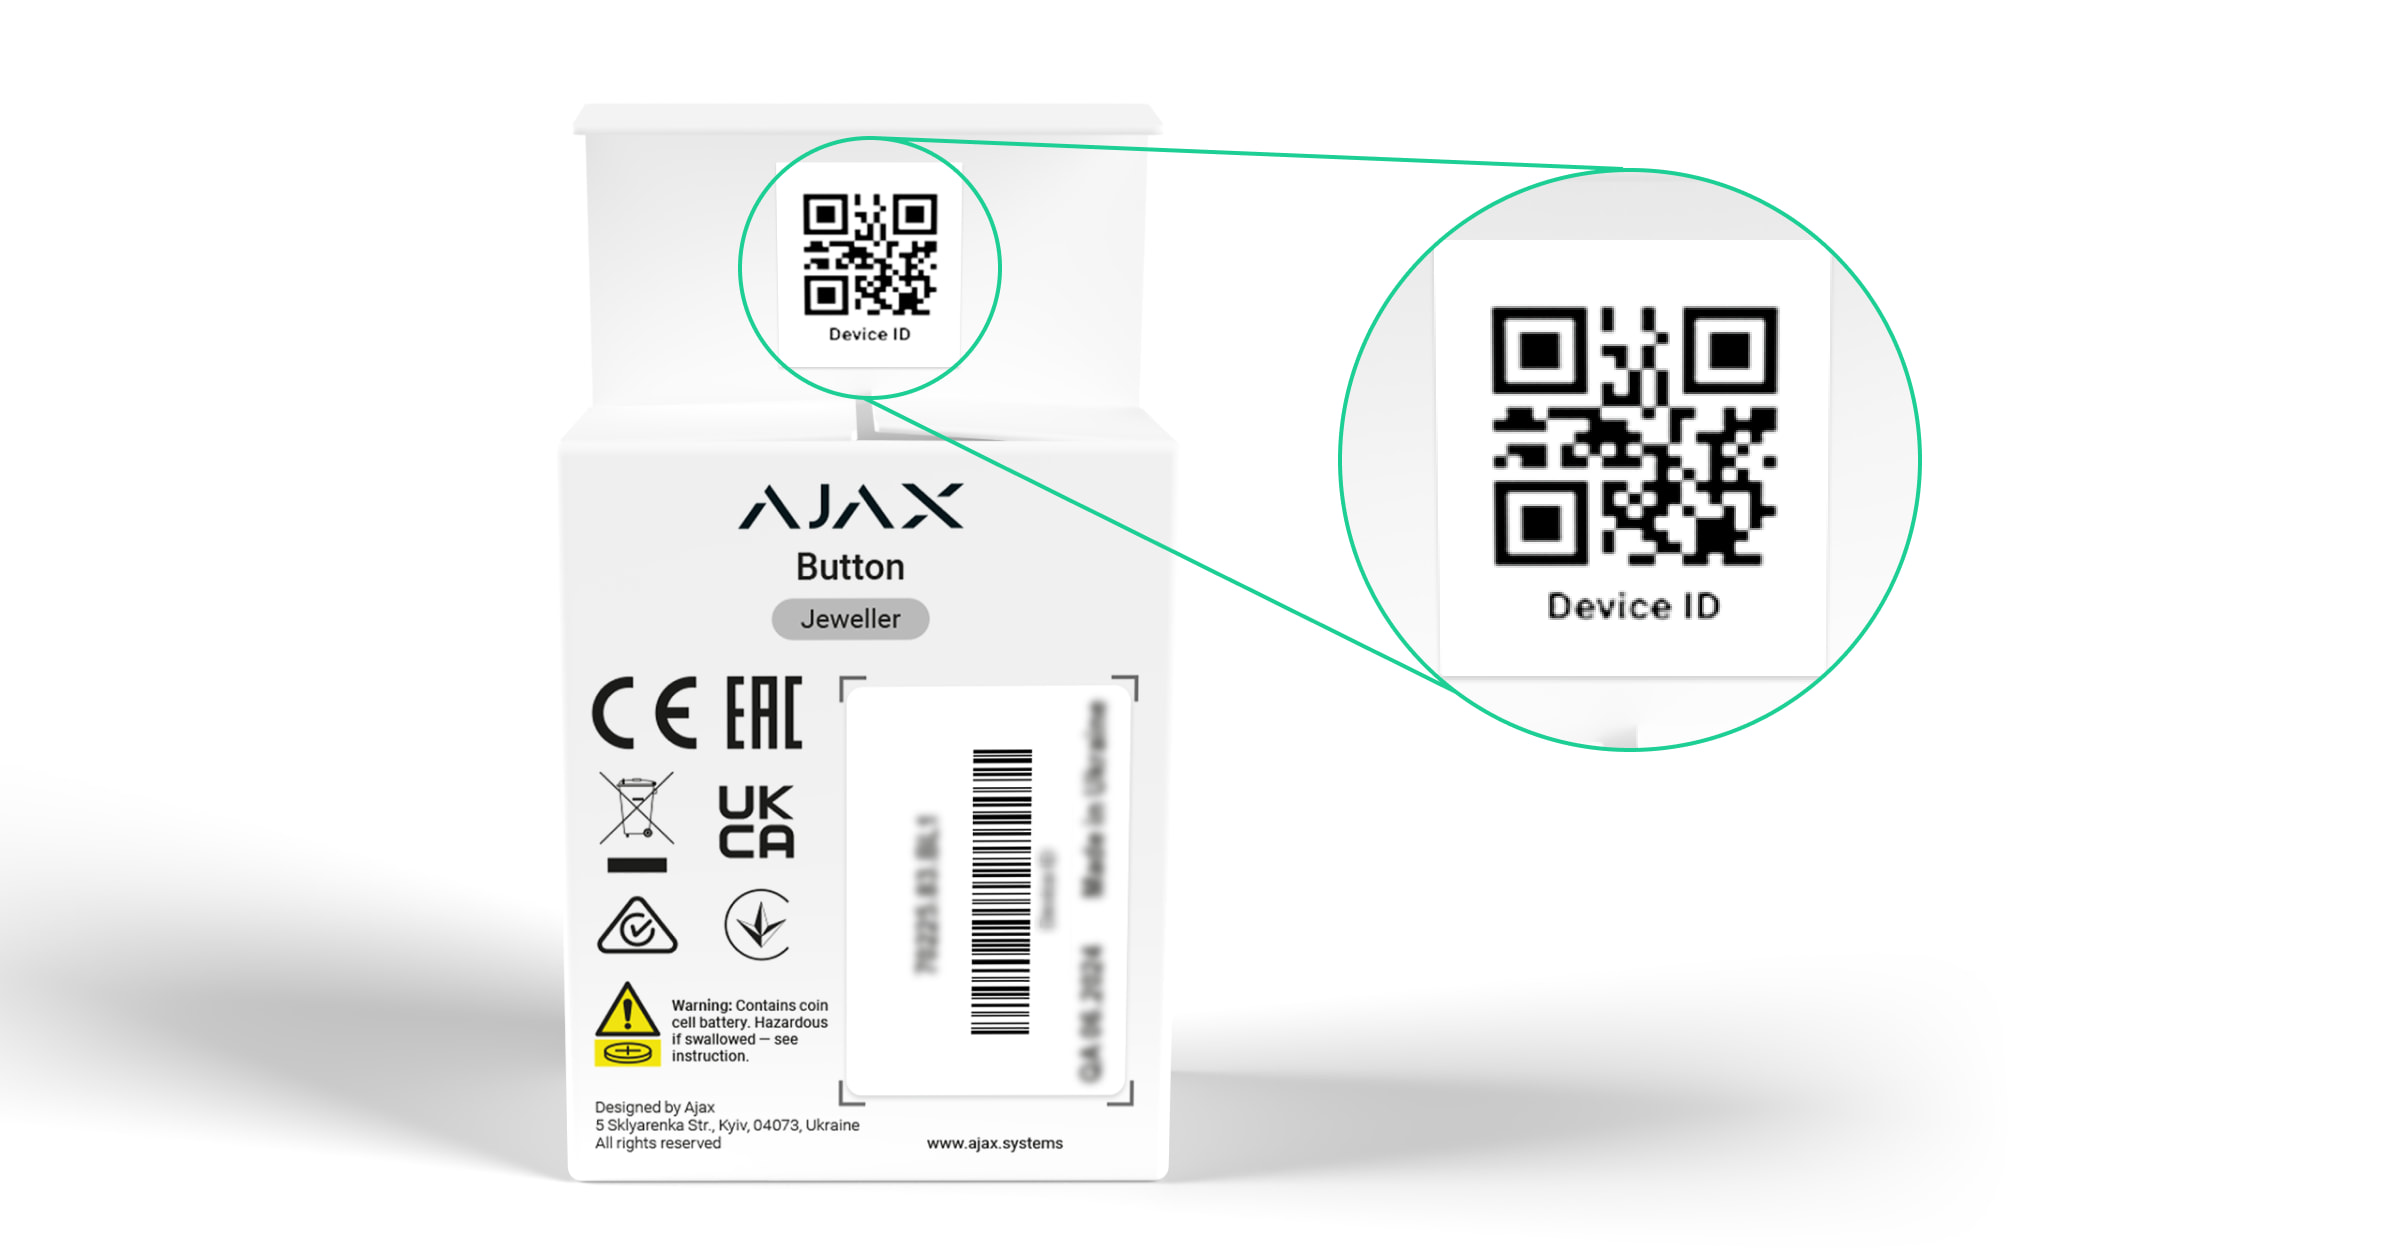
The identifier (ID) is the serial number of the device. It is located under the QR code on the body, board, and packaging of the device.
ID at the bottom of the box
ID under the lid
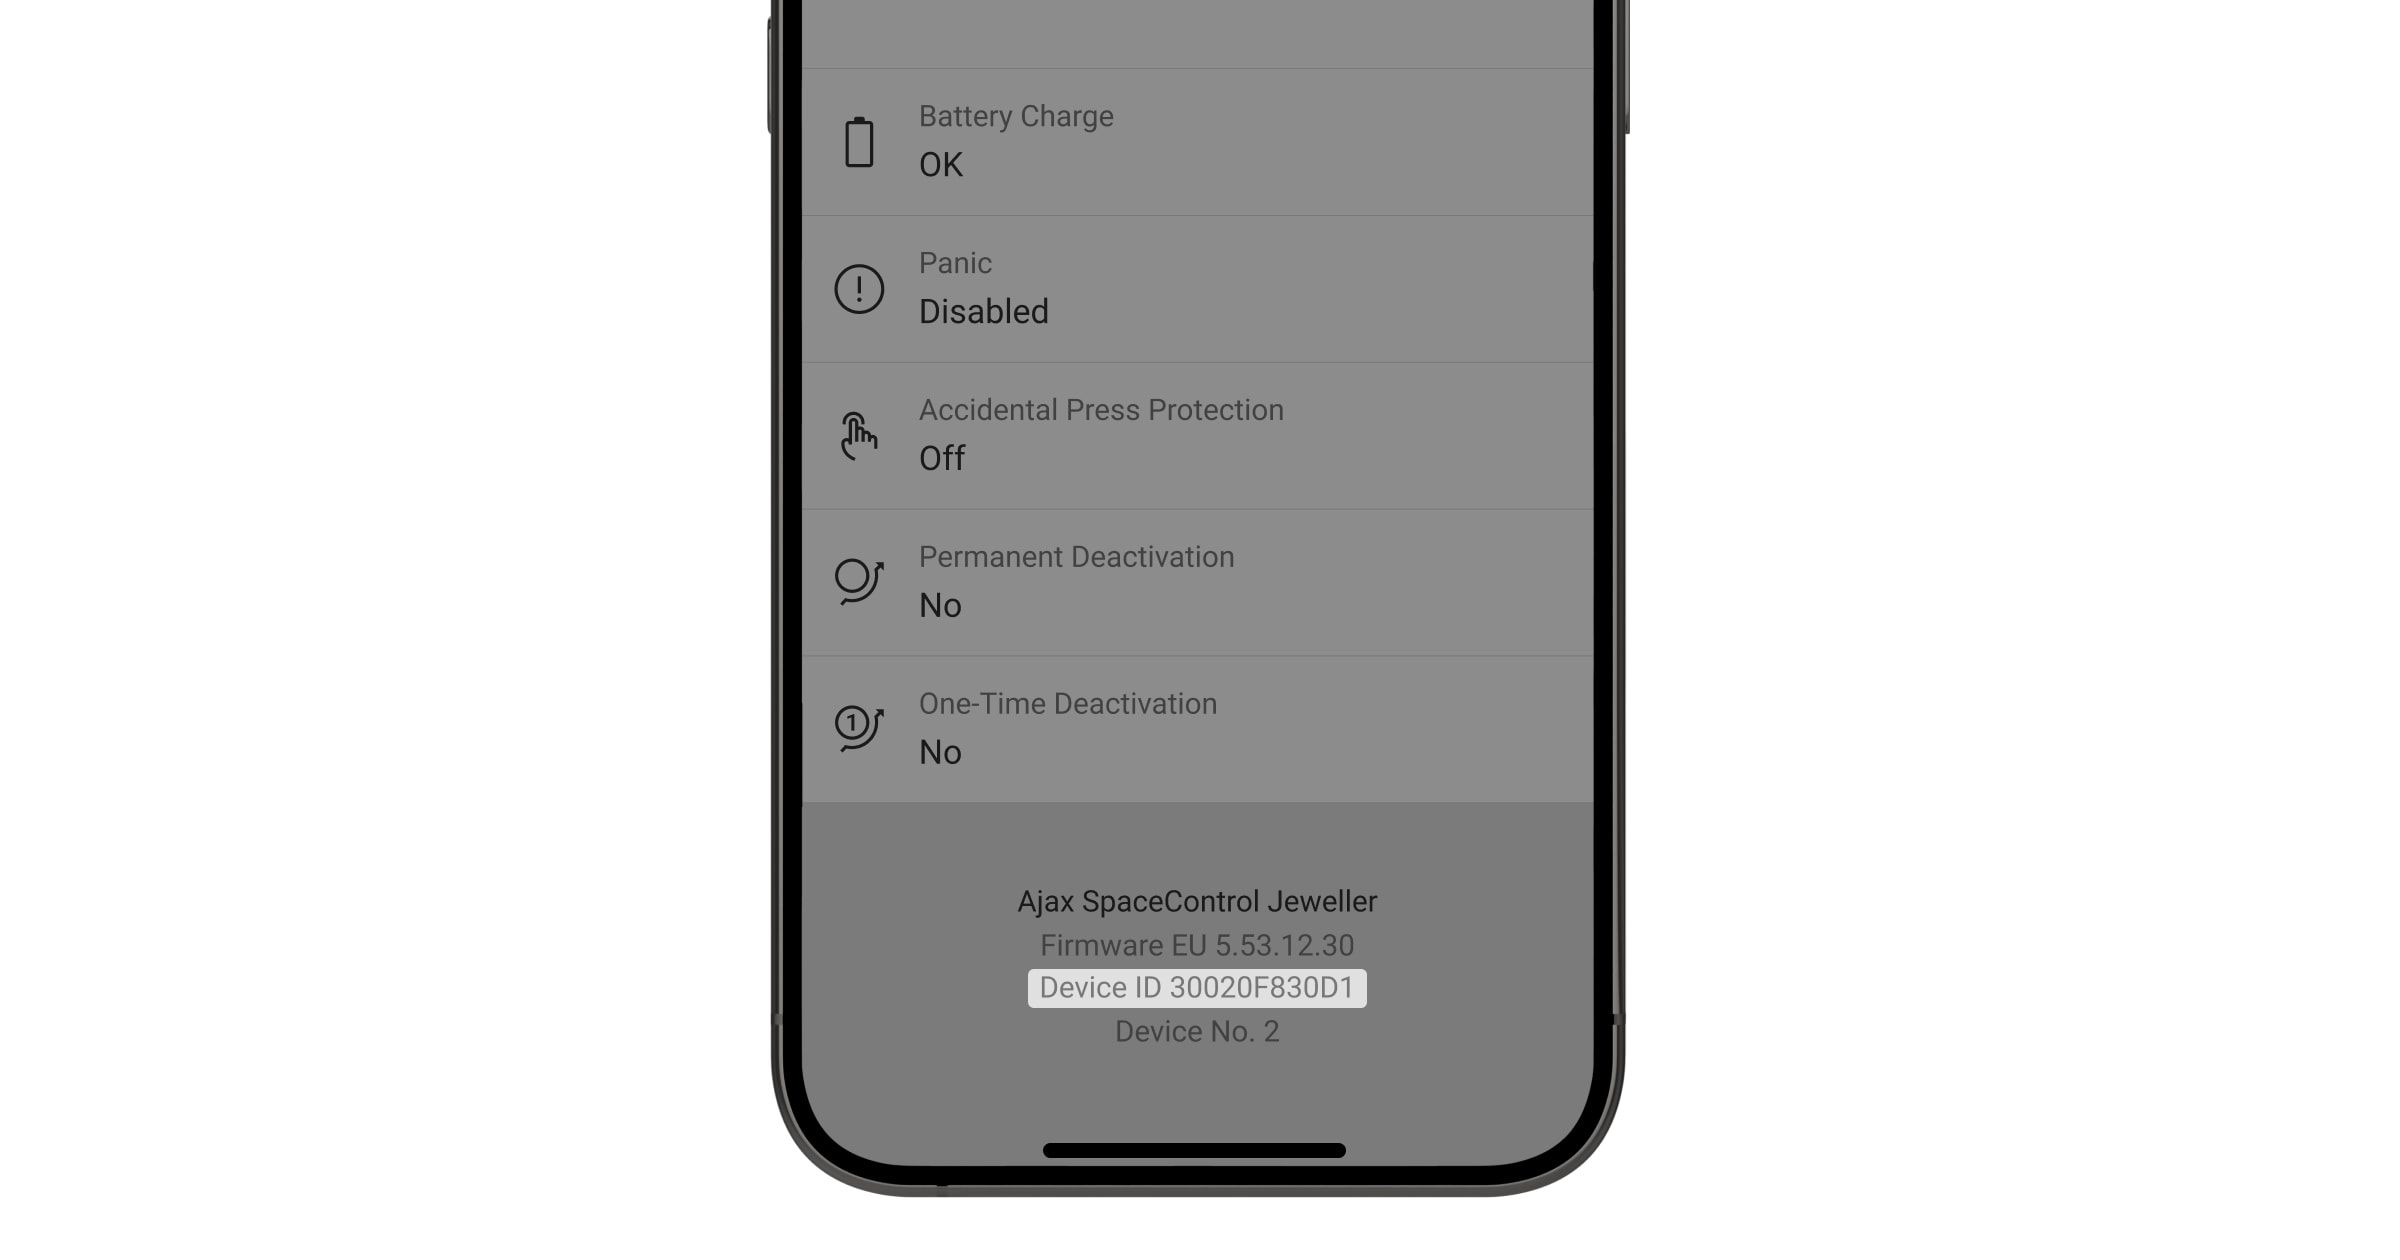
The ID can also be found in the device states in the Ajax app.
ReX 2 Jeweller with a standard power supply unit operates off 110-240 V~ mains.
To connect ReX 2 Jeweller to 12-24 V⎓ circuits replace the standard power supply unit with a 12-24V PSU (type A).
12-24V PSU (type A) is required to connect the range extender to the power system of a car, trailer, yacht, or an external battery/power supply.
To connect ReX 2 Jeweller to 6 V⎓ circuits replace the standard power supply unit with 6V PSU (type A).
6V PSU (type A) is required to allow the range extender to run on an external battery for years — without being connected to the facility’s electric power system — and be ready to protect run-down or empty premises as well as buildings under construction against burglars, vandals, or unauthorized occupants.
You can calculate the run time of ReX 2 Jeweller from an external battery using a calculator.
You can check ReX 2 Jeweller compatibility with other devices at the link below.
You can connect up to 5 ReX 2 range extenders to a compatible hub. Connection to another range extender is not provided.
The list of compatible hubs is available at the link. Connection to other hubs and ocBridge Plus and uartBridge integration modules is not provided.
The delivery time for photo verifications via ReX 2 range extender depends on the hub communication channel, type of detector and the resolution of the images.
Photo delivery time through the Wings radio protocol:
| Detector | Photo resolution (pixels) | Photo delivery time via range extender |
| MotionCam Jeweller MotionCam (PhOD) Jeweller |
160 × 120 | Up to 8 seconds |
| 320 × 240 (default) | Up to 18 seconds | |
| 640 × 480 | Up to 31 seconds | |
| MotionCam Outdoor Jeweller MotionCam Outdoor (PhOD) Jeweller |
320×176 (default) | Up to 14 seconds |
| 640 × 352 | Up to 20 seconds |
Values provided that the hub works via Ethernet or 4G, and there are three bars of signal strength between ReX 2 and the detector, and between the hub and ReX 2. If you use the Photo on Demand feature, there may be a delay of up to 3 seconds before the detector takes a photo.
Photo delivery time via Ethernet:
| Detector | Photo resolution (pixels) | Photo delivery time via range extender |
| MotionCam Jeweller MotionCam (PhOD) Jeweller |
160 × 120 | Up to 6 seconds |
| 320 × 240 (default) | Up to 10 seconds | |
| 640 × 480 | Up to 16 seconds | |
| MotionCam Outdoor Jeweller MotionCam Outdoor (PhOD) Jeweller |
320×176 (default) | Up to 10 seconds |
| 640 × 352 | Up to 17 seconds |
Values provided that the hub works via Ethernet or 4G, and the signal strength between ReX 2 and the detector is three bars. If you use the Photo on Demand feature, there may be a delay of up to 3 seconds before the detector takes a photo.
If the detector is connected via a range extender, alarms are delivered in 0.3 seconds.
If the connection between the hub and ReX 2 is lost, all devices connected to the range extender also lose their connection with the hub.
Devices that have lost connection with the hub cannot transmit events, alarms, or photos to users and the security company monitoring station until connection is restored.
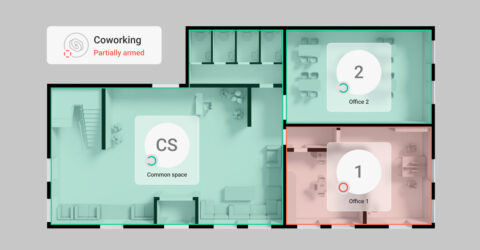
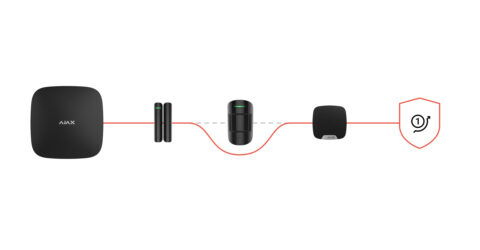
Thanks to OS Malevich, the range extender combines detectors into an autonomous group. If ReX 2 receives an alarm signal from the detector after the loss of communication, the range extender will activate the siren connected to it.
To increase the radio communication range of your KeyPad Plus, use the radio signal range extenders.
Yes, DualCurtain Outdoor works with radio signal range extenders.
With OS Malevich 2.9 update, permanent deactivation of devices without removing them from the system has become available.
Deactivation may be necessary if the device is incorrectly installed or configured, loses connection with the hub, or has failed.
To deactivate a device, in the Ajax app:
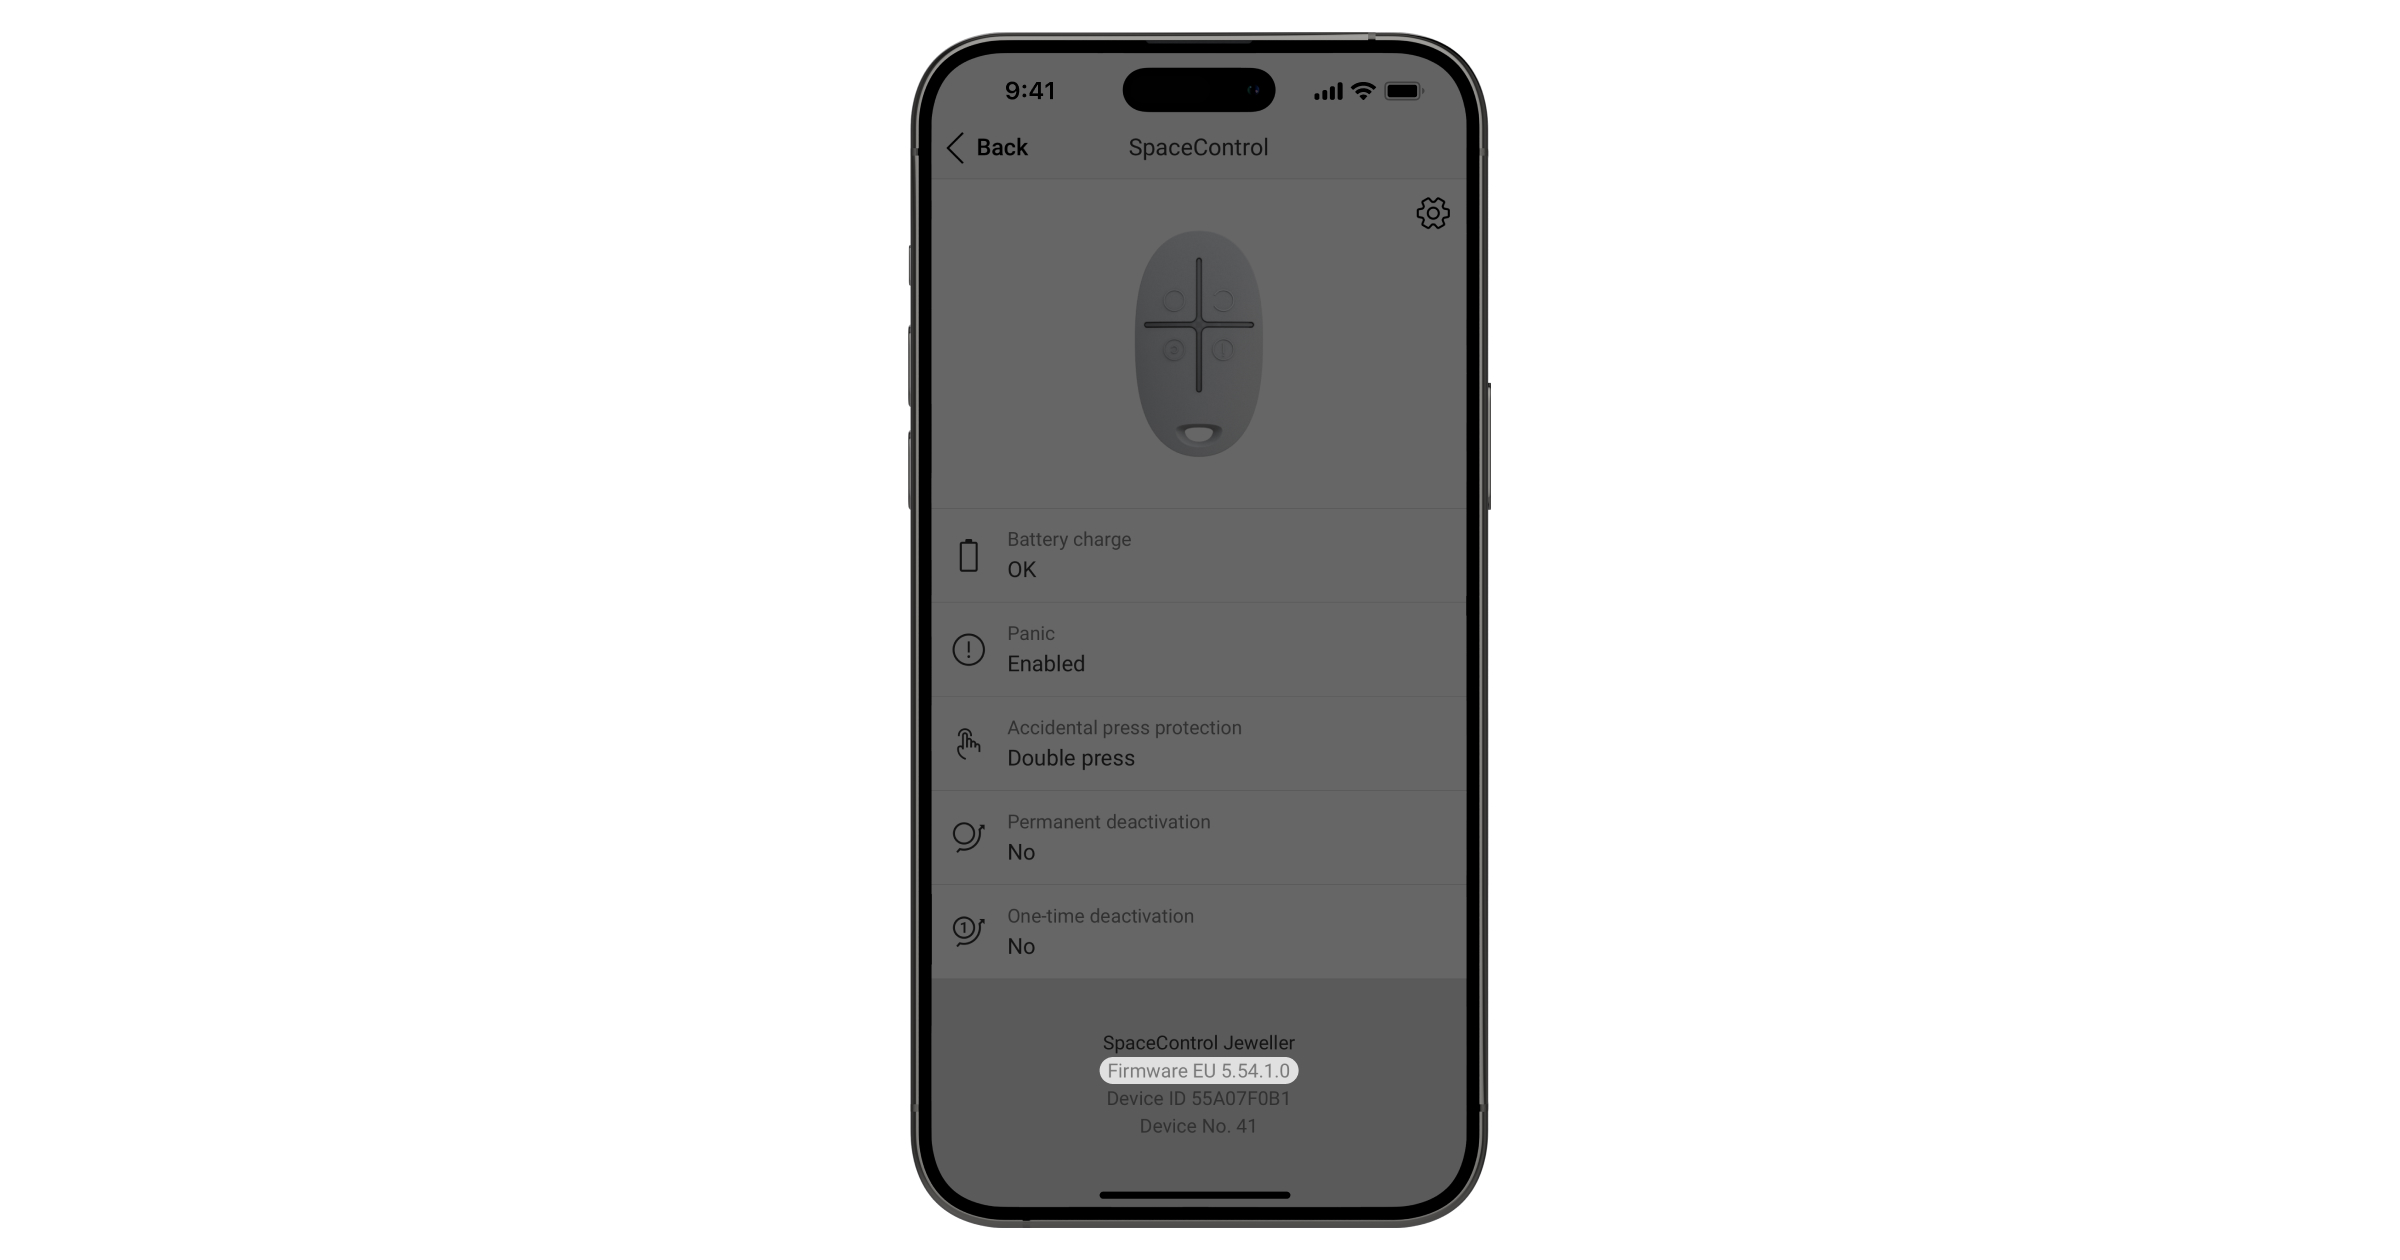
The firmware version can be found in the device states in the Ajax app.


Only essential news about security and smart home devices
Please check your email to confirm your subscription
The user with this email has already subscribed
Contact [email protected]
Unexpected error, please try again later
