When installed correctly at the height of 0.8–1.3 meters from the ground level, the detector does not react to animals up to 80 cm tall.
Copied
Partner Portal
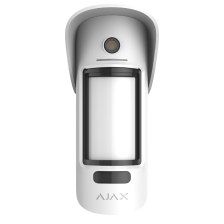
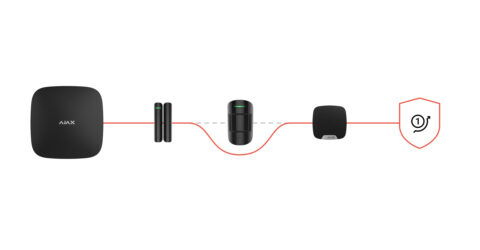
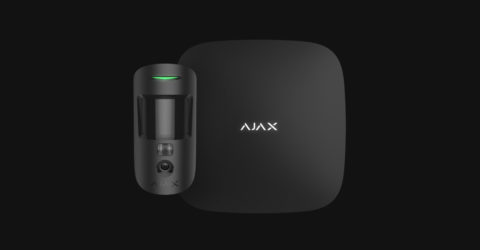
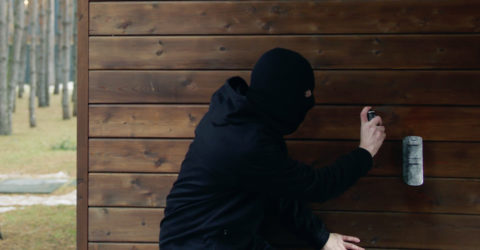
Wireless PIR motion detector with extended photo verification possibilities. For outdoor and indoor use.
When installed correctly at the height of 0.8–1.3 meters from the ground level, the detector does not react to animals up to 80 cm tall.
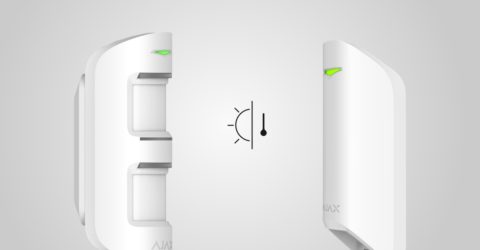
MotionCam Outdoor (PhOD) Jeweller can be installed both outdoors and indoors. The sensor can operate from –25°C to +60°C with humidity up to 95% due to the IP56 enclosure protection class.
MotionCam Outdoor (PhOD) Jeweller detects motion at a distance of 3 to 15 meters. The detection distance is adjusted using the Detection Distance scrollbar on the rear panel of the detector.
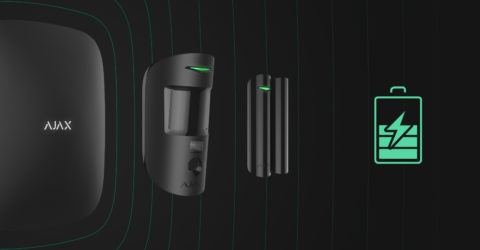
MotionCam Outdoor (PhOD) Jeweller operates on CR123A batteries only.
The MotionCam Outdoor (PhOD) Jeweller sensor can operate from –25°C to +60°C with up to 95% humidity due to the IP56 enclosure class.
MotionCam Outdoor Jeweller detectors can take pictures in case of a motion alarm using the built-in camera.
MotionCam Outdoor (PhOD) Jeweller detectors, in addition to photos by alarm, can take photos on demand and photos by scenario (in case of other Ajax devices alarm).
The image delivery time to Ajax apps depends on the resolution of the images, connection to the range extender, level of the Wings signal, and the speed of the Internet connection. The alarm messages are delivered immediately.
| Photo resolution | Delivery time* | ||
| When connecting the detector to the hub** | When connecting the detector to the hub using ReX 2 (ReX 2 transmits photos via Wings)*** | When connecting the detector to the hub using ReX 2 (ReX 2 transmits photos via Ethernet)**** | |
| 320 × 176 pixels (set by default) |
up to 9 seconds | up to 14 seconds | up to 10 seconds |
| 640 × 352 pixels | up to 20 seconds | up to 20 seconds | up to 17 seconds |
MotionCam Outdoor (PhOD) Jeweller runs for up to 3 years on pre-installed batteries.
The detector can take photos with one of three resolutions (in pixels):
To set the image resolution in the Ajax app:
MotionCam Outdoor (PhOD) Jeweller operates on four CR123A 3V batteries.
MotionCam Outdoor (PhOD) Jeweller communicates with a hub at a distance of up to 1,700 m in an open space.
To expand the Ajax security system coverage area, use the ReX 2 radio signal range extender.
| Hubs | Radio signal range extenders |
Connection to other hubs, radio signal range extenders, ocBridge Plus, and uartBridge is not provided.
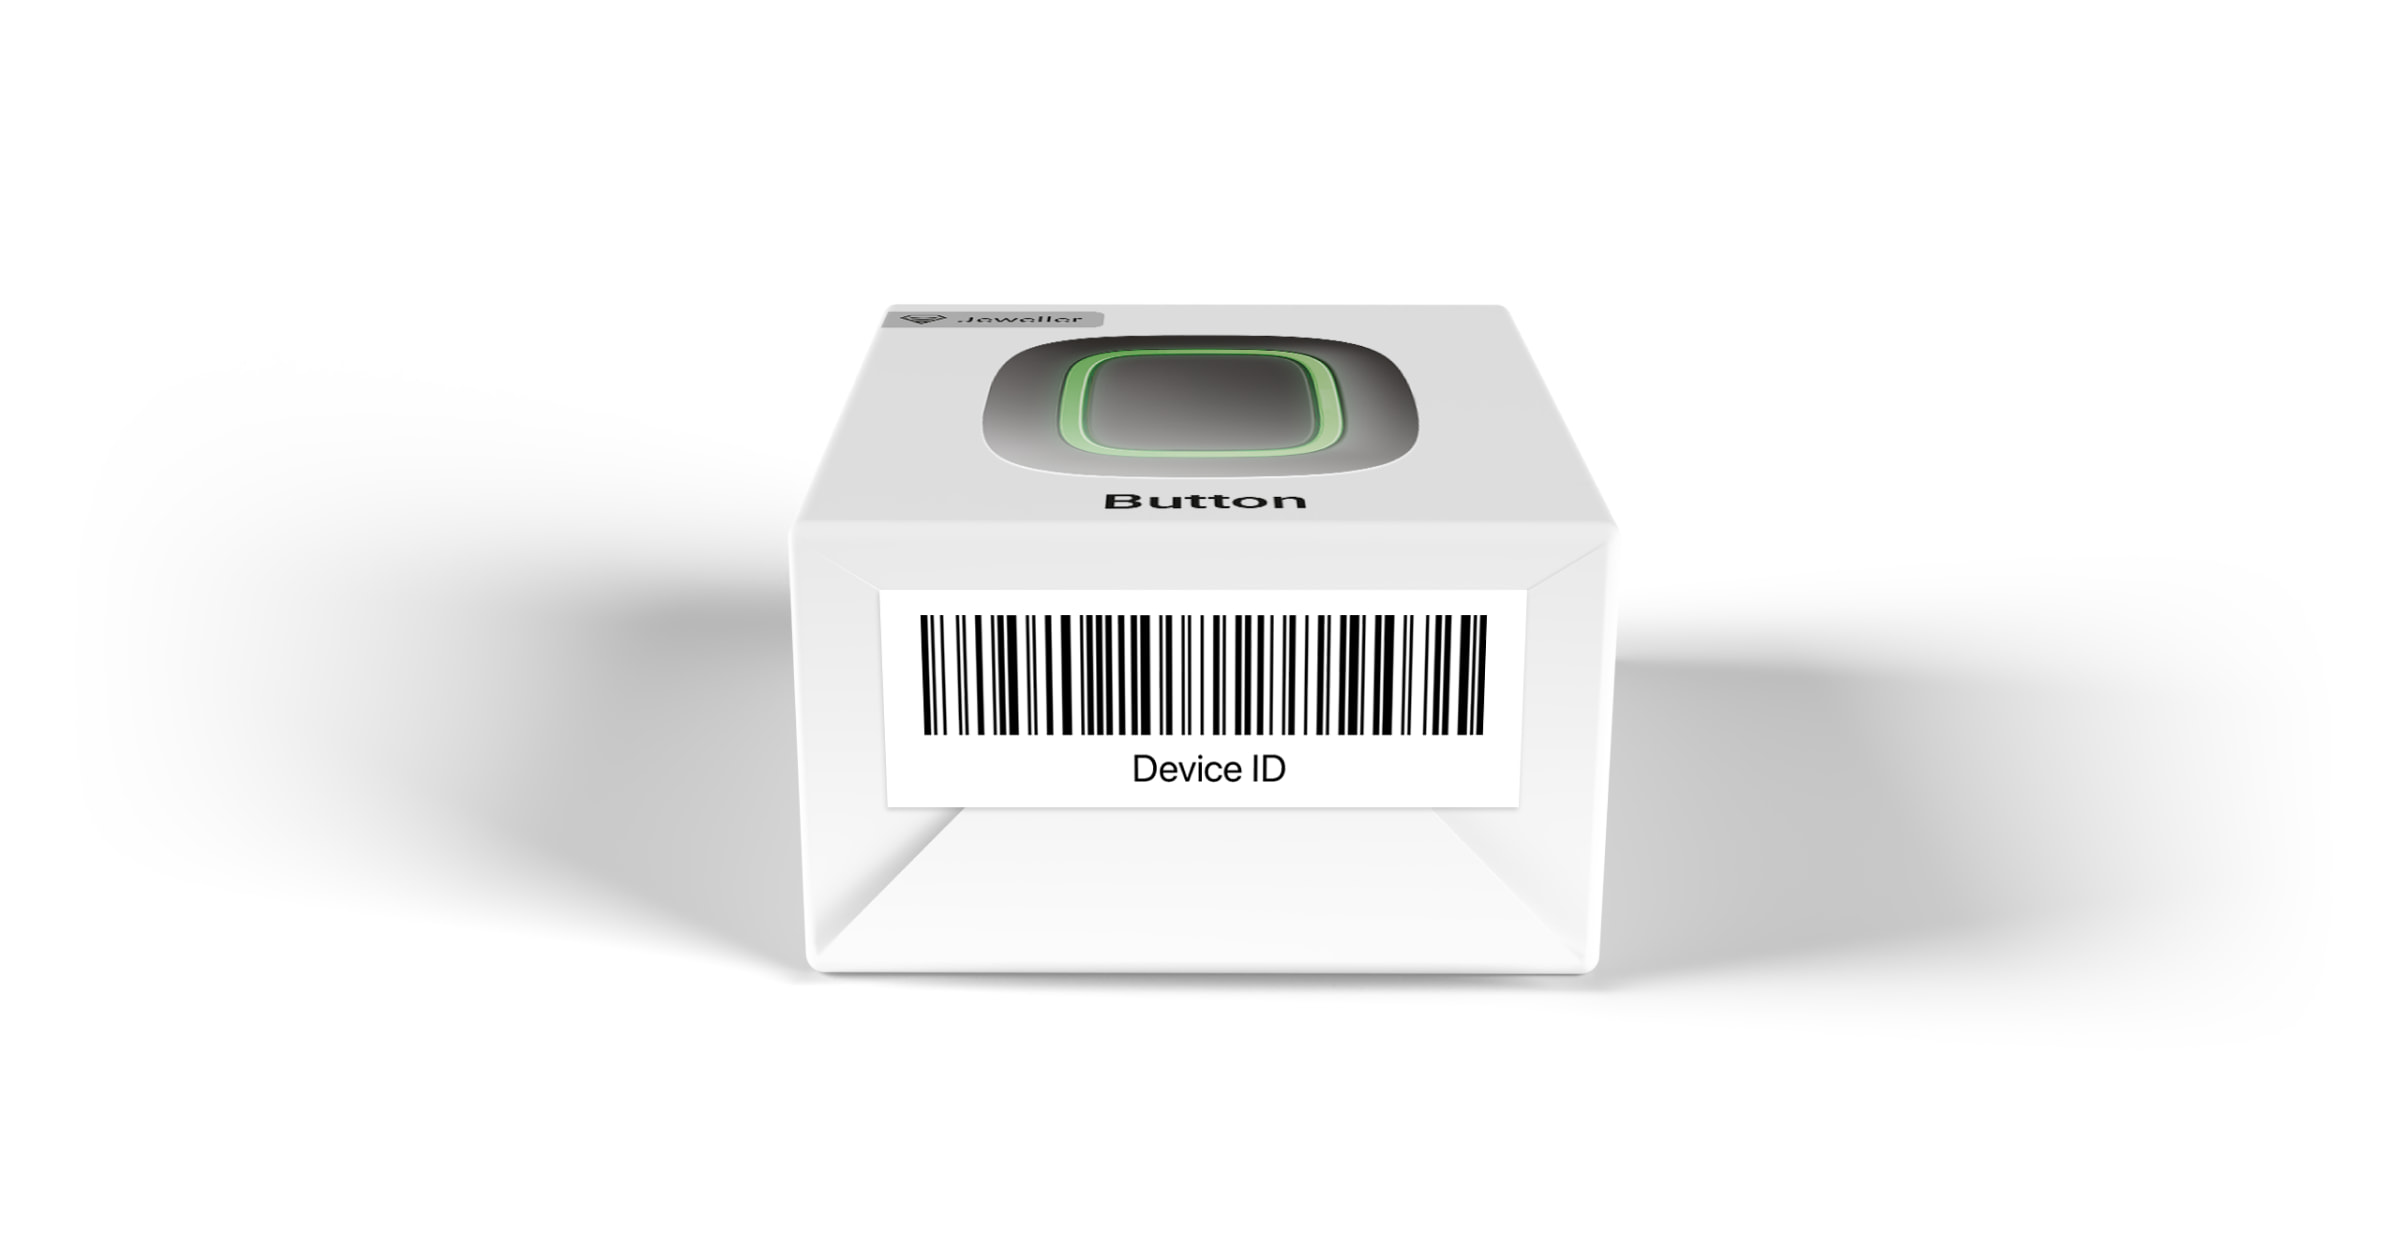
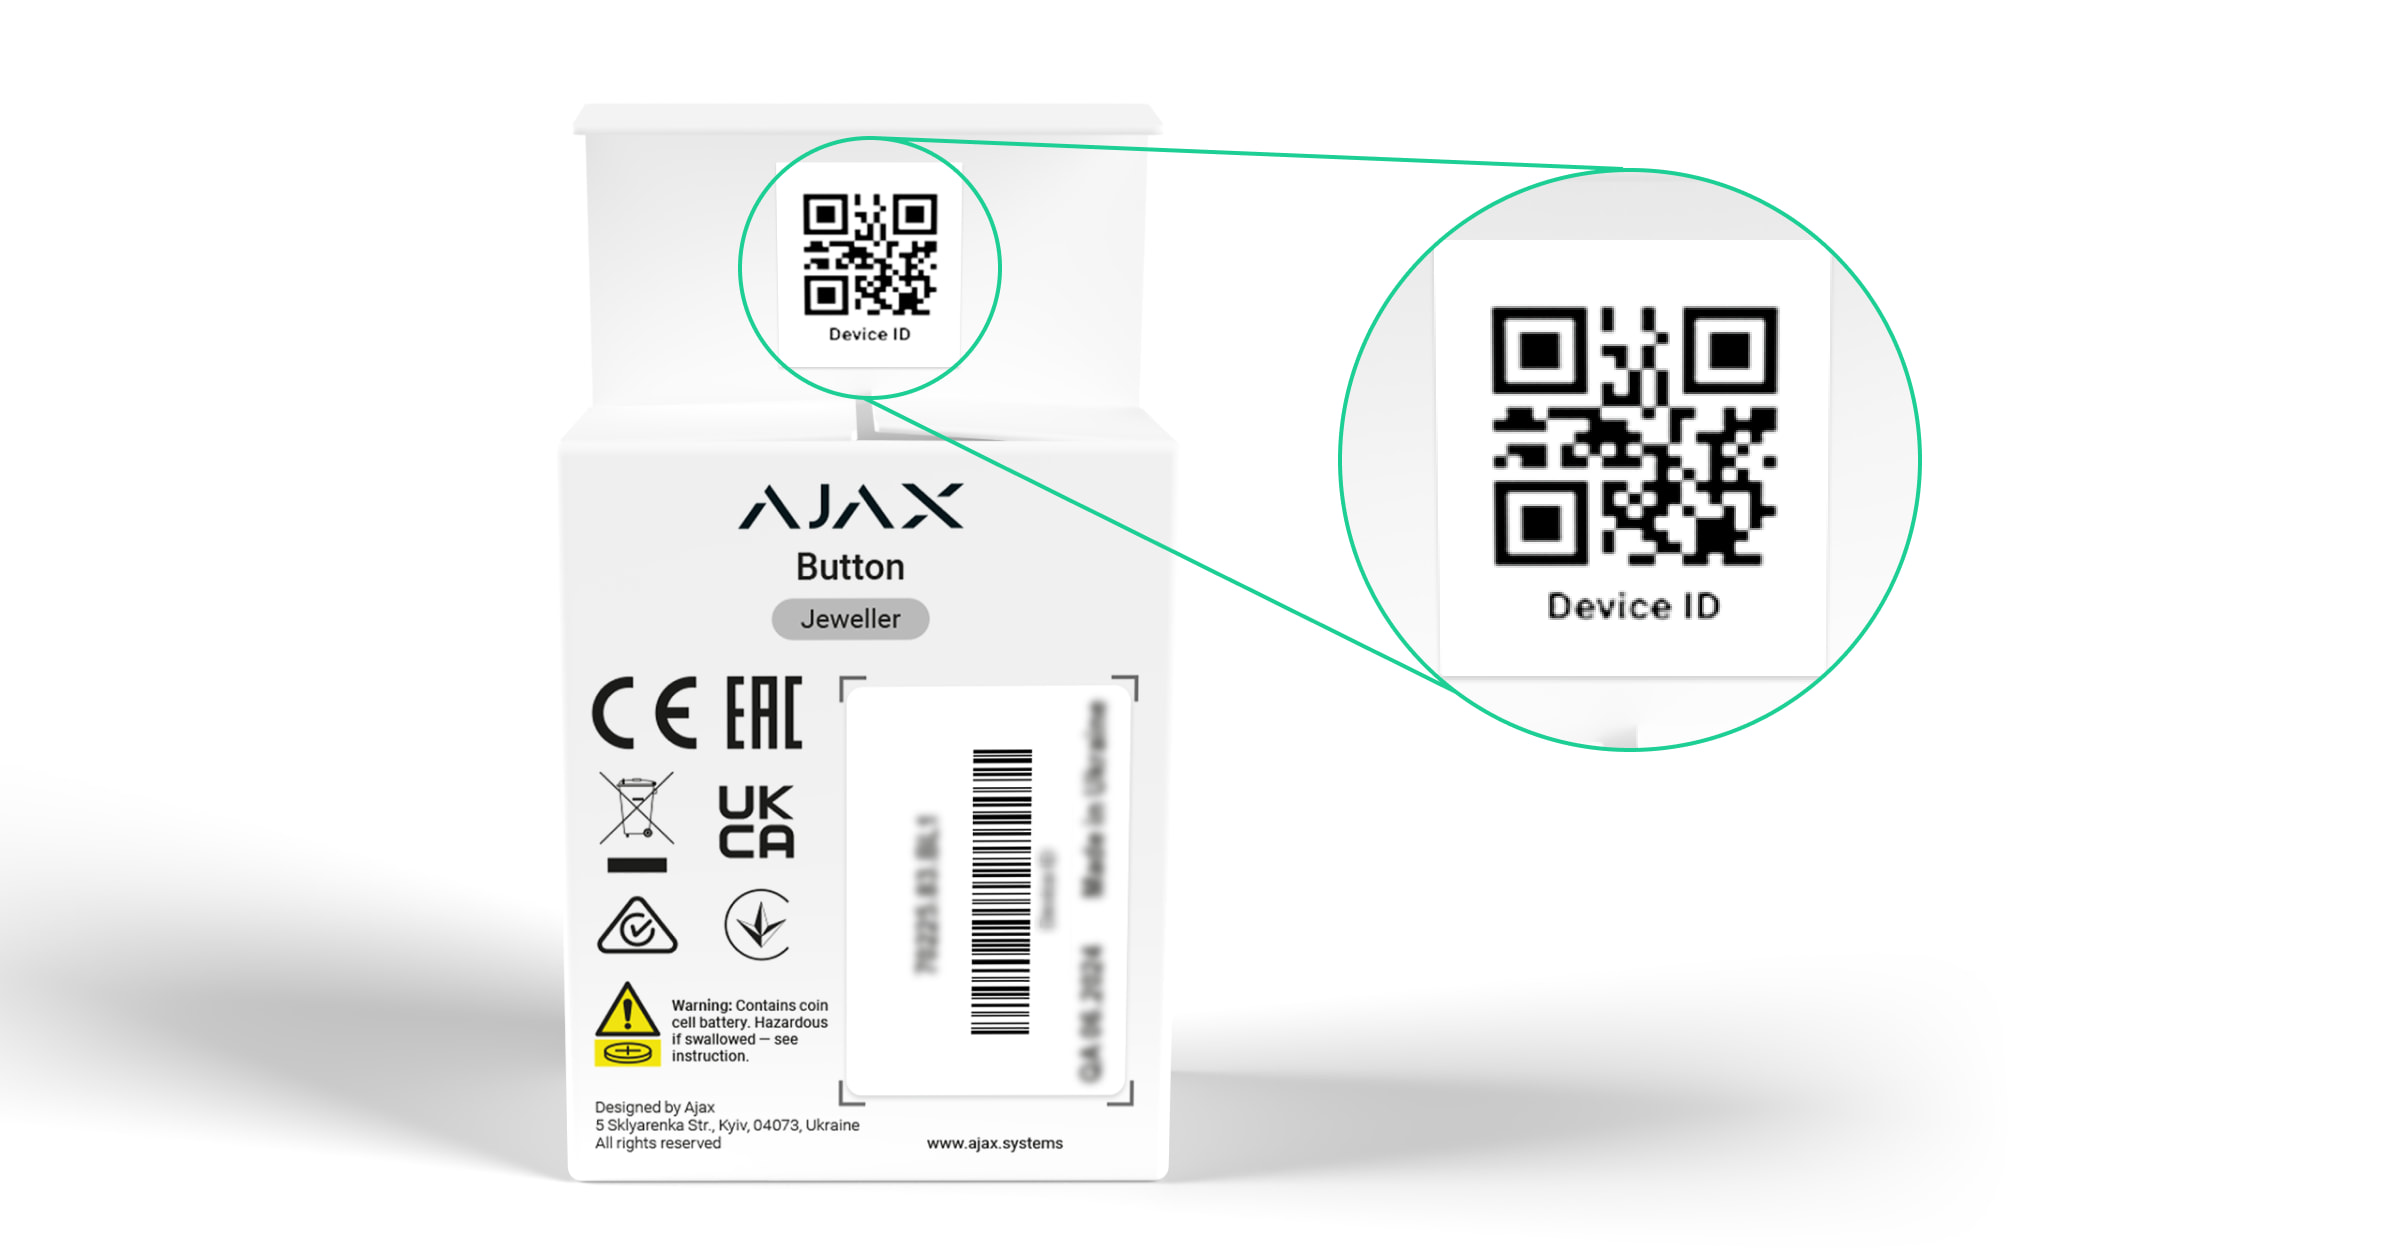
The identifier (ID) is the serial number of the device. It is located under the QR code on the body, board, and packaging of the device.
ID at the bottom of the box
ID under the lid
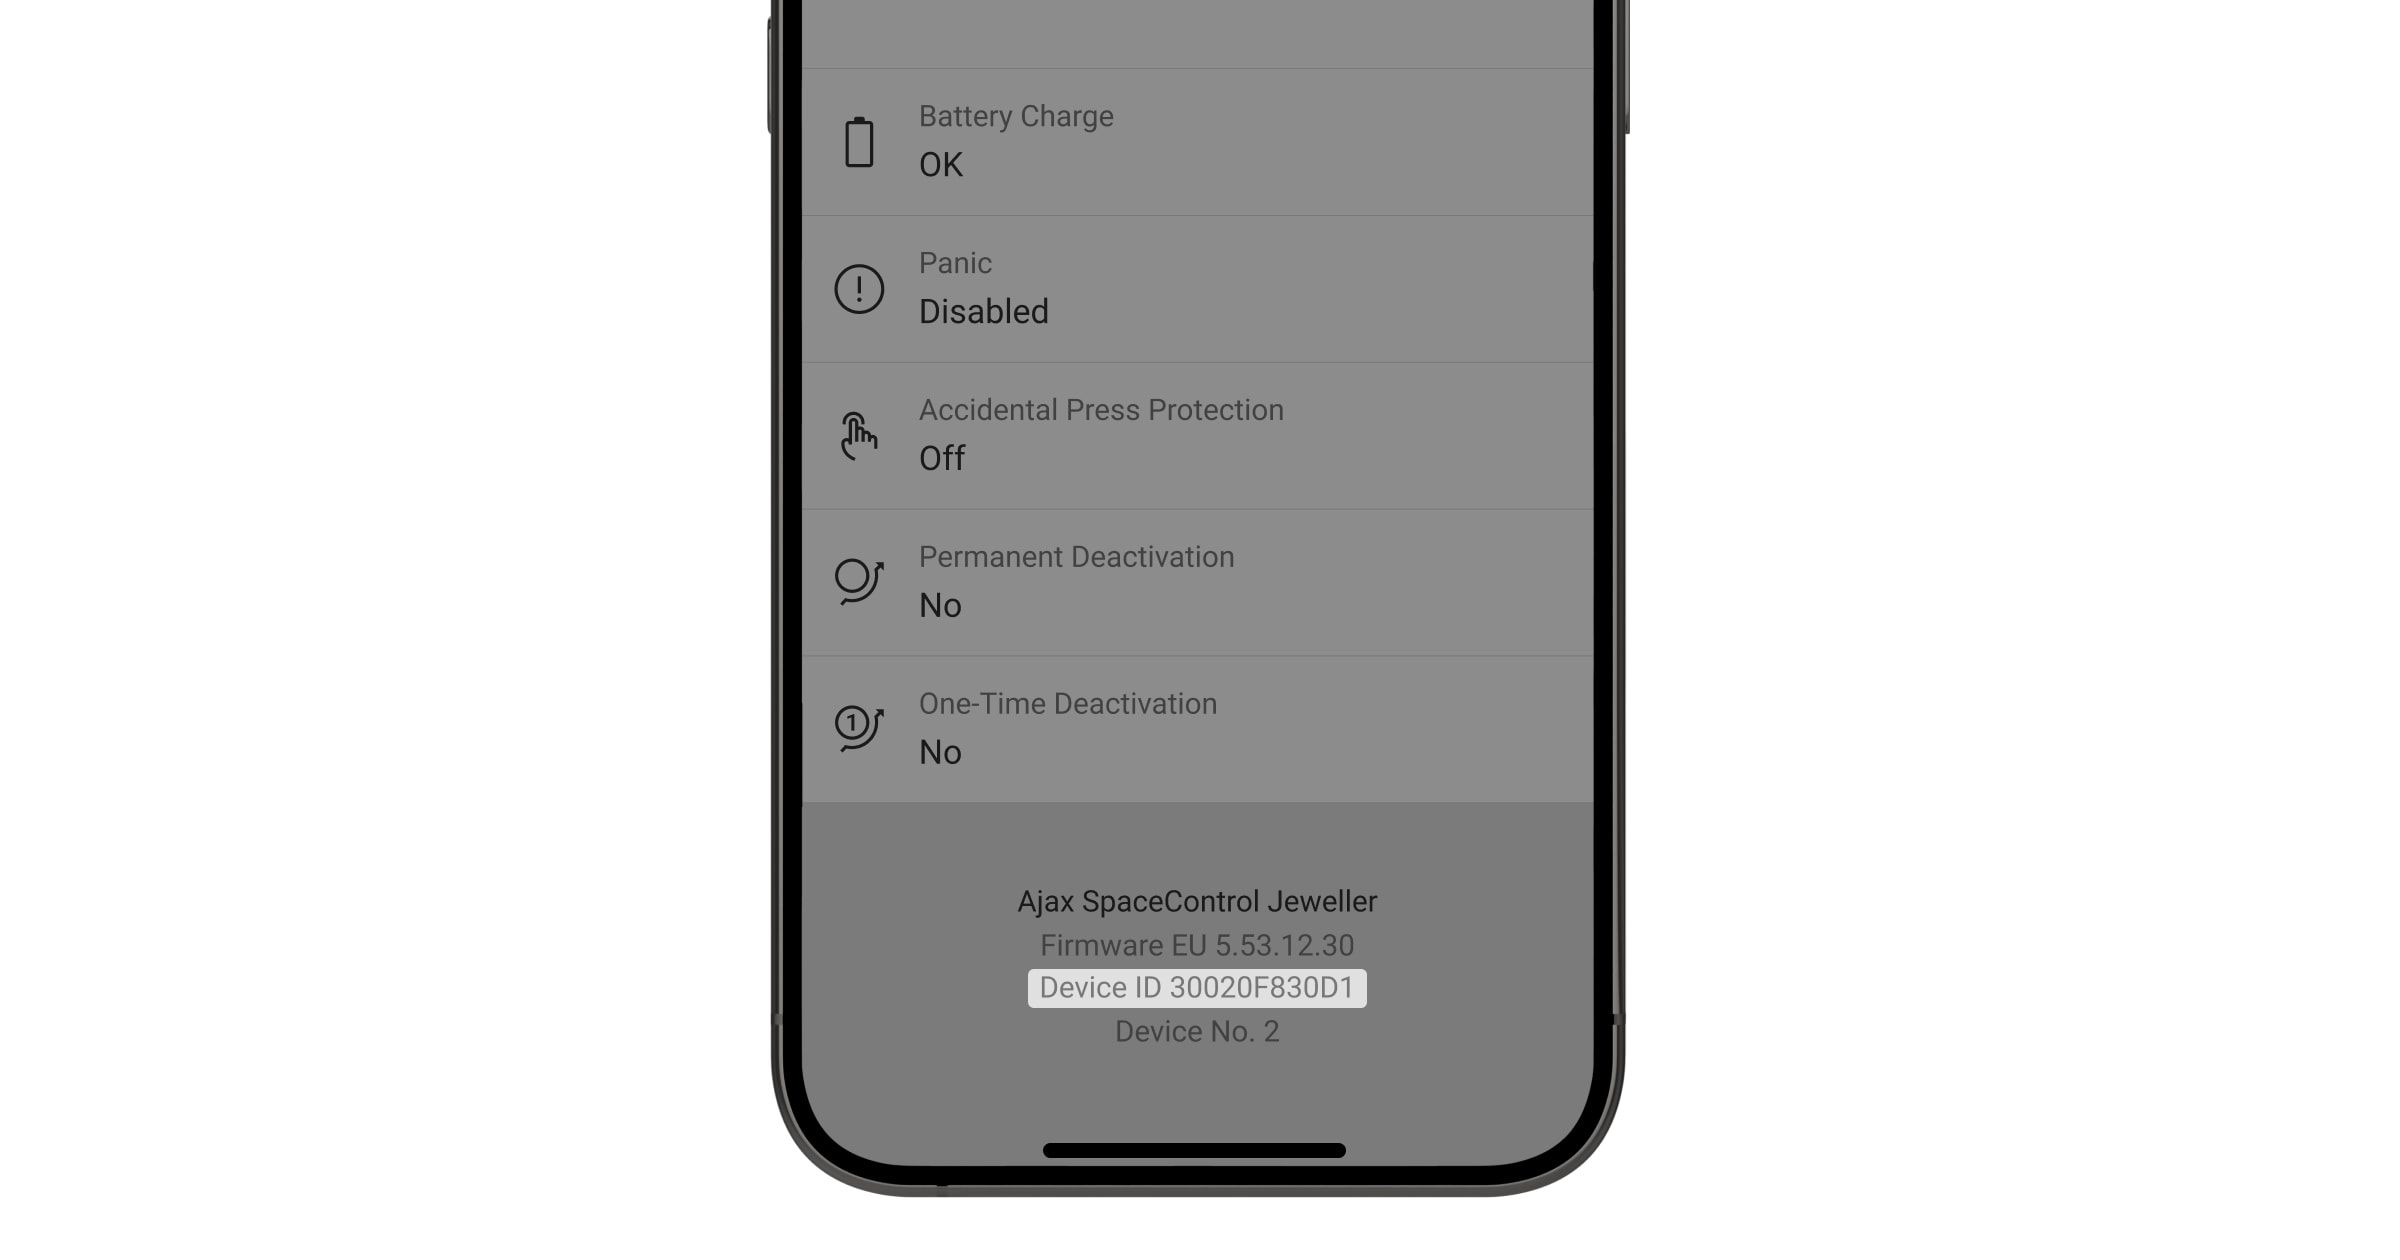
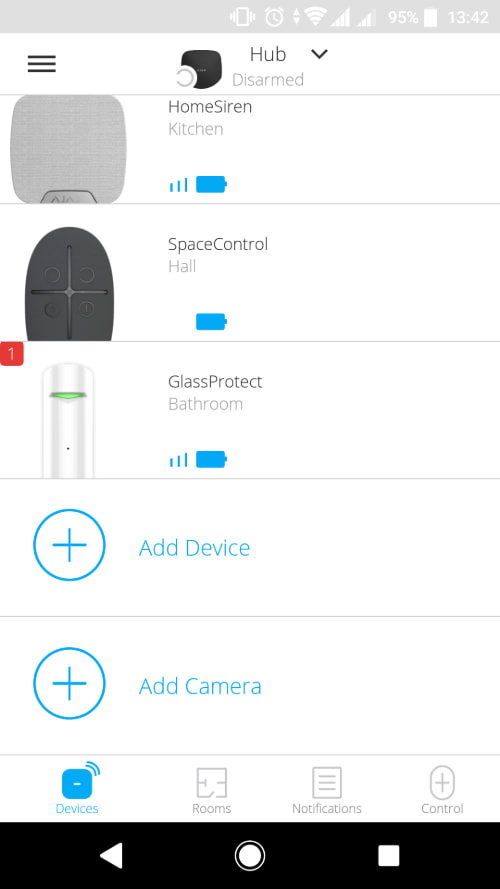
The ID can also be found in the device states in the Ajax app.
OS Malevich 2.13 adds to the system a new user right — managing privacy settings.
A user with this right determines which users of the security system can take photos on demand, view photos taken on demand, and have access to video surveillance cameras.
Photos on demand are not sent to the security company CMS (central monitoring station). They are available only in Ajax apps for users who have access to these photos.
Photos on demand are only available for detectors with the PhOD mark in their names.
MotionCam (PhOD) detectors can take photos on demand, by alarm, by scenario (in case of alarms from other Ajax devices), and by schedule.
MotionCam Jeweller detectors can take pictures in case of a motion alarm using the built-in camera.
MotionCam (PhOD) Jeweller detectors, in addition to photos by alarm, can take photos on demand and photos by scenario (in case of other Ajax devices alarm), and by schedule.
The Ajax security system provides 4 tests to select the correct installation location for the devices, and to check their proper operation:
The Jeweller and Wings signal strength tests determine the signal strength and stability at the intended location of the device.
The detection zone test helps to determine at what distance the detector will detect motion. To determine the detection zone, monitor the LED indicator of the device: during the test, it lights constantly, and turns off when motion is detected. At the same time, a pop-up window appears in the app informing you that the device has detected motion.
In-app notifications are available for hubs with firmware version Malevich 2.26 and later and in apps of such versions and later:
To ensure the detector captures the required area, take several photos with the detector camera at the installation site.
The signal attenuation test helps to artificially reduce or increase the power of the radio transmitter. The test simulates a change in the room environment to check the connection stability between the device and the hub.
Detectors with photo verification have two radio modules and operate via two protocols: Jeweller and Wings. Jeweller is used for transmitting alarms and events, while Wings is used for transmitting photos.
ReX has only one radio module and supports only the Jeweller protocol.
Detectors with photo verifications can be connected to a ReX 2 radio signal range extender that supports both protocols.
The alarm LED indication can be disabled in the device settings. The option is supported by all Ajax intrusion detectors with the following firmware versions:
| Detector model | Firmware version |
| DoorProtect Jeweller DoorProtect Plus Jeweller GlassProtect Jeweller MotionProtect Jeweller MotionProtect Plus Jeweller CombiProtect Jeweller MotionProtect Outdoor Jeweller |
5.55.0.0 and later |
| MotionProtect Curtain Jeweller | 6.53.1.1 and later |
| All other intrusion detectors | all firmware versions |
With OS Malevich 2.9 update, permanent deactivation of devices without removing them from the system has become available.
Deactivation may be necessary if the device is incorrectly installed or configured, loses connection with the hub, or has failed.
To deactivate a device, in the Ajax app:
The date of production is indicated on the round sticker at the bottom of the device packaging. The sticker contains the year at the center and the month — a number that is crossed out.

If the packaging is lost, please contact the Technical Support Service to check the date of production.
The reason for this is the operation features of the detector memory buffer. The most recently taken photos will be transferred first, followed by the photos saved in the buffer.
If several detectors with photo verification are triggered, the images are transmitted in the order that provides optimal use of the detector resources.
Regardless of these factors, all photos in the app are displayed in chronological order.
By default, only the first 10 alarms come with photos. This can be changed in the detector settings in the Alarms with photo verification section.
Photos in Ajax applications are deleted after 2 years or 500 events, depending on what comes first.
For companies, you can set a period of time after which all media files (images, video from cameras) will be deleted. To do this, in PRO Desktop:
When you change the storing period, it is applied only to the new files.
Ajax apps can store up to 2,500 photos taken by detectors with photo verification, corresponding to 500 alarms in the event feed (if the detector takes 5 photos for each alarm).
When the data buffer of the detector or hub is full, alarms come without photos and notifications are displayed with a crossed-out eye icon in the app.
Permanent triggering in combination with radio interference or loss of connection between the hub and Ajax Cloud may be the reason for the full data buffer.
Ajax PRO Desktop supports photo verification without additional settings.
Photo verification is also supported by:
To configure photo transmission, please use Ajax Translator version 1.10 or later.
Ajax Translator PRO is an improved version of the Ajax Translator app. To get the latest features, we recommend migrating to the Ajax Translator PRO app integrated in Ajax PRO Desktop.
Learn more about Ajax Translator PRO
How to migrate objects from Ajax Translator to Ajax Translator PRO or Ajax Cloud Signaling
At the same time, photo verifications are accepted by all CMSs that support SIA, ADEMCO 685, and Contact ID protocols.
Ajax system can also send events with attached photos to monitoring stations from video devices with the Ajax Photo Mode service. More information about this service is available here.
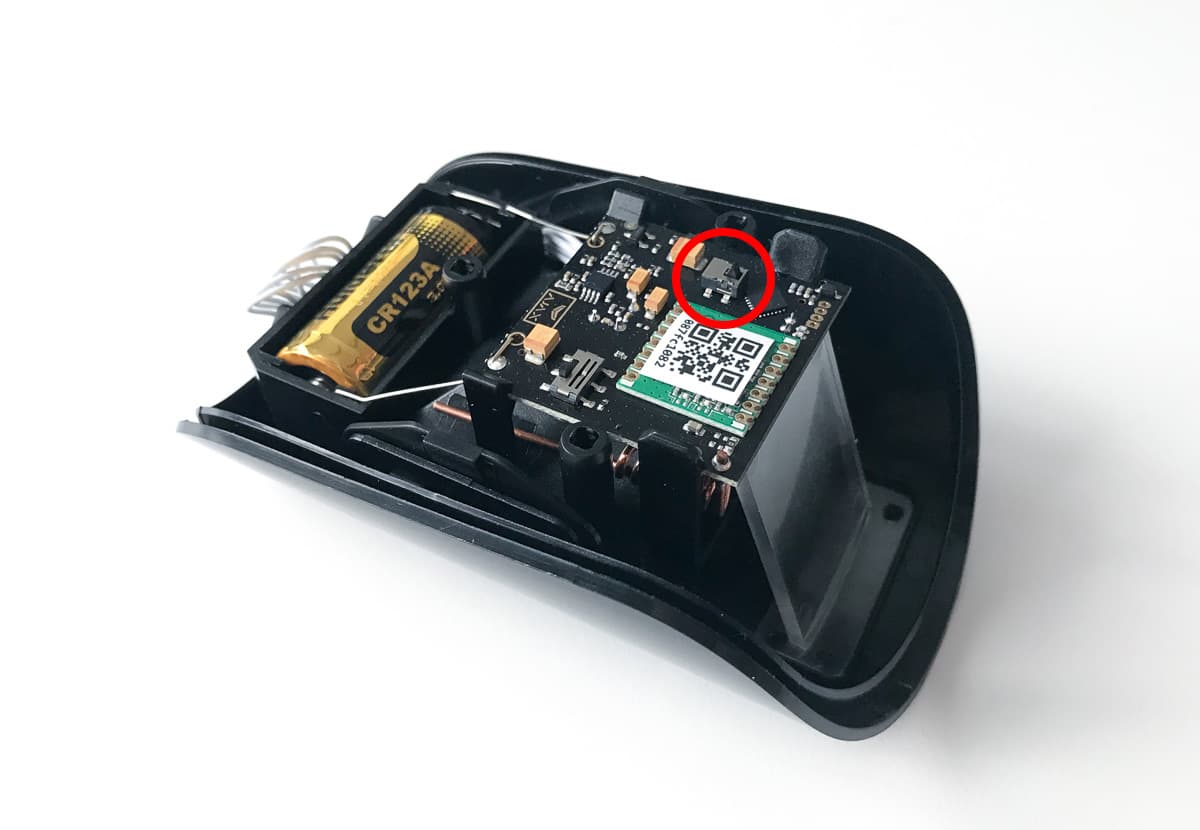
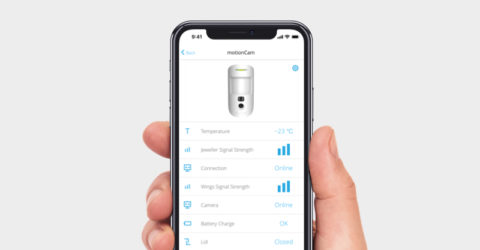
Tamper is a miniature button on the device board. It reports an alarm in case of opening the device enclosure, removing the device from the mounting panel, or detaching it from the surface.

The tamper status is displayed in Ajax apps, in the Enclosure section in the states of each device. When the body status is Open, a fault symbol appears on the device icon.
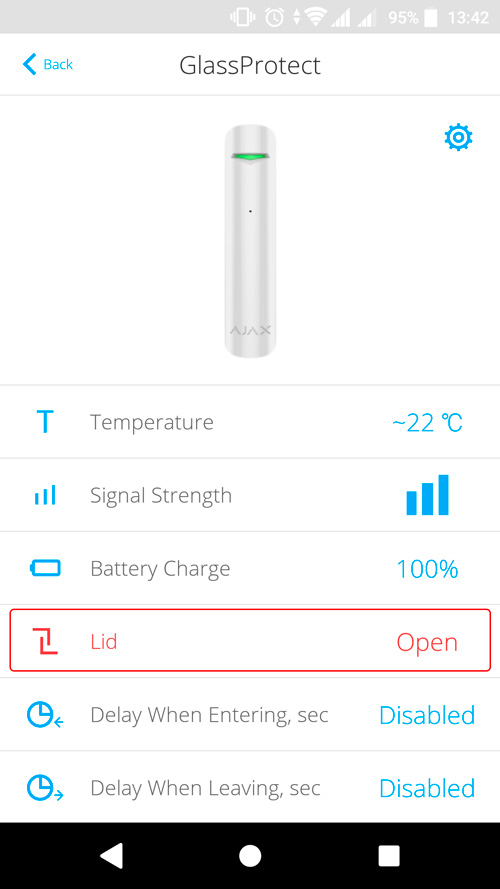
The temperature is measured by sensors inside each detector, which can heat up differently due to the circulation of air currents in the room. The value may differ from the ambient temperature by 2°C.
The temperature displayed in the Rooms ![]() tab is the average of these temperatures for each detector assigned to the room. The temperature data of the street detectors is not taken into account.
tab is the average of these temperatures for each detector assigned to the room. The temperature data of the street detectors is not taken into account.
On some devices, the QR code is located under the SmartBracket mounting panel. To add a detector, remove the mounting panel and scan the QR code.
Also, the QR code is located on the packaging and the device board inside the body.
The maximum distance between the hub and the device can reach 2,000 meters in an open space.
Walls, ceilings, and other structures that interfere with the radio signal to get through can significantly reduce the range. In this case, maximum distance mainly depends on the structures’ material, thickness, and arrangement.
You can expand the coverage area of Ajax security systems with the help of radio signal range extenders
To check that the device is operating correctly, carry out the detection area and signal strength tests.
The detection zone test helps to determine at what distance the detector will detect motion. To determine the detection zone, monitor the LED indicator of the device: during the test, it lights constantly, and turns off when motion is detected. At the same time, a pop-up window appears in the app informing you that the device has detected motion.
In-app notifications are available for hubs with firmware version Malevich 2.26 and later and in apps of such versions and later:
The Jeweller signal strength test allows to determine signal strength and stability in the potential installation place of the device.
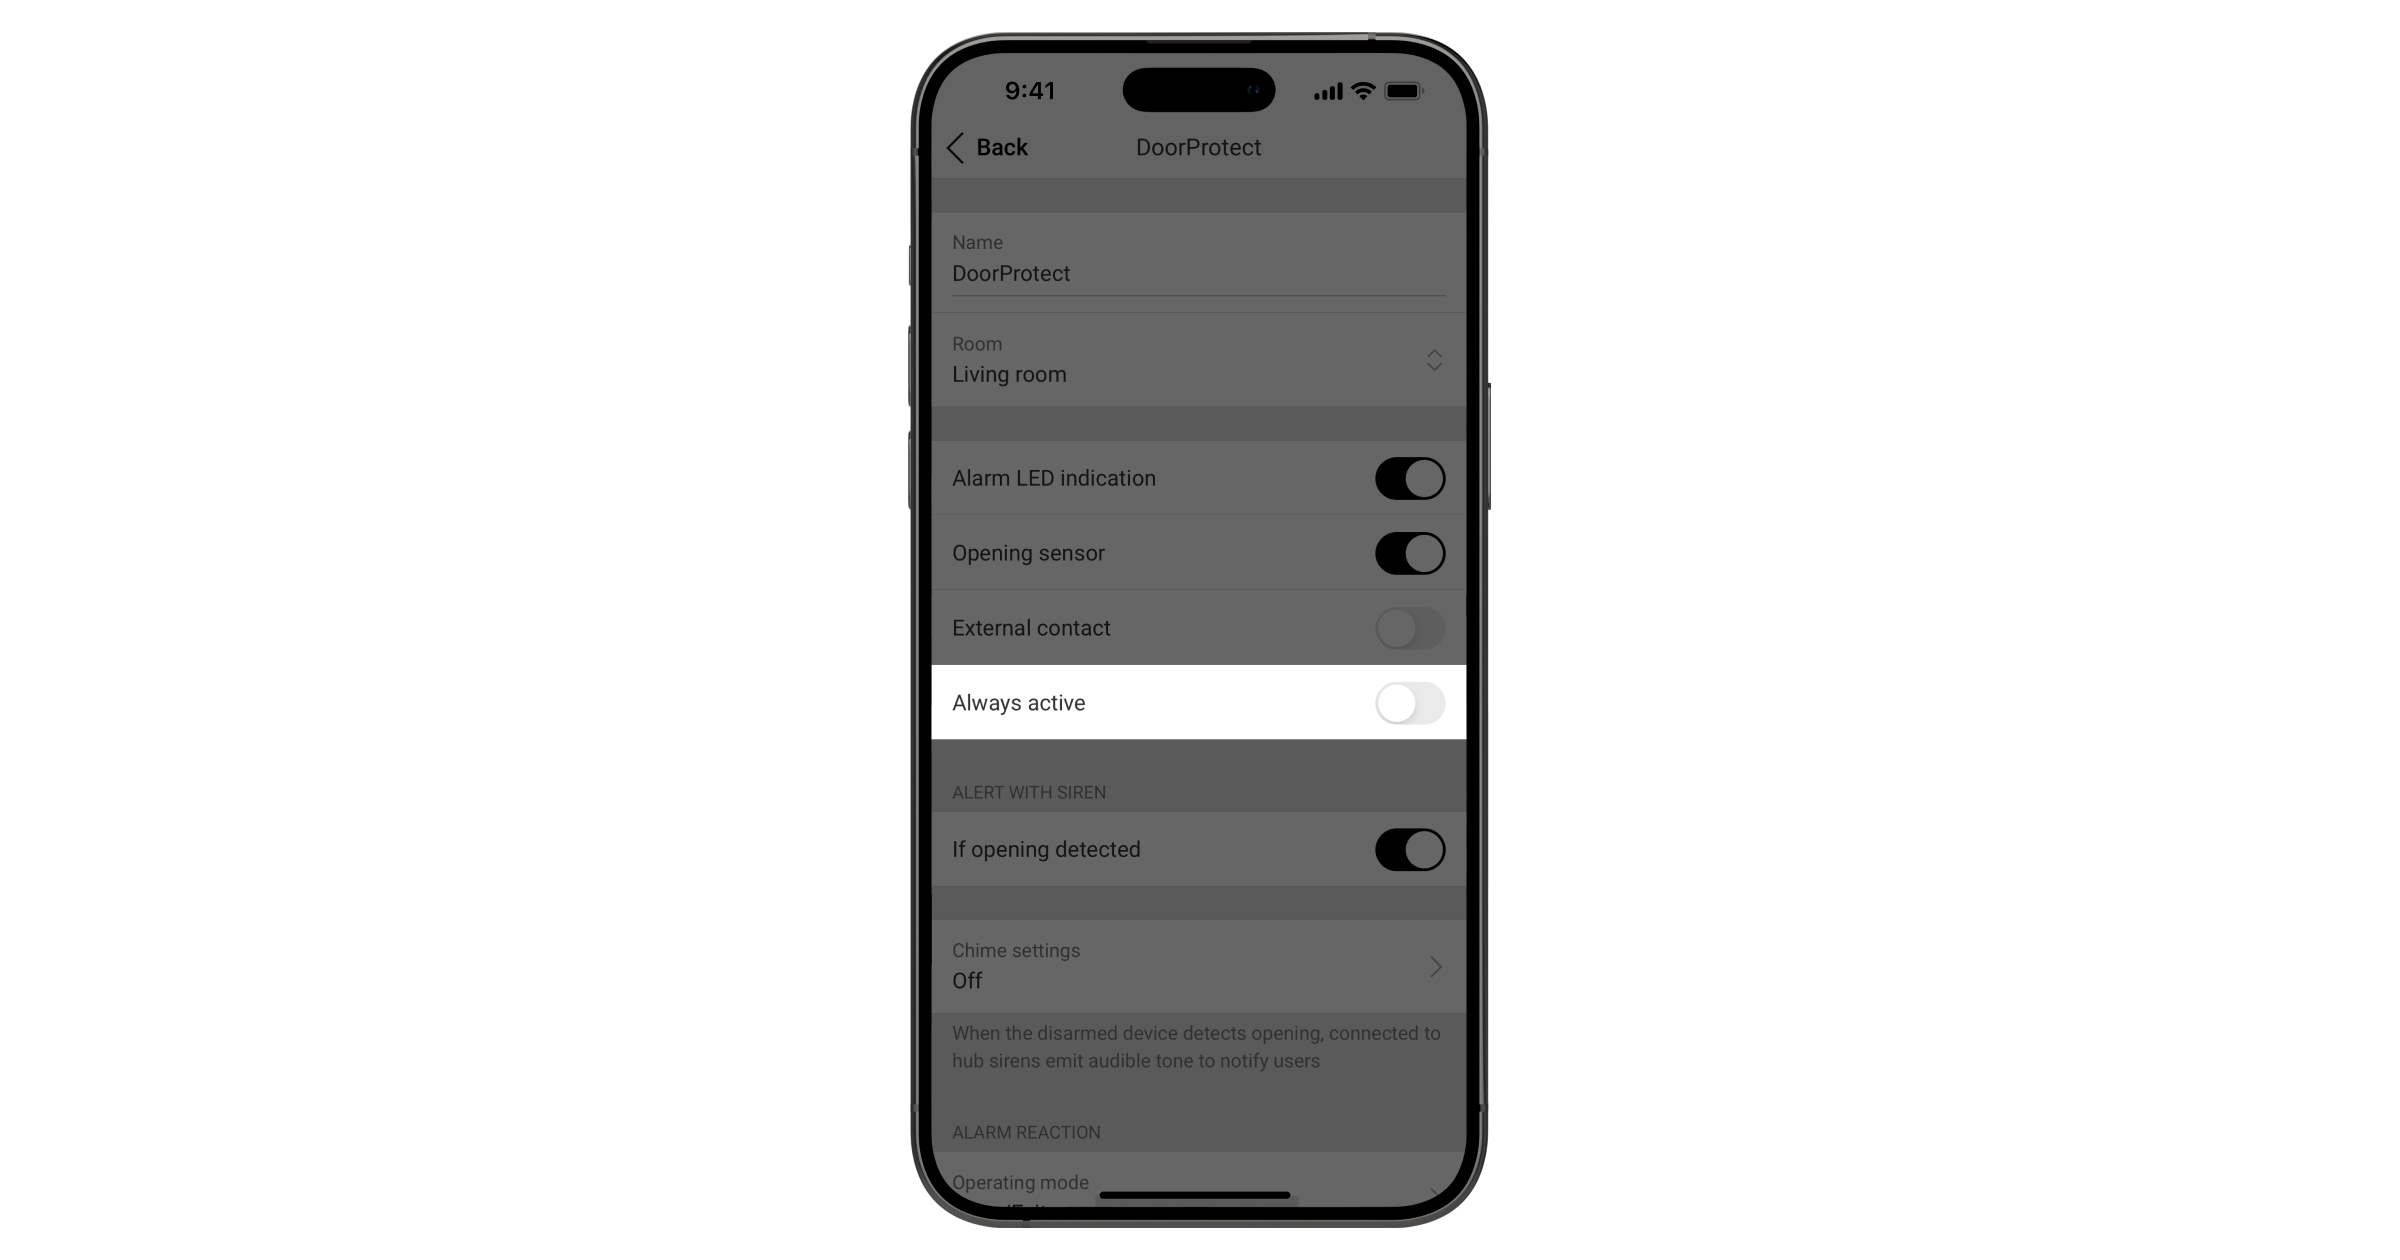
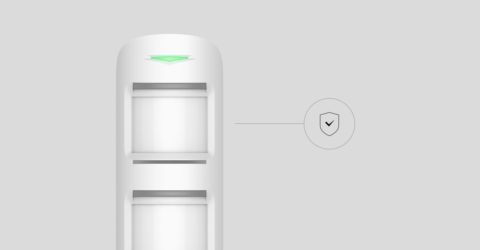
The detector is set to Always Active. If you don’t need this level of security, you can turn it off in the detector settings.
Always active mode is required for round-the-clock protection of an object, regardless of security system status (armed or disarmed).
By default, the hub is set to a hub–detector ping interval of 36 seconds and 30 undeliverable data packets to consider the device lost. With these settings, the hub will detect the loss of the detector in 18 minutes.
To reduce this time, go to the hub settings ![]() in the Jeweller section and change the settings. The minimum time for detecting loss of connection with the device is 36 seconds (3 polls of 12 seconds each).
in the Jeweller section and change the settings. The minimum time for detecting loss of connection with the device is 36 seconds (3 polls of 12 seconds each).
The time before raising the alarm by the communication loss between hub and device is calculated with the following formula:
Detector Ping Interval × Number of missed pings to determine connection failure
Note that with the minimum ping interval, short-term interference can lead to loss of connection with the device. Therefore, set the minimum values only if it is critically important to promptly inform about events in the system.
The loop (zone) number is required to describe all devices connected to the hub when adding a protected facility to the security company monitoring station.
The number is assigned when adding a device to the hub. The first added device has the first loop (zone) number. After removing the device from the system, its number becomes available. This number can be assigned to the next device to be added to the system.
The loop (zone) number is available in the states of each device in the Ajax app:
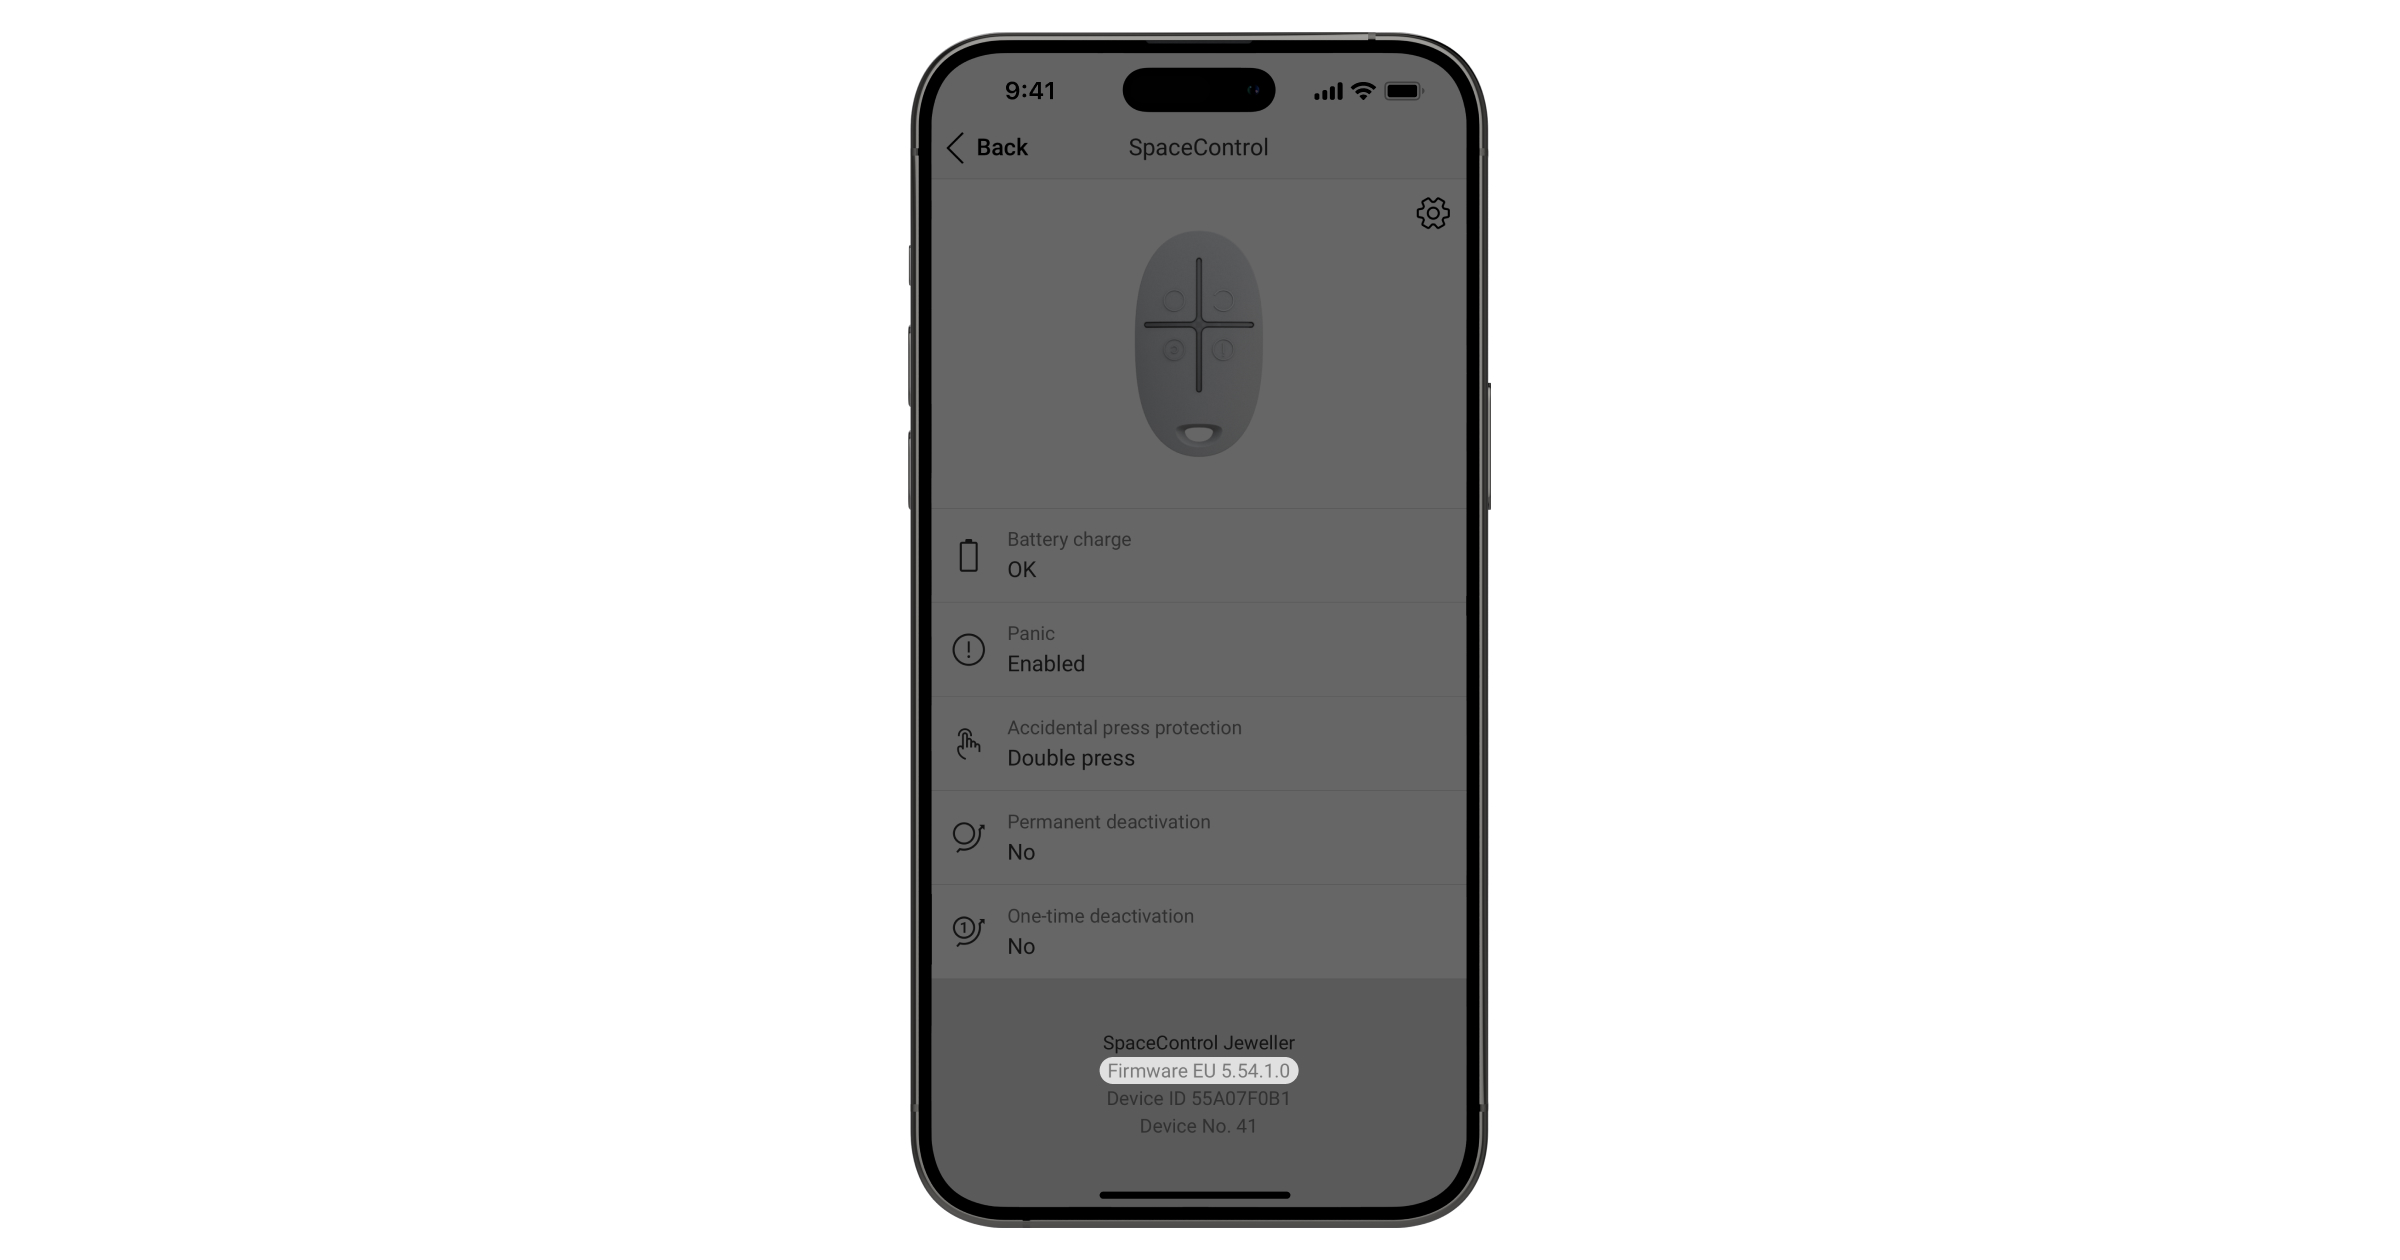
The firmware version can be found in the device states in the Ajax app.
Delay When Entering/Leaving is the time the user has to disarm the security system after entering/leaving the protected area.
The function can be configured for all security detectors and sirens of the Ajax security system. Also, the delay can be separately configured for Night mode.
When the Always active mode is enabled, the detector is constantly armed and detects movement, activating an alarm.
To enable the Always Active mode, in the Ajax app:


Only essential news about security and smart home devices
Please check your email to confirm your subscription
The user with this email has already subscribed
Contact [email protected]
Unexpected error, please try again later
