FireProtect 2 (Heat/Smoke/CO)

Wireless smoke, heat, and CO alarm

FAQ

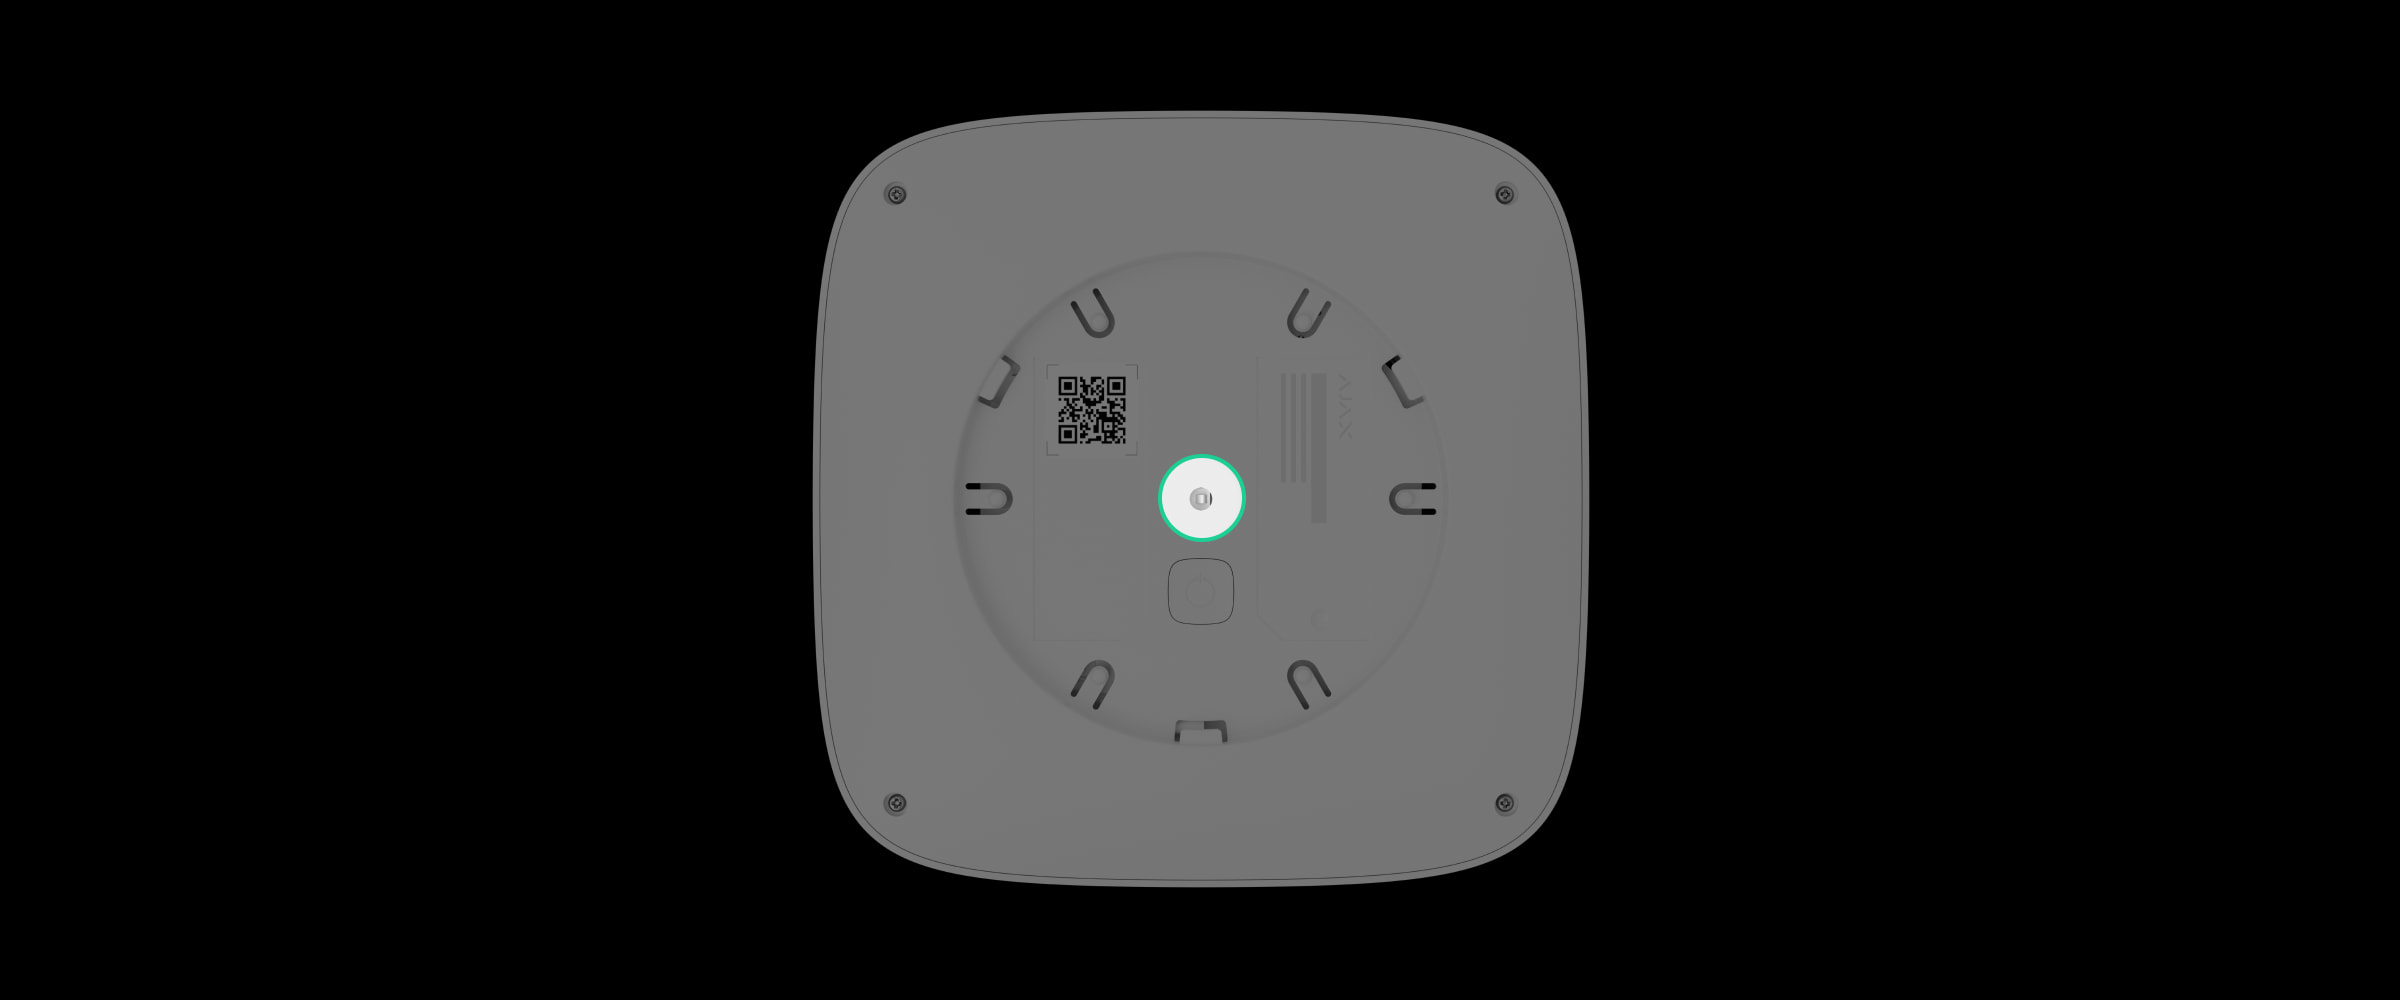
  1. Remove the detector from the SmartBracket by turning it counterclockwise.
  2. Turn off the detector by holding the power button for 3 seconds.
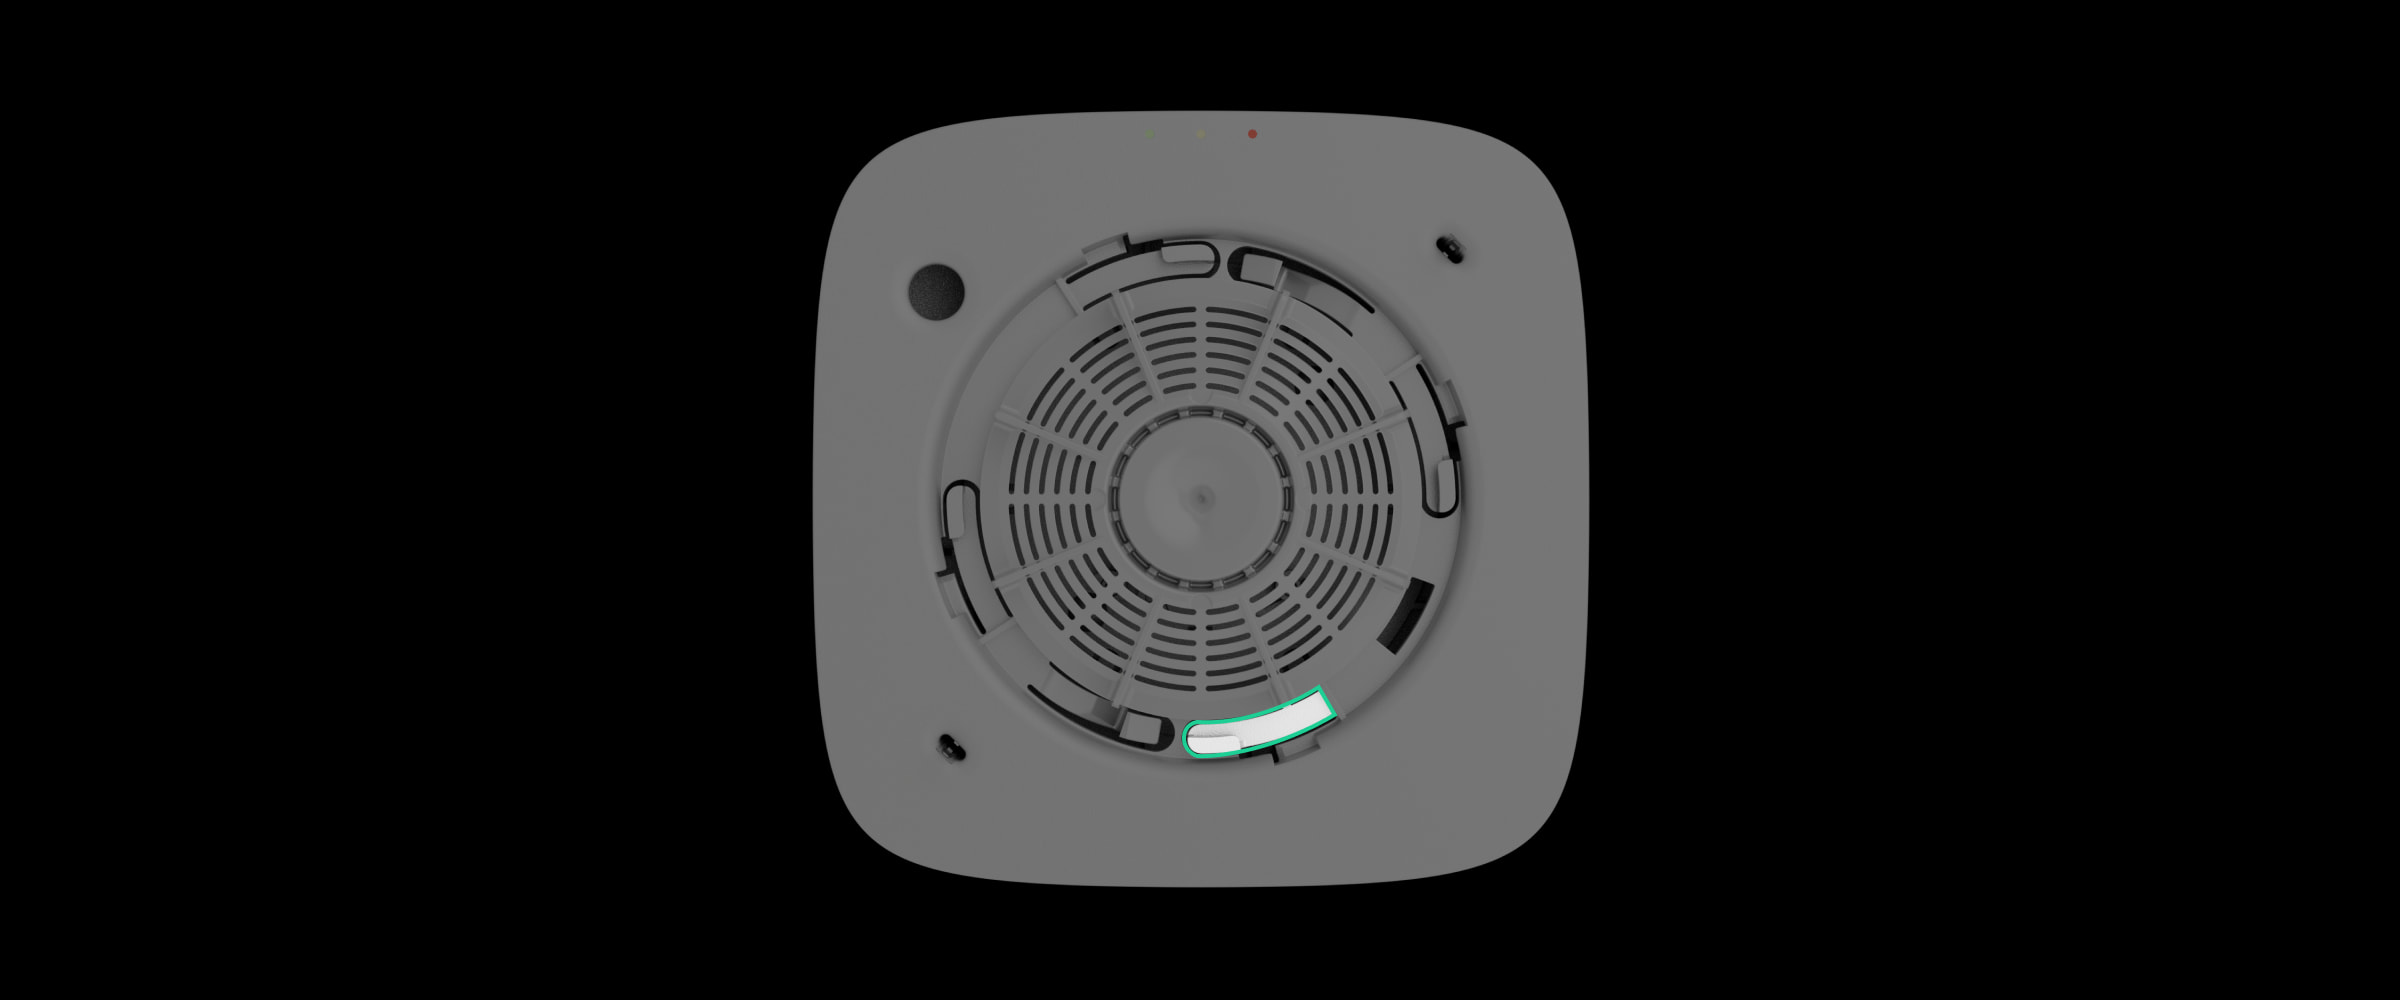
  3. Place the front side of the detector — the one with the Ajax logo — on a soft cloth so as not to scratch the enclosure.
  4. Loosen four screws with a PH0 cross-head screwdriver.
  5. Remove the back part of the detector.
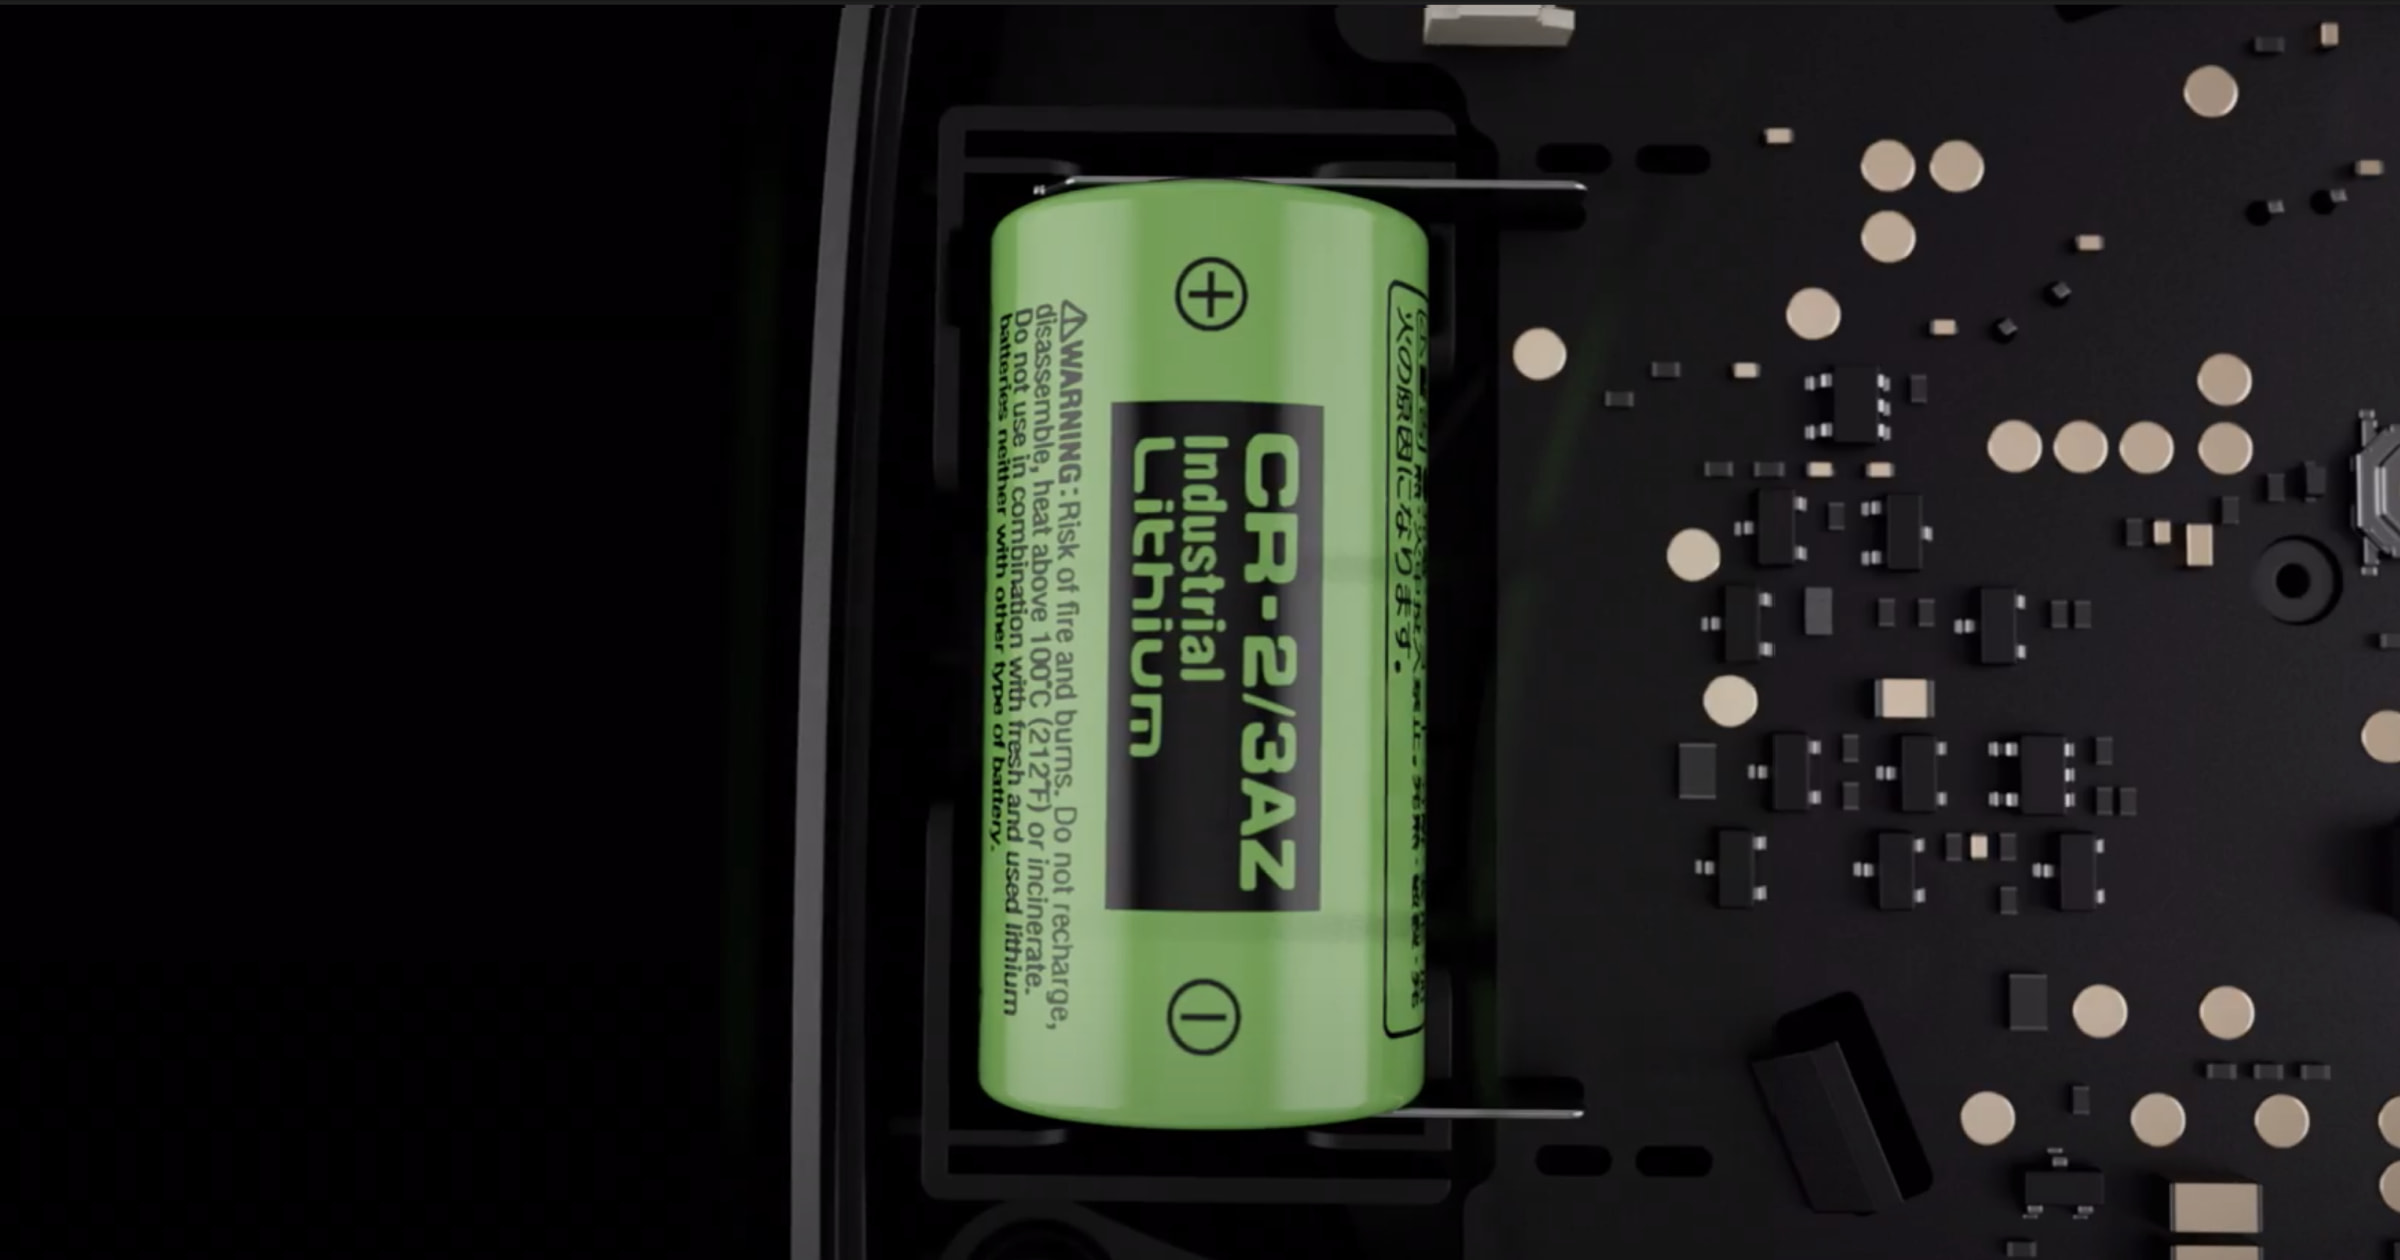
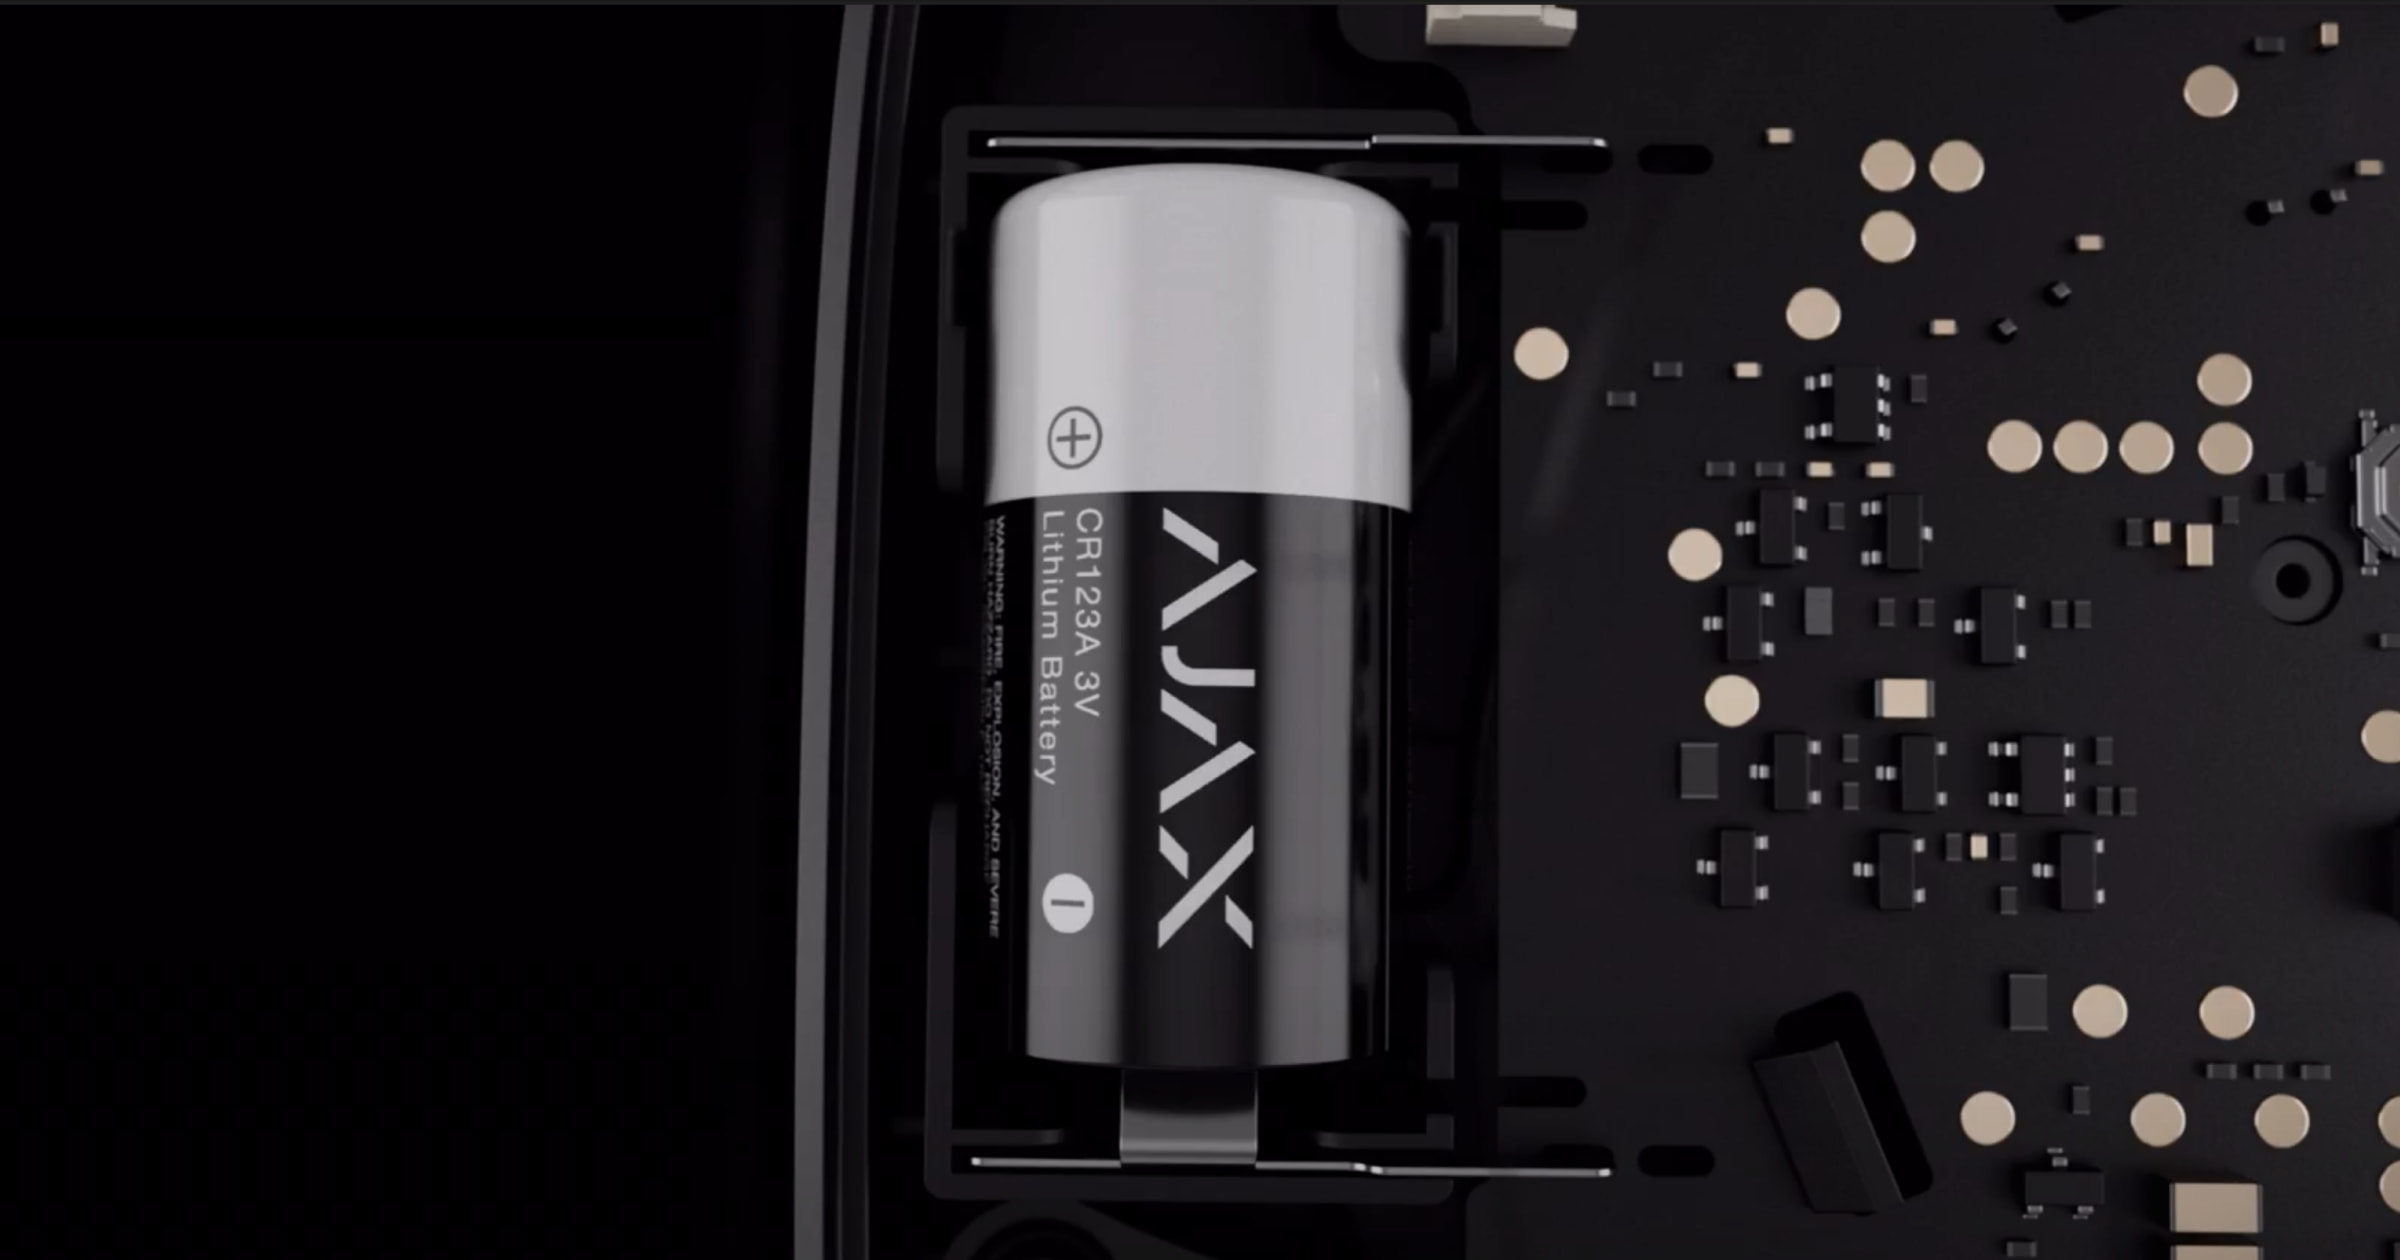
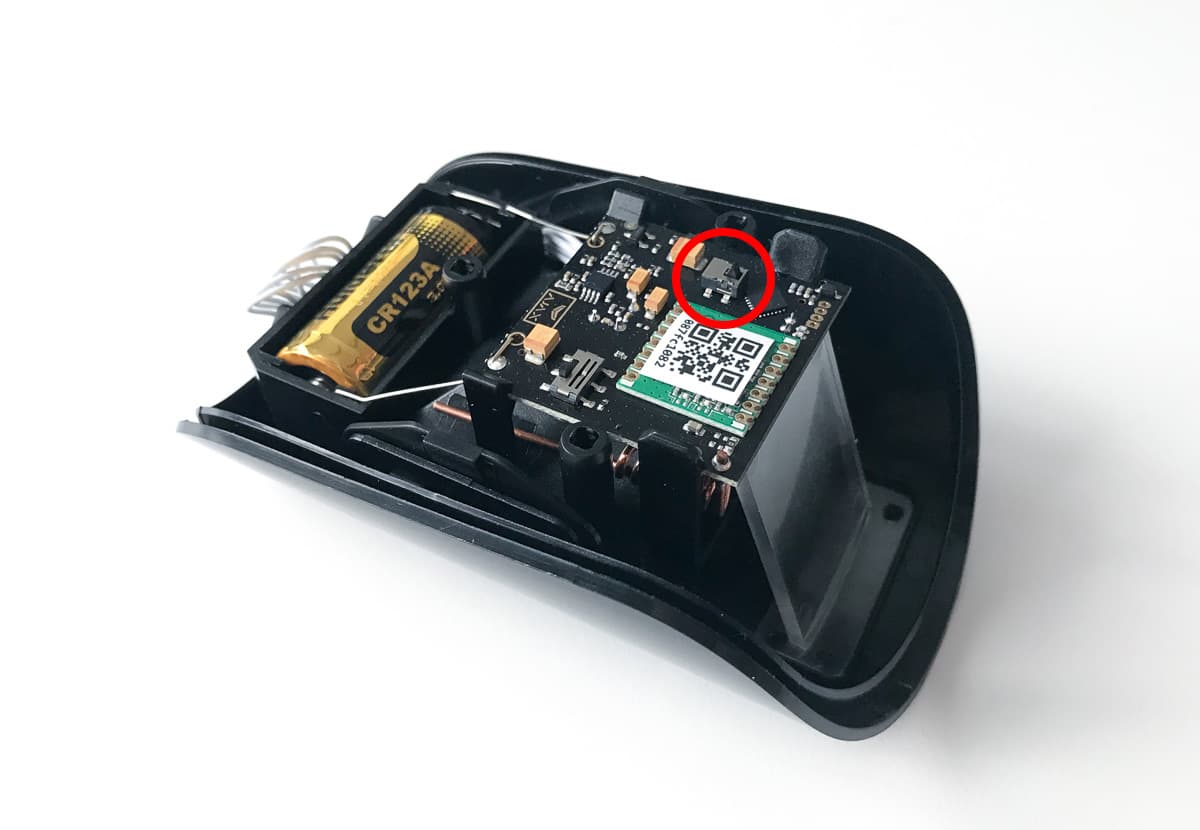
  6. Replace two CR123A batteries following the polarity indicated on the detector.

    Never install used or damaged batteries.

  7. Reinstall the back part of the detector enclosure.
  8. Tighten four screws with a PH0 cross-head screwdriver.
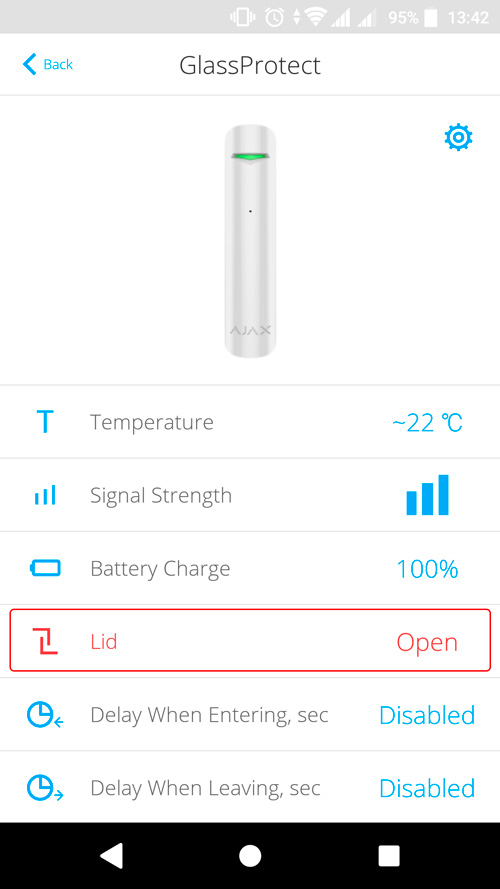
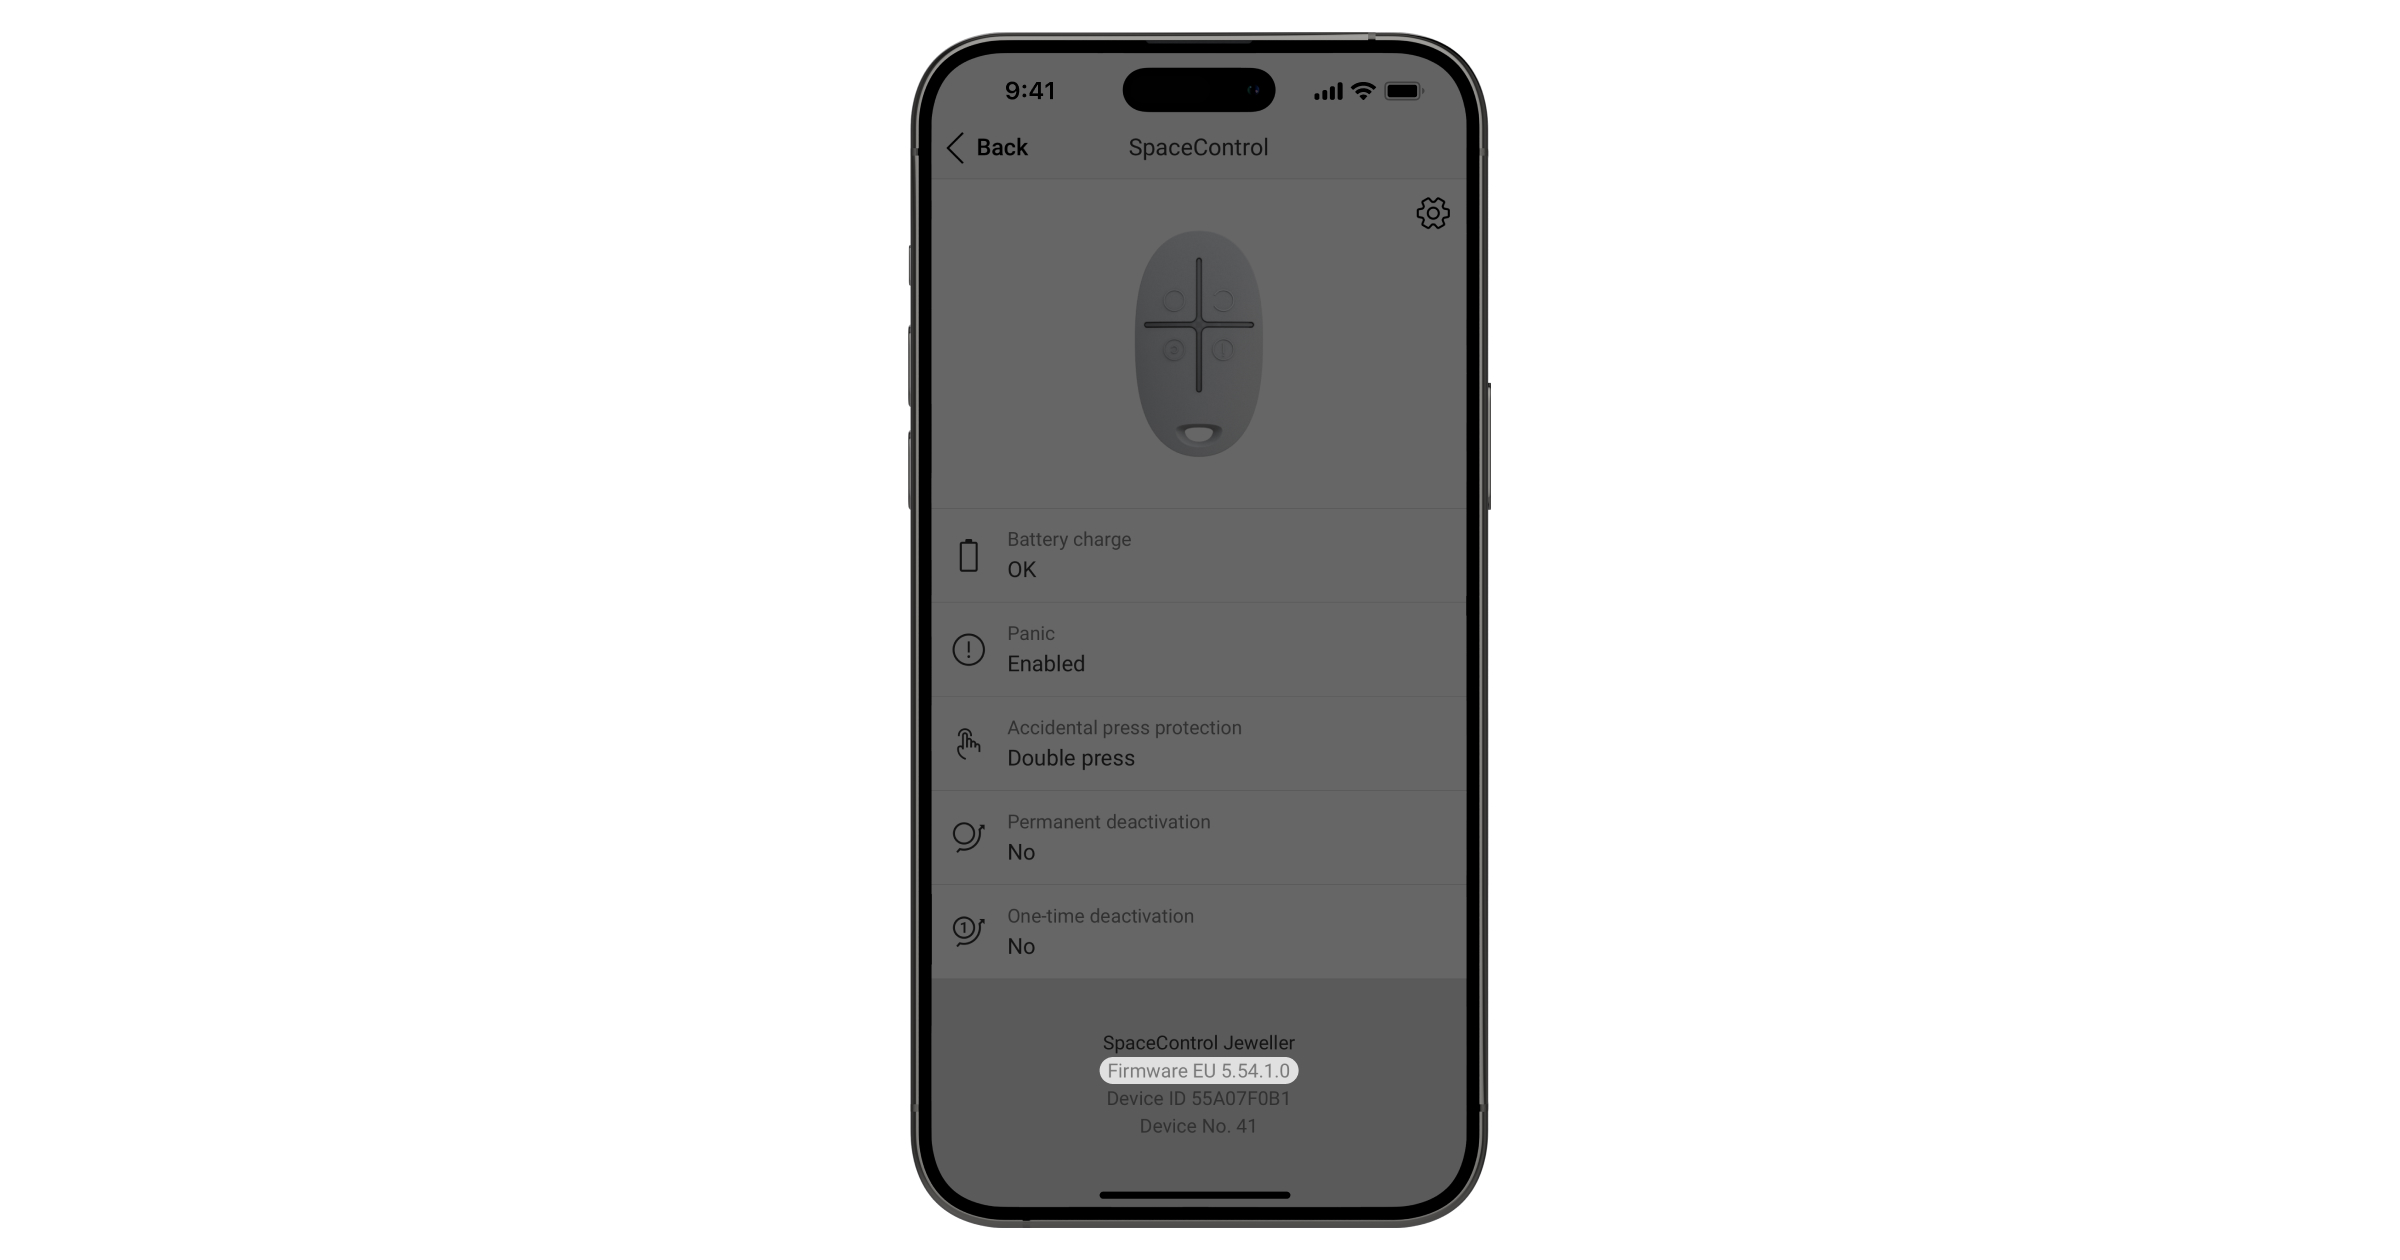
  9. Turn on the detector and check the battery status in the Ajax app


Copied

Depending on the model, FireProtect 2 may have one or two tampers.

Models with a smoke chamber have two tampers, and without it — one tamper.

The first tamper controls the removal of the detector from the SmartBracket mounting panel: the detector reacts with LED indication and sends notifications to users in Ajax apps and the monitoring station of the security company.

The second tamper signals the removal of the lid of the smoke chamber, which is located under the front panel of the detector.

Removing the top lid of the smoke chamber is possible when the enclosure is fully opened. The system detects this event as a malfunction. When the lid is removed, the detector reacts with an audible signal, and users and the security company receive a malfunction notification.

Copied
Copied

FireProtect 2 detectors are designed for indoor installation only. Installing the device outdoors may cause it to fail.

Copied

FireProtect 2 SB has sealed batteries. This type of detector operates for up to 10 years. After the batteries are discharged, such a detector should be replaced with a new one.

FireProtect 2 RB has replaceable batteries. This type of detector operates for up to 7 years from pre-installed batteries. After the batteries are discharged, you can replace them with new ones.

Copied

The identifier (ID) is the serial number of the device. It is located under the QR code on the body, board, and packaging of the device.

ID at the bottom of the box

ID under the lid

The ID can also be found in the device states in the Ajax app.

  1. Sign in to the Ajax app.
  2. Select the required hub from the list if you have several of them or if you are using a PRO app.
  3. Go to the Devices menu.
  4. Select a device from the list. Device ID information is located at the bottom of the status screen.
Copied

Tamper is a miniature button on the device board. It reports an alarm in case of opening the device enclosure, removing the device from the mounting panel, or detaching it from the surface.

The tamper status is displayed in Ajax apps, in the Enclosure section in the states of each device. When the body status is Open, a fault symbol appears on the device icon.

Copied

The maximum distance between the hub and the device can reach 2,000 meters in an open space.

Walls, ceilings, and other structures that interfere with the radio signal to get through can significantly reduce the range. In this case, maximum distance mainly depends on the structures’ material, thickness, and arrangement.

You can expand the coverage area of Ajax security systems with the help of radio signal range extenders

Copied

The detector is designed to be installed indoors only. Installing the motion detector outdoors can cause false alarms as well as failure of the device. In case of failure to comply with temperature conditions, the battery life may be significantly reduced.

Copied

By default, the hub is set to a hub–detector ping interval of 36 seconds and 30 undeliverable data packets to consider the device lost. With these settings, the hub will detect the loss of the detector in 18 minutes.

To reduce this time, go to the hub settings in the Jeweller section and change the settings. The minimum time for detecting loss of connection with the device is 36 seconds (3 polls of 12 seconds each).

The time before raising the alarm by the communication loss between hub and device is calculated with the following formula:

Detector Ping Interval × Number of missed pings to determine connection failure

Note that with the minimum ping interval, short-term interference can lead to loss of connection with the device. Therefore, set the minimum values only if it is critically important to promptly inform about events in the system.

Copied

The loop (zone) number is required to describe all devices connected to the hub when adding a protected facility to the security company monitoring station.

The number is assigned when adding a device to the hub. The first added device has the first loop (zone) number. After removing the device from the system, its number becomes available. This number can be assigned to the next device to be added to the system.

The loop (zone) number is available in the states of each device in the Ajax app:

Copied

The firmware version can be found in the device states in the Ajax app.

  1. Sign in to the Ajax app.
  2. Select the required hub from the list if you have several of them or if you are using a PRO app.
  3. Go to the Devices menu.
  4. Select a device from the list. The firmware version information is located on the status screen at the bottom.
Copied

Go to the Devices tab , select the device you want to check.

ajax security system application
Copied

Featured articles

How to disable device events once for a time the armed mode is active

How to replace batteries in FireProtect 2 RB

What a residential fire alarm system is and how It works

Spelling error report

The following text will be sent to our editors: