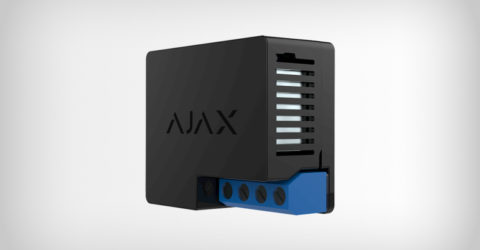
Relay contacts can switch current of up to 5 A in a range of 0–36 V⎓, and up to 3 kW in a 110–230 V~ network. The contacts are not connected to the device galvanically, so they can be connected to the input control circuits of various equipment, emulating a button or a toggle switch. The device body is quite miniature – 39 × 33 × 18 mm – Relay can easily be installed in a junction box, electrical panel, or switch.
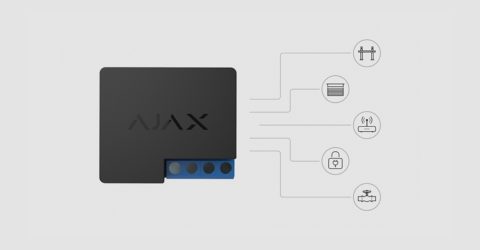
Relay closes and opens contacts by the user command in the Ajax app. You can also set Relay automatic switching on or off in response to arming or disarming the system, an alarm, Button press, or schedule.
👉 How to create and configure a scenario in the Ajax security system.
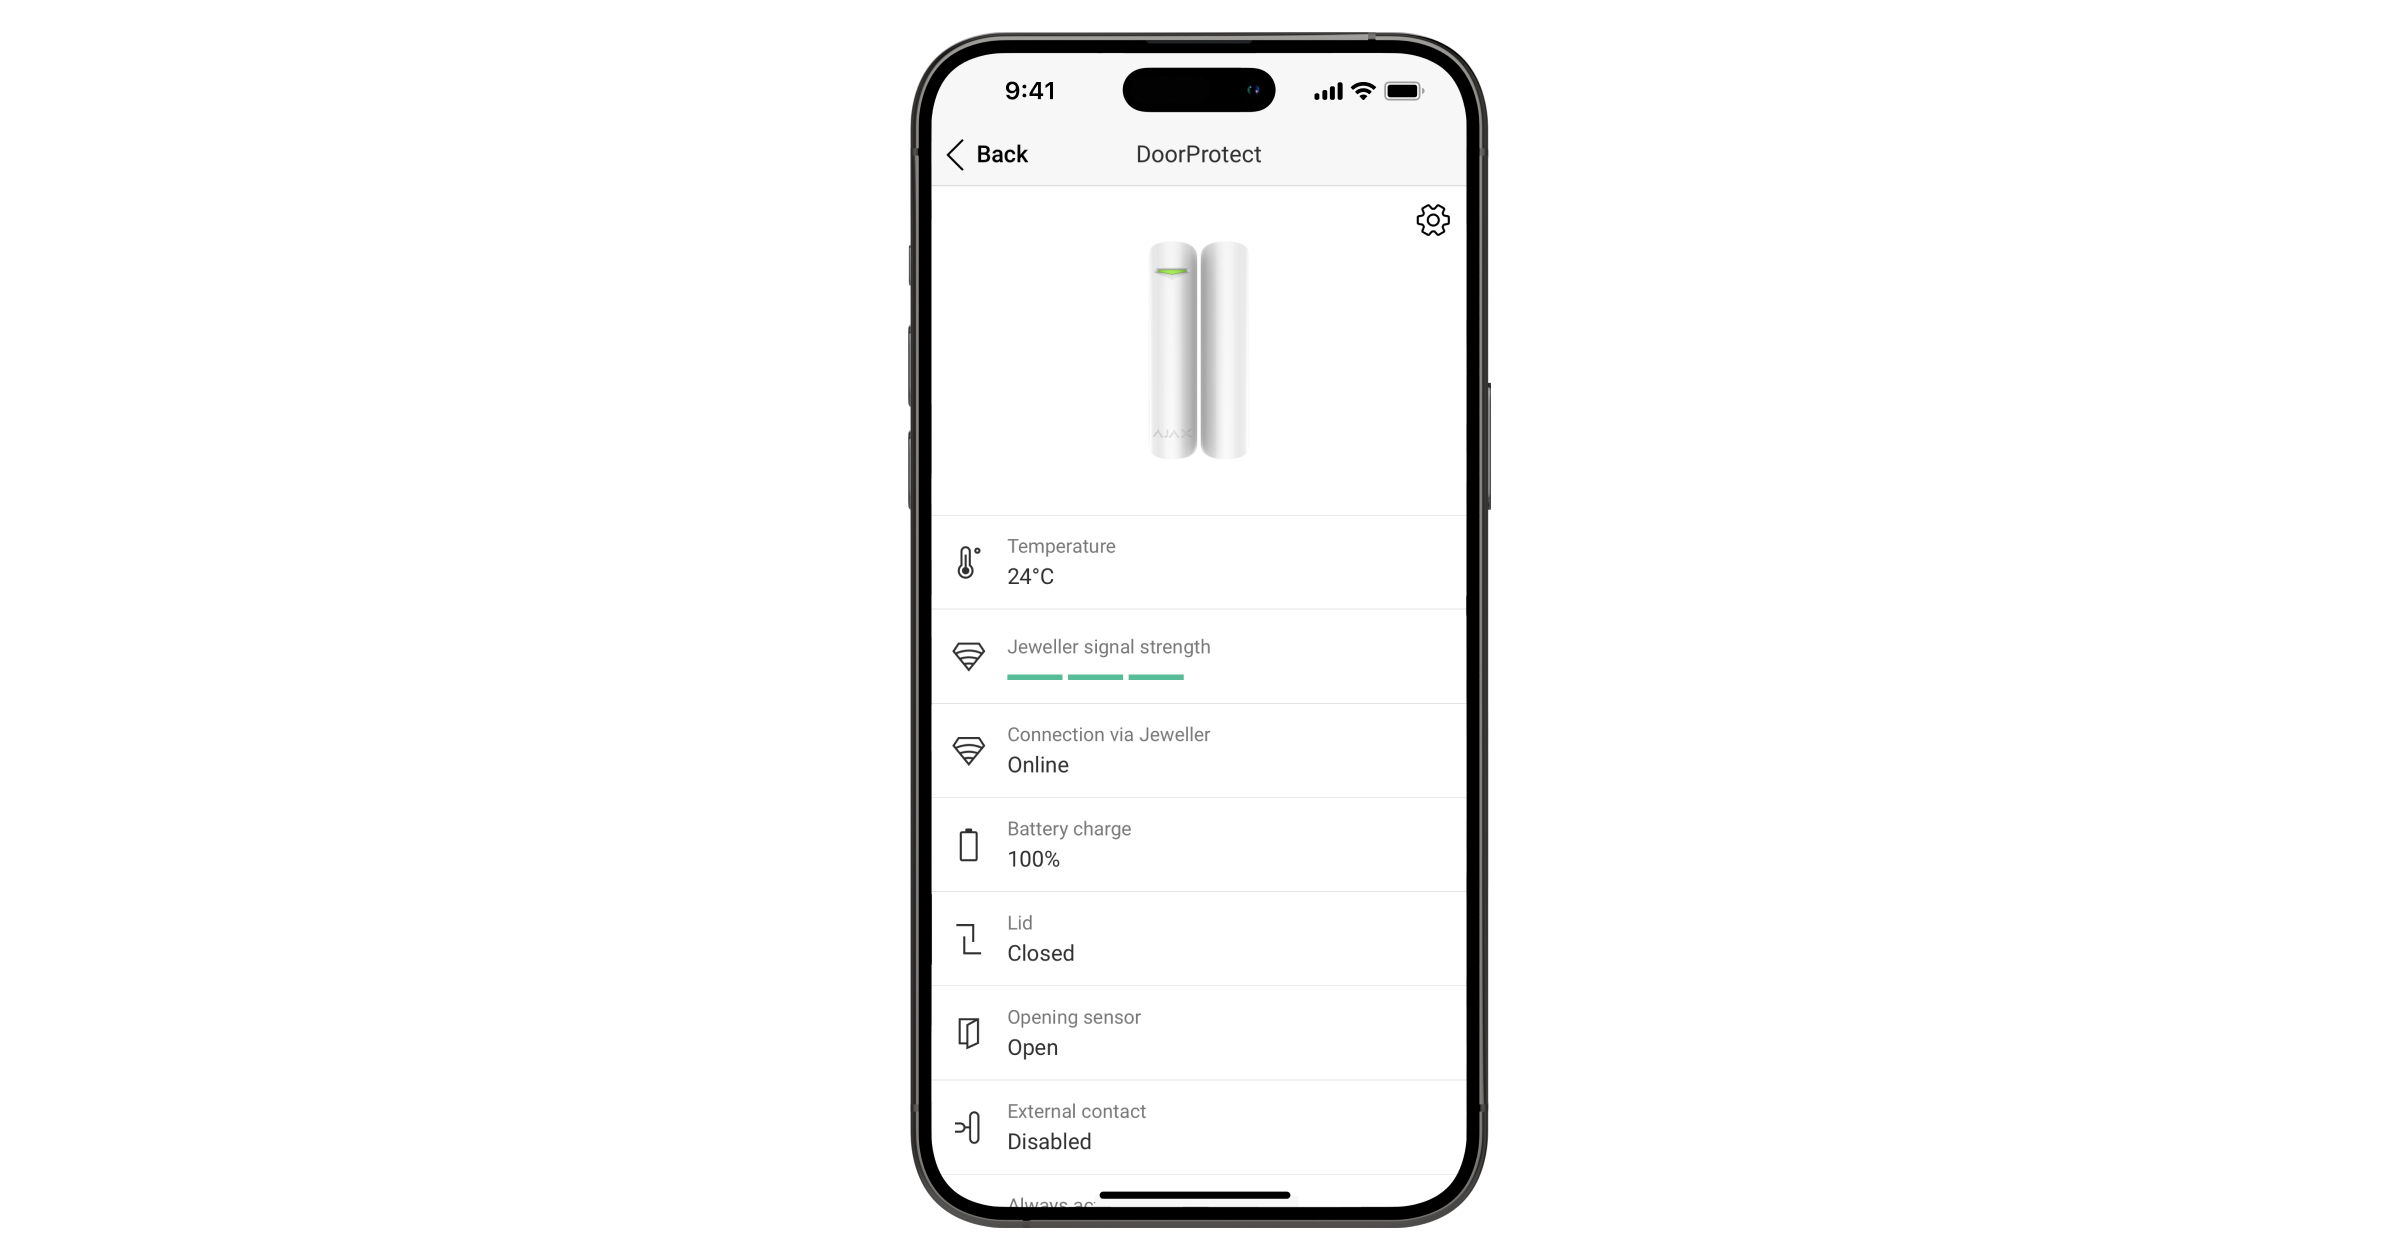
In addition to switching the state of contacts, the Ajax app allows real-time monitoring of the power supply voltage of the relay or devices connected through it, if they are powered from the same source. If the relay and the connected device are powered from different sources, then the app displays only the voltage of the relay power supply.
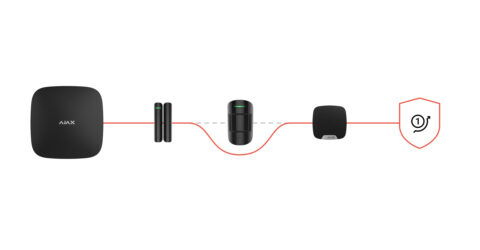
Connecting to the same power source
Connecting to separate power sources
Connecting as a button/switch