StreetSiren DoubleDeck

Wireless outdoor siren with a clip lock for a branded faceplate

FAQ

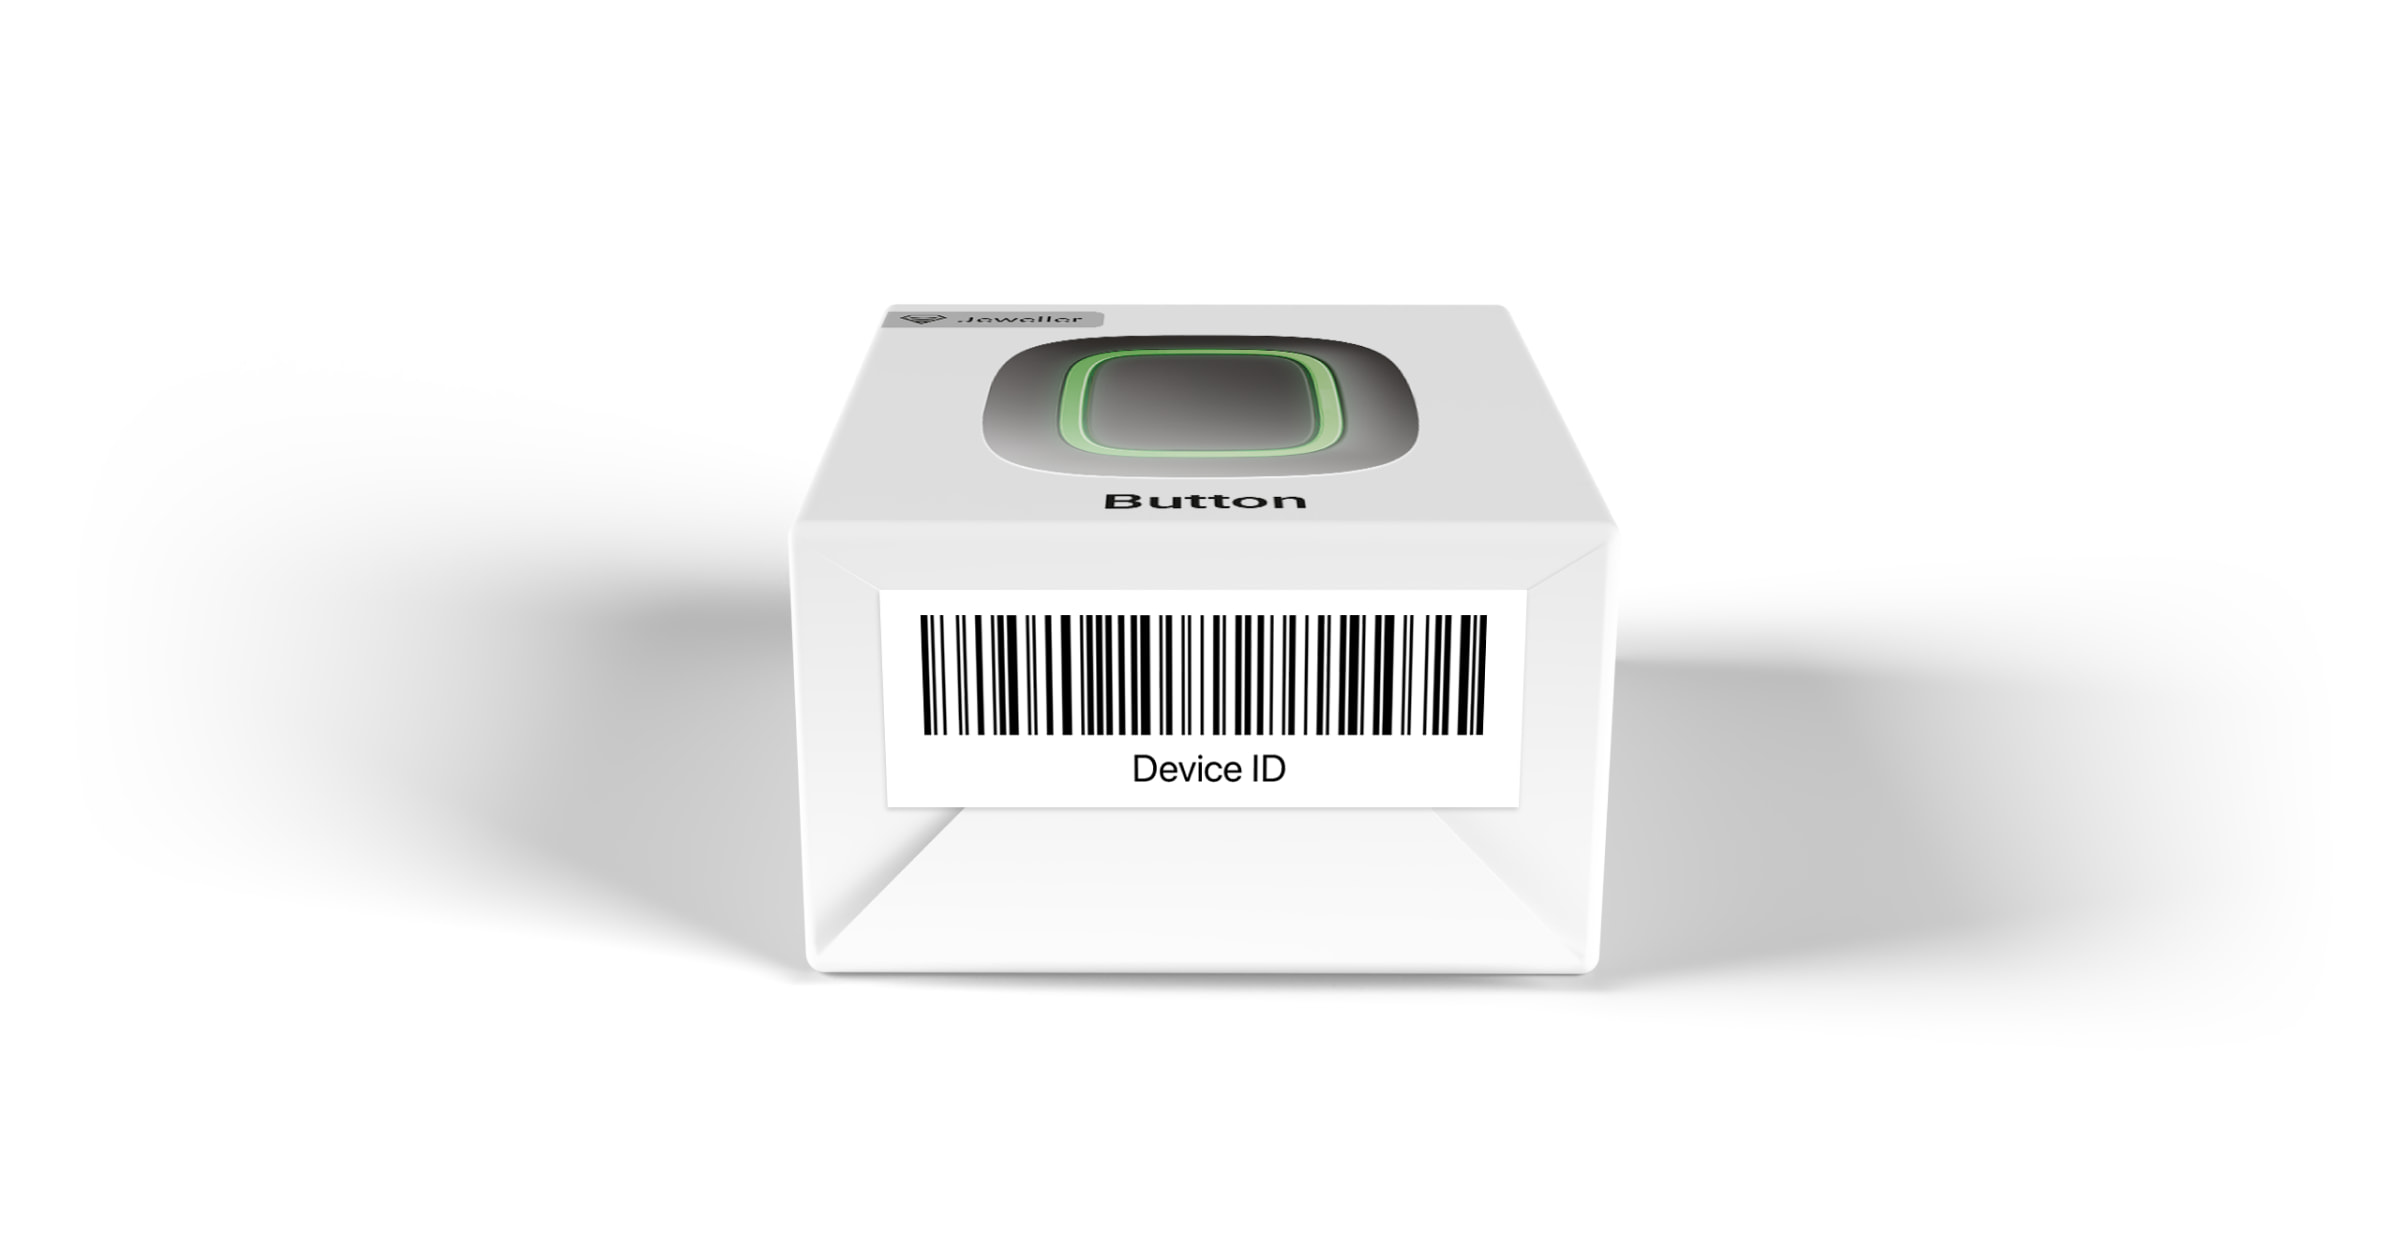
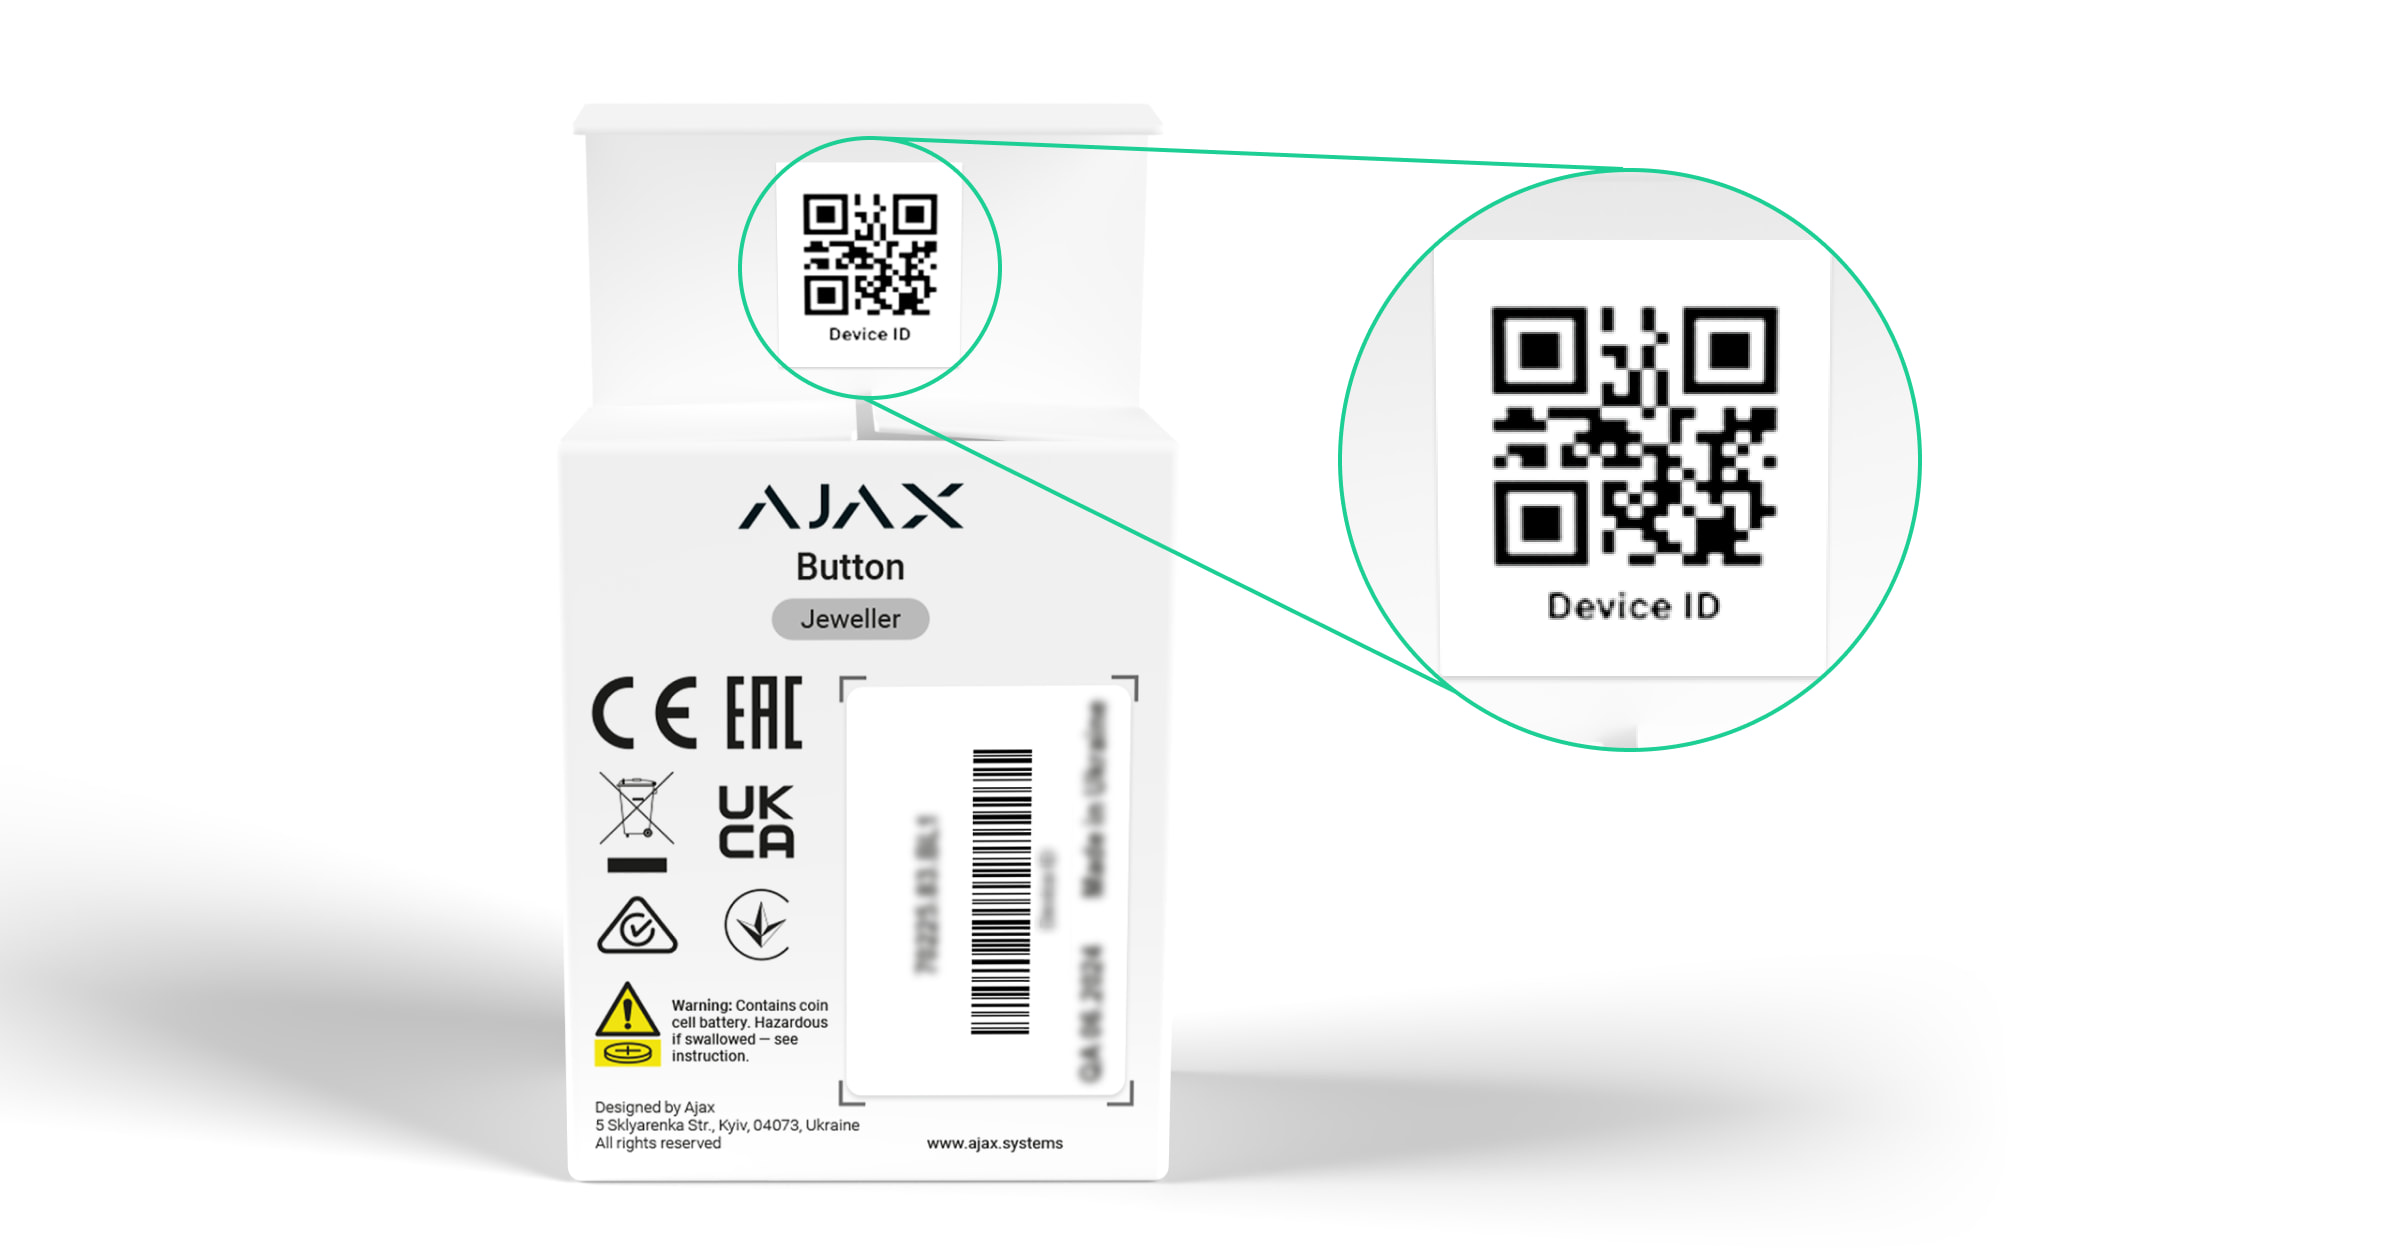
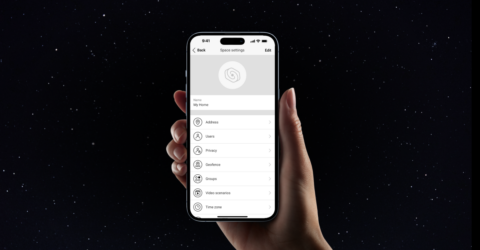
The identifier (ID) is the serial number of the device. It is located under the QR code on the body, board, and packaging of the device.

ID at the bottom of the box

ID under the lid

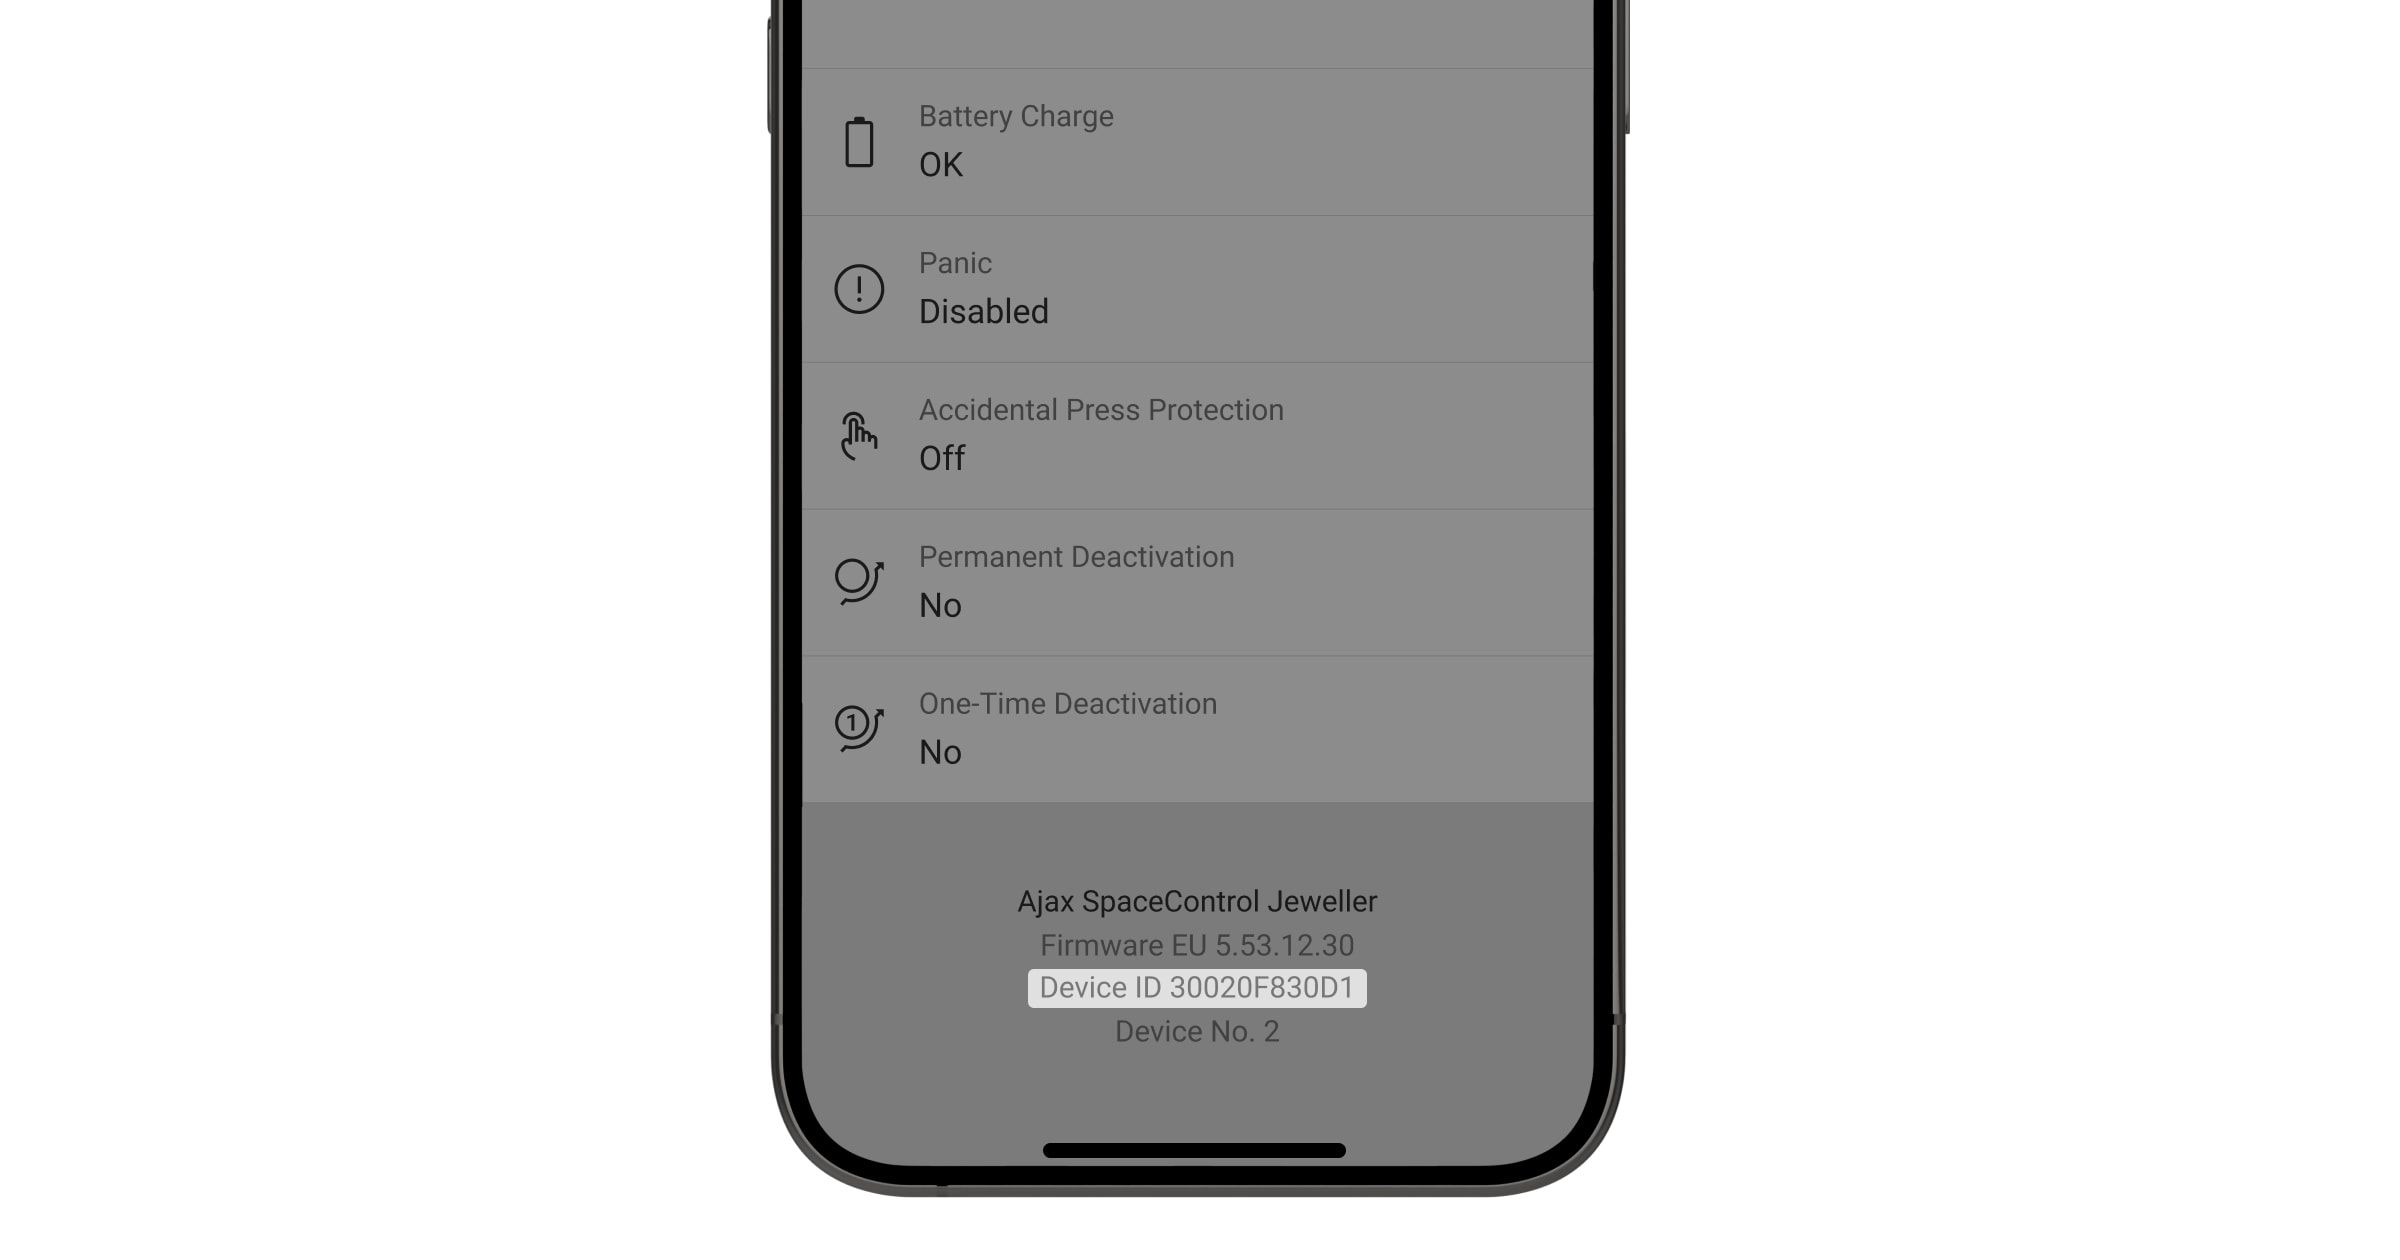
The ID can also be found in the device states in the Ajax app.

  1. Sign in to the Ajax app.
  2. Select the required hub from the list if you have several of them or if you are using a PRO app.
  3. Go to the Devices menu.
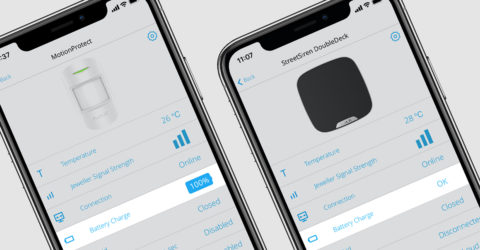
  4. Select a device from the list. Device ID information is located at the bottom of the status screen.
Copied

With OS Malevich 2.9 update, permanent deactivation of devices without removing them from the system has become available.

Deactivation may be necessary if the device is incorrectly installed or configured, loses connection with the hub, or has failed.

To deactivate a device, in the Ajax app:

  • Select a hub if you have several of them or if you are using the PRO app.
  • Go to the Devices menu.
  • Select the device from the list.
  • Go to its Settings .
  • Select the type of permanent deactivation:
    • Entirely — the device does not execute system commands or run automation scenarios, and the system ignores device alarms and other notifications.
    • Lid only — the system ignores the notifications on the detector’s tamper button triggering.
Copied

In order to mount the faceplate:

  1. Turn off the external power of the siren, if connected.
  2. Unscrew the fixing screw from the bottom of the siren with a Ph 2 screwdriver if the siren is mounted on the SmartBracket mounting plate.
  3. Remove the siren from the SmartBracket mounting panel, turning it counterclockwise if the siren is mounted on the mounting plate.
  4. Turn off the device by pressing the power button for 3 seconds.
  5. Turn off the external power supply (if applicable) by unscrewing the terminal blocks and disconnecting the power wires.
  6. Place the front side of the siren on a hard surface and unscrew the 4 screws on the rear panel with a PH2 screwdriver.
  7. Turn the siren over while holding the front and back of the body. Remove the protective plastic panel.

    When installing the panel, do not remove the plastic frame and do not remove the LED strip from the seat!

  8. Drill a hole in the plastic protective plate at the defined location.

    Non-hardening sealant may be on the piezoelectric detector and in the hole of the protective plastic panel. Do not wipe it! If the sealant contaminates your hands, wipe it off with a napkin.

  9. Mount Brandplate on the protective plastic panel. When properly mounted, the Brandplate clamps the rubber for the tamper on the protective plastic panel.
  10. Fix the Brandplate to the protective plastic panel using the bundled bolt.
  11. Fit the protective plastic panel in place (the Ajax logo on the connection side of the LED strip to the board) with little effort. The properly mounted plastic panel will protrude above the LED frame no more than 1.0 to 1.5 mm.
  12.  Turn the siren over while holding the front and back of the body, and tighten 4 screws.
  13.  Turn on the siren and check the status of tampers in the app.
Copied

Brandplate is a faceplate for branding StreetSiren DoubleDeck

Copied

Security service providers can print their logo and contact information on the front panel of an StreetSiren DoubleDeck. Located at the building, it will serve as an additional marketing channel that reaches new customers: neighbors and visitors.

Copied
StreetSiren
DoubleDeck
StreetSiren HomeSiren
Possibility to install a brandplate +
Installation area Indoor / Outdoor Indoor / Outdoor Indoors only
External power supply connection + +
External LED connection +
Volume 85 – 113 dB 85 – 113 dB 81 – 105 dB


Copied

No. The siren is compatible with Ajax hubs only.

Copied

The siren communicates with a hub at a distance of up to 1700 meters in the line of sight.

Copied

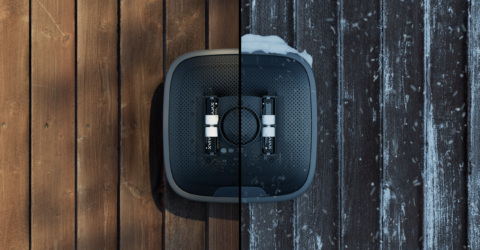
The StreetSiren DoubleDeck battery contains four CR123A 3V cells.

Copied

Alarm volume is configured in the Ajax app. The maximum volume is 113 dB at a distance of 1 meter from the siren.

Copied

When connecting an external power supply and using StreetSiren DoubleDeck, follow the general electrical safety rules for using electrical appliances and the requirements of regulations on electrical safety.

Do not disassemble the electrified device! Do not use a damaged power cable.

The siren supports connecting a 12 V DC (1.5 A) external power supply. There is no need to remove the bundled batteries after connecting an external power supply: they provide the device with a backup power source.

How to connect an external power supply to StreetSiren DoubleDeck

Before connecting the power supply wire, drill a hole in the SmartBracket. Also, check the wire on the damage of the insulation!

To connect the external power supply:

  1. Remove StreetSiren DoubleDeck from the SmartBracket mounting panel.
  2. Put the de-energized wire through the hole in the mounting panel.

    Use only a grounded power source!

  3. Connect the wire to the terminal blocks, following the polarity.
  4. Switch on electricity — the External Power field will change to Connected in the StreetSiren DoubleDeck siren menu.
  5. Put the siren on the SmartBracket and turn it clockwise. Secure the device with the screw. This minimizes the risk of tearing off and device theft.
Copied

StreetSiren DoubleDeck operates on bundled batteries up to 5 years.

Copied

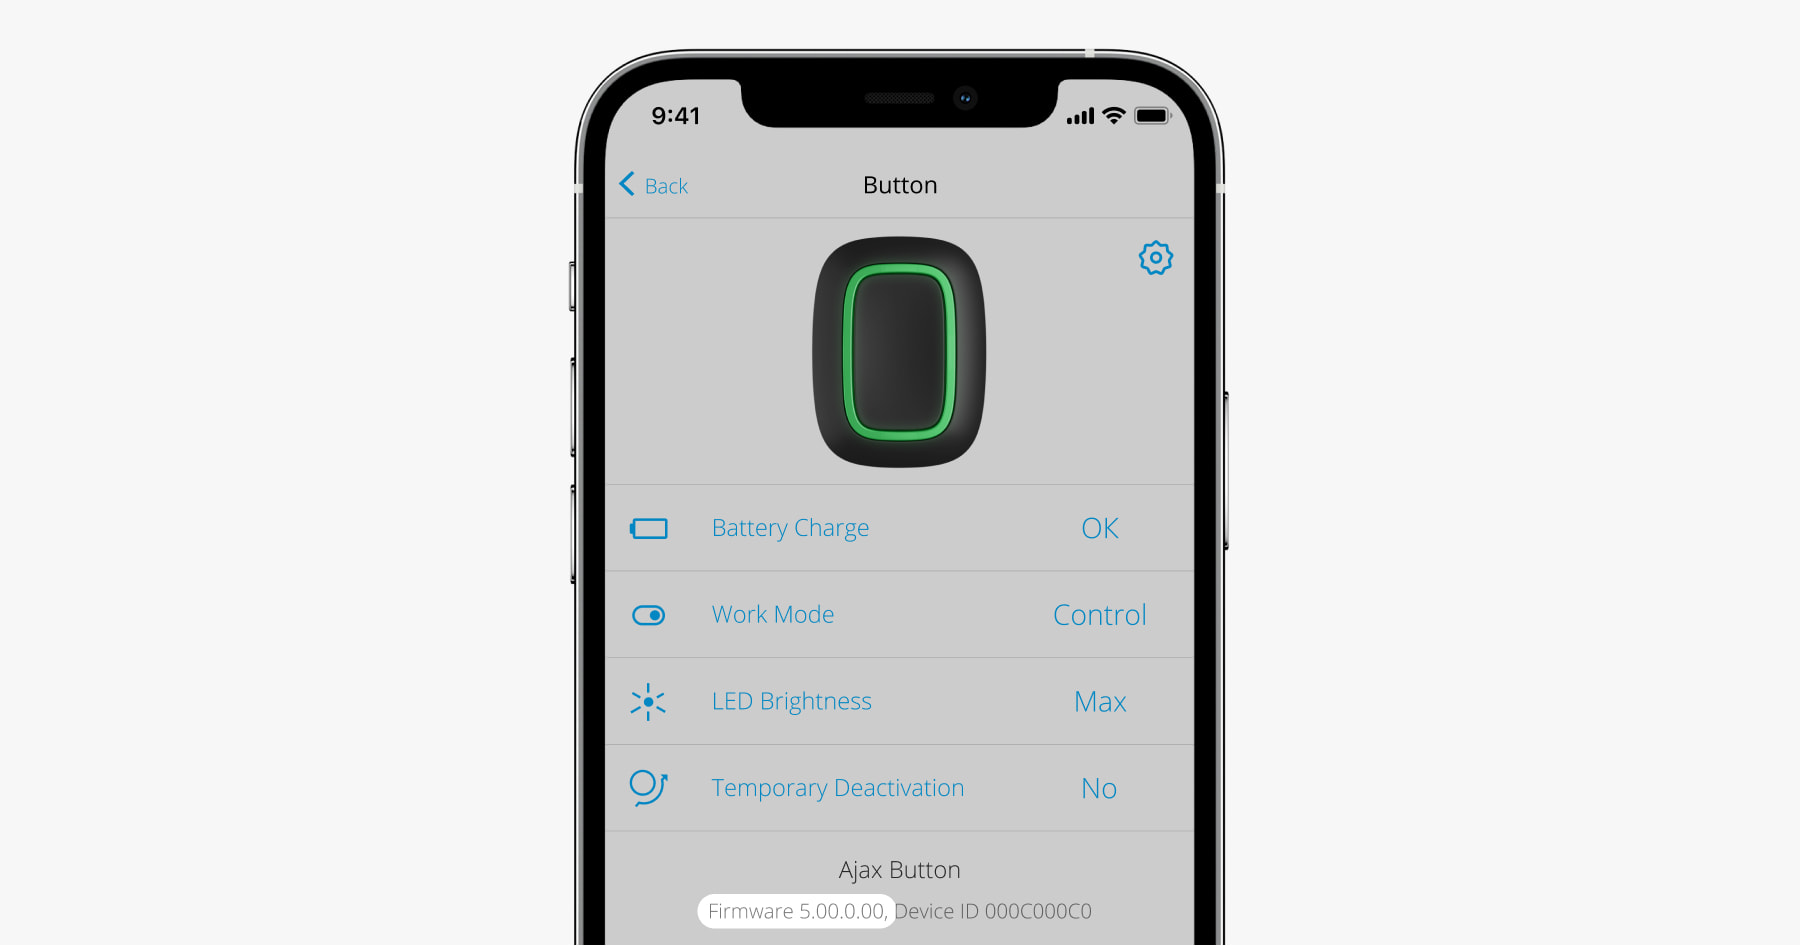
The firmware version can be found in the device states in the Ajax app.

  1. Sign in to the Ajax app.
  2. Select the required hub from the list if you have several of them or if you are using a PRO app.
  3. Go to the Devices menu.
  4. Select a device from the list. The firmware version information is located on the status screen at the bottom.
Copied

Featured articles

How to configure an Ajax system according to the EN 50131 requirements

How to configure an Ajax system according to the UL requirements

How to disable device events once for a time the armed mode is active

Spelling error report

The following text will be sent to our editors: