CMS Connection

On Ajax integrations with the Central Monitoring Stations

FAQ

PRO Desktop allows you to configure video looping from required cameras. It helps you continuously monitor the situation at the site without manually switching the layouts or channels.

To create a slide show, in PRO Desktop:

  1. Go to the Video wall tab.
  2. Enable the Open Video wall widget toggle.
  3. Select at least one display if you have more than one.
  4. Click the slide show icon .
  5. Click the Create slideshow button.
  6. Edit a title and click the Add cameras button.
  7. Select a layout and required channels.
  8. Click Apply, then click Create.

The added slide shows will be available by clicking the corresponding icon . You can start, pause, and edit them.
Copied

PRO Desktop allows you to fix the last timestamp (the point where you stopped seeking) for all cameras. Thus, you can easily find the desired event on different cameras.

When a user focuses on an appropriate timestamp, the system stores this position for 10 minutes and applies the stored timestamp to all channel archives a user opened during these 10 minutes.

The feature is available when cameras or Ajax NVR have a storage device and a user has appropriate privacy permission.

Copied

To quickly and simply navigate the video wall widget, keyboard shortcuts are added to PRO Desktop. These shortcuts give you instant access to key features and help you work within the video wall.

Keyboard shortcut Description
1 0.5x playback speed
2 1x playback speed (by default)
3 1.5x playback speed
4 2x playback speed
5 4x playback speed (for cameras connected via Ajax NVR only)
6 8x playback speed (for cameras connected via Ajax NVR only)
Space Play/pause
</> Previous/next frame
F Maximize window
Esc Minimize window
Tab Archive entry/exit
Keyboard shortcut Description
Left/right arrow Pan left/right
Up/down arrow Tilt up/down
+ (plus key) Zoom in
– (minus key) Zoom out
Shift + left arrow Focus near
Shift + right arrow Focus far
1–9 Go to PTZ presets from 1 to 9
H Go to PTZ default settings
Copied

You can use an empty space for 180 days from the date the space was created or from the date the last device was deleted. After this period, an empty space will be deleted.

To avoid space configuration loss, the system sends a notification after 173 days from the date the space was created or from the date the last device was deleted.

The system will delete the empty space even if it is armed. The user can delete the empty space only when the system is disarmed. When the space is deleted (automatically or manually), its events are also deleted.

Copied

You can create and use a limited number of empty spaces. Ajax space is empty when no Ajax hub, Ajax camera, Ajax NVR video recorder, or Yale smart lock is added.

You can create and use:

  • 100 empty spaces as a user,
  • 1000 empty spaces as a PRO or a company.

If a space is empty, you cannot arm it or use the panic button in Ajax apps.

You can still create and use an unlimited number of spaces with devices.

Copied

Yes, you can delete the offline hub from armed space. This can be helpful if the hub fails while the system is armed and there is no way to replace the hub using data transfer. If the hub is removed from the space, the user can continue to use Ajax cameras, Ajax NVR video recorder, and Yale smart lock added to the space.

Admin or Installer with system configuration rights can delete the offline hub from armed space.

To do this, in the Ajax apps:

  1. Select a space.
  2. Go to the Devices tab and select the hub you want to delete.
  3. Go to the hub settings by clicking on the gear icon .
  4. Tap Remove hub.

You can delete the offline hub from armed space if this hub is not connected to the monitoring station.

Copied

No, when the space is deleted (manually or automatically), its events are also deleted. You cannot restore it.

Copied

By default, a hub sends events and alarms to the security company monitoring station via the SIM card only once. If an error occurs during transmission, an event or alarm will not be delivered, and Not connected status will be displayed in the Monitoring Station field in the screen of hub states. Such errors can occur due to the router settings used by the security company.

For your hub to ignore errors and re-send events to an ARC, enable the Ignore network registration errors and Disable communication check with the operator in the hub settings. You can do this in the Ajax apps:

  1. Devices
  2. Hub
  3. Settings
  4. Cellular

After enabling these options, click Back to apply the settings. If events are still not sent, please contact our Support Service.

Copied

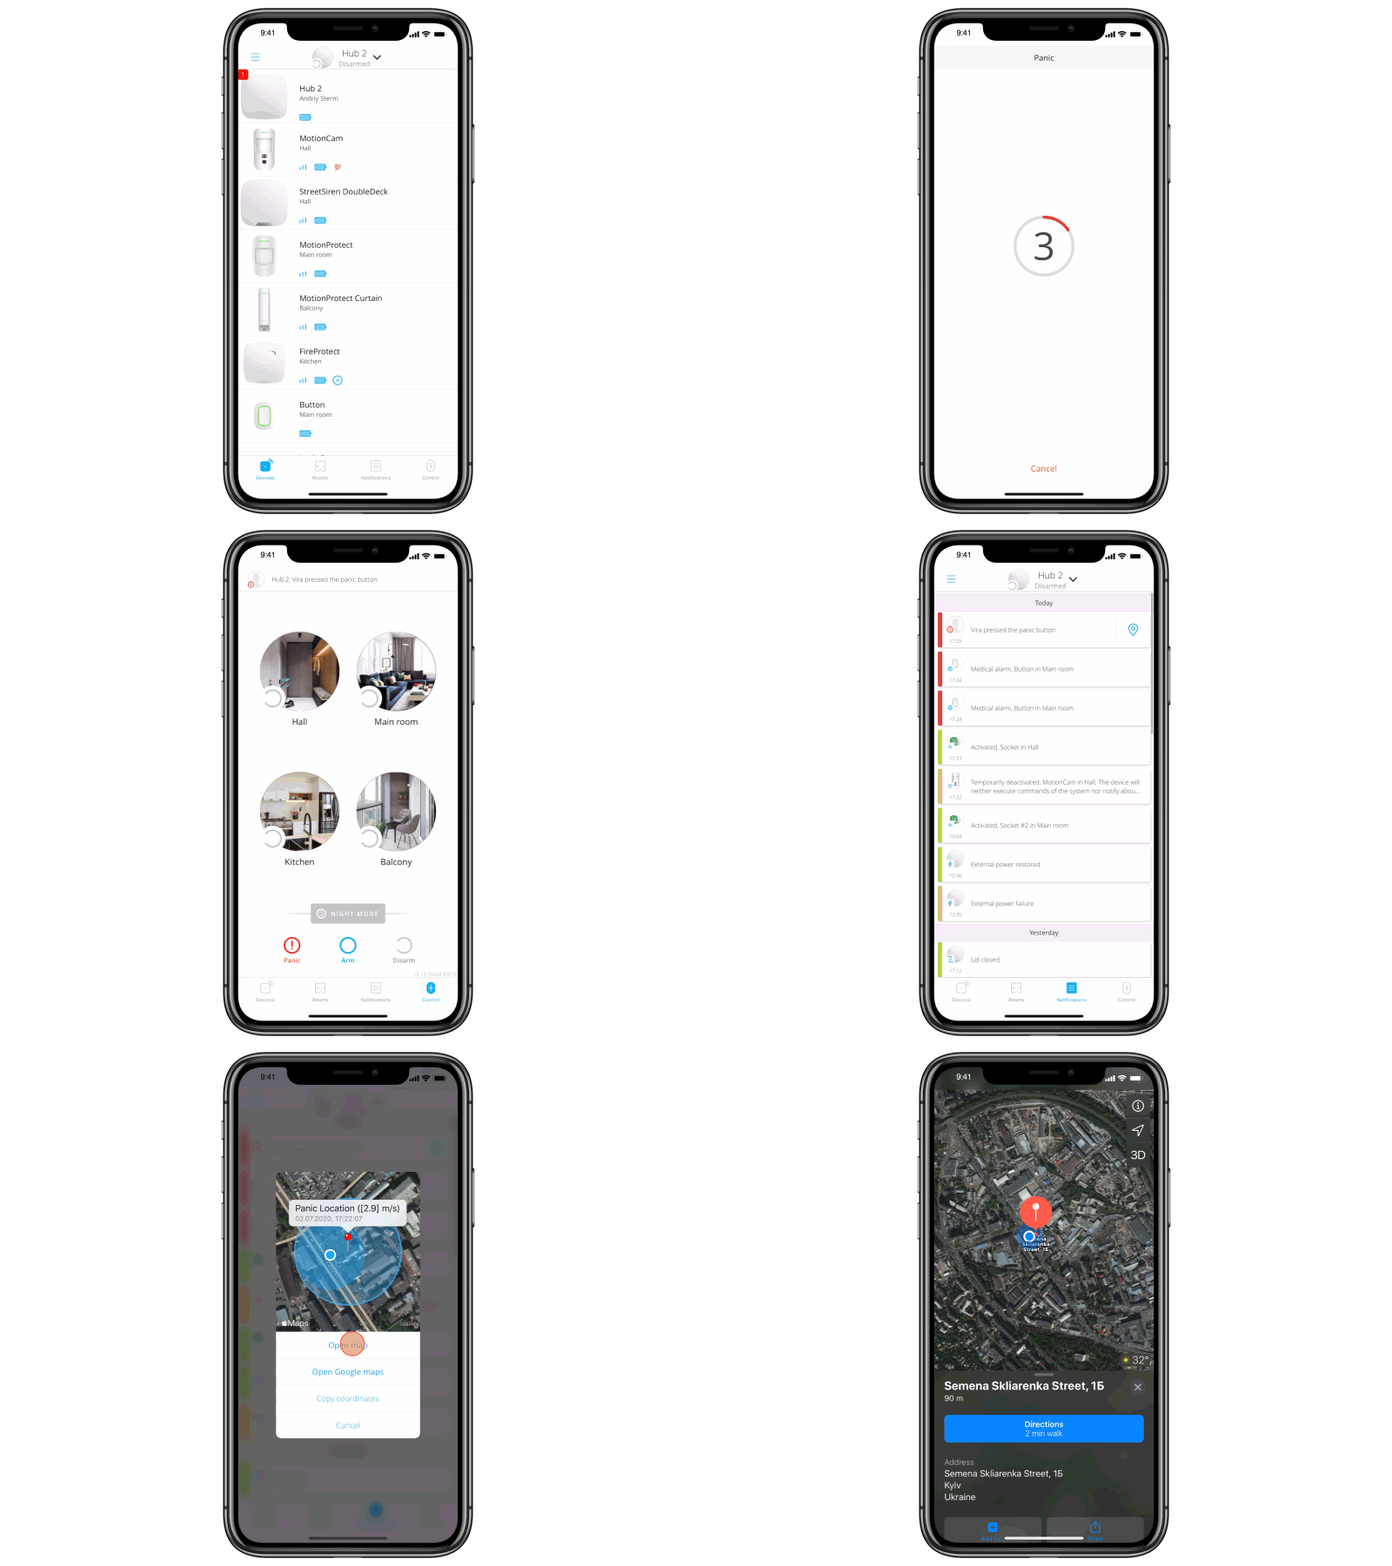
With OS Malevich 2.9 update, when the panic button is pressed in the app, not only the event but also the smartphone coordinates are transmitted to the security company. System users can copy the coordinates from the events feed.

ajax mob app

The panic button is available in the space regardless of the hub presence.

Copied

Yes, it does.

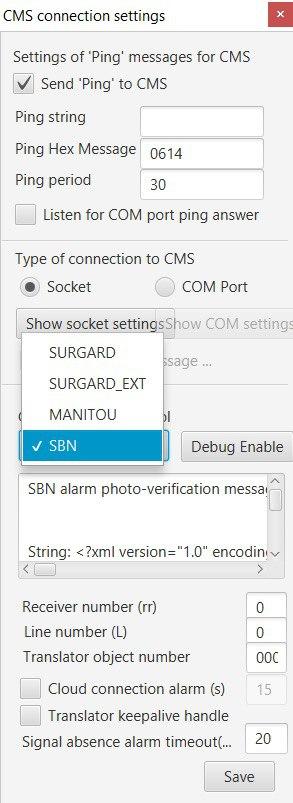
To configure the communication of alarms and events from the hub to the ABsistems CMS, in Ajax Translator use the Manitou protocol and setup next Ping string: <?xml version=”1.0″?><Heartbeat/>

ajax support absistems
Copied

Yes, it does.

To configure the communication of alarms and events from the hub to the SBN CMS, use the SBN protocol in Ajax Translator.

ajax support sbn
Copied

Ajax PRO Desktop supports photo verification without additional settings.

Photo verification is also supported by:

  • Manitou
  • ABsistemDC(NG)
  • WBB
  • Horus
  • V1/F1
  • Kronos
  • eLipse
  • Sentinel
  • SoftGuard
  • MASterMind
  • Stages
  • SBN
  • Listener
  • LISA
  • AM/Win system

To configure photo transmission, please use Ajax Translator version 1.10 or later.

At the same time, photo verifications are accepted by all CMSs that support SIA, ADEMCO 685 and Contact ID protocols.


Copied

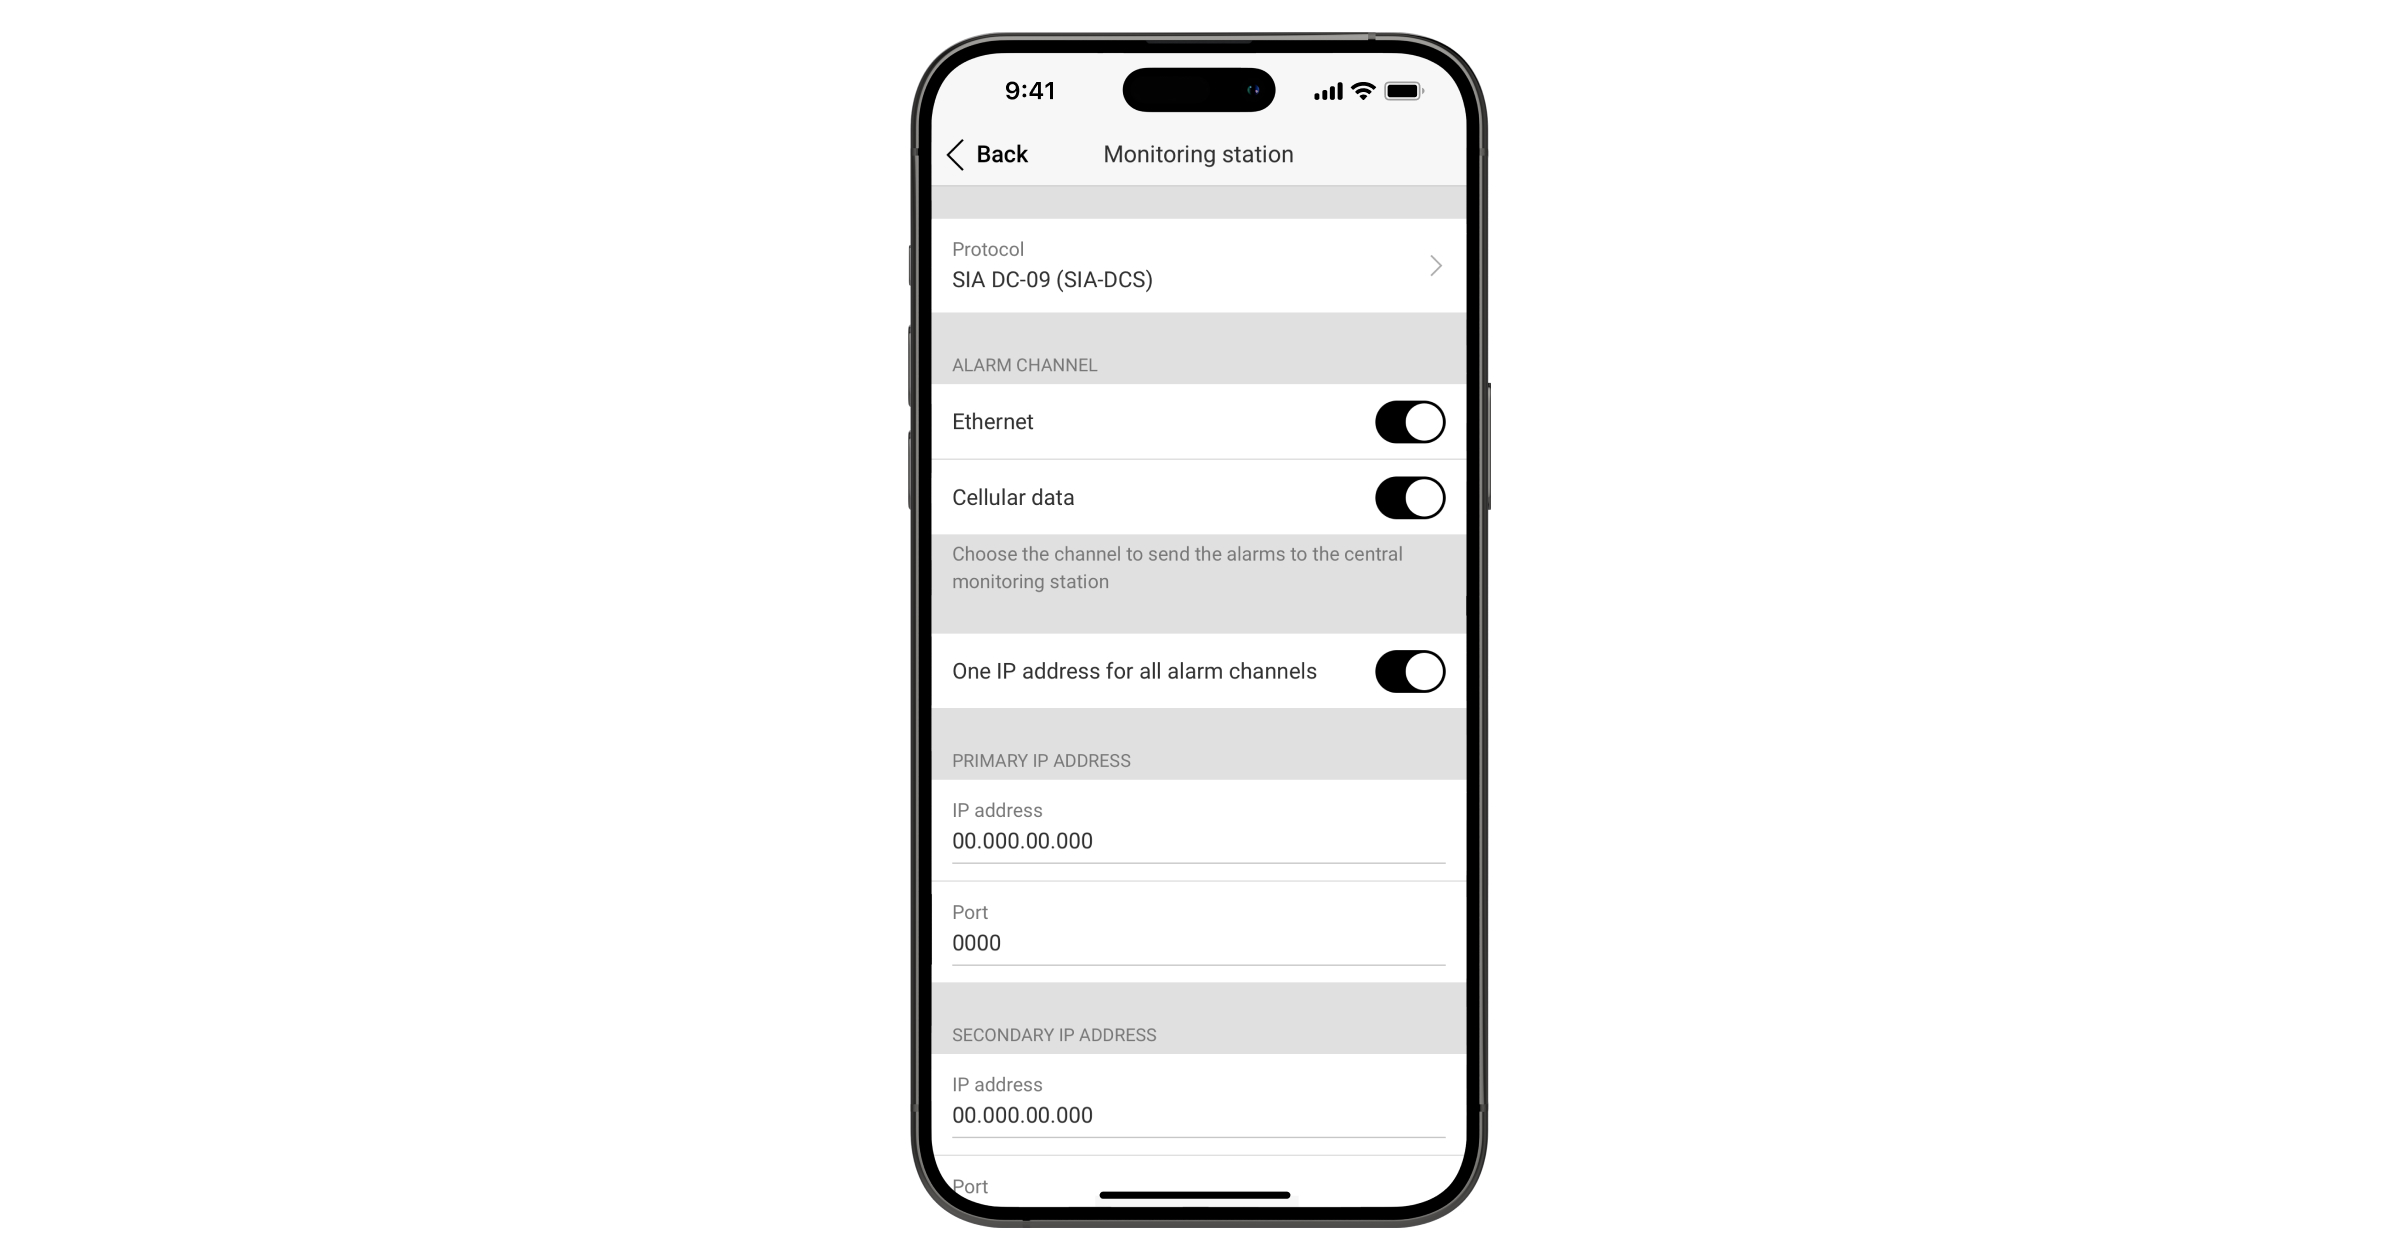
The second IP address is a backup in case of direct connection to the Central Monitoring Station (CMS).

If the main IP address is not available, the hub uses the second IP address to send events.

Copied

The direct connection (Monitoring Station tab) is the channel used to transmit hub events directly to the Central Monitoring Station (CMS) of the security provider, bypassing our server.

When direct connection is used, all events are communicated directly to the security company’s central monitoring station without affecting the functioning of the Ajax apps. If the direct connection is lost for any reason, the server acts as a redundant communication channel.

Copied

Featured articles

TLS update for Ajax Translator users

What is Photo on Demand and how it works

What is alarm restoration transmitted to the CMS and how to configure it?

Spelling error report

The following text will be sent to our editors: