An Ajax system provides the possibility to use IP cameras connected to NVR to verify alarms. Video scenarios allow you to back up alarm triggering with video from cameras at the facility.
You can create a video scenario with NVR and at least one IP camera added to the system. Available for hubs with OS Malevich 2.16 and higher.
Cameras connected to NVR can be configured to react to alarms of one, several, or all connected devices. Combined detectors can register various types of alarms, allowing you to configure them to respond to all types of alarms, several of them, or just one of them.
Only a PRO or a user with admin rights can create a scenario in the Ajax app.
How to create a video scenario
To add a video scenario, in the Ajax apps:
- Go to the Devices
 tab.
tab. - Select the required hub.
- Go to Settings by clicking on the gear icon .
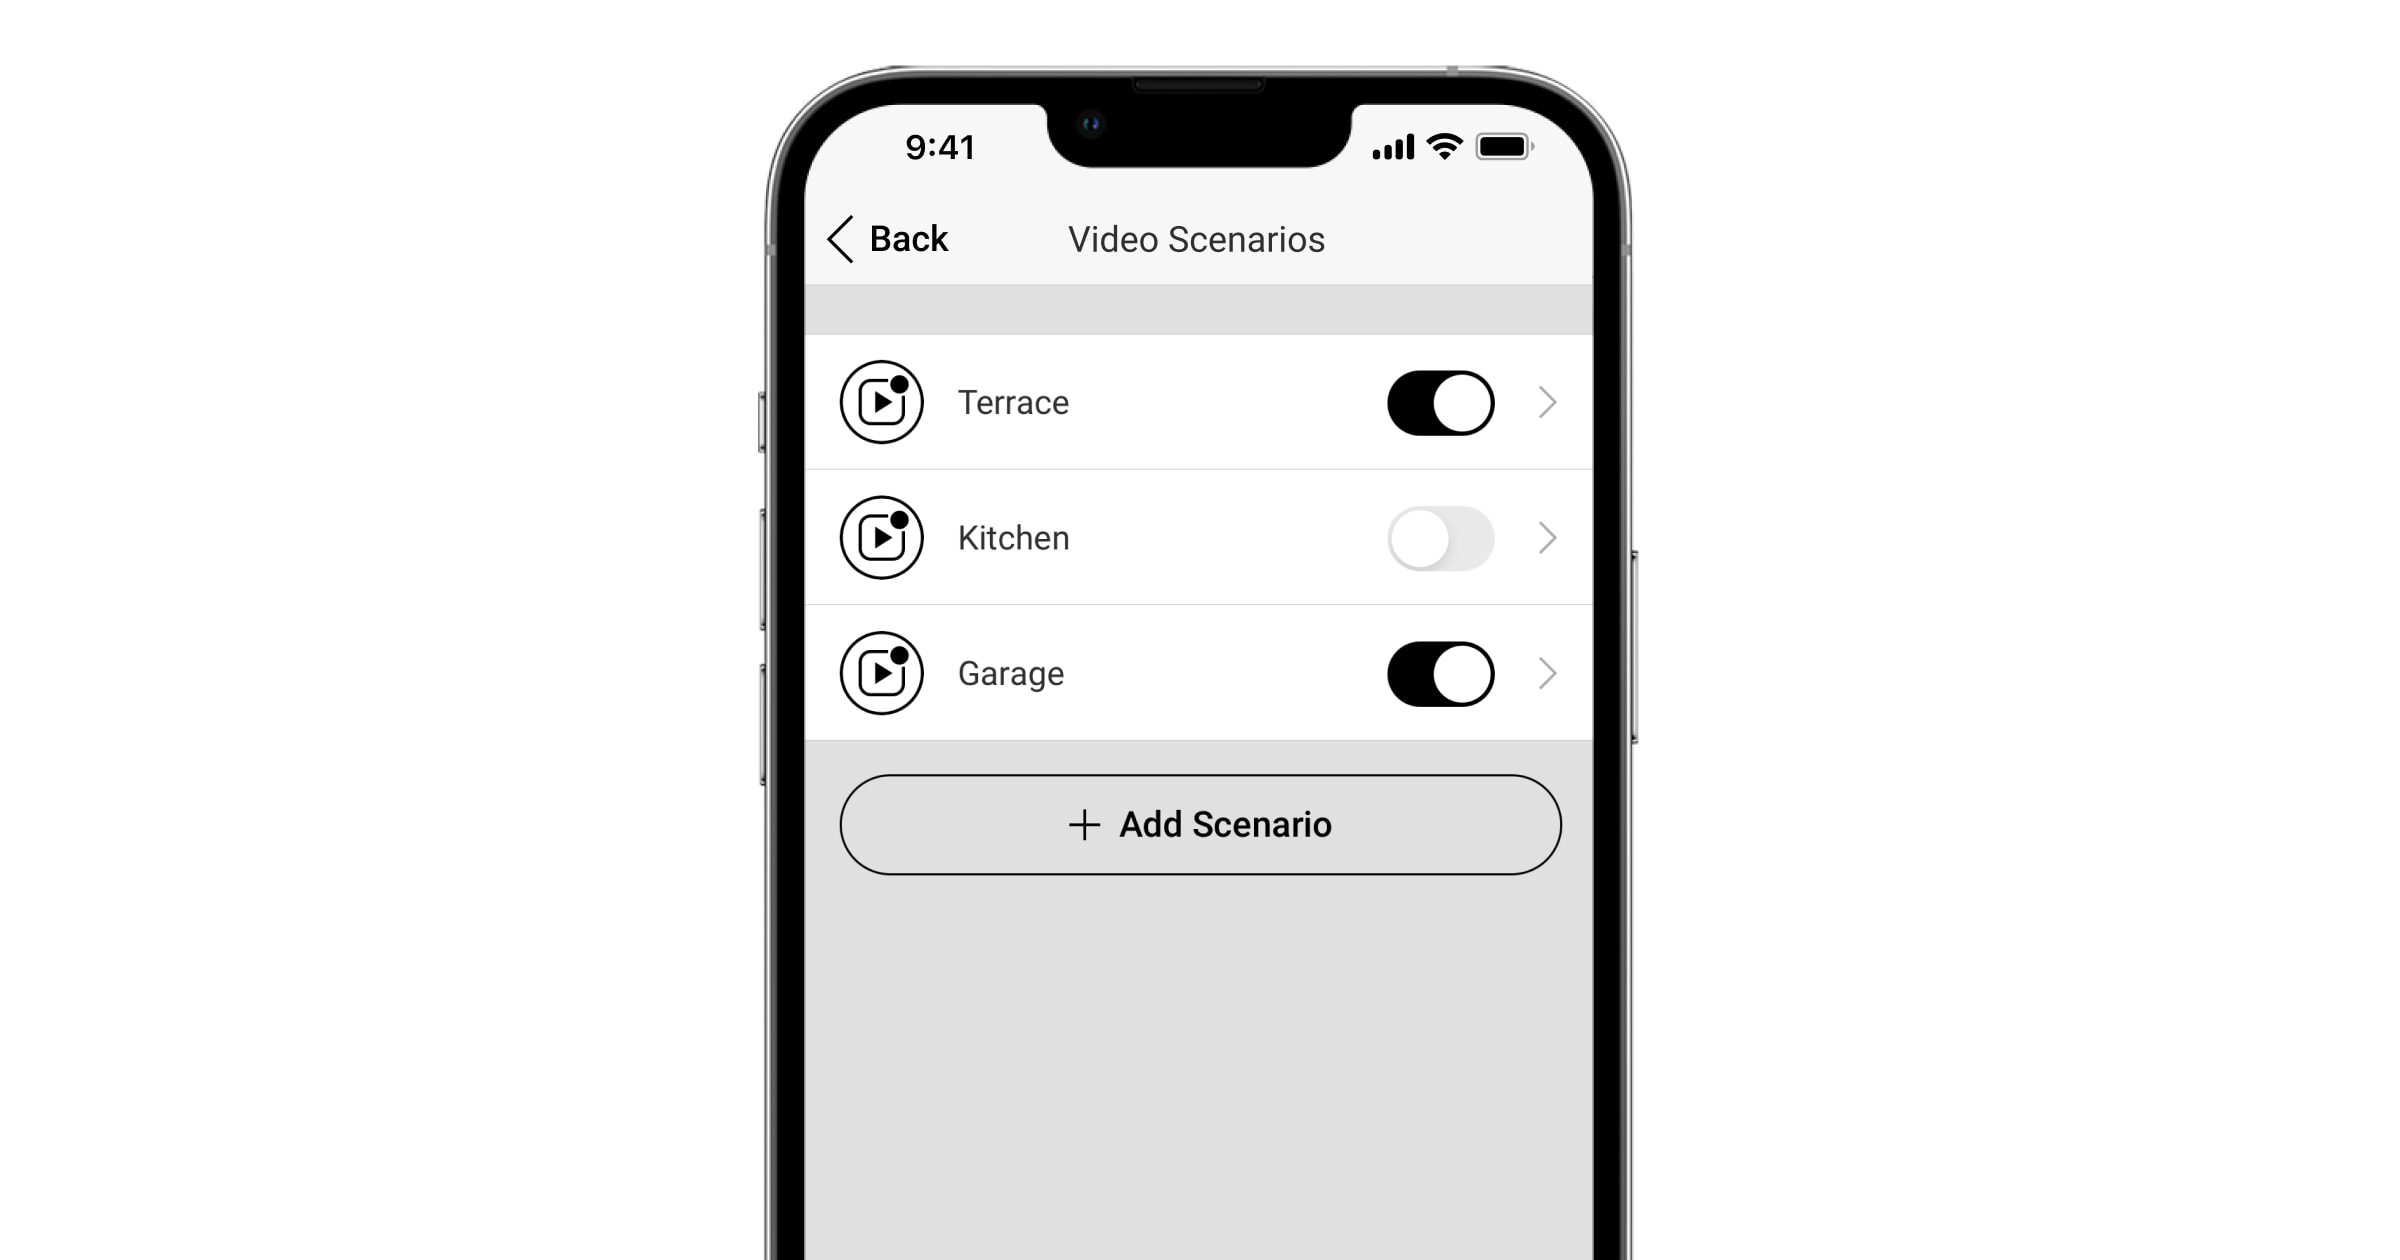
- Go to the Video Scenarios menu.
- Click the Create Scenario button if you are creating a scenario for the first time or the Add Scenario button if you have already created scenarios in the system.
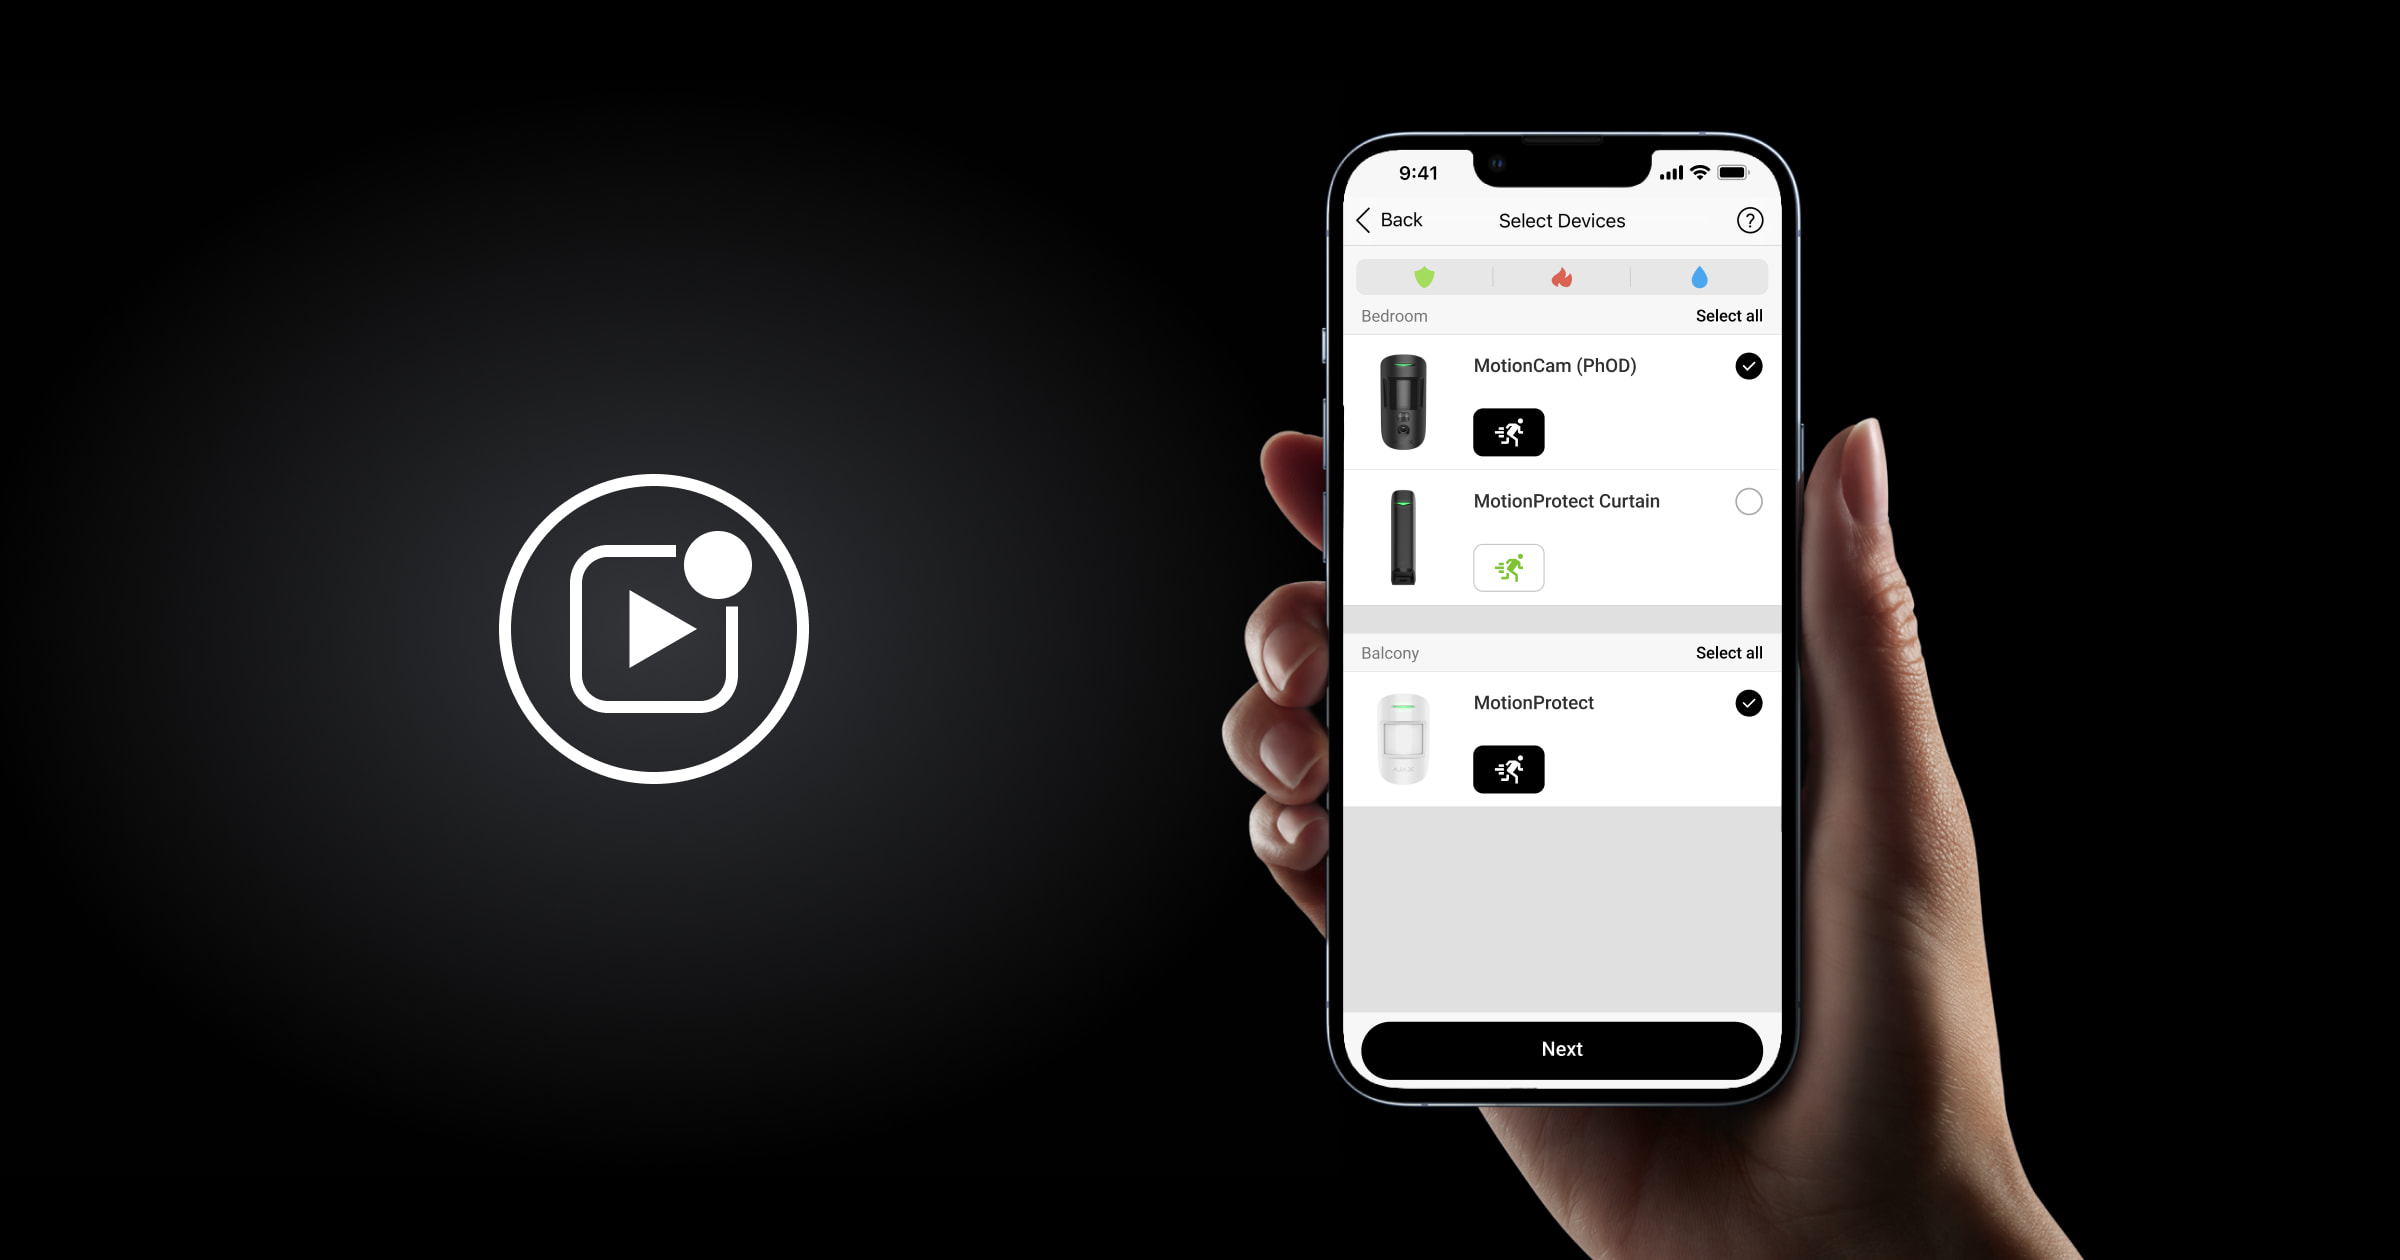
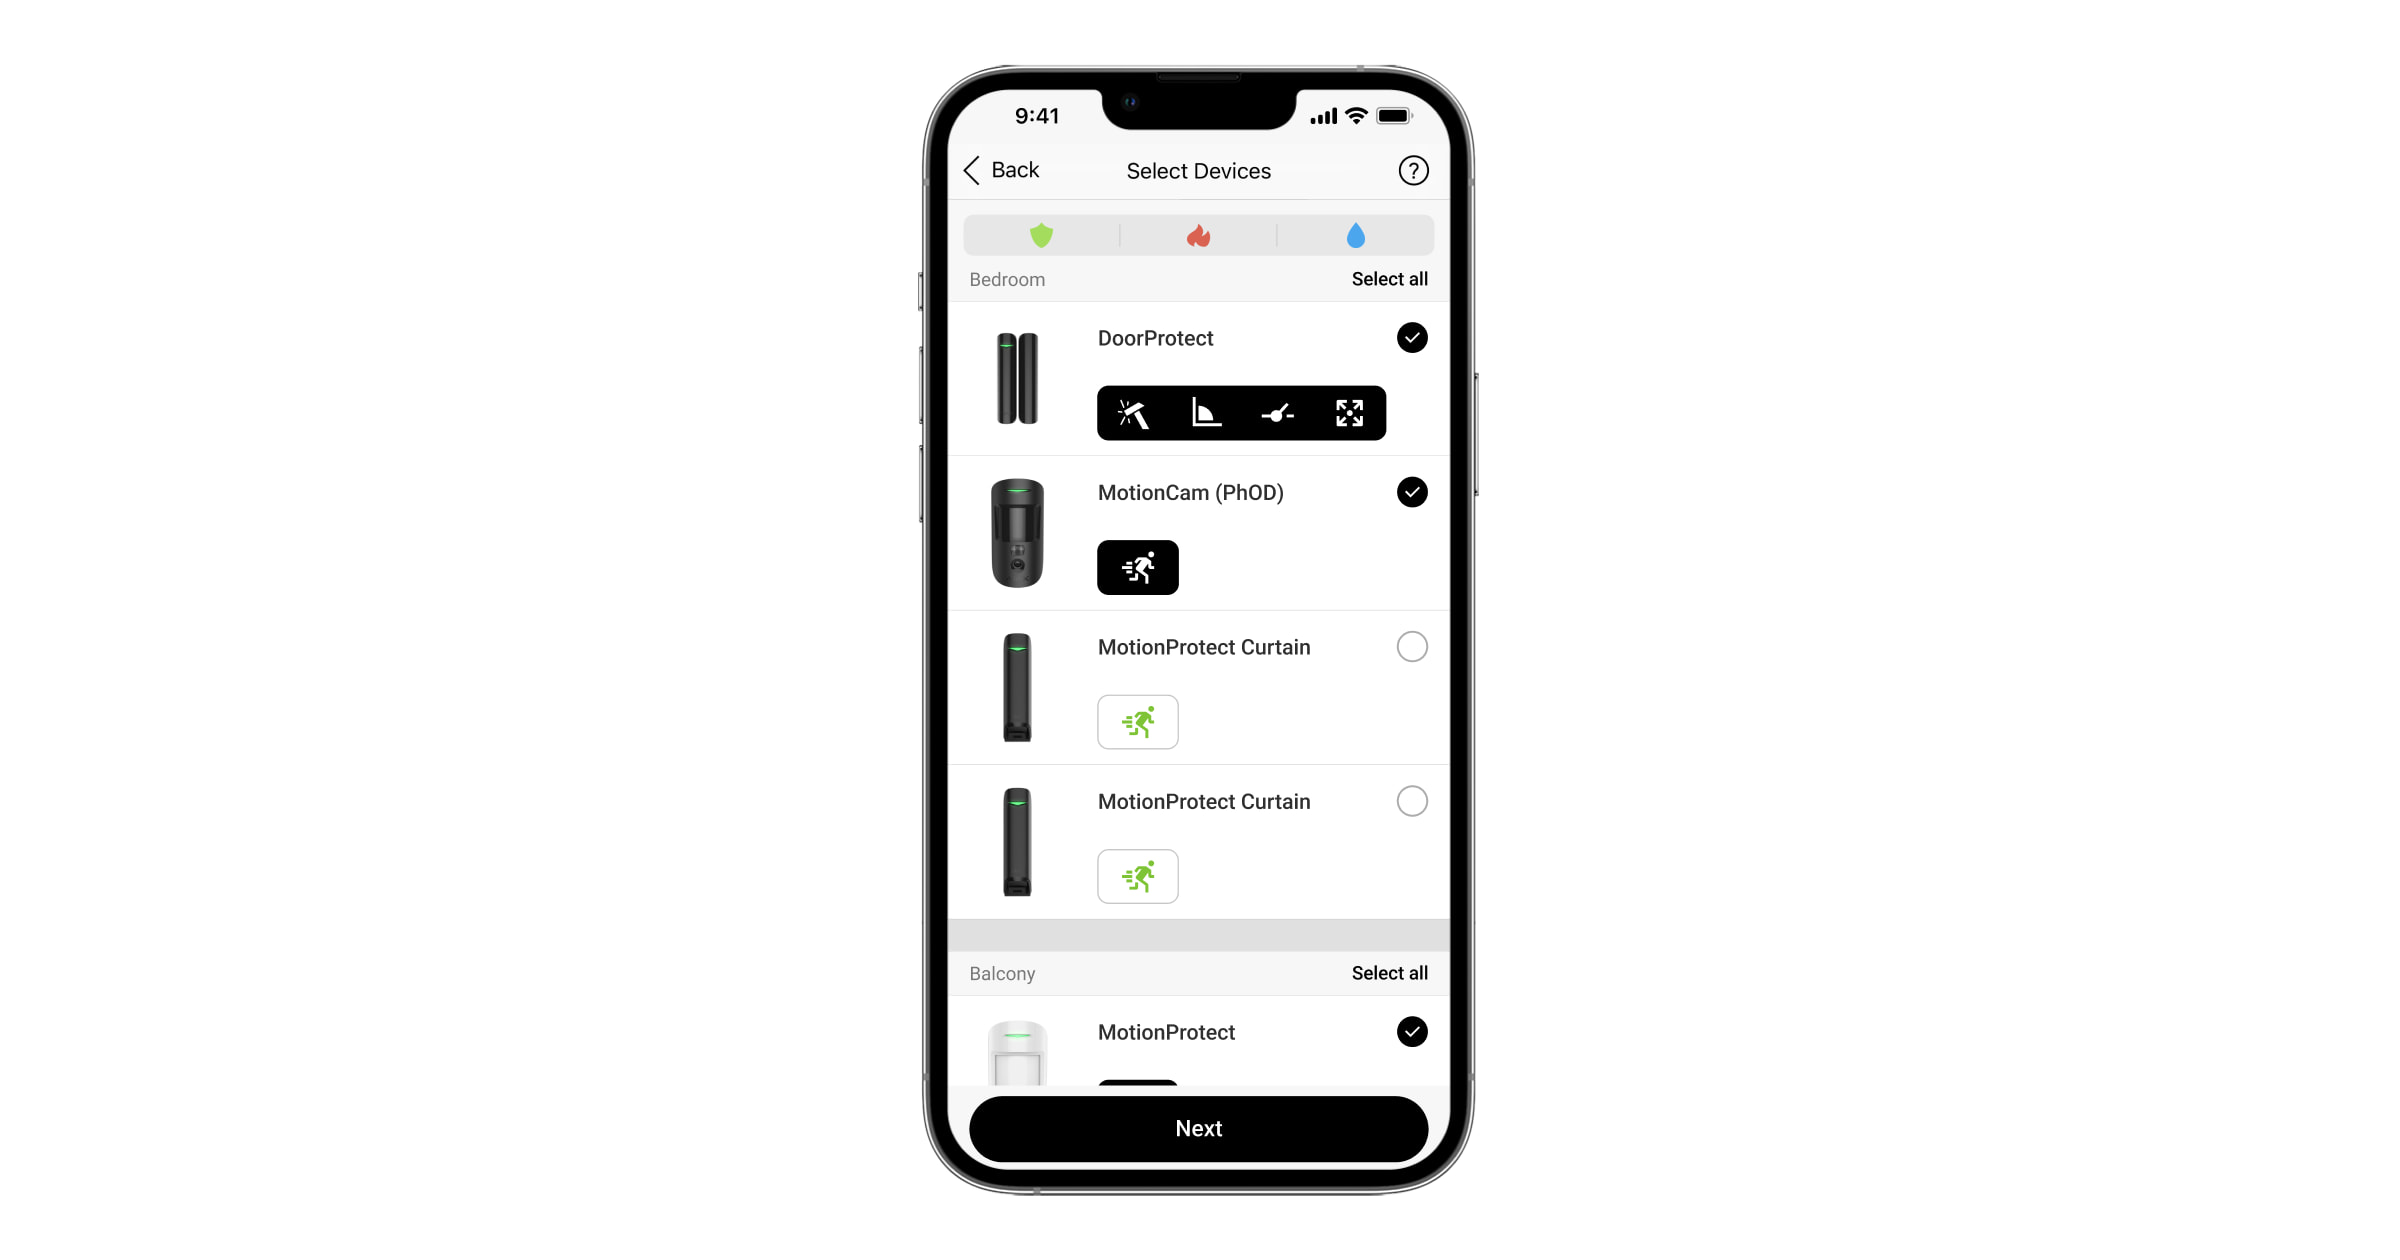
- Select devices. The device selection menu displays all detectors connected to the Ajax system that can run video scenarios. The list of detectors can be sorted by alarm type:
-
- All;
- Intrusion;
- Fire;
- Leakage.
Motion detection with a motion detector. Glass break detection. Shock detection with DoorProtect Plus Jeweller or DoorProtect Plus Fibra. Detection of DoorProtect Plus Jeweller or DoorProtect Plus Fibra tilt angle change. Triggering of a third-party wired detector. Accelerometer alarm. Fire alarm. Detection of rapid temperature increase by the fire detector. Detection of exceeding the threshold temperature by the fire detector. Detection of a dangerous carbon monoxide (CO) concentration by the fire detector. Water on the LeaksProtect contacts. -
- Click Next.
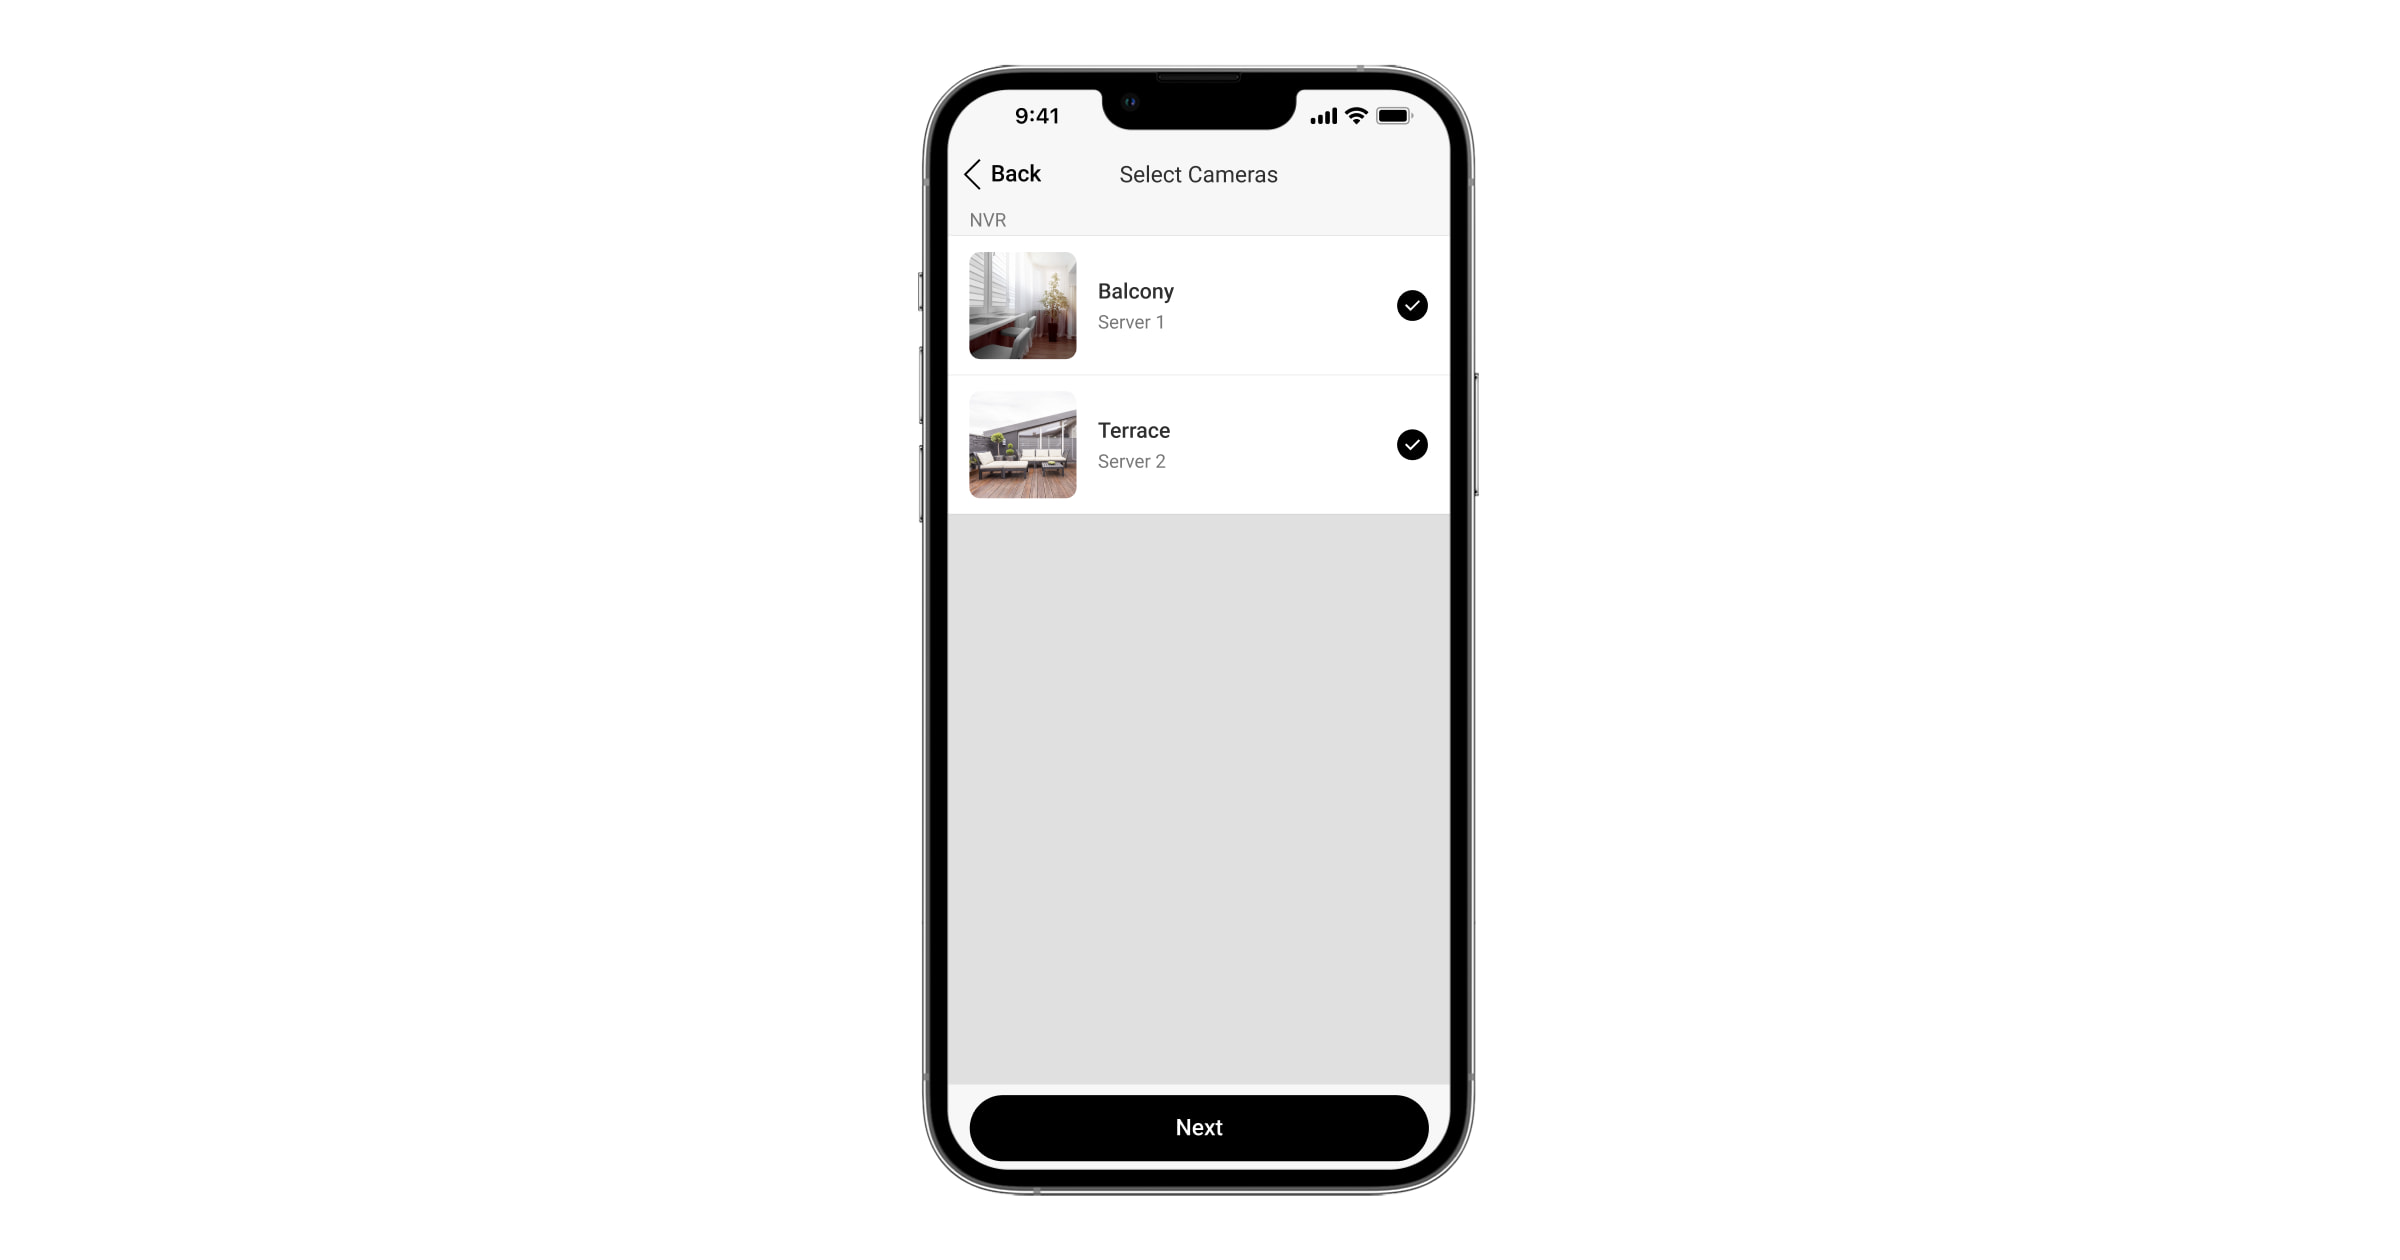
- Select cameras. Click Next.
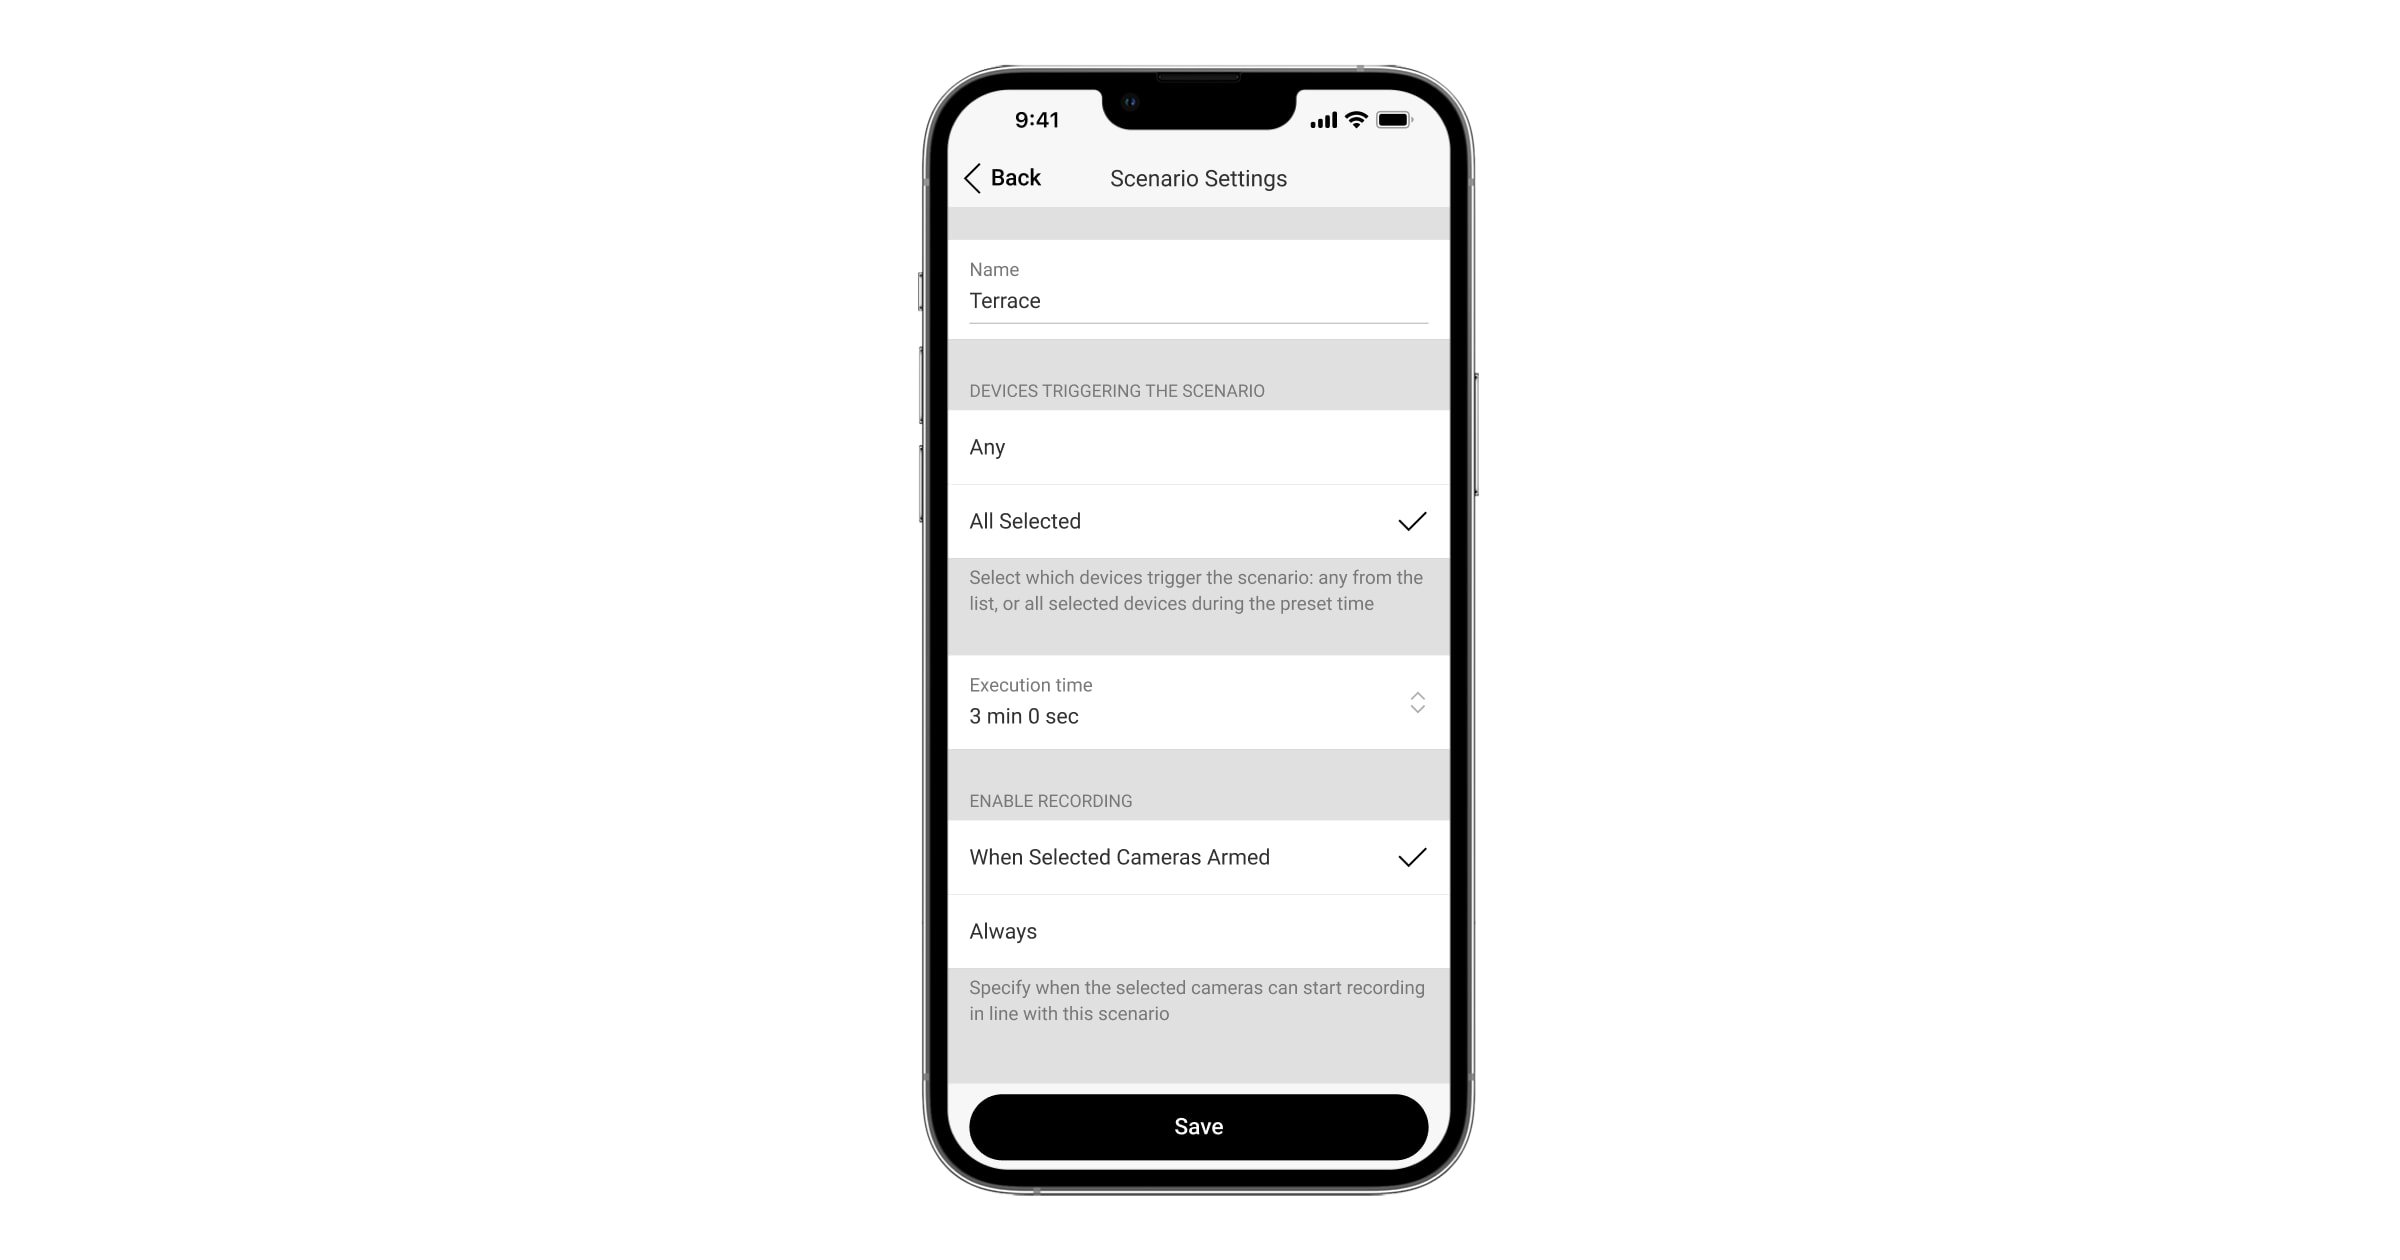
- Type the scenario name.
- If multiple devices are selected, specify which of them trigger the scenario: any from the list or all selected devices during the set time.
- Specify when the selected cameras can start recording in line with this scenario: When selected cameras armed or Always. Click Save.
How to configure a video scenario
To add a video scenario, in the Ajax apps:
- Go to the Devices tab.
- Select the required hub.
- Go to Settings by clicking on the gear icon .
- Go to the Video Scenarios menu.
- Select the required video scenario.
- Set the required parameters.
- Click Back to save the new settings.
Setting Value Name Name of the video scenario. Devices triggering the scenario Any
The video scenario will be triggered by an alarm of at least one of the devices.
When the Always active mode is enabled, the video scenario will trigger even if the system is disarmed.
All Selected The video scenario will run only when all selected devices are triggered.
Max Actuating Time for All Selected Devices From 5 seconds to 60 minutes. If the devices do not raise an alarm within the set time period, the timer will be reset, and the scenario will not trigger.
The setting is available only if the devices triggering the scenario are All Selected
Enable recording When Selected Cameras Armed Selected cameras will record video when the system is armed. Always Selected cameras will record video regardless of the arming mode. Delete Scenario Delete the video scenario and its settings from the list.
How to delete a video scenario
You can delete a video scenario only when all involved devices are disarmed.
To add a video scenario, in the Ajax apps:
- Go to the Devices tab.
- Select the required hub.
- Go to Settings by clicking on the gear icon .
- Go to the Video Scenarios menu.
- Select the required video scenario.
- Click Next twice.
- Click Delete Scenario.
- Click the Delete button on the pop-up window.
You can disable the video scenario; its settings will be saved. To do this, use the toggle to the right of the scenario name.