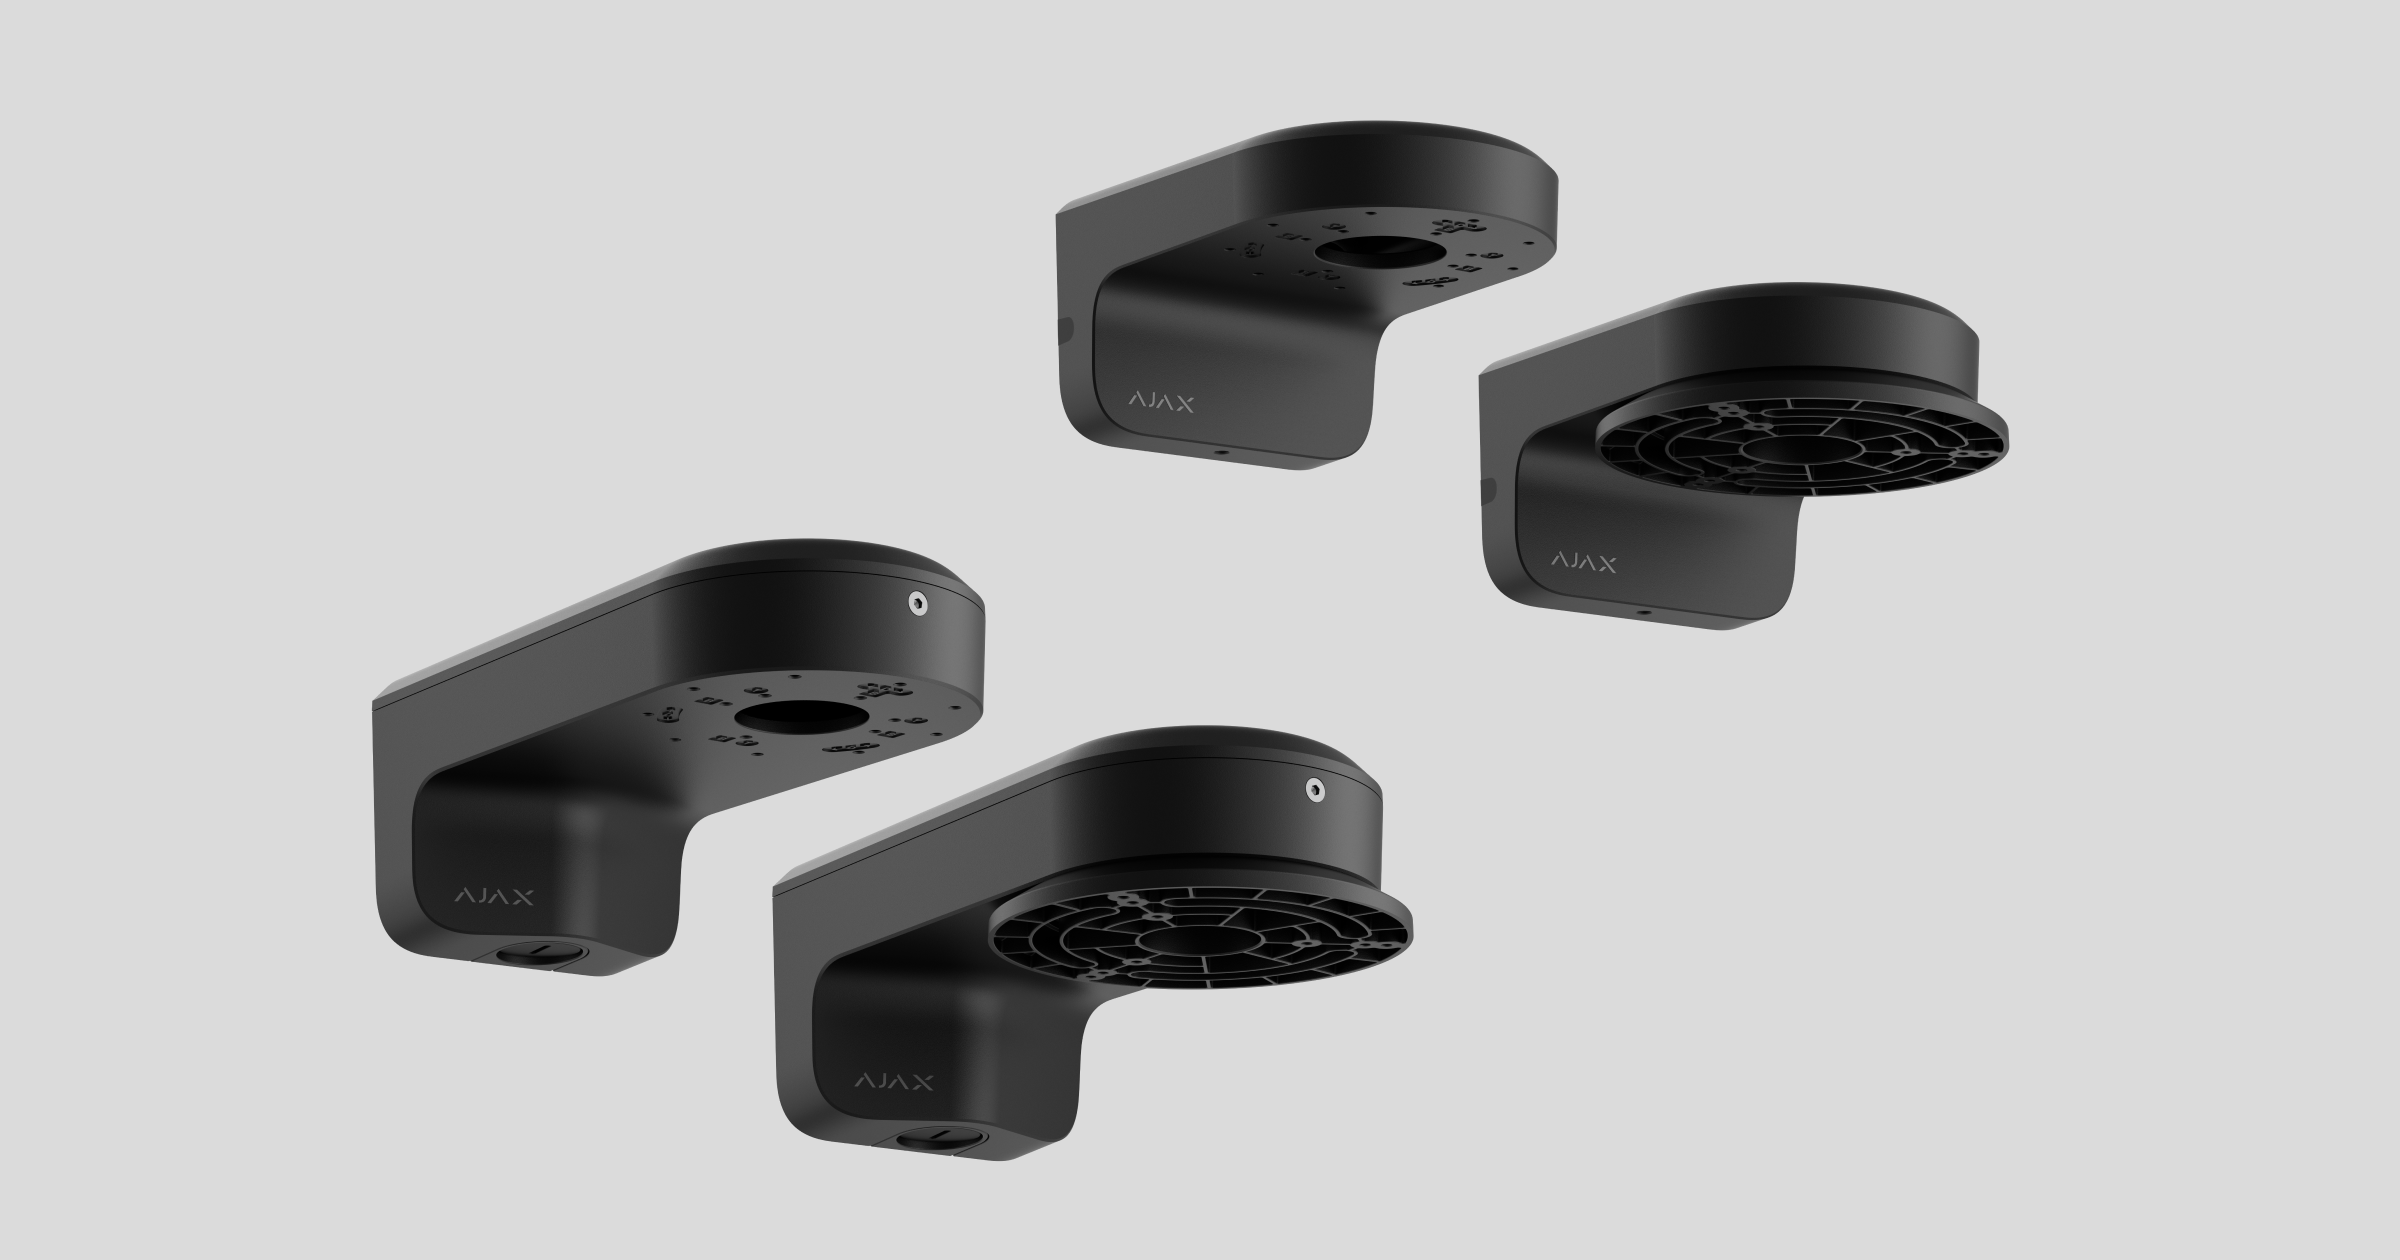
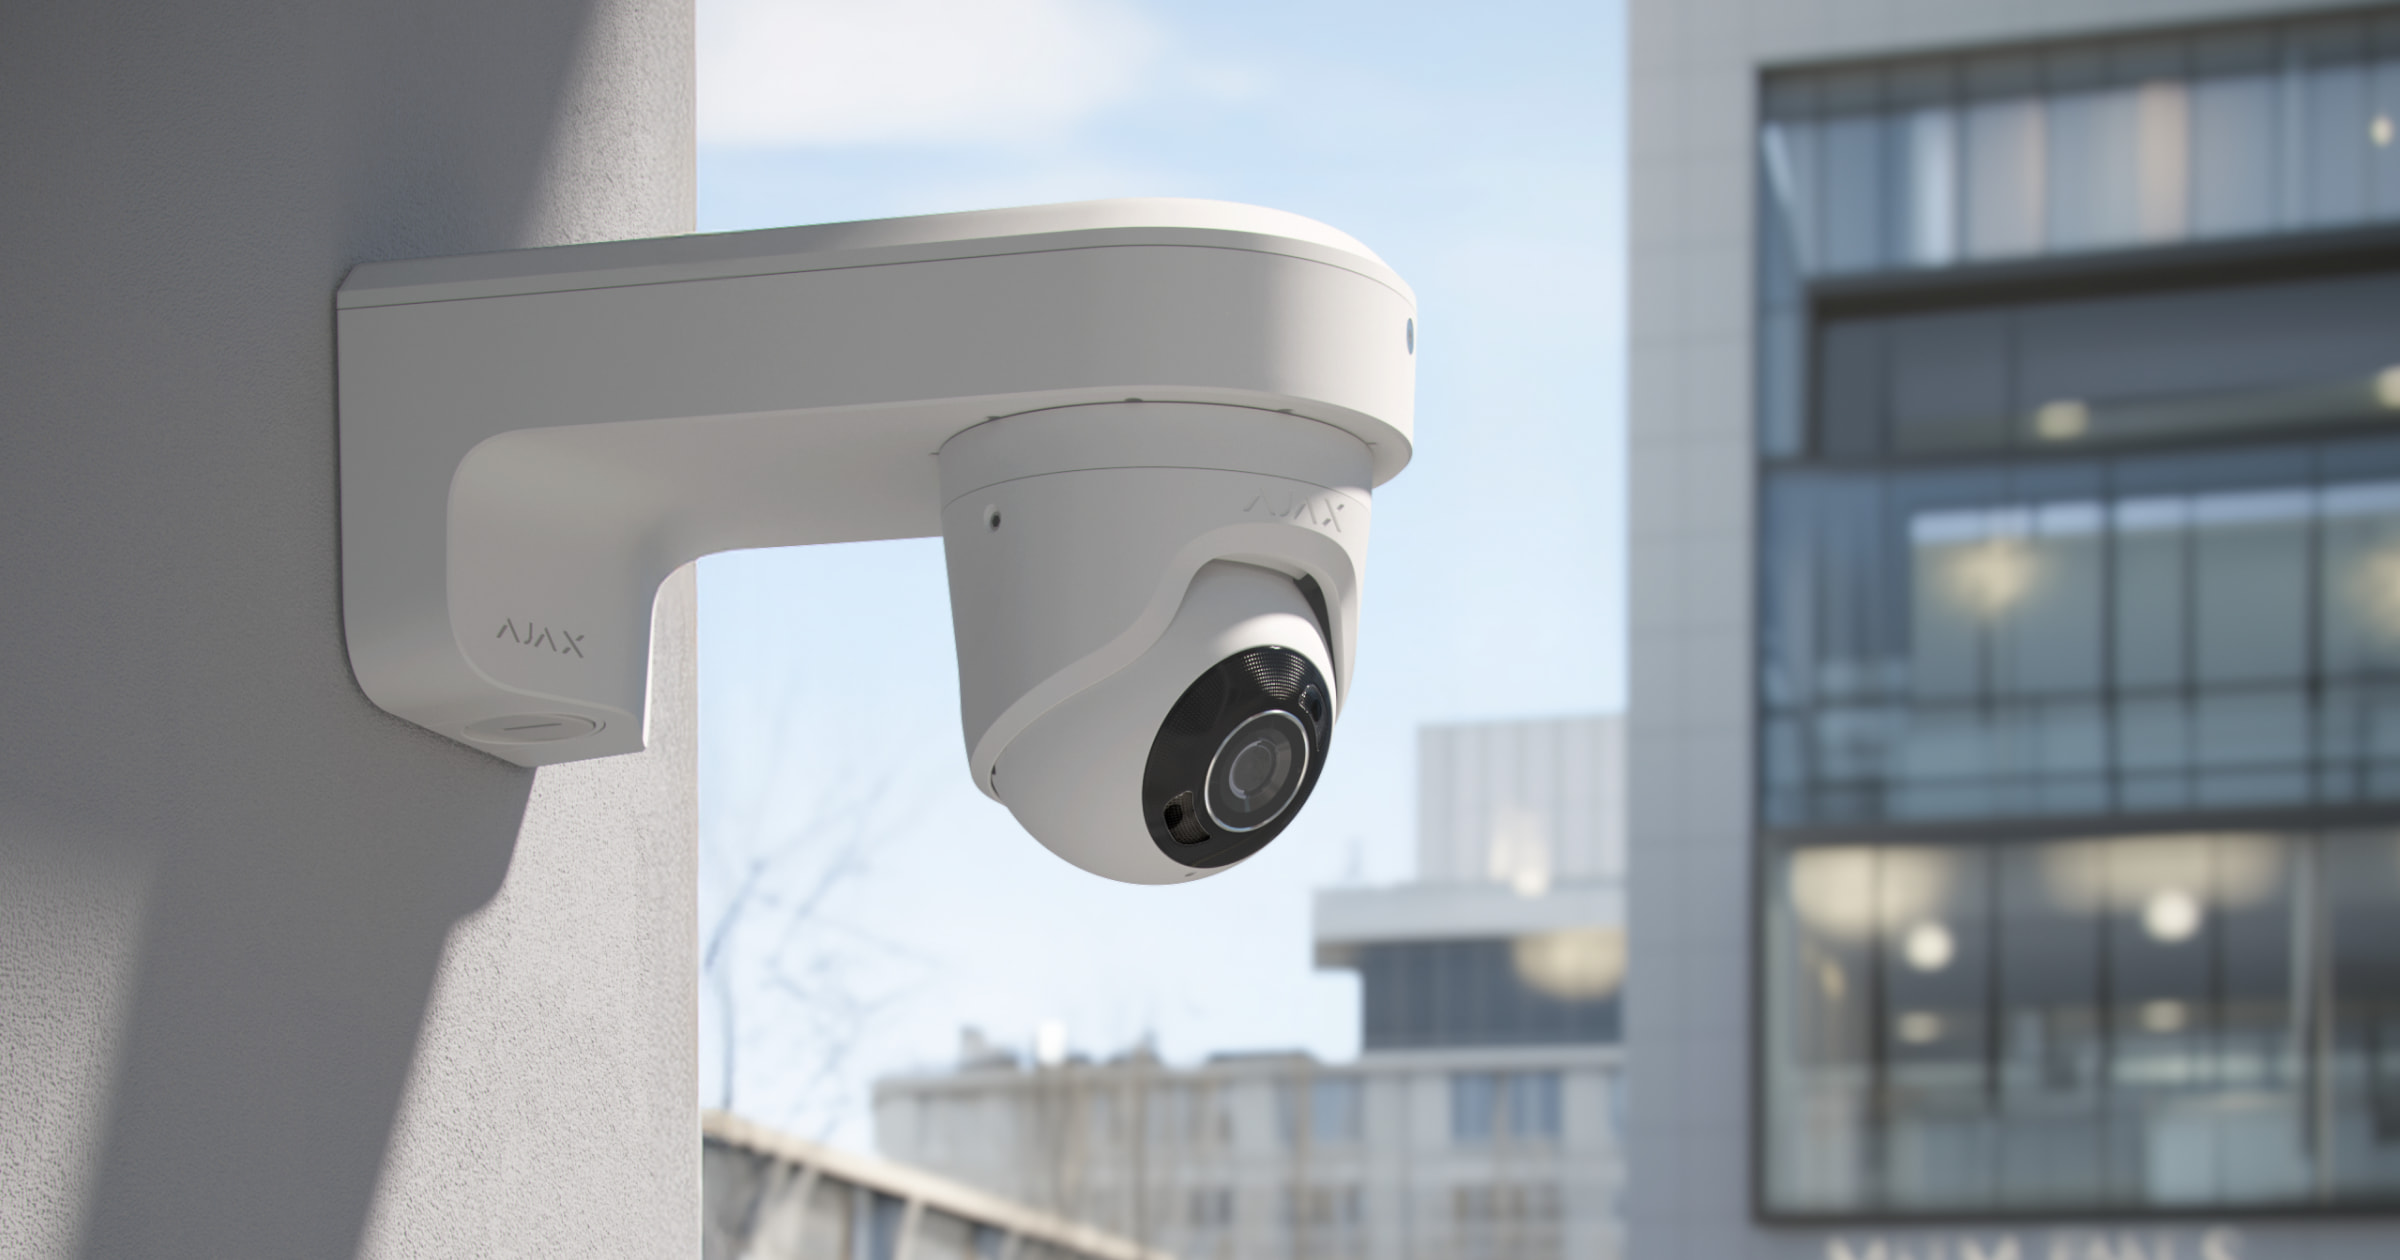
MountCam è una staffa da parete progettata per l’installazione di telecamere Ajax. È disponibile in diverse versioni:
- MountCam A1: staffa da parete da 6,46″;
- MountCam A2: staffa da parete da 6,85″ con adattatore per telecamere dotate di lente varifocale motorizzata;
- MountCam B1: staffa da parete da 9,33″;
- MountCam B2: staffa da parete da 9,53″ con adattatore per telecamere dotate di lente varifocale motorizzata.
Il set completo include tutti gli elementi di fissaggio necessari per l’installazione. La staffa da parete è adatta sia per uso in ambienti interni che esterni.
Elementi funzionali
MountCam A1 / MountCam A2
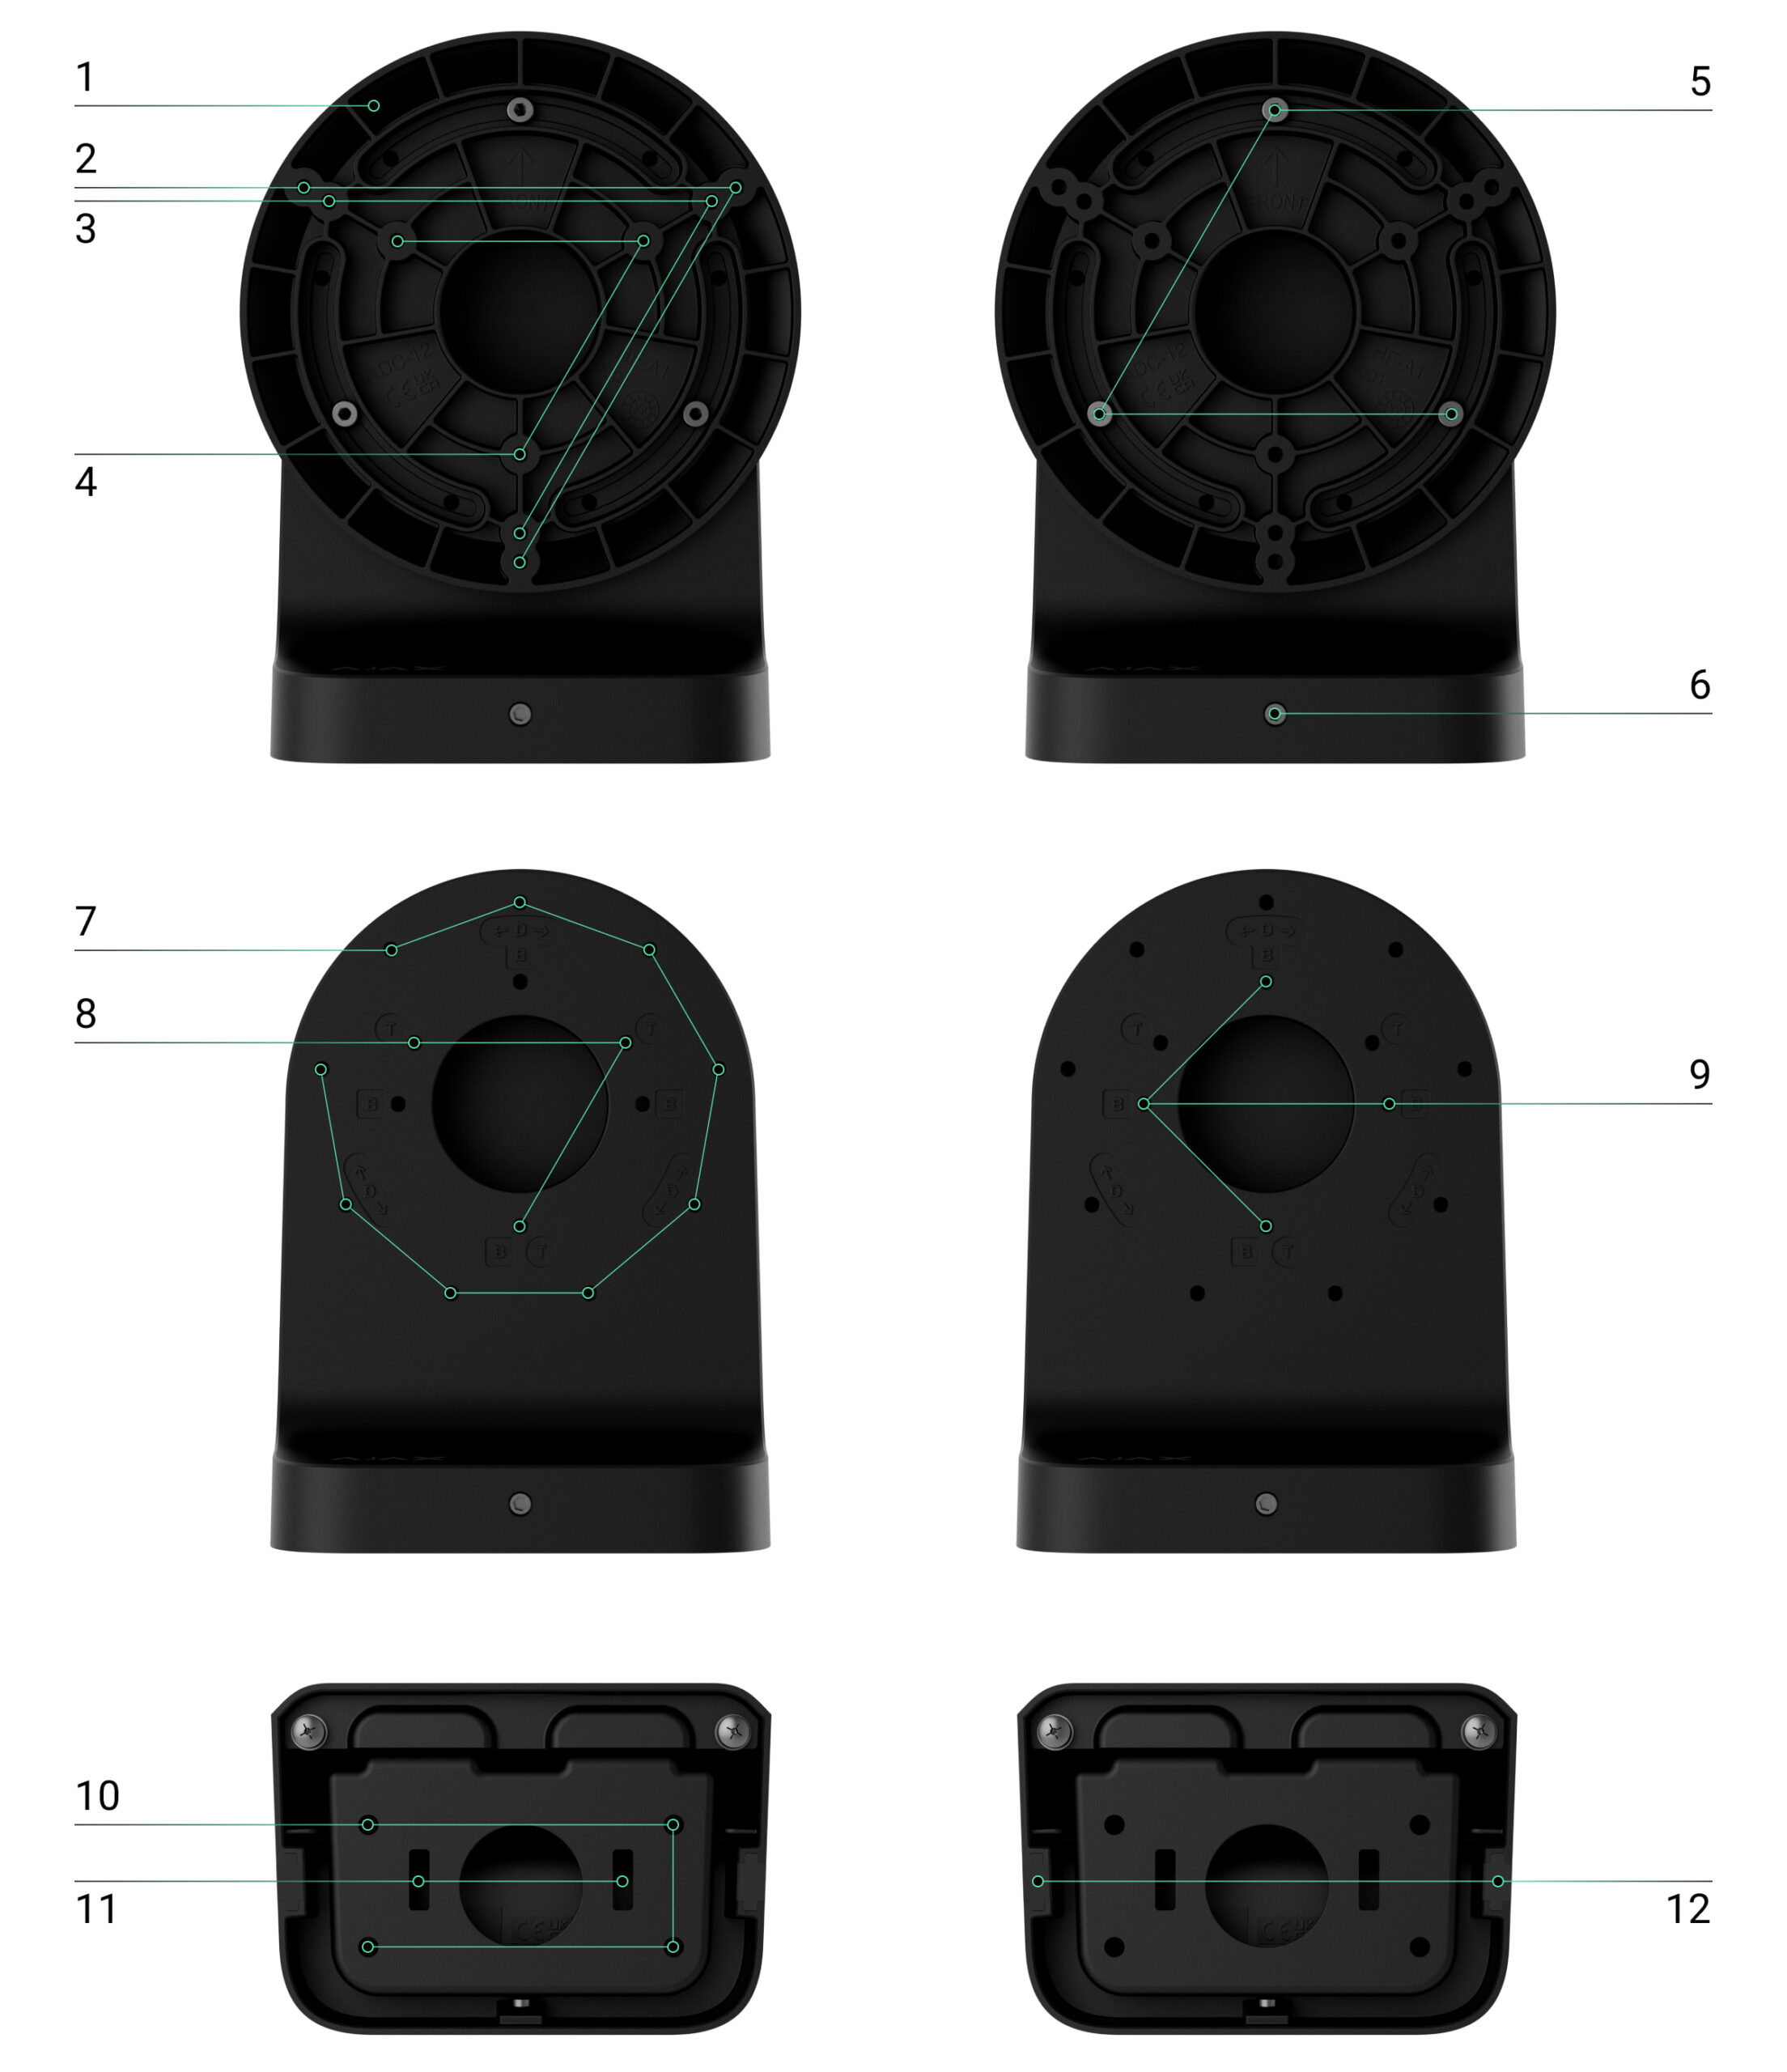
- Adattatore per telecamere con lenti varifocali motorizzate.
- Punti per fissare DomeCam HLVF o Superior DomeCam HLVF all’adattatore.
- Punti per fissare TurretCam HLVF o Superior TurretCam HLVF all’adattatore.
- Punti per fissare Superior BulletCam HLVF all’adattatore.
- Viti di fissaggio per fissare l’adattatore alla custodia MountCam.
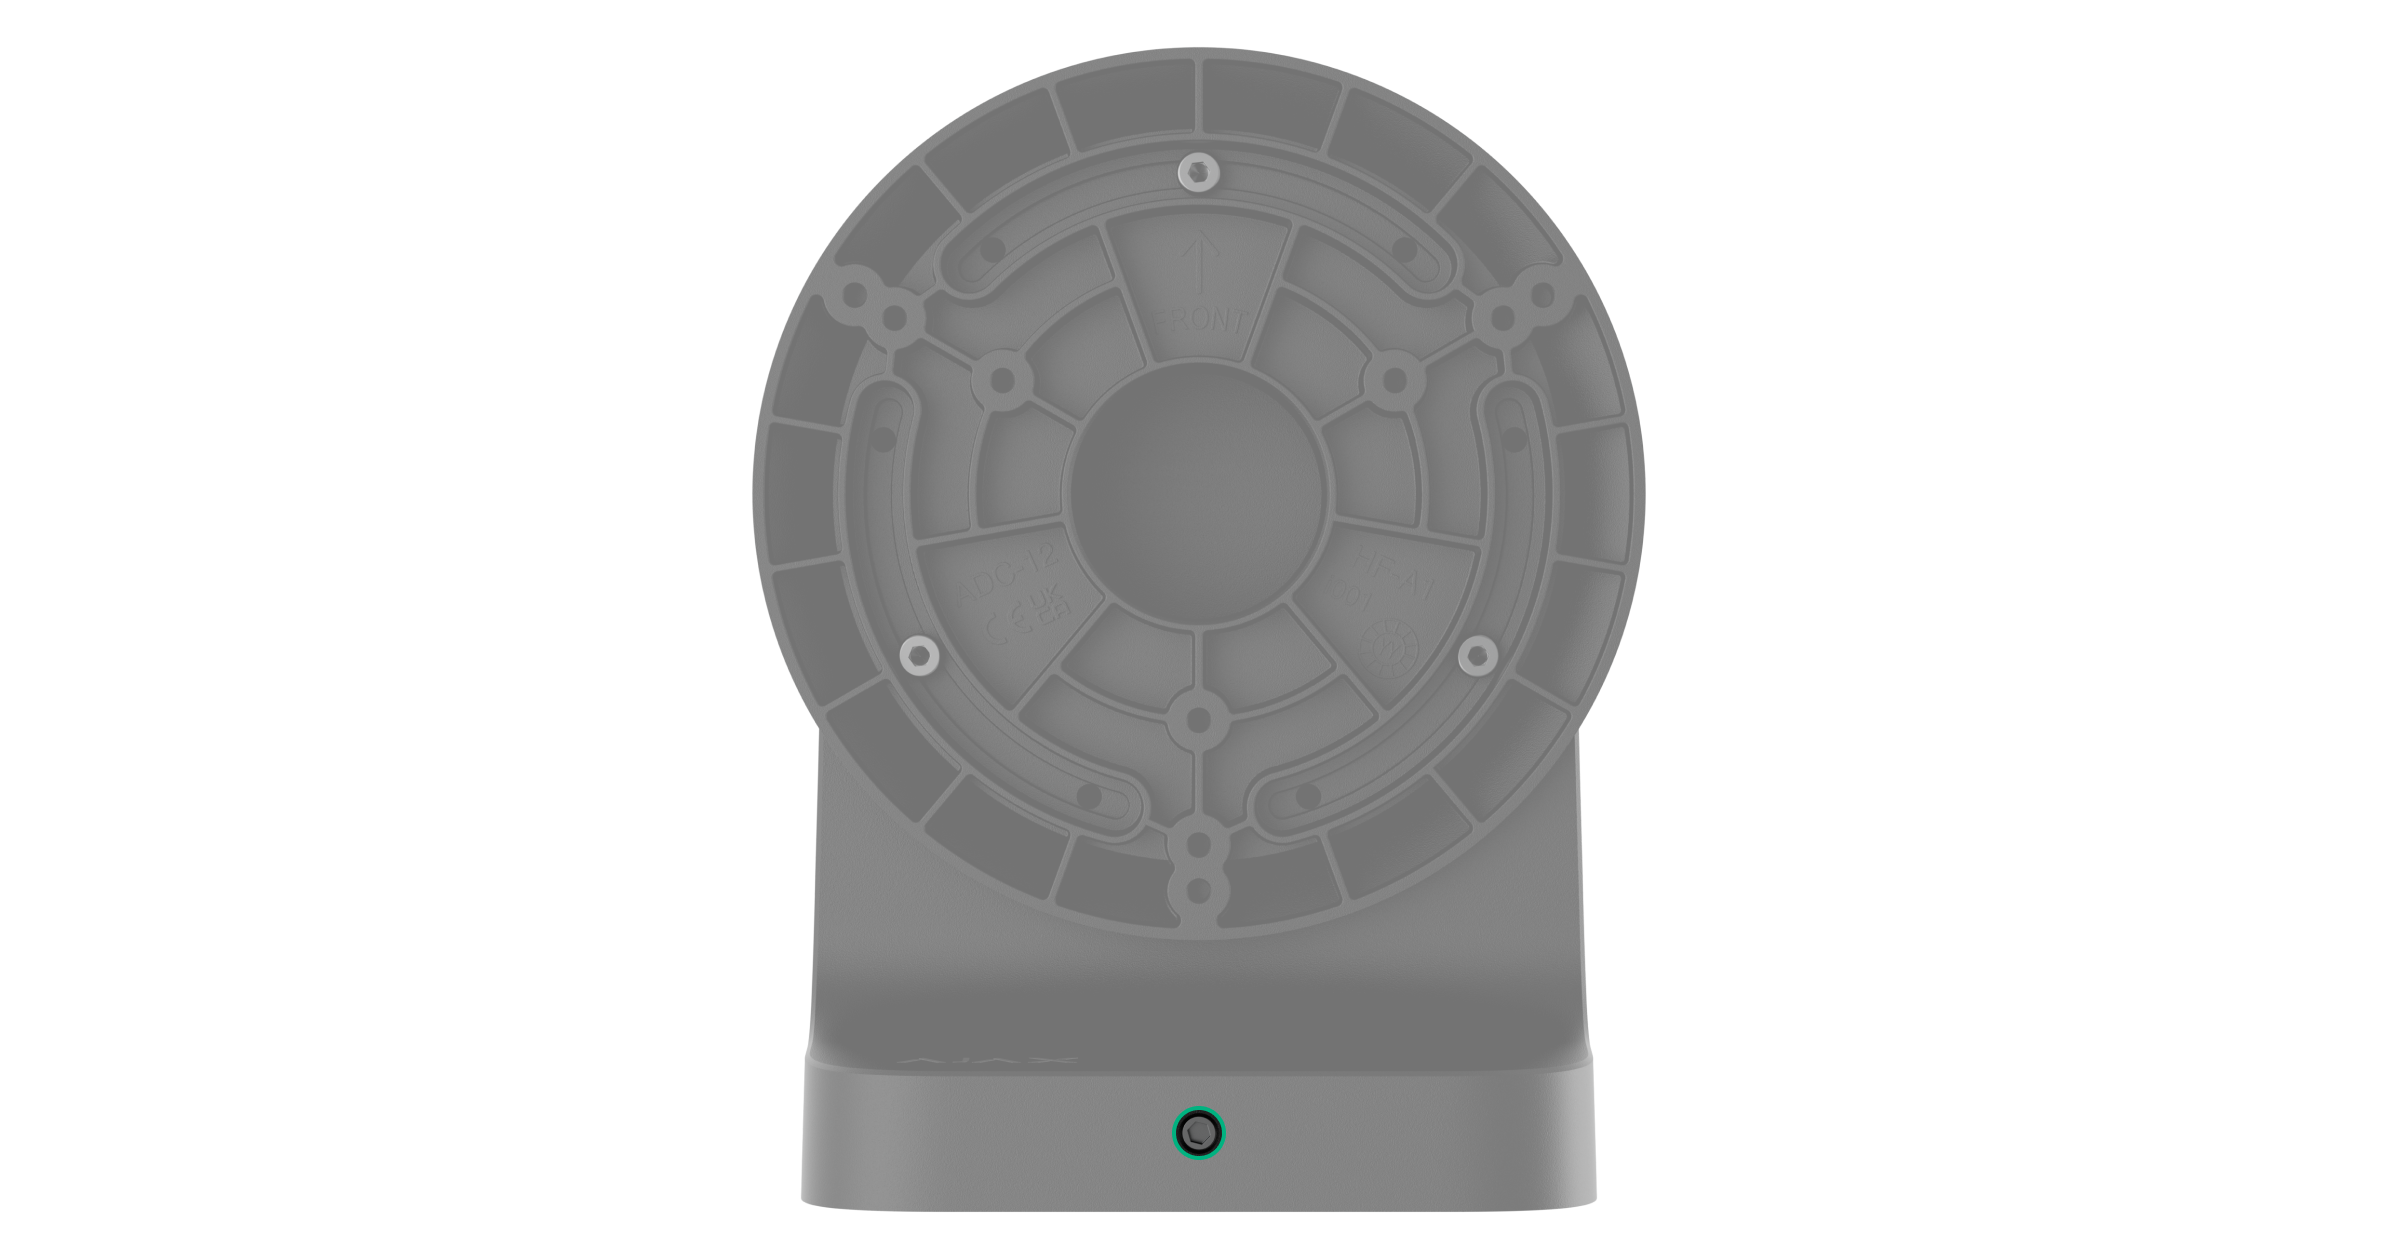
- Vite di fissaggio per fissare MountCam alla staffa MountCam.
- Punti per fissare DomeCam Mini o DomeCam Mini HL alla custodia di MountCam.
- Punti per fissare TurretCam o TurretCam HL alla custodia di MountCam.
- Punti per fissare BulletCam o BulletCam HL alla custodia di MountCam.
- Punti per fissare la staffa MountCam alla superficie.
- Alloggiamenti per cinturini per fissare MountCam a un palo.
- Chiusure. Rimuoverle per far passare il cavo lateralmente.
MountCam B1 / MountCam B2

- Adattatore per telecamere con lenti varifocali motorizzate.
- Punti per fissare DomeCam HLVF o Superior DomeCam HLVF all’adattatore.
- Punti per fissare TurretCam HLVF o Superior TurretCam HLVF all’adattatore.
- Punti per fissare Superior BulletCam HLVF all’adattatore.
- Viti di fissaggio per fissare l’adattatore alla custodia MountCam.
- Connettore. Rimuoverlo per far passare il cavo.
- Punti per fissare DomeCam Mini o DomeCam Mini HL alla custodia di MountCam.
- Punti per fissare TurretCam o TurretCam HL alla custodia di MountCam.
- Punti per fissare BulletCam o BulletCam HL alla custodia di MountCam.
- Vite di fissaggio per fissare MountCam alla staffa MountCam.
- Punti per fissare la staffa MountCam alla superficie.
- Alloggiamenti per cinturini per fissare MountCam a un palo.
Dispositivi compatibili
È possibile installare una di queste telecamere su MountCam.
Tabella di compatibilità
| MountCam / Telecamera Ajax |
BulletCam TurretCam DomeCam Mini |
BulletCam HL TurretCam HL DomeCam Mini HL |
TurretCam HLVF DomeCam HLVF |
Superior BulletCam HLVF Superior TurretCam HLVF Superior DomeCam HLVF |
| MountCam A1 | + | + | – | – |
| MountCam B1 | + | + | – | – |
| MountCam A2 | + | + | + | + |
| MountCam B2 | + | + | + | + |
BulletCam HLVF non è compatibile con le staffe MountCam.
MountCam è venduta separatamente dalle telecamere Ajax.
Caratteristiche principali
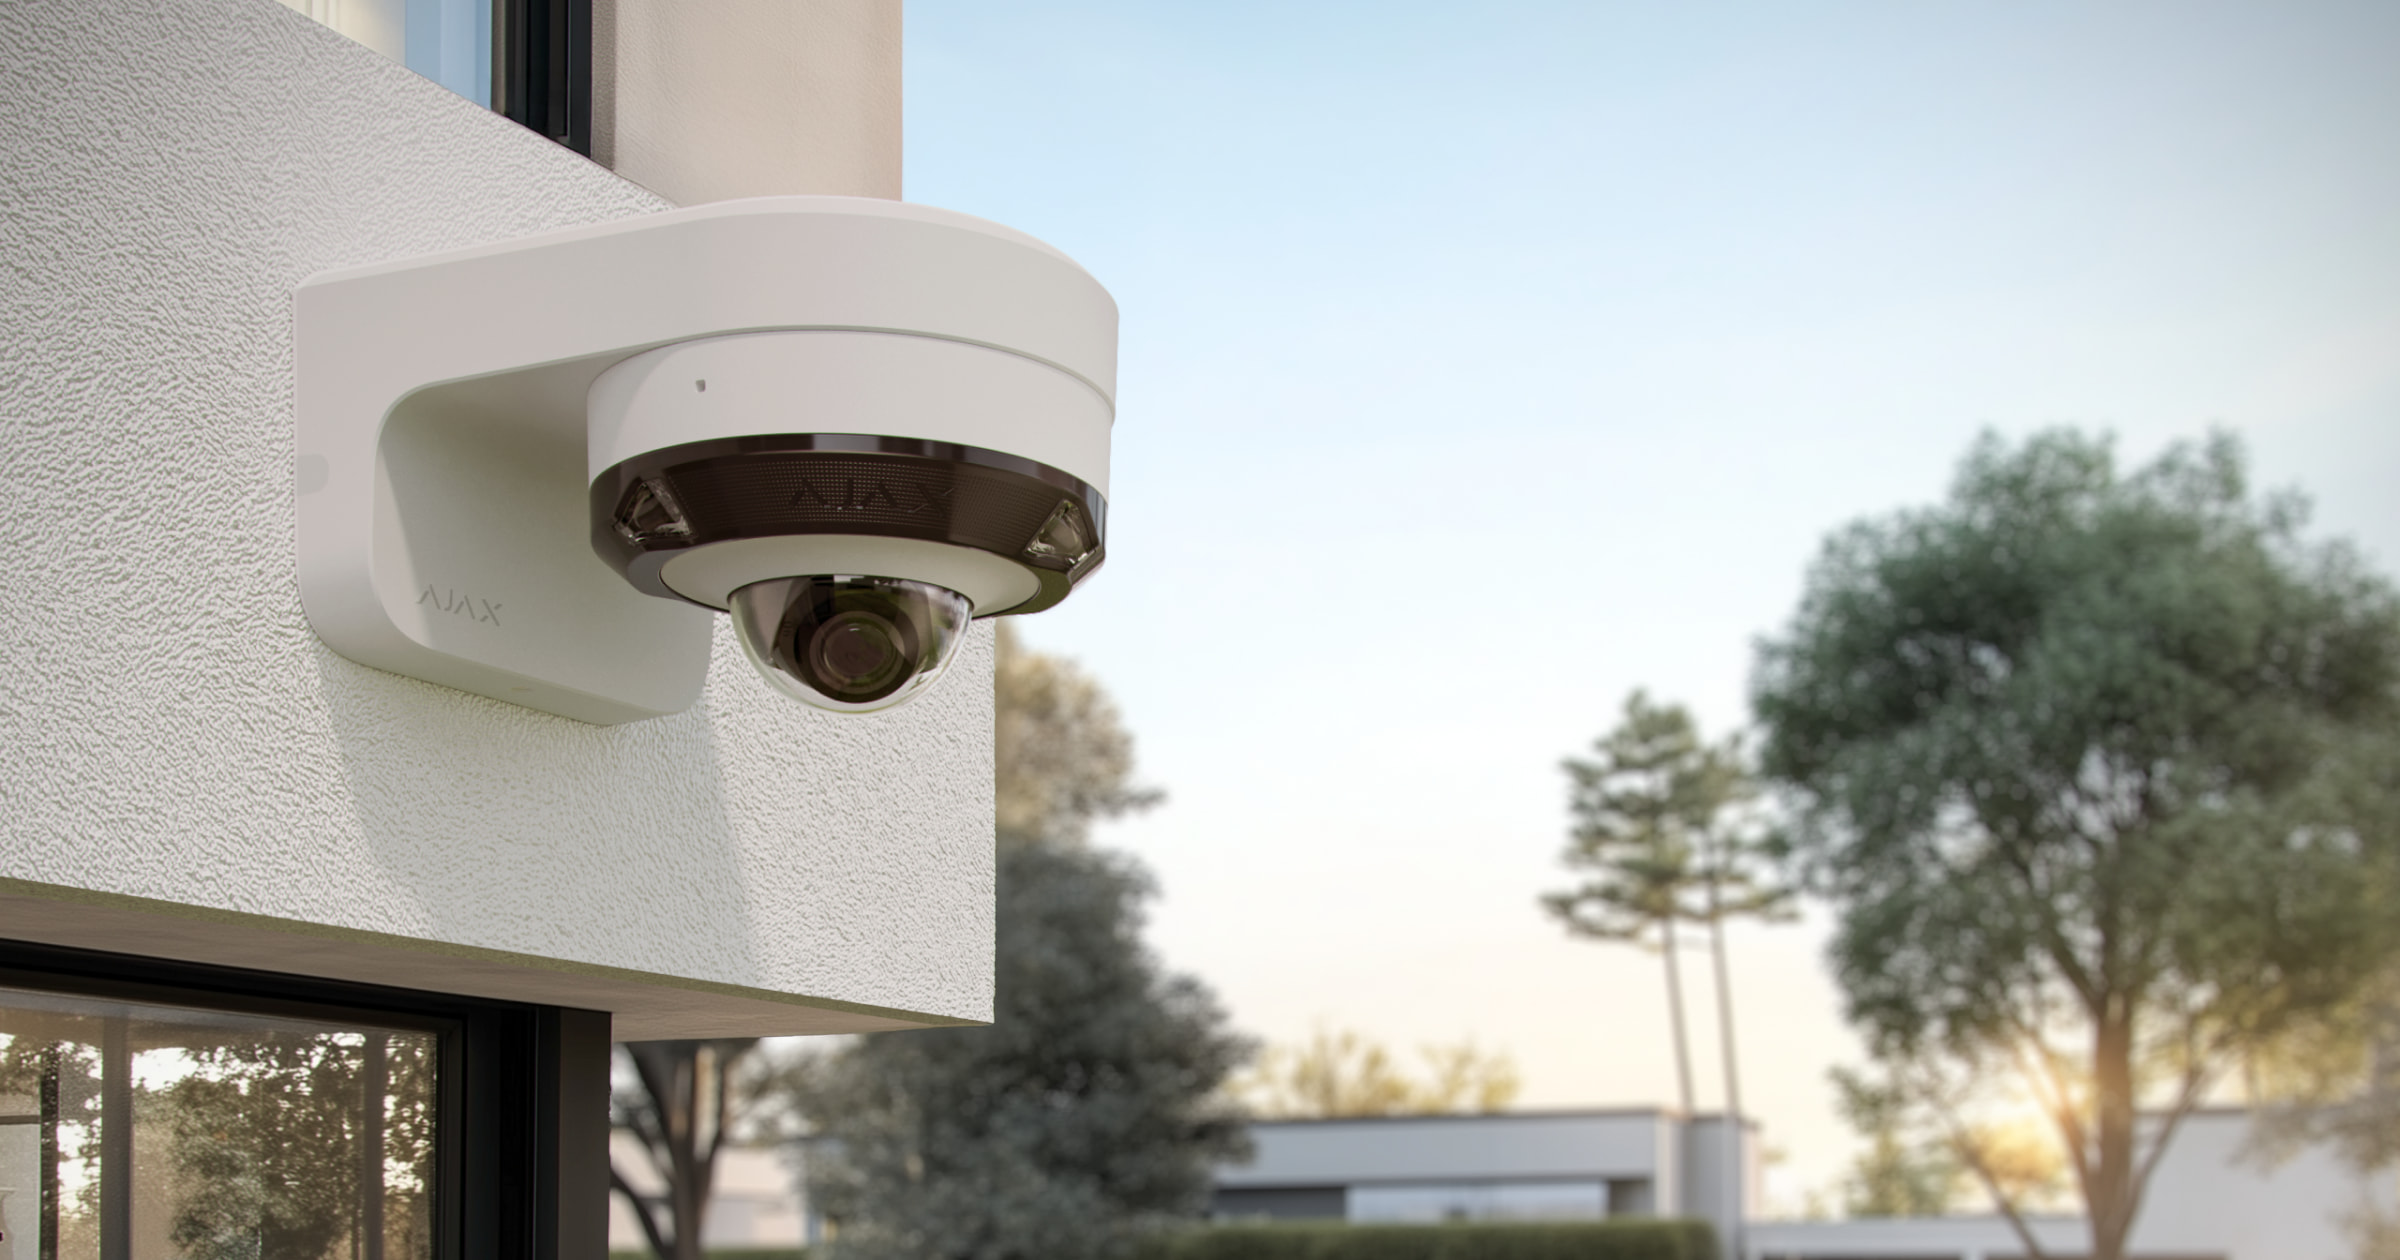
La staffa a parete a forma di L è disponibile in due versioni: con braccio corto (MountCam A1 e MountCam A2) e con braccio lungo (MountCam B1 e MountCam B2). Entrambe le versioni sono progettate per montare le telecamere con un angolo di 90° rispetto alla superficie della parete. Le staffe sono adatte per l’uso in ambienti interni ed esterni. Garantiscono che le telecamere siano fissate in modo affidabile in posizioni in cui le staffe standard non sono sufficienti o il campo visivo della telecamera potrebbe essere ostruito.
Le staffe MountCam A1 e MountCam A2 offrono un’installazione compatta vicino alla parete. Con le staffe MountCam B1 e MountCam B2, le telecamere possono essere installate a una certa distanza dalla parete per garantire un campo visivo senza ostacoli. La staffa supporta l’installazione di telecamere varifocali.
Le staffe sono dotate di punti di fissaggio preforati, inserti filettati e un set completo di elementi di fissaggio, consentendo un’installazione senza difficoltà anche da parte di un solo installatore.
Scelta del luogo di installazione
Il luogo di installazione della staffa MountCam deve rispettare le raccomandazioni per il montaggio dei dispositivi installati utilizzando la staffa.
Si deve tenere conto delle raccomandazioni quando si progetta un sistema Ajax per un impianto.
Dove non installare MountCam
- In luoghi in cui i livelli di temperatura e umidità non sono compatibili con i parametri operativi specificati. Ciò potrebbe danneggiare la staffa da parete.
- In luoghi in cui le condizioni non soddisfano i requisiti per un dispositivo installato con la staffa da parete.
Preparazione all’installazione
Disposizione dei cavi
Quando si prepara la posa dei cavi, è necessario verificare le norme di sicurezza elettrica e antincendio della propria regione. Bisogna attenersi rigorosamente agli standard e ai regolamenti. Suggerimenti per la disposizione dei cavi sono disponibili in questo articolo.
Passaggio dei cavi
Si raccomanda di leggere attentamente la sezione Scelta del luogo di installazione prima dell’installazione. Cercate di evitare qualsiasi modifica al progetto del sistema. L’inosservanza delle regole di base per l’installazione e delle raccomandazioni del presente manuale comporta un funzionamento errato e la perdita di connessione con i dispositivi installati con MountCam.
Installazione
Prima dell’installazione, assicurarsi di aver selezionato la posizione ottimale per la staffa da parete e che sia conforme ai requisiti di questo manuale.
Come installare MountCam A1 / MountCam A2
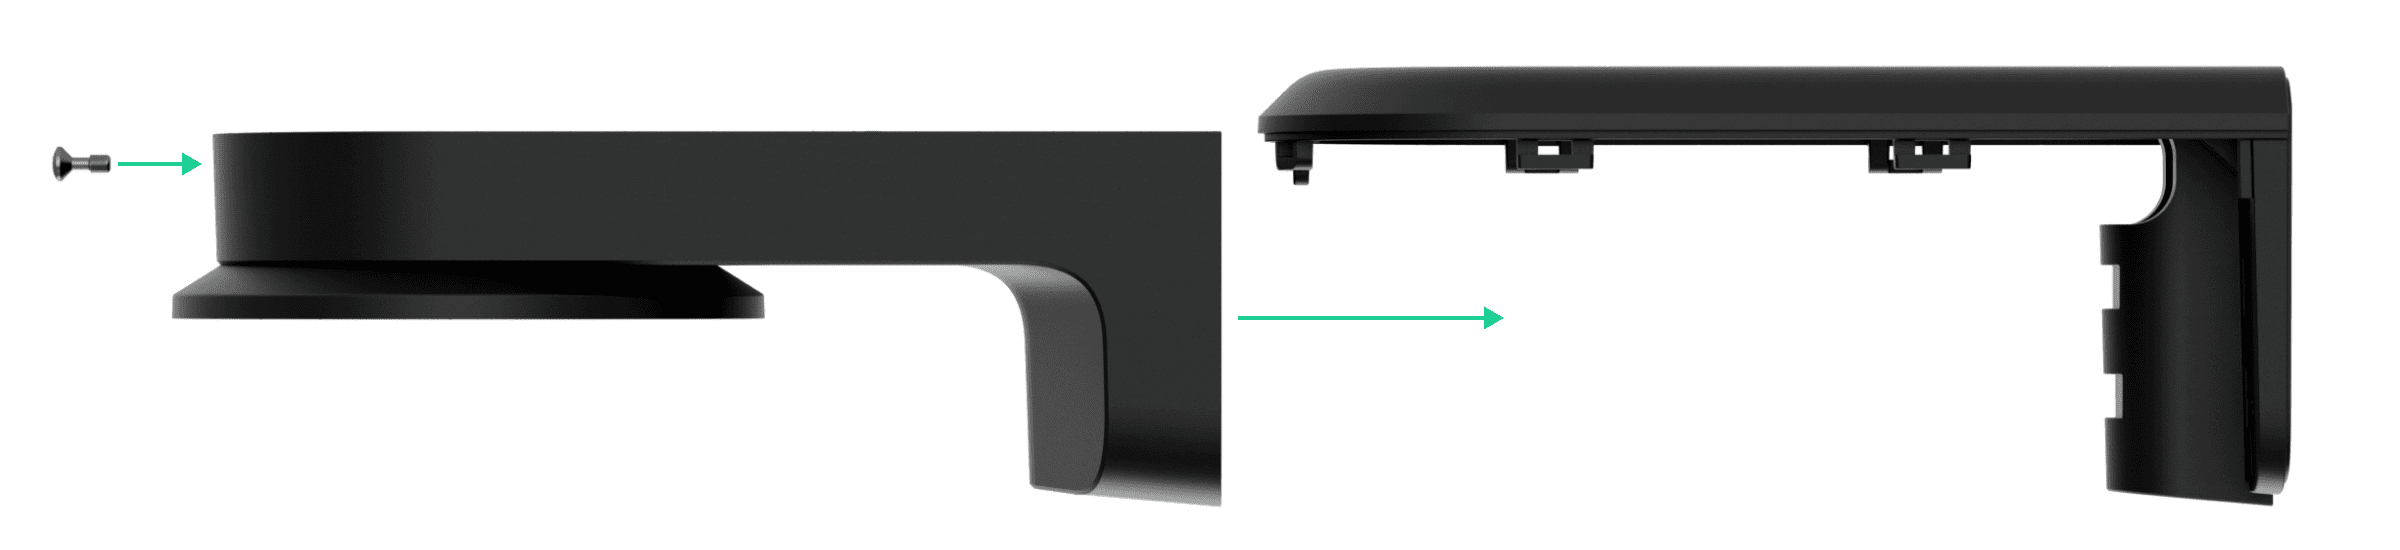
- Utilizzando la chiave esagonale in dotazione (Ø 3 mm), allentare la vite di fissaggio e rimuovere la staffa MountCam.
- Utilizzare la dima di montaggio per segnare i punti in cui praticare i fori sulla superficie in cui si intende installare MountCam. Allineare la dima di montaggio con il punto di ingresso dei cavi. Fissare la dima di montaggio al luogo di fissaggio prescelto con il nastro adesivo e praticare quattro fori come indicato sulla dima di montaggio.
- Far passare uno o due cavi nella staffa attraverso il foro corrispondente.
- Utilizzando tutti i punti di fissaggio, fissare la staffa MountCam alla superficie nel luogo di installazione selezionato con le viti in dotazione. Se necessario, utilizzare gli alloggiamenti per cinturini per fissare la staffa a un palo.

- Installare una telecamera Ajax compatibile sulla custodia di MountCam o sull’adattatore. Fissare l’adattatore alla custodia di MountCam utilizzando la vite in dotazione.
- Collegare il cavo Ethernet alla telecamera. Se la telecamera è alimentata tramite PoE, non è necessaria alcuna alimentazione esterna. In caso contrario, collegare sia il cavo di alimentazione esterno sia il cavo Ethernet alla telecamera.
- Instradare i cavi della telecamera all’interno della custodia di MountCam.
- Installare la custodia di MountCam sulla staffa.
- Fissare la custodia di MountCam stringendo la vite con la chiave esagonale in dotazione (Ø 3 mm).
Come installare MountCam B1 / MountCam B2
- Utilizzando la chiave esagonale in dotazione (Ø 3 mm), svitare la vite di fissaggio per smontare la custodia di MountCam.

- Utilizzare la dima di montaggio per segnare i punti in cui praticare i fori sulla superficie in cui si intende installare MountCam. Allineare la dima di montaggio con il punto di ingresso dei cavi. Fissare la dima di montaggio al luogo di fissaggio prescelto con il nastro adesivo e praticare quattro fori come indicato sulla dima di montaggio.
- Rimuovere il connettore e far passare i cavi attraverso l’ingresso cavi o il foro della staffa nella custodia di MountCam.
- Utilizzando tutti i punti di fissaggio, fissare la custodia di MountCam alla superficie nel luogo di installazione selezionato con le viti in dotazione. Se necessario, utilizzare gli alloggiamenti per cinturini per fissare la staffa a un palo.

- Installare una telecamera Ajax compatibile sulla custodia di MountCam o sull’adattatore. Fissare l’adattatore alla custodia di MountCam utilizzando la vite in dotazione.
- Collegare il cavo Ethernet alla telecamera. Se la telecamera è alimentata tramite PoE, non è necessaria alcuna alimentazione esterna. In caso contrario, collegare sia il cavo di alimentazione esterno sia il cavo Ethernet alla telecamera.
- Instradare i cavi della telecamera all’interno della custodia di MountCam.
- Assemblare la custodia MountCam. Fissarla utilizzando la vite in dotazione.
Manutenzione
MountCam non richiede manutenzione.
Specifiche tecniche
Garanzia
La garanzia per i prodotti della Limited Liability Company “Ajax Systems Manufacturing” è valida per 2 anni a partire dalla data di acquisto.
In caso di malfunzionamento del dispositivo, si prega di contattare il supporto tecnico Ajax. Nella maggior parte dei casi, i problemi tecnici possono essere risolti a distanza.
Contattare il supporto tecnico:
Produttore: “AS Manufacturing” LLC
