Button

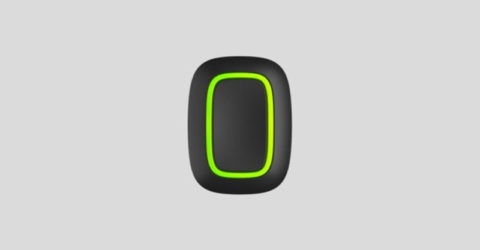
Wireless panic button / remote control for scenarios

FAQ

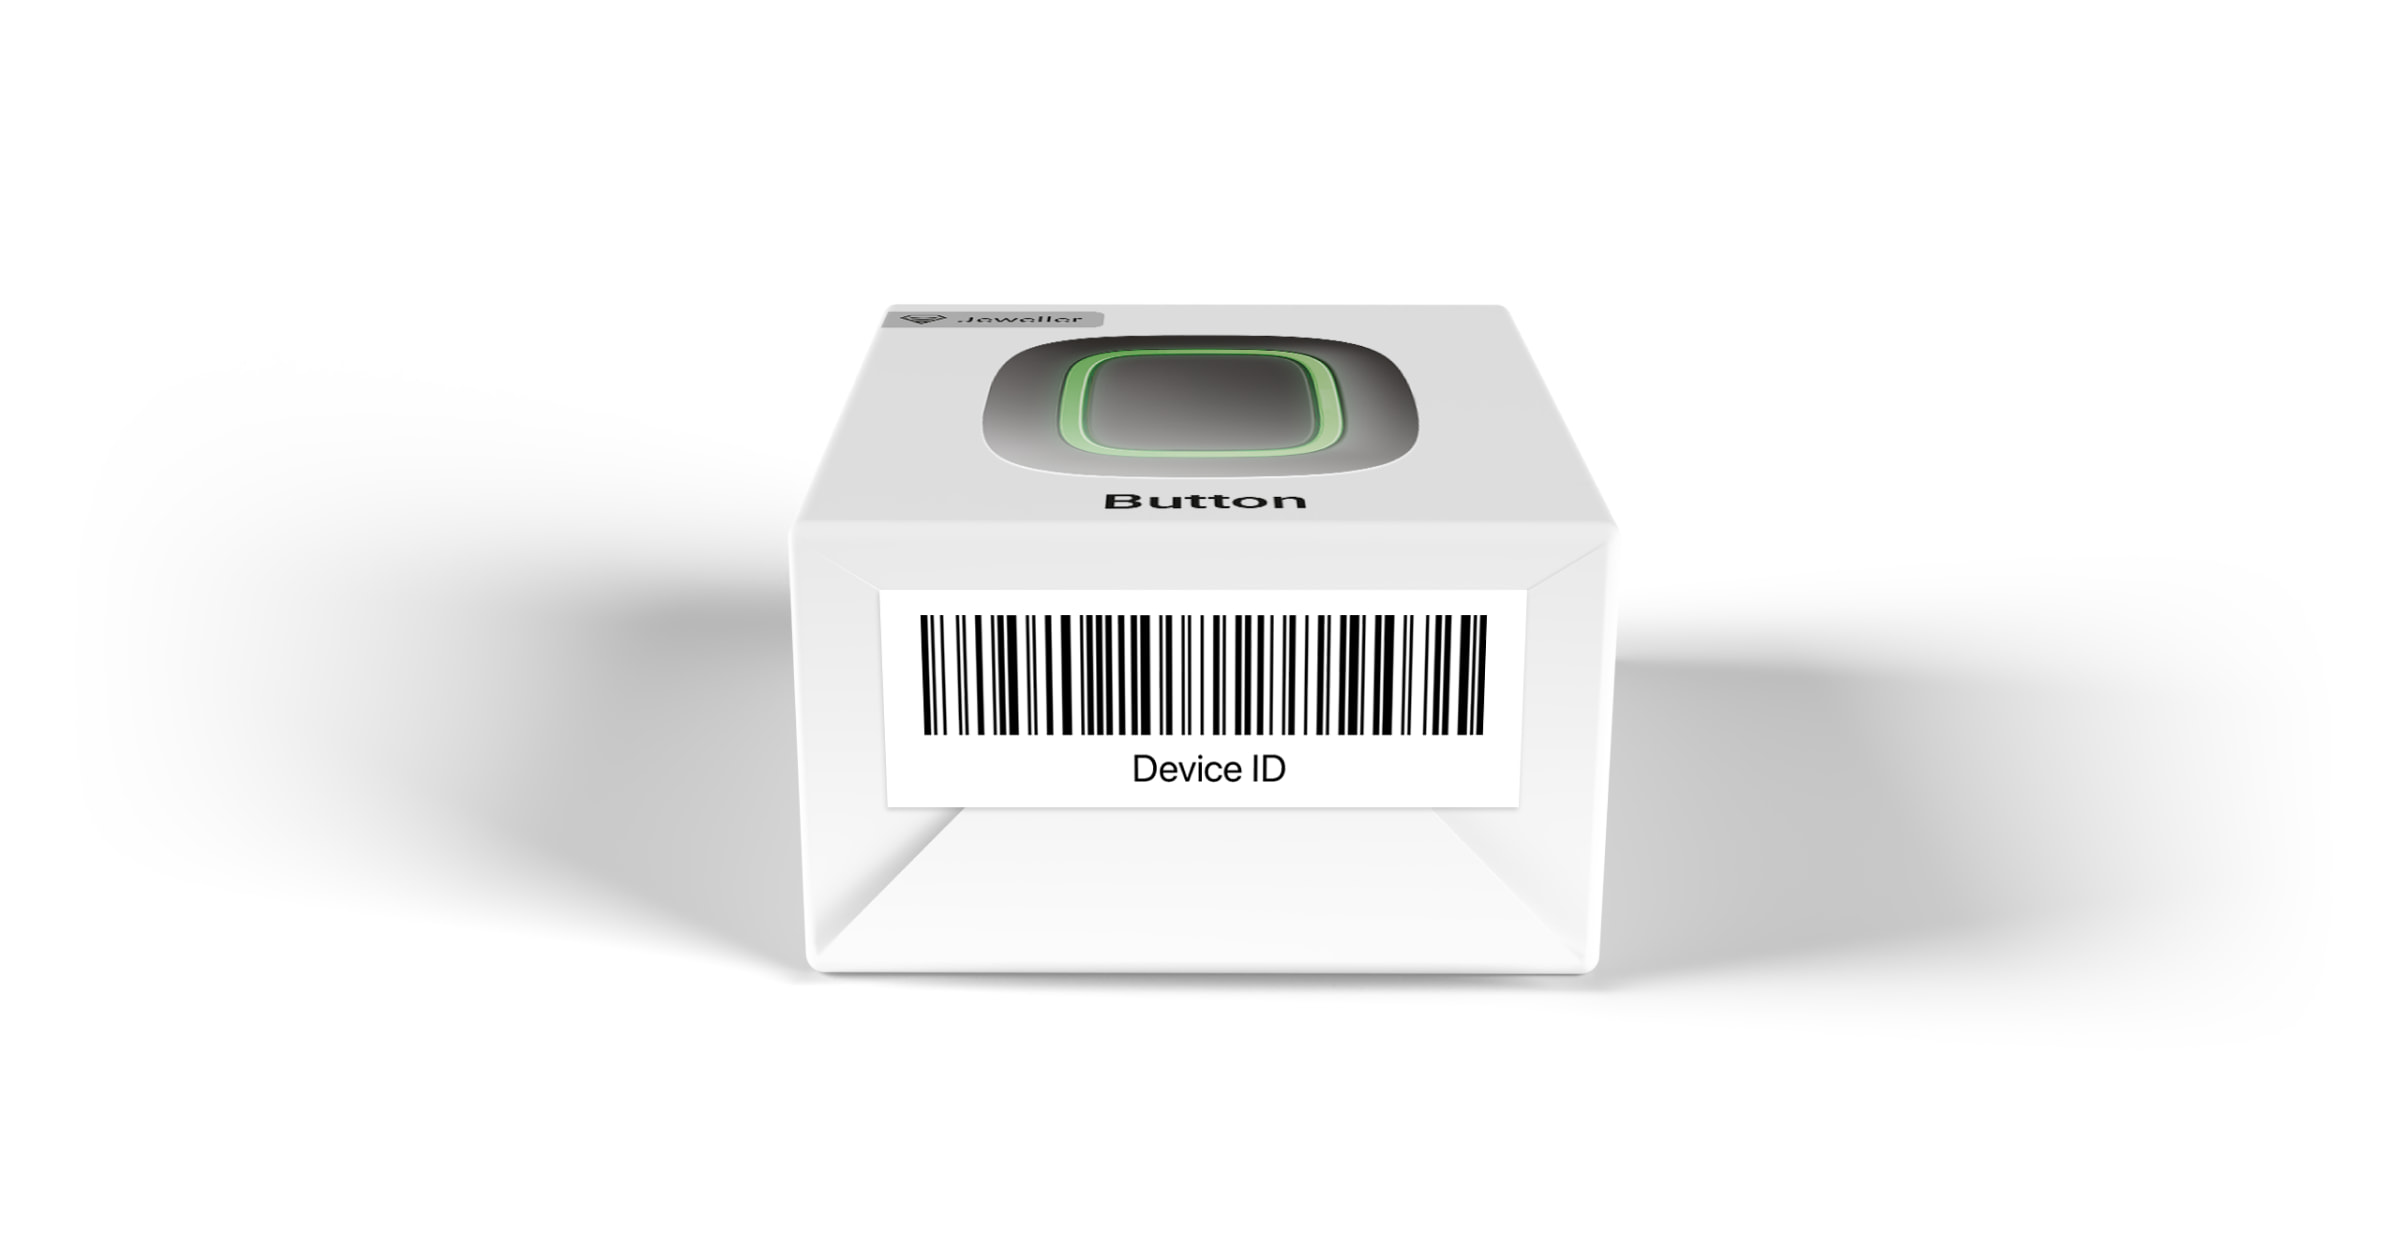
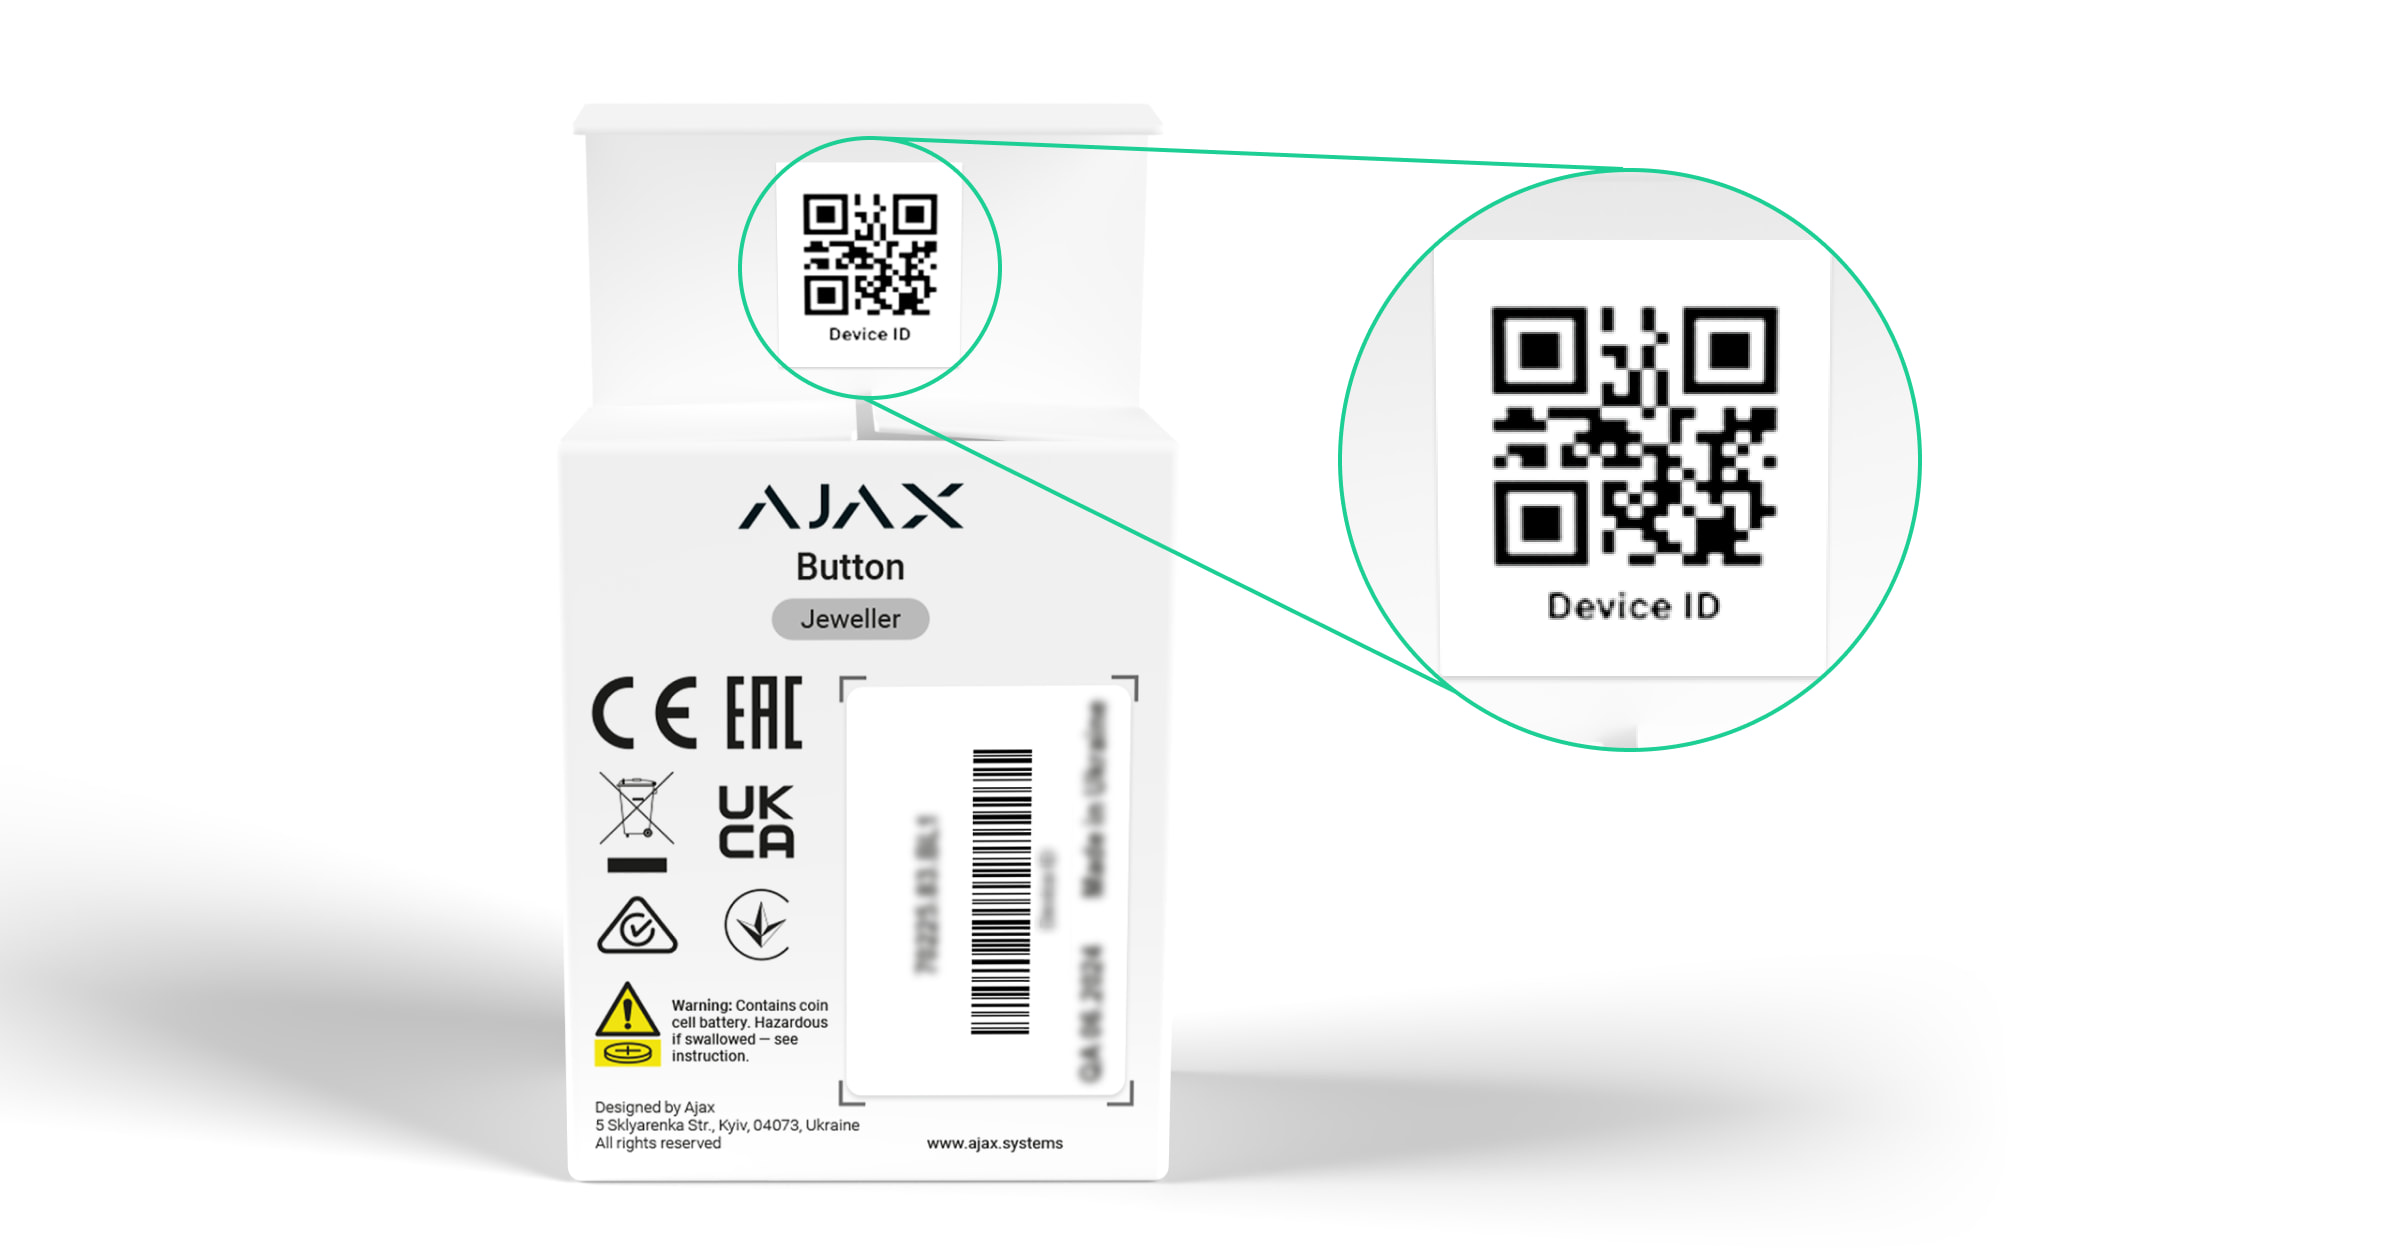
The identifier (ID) is the serial number of the device. It is located under the QR code on the body, board, and packaging of the device.

ID at the bottom of the box
ID under the lid
The ID can also be found in the device states in the Ajax app.
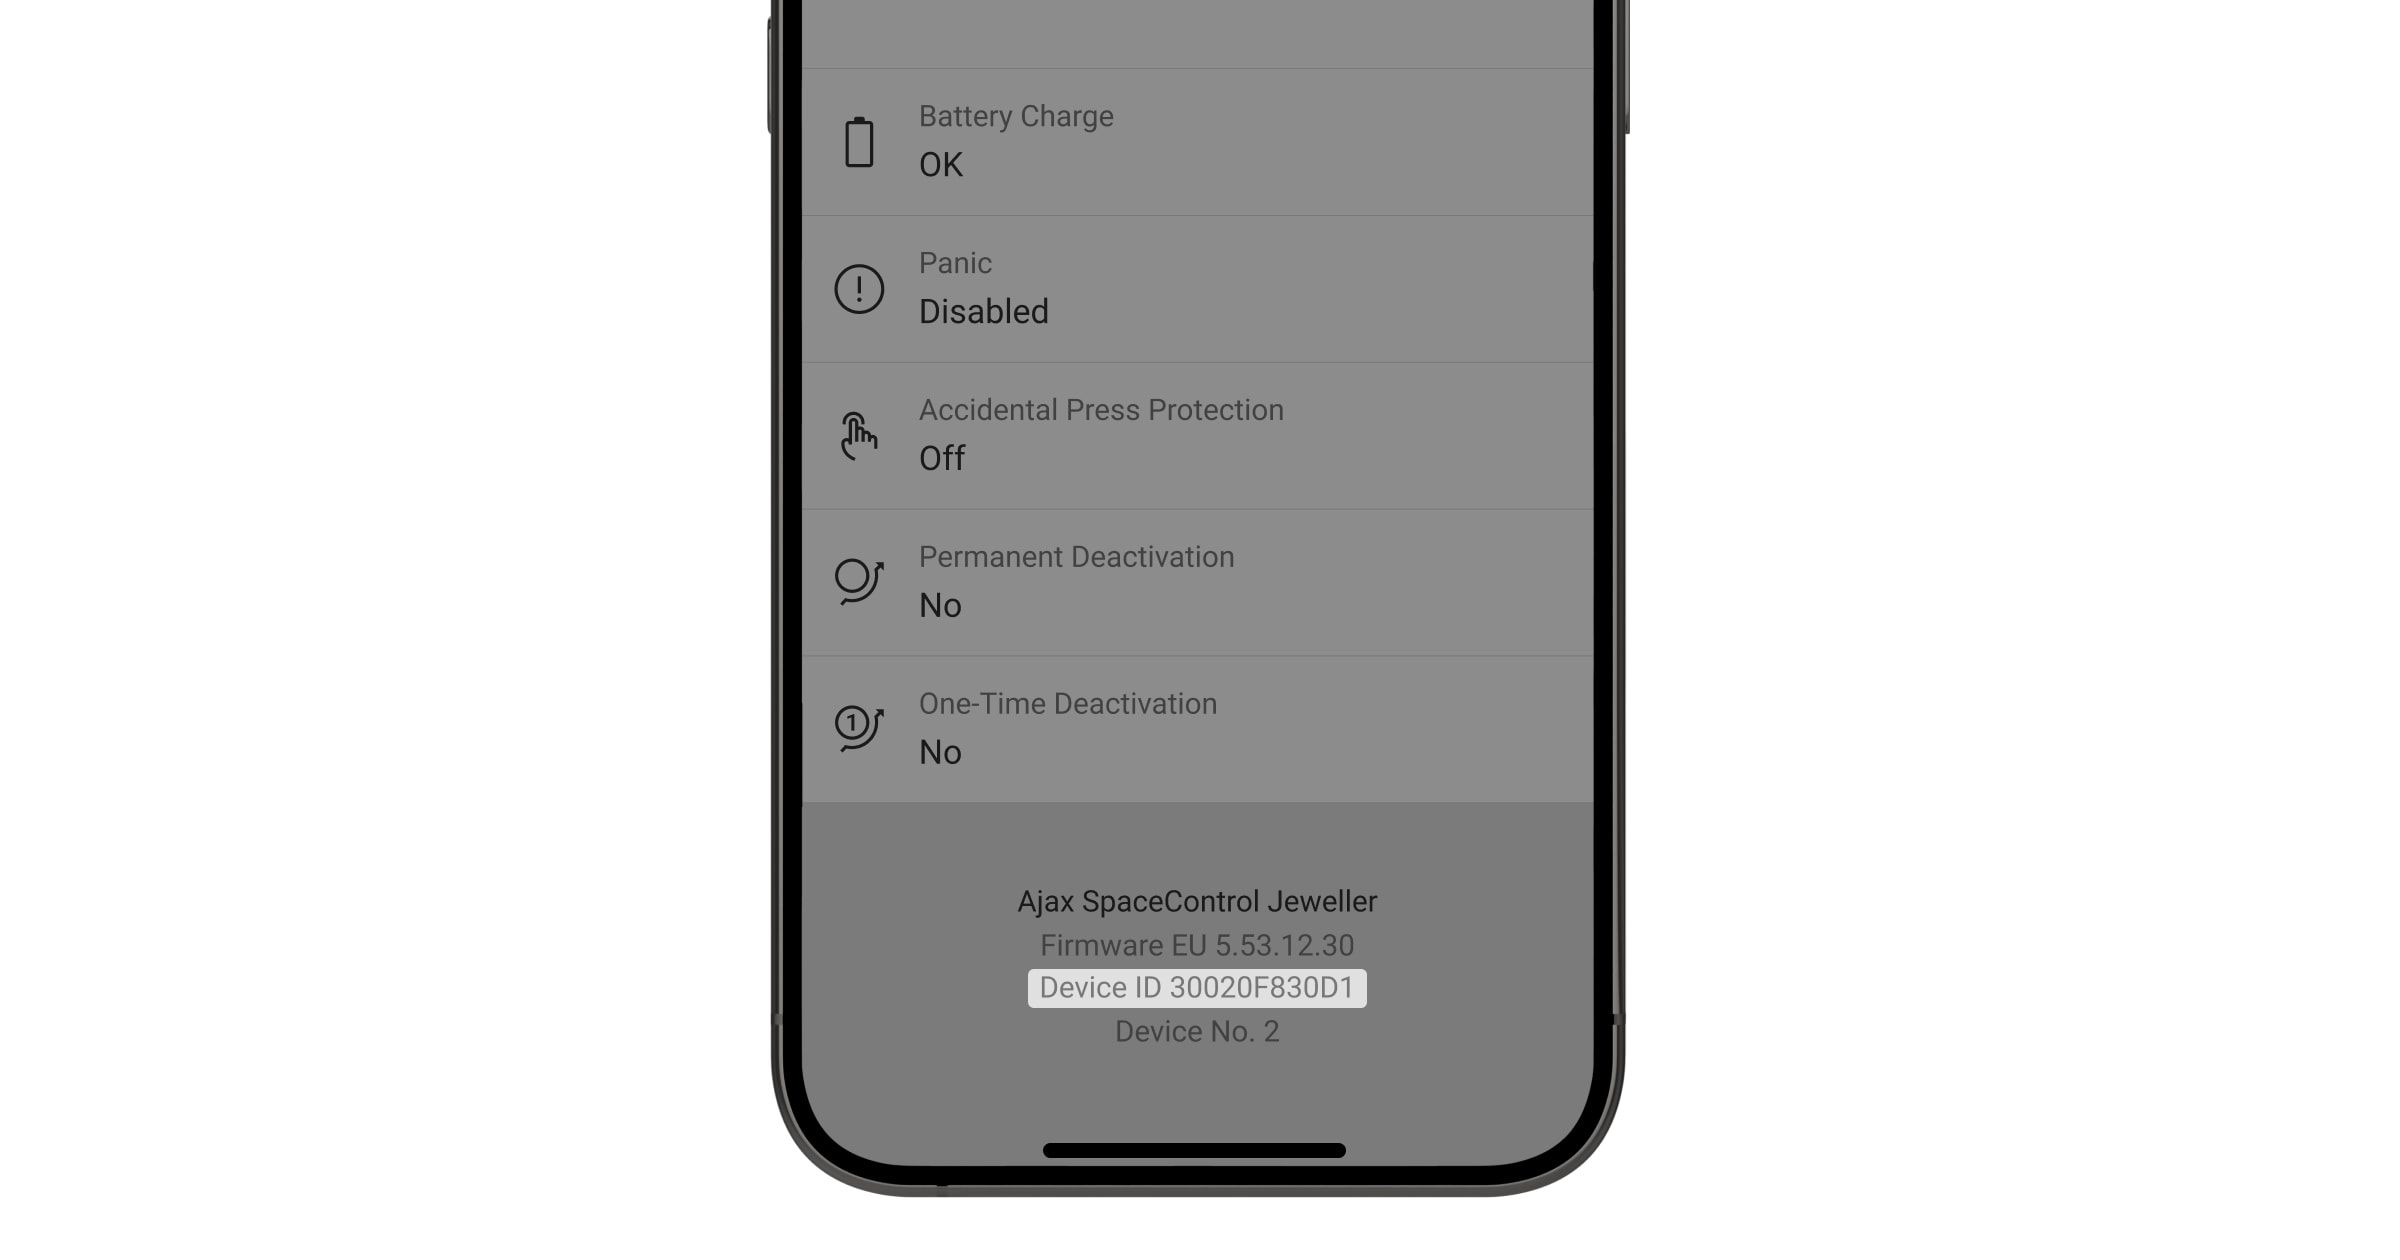
  1. Sign in to the Ajax app.
  2. Select the required hub from the list if you have several of them or if you are using a PRO app.
  3. Go to the Devices menu.
  4. Select a device from the list. Device ID information is located at the bottom of the status screen.
Copied

You can test the radio communication by pressing the device’s button.

To test SpaceControl, press the disarm button to avoid triggering an alarm. If the command is delivered, the LED will light up green. The red LED indicates that the command has not been delivered.

For Button, it’s better to enable Control mode and temporarily disable scenarios. After pressing the button, the green LED will indicate the delivery of the command. If Button’s LED lights up red — command has not been delivered.

To test DoubleButton, press one of two available buttons: the device will light up green (command was delivered) and then red (no alarm was raised). The LED will light up red twice if the command is not delivered.

Copied

Button is a wireless panic button with protection against accidental pressing and an additional control mode for automation devices.

DoubleButton is a wireless hold-up device. It has two tight buttons and a plastic shield to protect against accidental pressing.

Button DoubleButton
Buttons 1 2
Shield to protect against accidental pressing +
Control mode support +


Copied
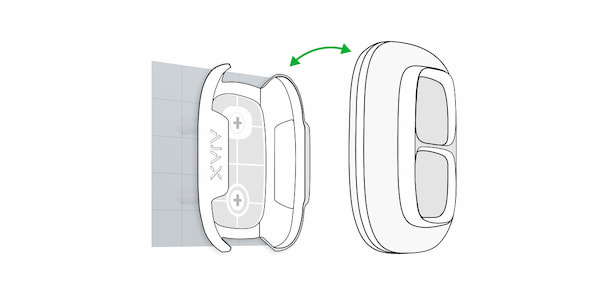
  1. Choose a location to install the holder.
  2. Press the button to test whether the commands are delivered to a hub. If not, choose another location or use the radio signal range extenders.

    When routing Button/DoubleButton through range extender, keep in mind that it does not automatically switch between a range extender and a hub. You can assign a button to a hub or another radio signal range extender in the Ajax app.

  3. Fix Holder on the surface using the bundled screws or double-sided adhesive tape.
    ajax holder button
  4. Put the button into the holder.
    ajax holder button
Copied

Holder is needed to securely fix Button/DoubleButton on a surface. For example, under the bed or near the bedhead.

Copied

OS Malevich 2.9 update has added the ability to configure the alarm type for Button in the panic button mode.

Five types of alarms are available:

  • Intrusion
  • Fire
  • Auxiliary request
  • Panic button
  • Gas leak

The type of alarm is set in the device settings (Ajax appDevices tab → select the device you needSettings Alarm type).

Selecting the type of alarm changes not only the notification text in the Ajax app but also the event code that is sent to the CMS of the security company. This helps security companies and security system users respond to threats appropriately.

Copied

With OS Malevich 2.9 update, permanent deactivation of devices without removing them from the system has become available.

Deactivation may be necessary if the device is incorrectly installed or configured, loses connection with the hub, or has failed.

To deactivate a device, in the Ajax app:

  • Select a hub if you have several of them or if you are using the PRO app.
  • Go to the Devices menu.
  • Select the device from the list.
  • Go to its Settings .
  • Select the type of permanent deactivation:
    • Entirely — the device does not execute system commands or run automation scenarios, and the system ignores device alarms and other notifications.
    • Lid only — the system ignores the notifications on the detector’s tamper button triggering.
Copied

Button control mode is available in OS Malevich 2.8 and higher. For the control mode to appear in Button settings, you do not need to buy a new device—update the firmware of the hub.

Copied

Yes, it can, but only in the Panic mode of the button. An alarm scenario can be created in the automation device settings (Relay, WallSwitch, Socket).

👉 How to create and configure a scenario in the Ajax security system.

In the Control mode, the Button does not raise an alarm.

Copied

In the Control mode, the Button recognizes the pressing of the button for 3 seconds as a long press. This is confirmed by the Button LED blinking green briefly.

Copied

In the Control mode, the Button responds to long and short presses that control automation devices in the Ajax security system.

You can bind the action of an automation device (Relay, WallSwitch or Socket) in the Button settings — Scenarios menu.

Copied

To bind the action of an automation device (Relay, WallSwitch or Socket) to a long or short press of a Button:

  1. Open the Ajax app and go to the Devices tab.
  2. Select Button in the list of devices and go to settings by clicking the gear icon .
  3. Select the Control mode in the Button mode section.
  4. Press the Button to save changes.
  5. Go to the Scenarios menu and click Create scenario if you are creating a scenario for the first time, or Add scenario if scenarios have already been created in the security system.
  6. Configure and save the scenario according to the instructions in the Button User Manual.
Copied

Panic button has an IP54 ingress protection rating, making it dust and splashes resistant.

Button is easy to carry around. You can always keep it on a wrist or a neckless.

Copied

When operating in Panic mode, Button has two accidental press protection systems:

Long press — in order to send an alarm, you need to hold the button down for 1.5 seconds.

Double press — in order to send an alarm, you need to press the button twice with a pause of not more than 0.5 seconds.

The protection is set in the Ajax app in the button settings (Devices Button → Settings )

Copied

Button has two modes of operation: Panic and Control. As a panic button, the Button is used to call for security company or help, as well as for emergency notification through the app or sirens.

In the Button settings in the panic button mode, you can select one of the five types of alarms that will best match the type of the threat:

  • intrusion
  • fire
  • auxiliary request
  • panic button
  • gas leak

In the Control mode, the Button has two pressing options: short and long (the button is pressed for more than 3 seconds). These pressings can trigger the execution of an action by one or more automation devices: Relay, WallSwitch, or Socket.

Copied

Button transmits commands at a distance of up to 1,300 meters from the hub. Any obstacles that obstruct the signal (for example, walls or floors) will reduce this distance.

Copied

No provision is made for connection to the ocBridge Plus and uartBridge integration modules. Button only connects to Ajax hubs.

Copied

No. The Button operates as part of the Ajax security system only.

Copied

Button only works with one hub. When connected to a new hub, the Button stops transmitting commands to the old hub.

Once added to a new hub, the Button is not automatically removed from the devices list of the old hub. This must be done manually through the Ajax app.

Copied

The maximum communication range between the hub and the Button is 1300 meters without obstacles between the devices.

If Button commands are not delivered to the hub, try relocating the central unit.

Copied

Button works with all Ajax hubs with firmware version OS Malevich 2.7.101 or later.

Copied

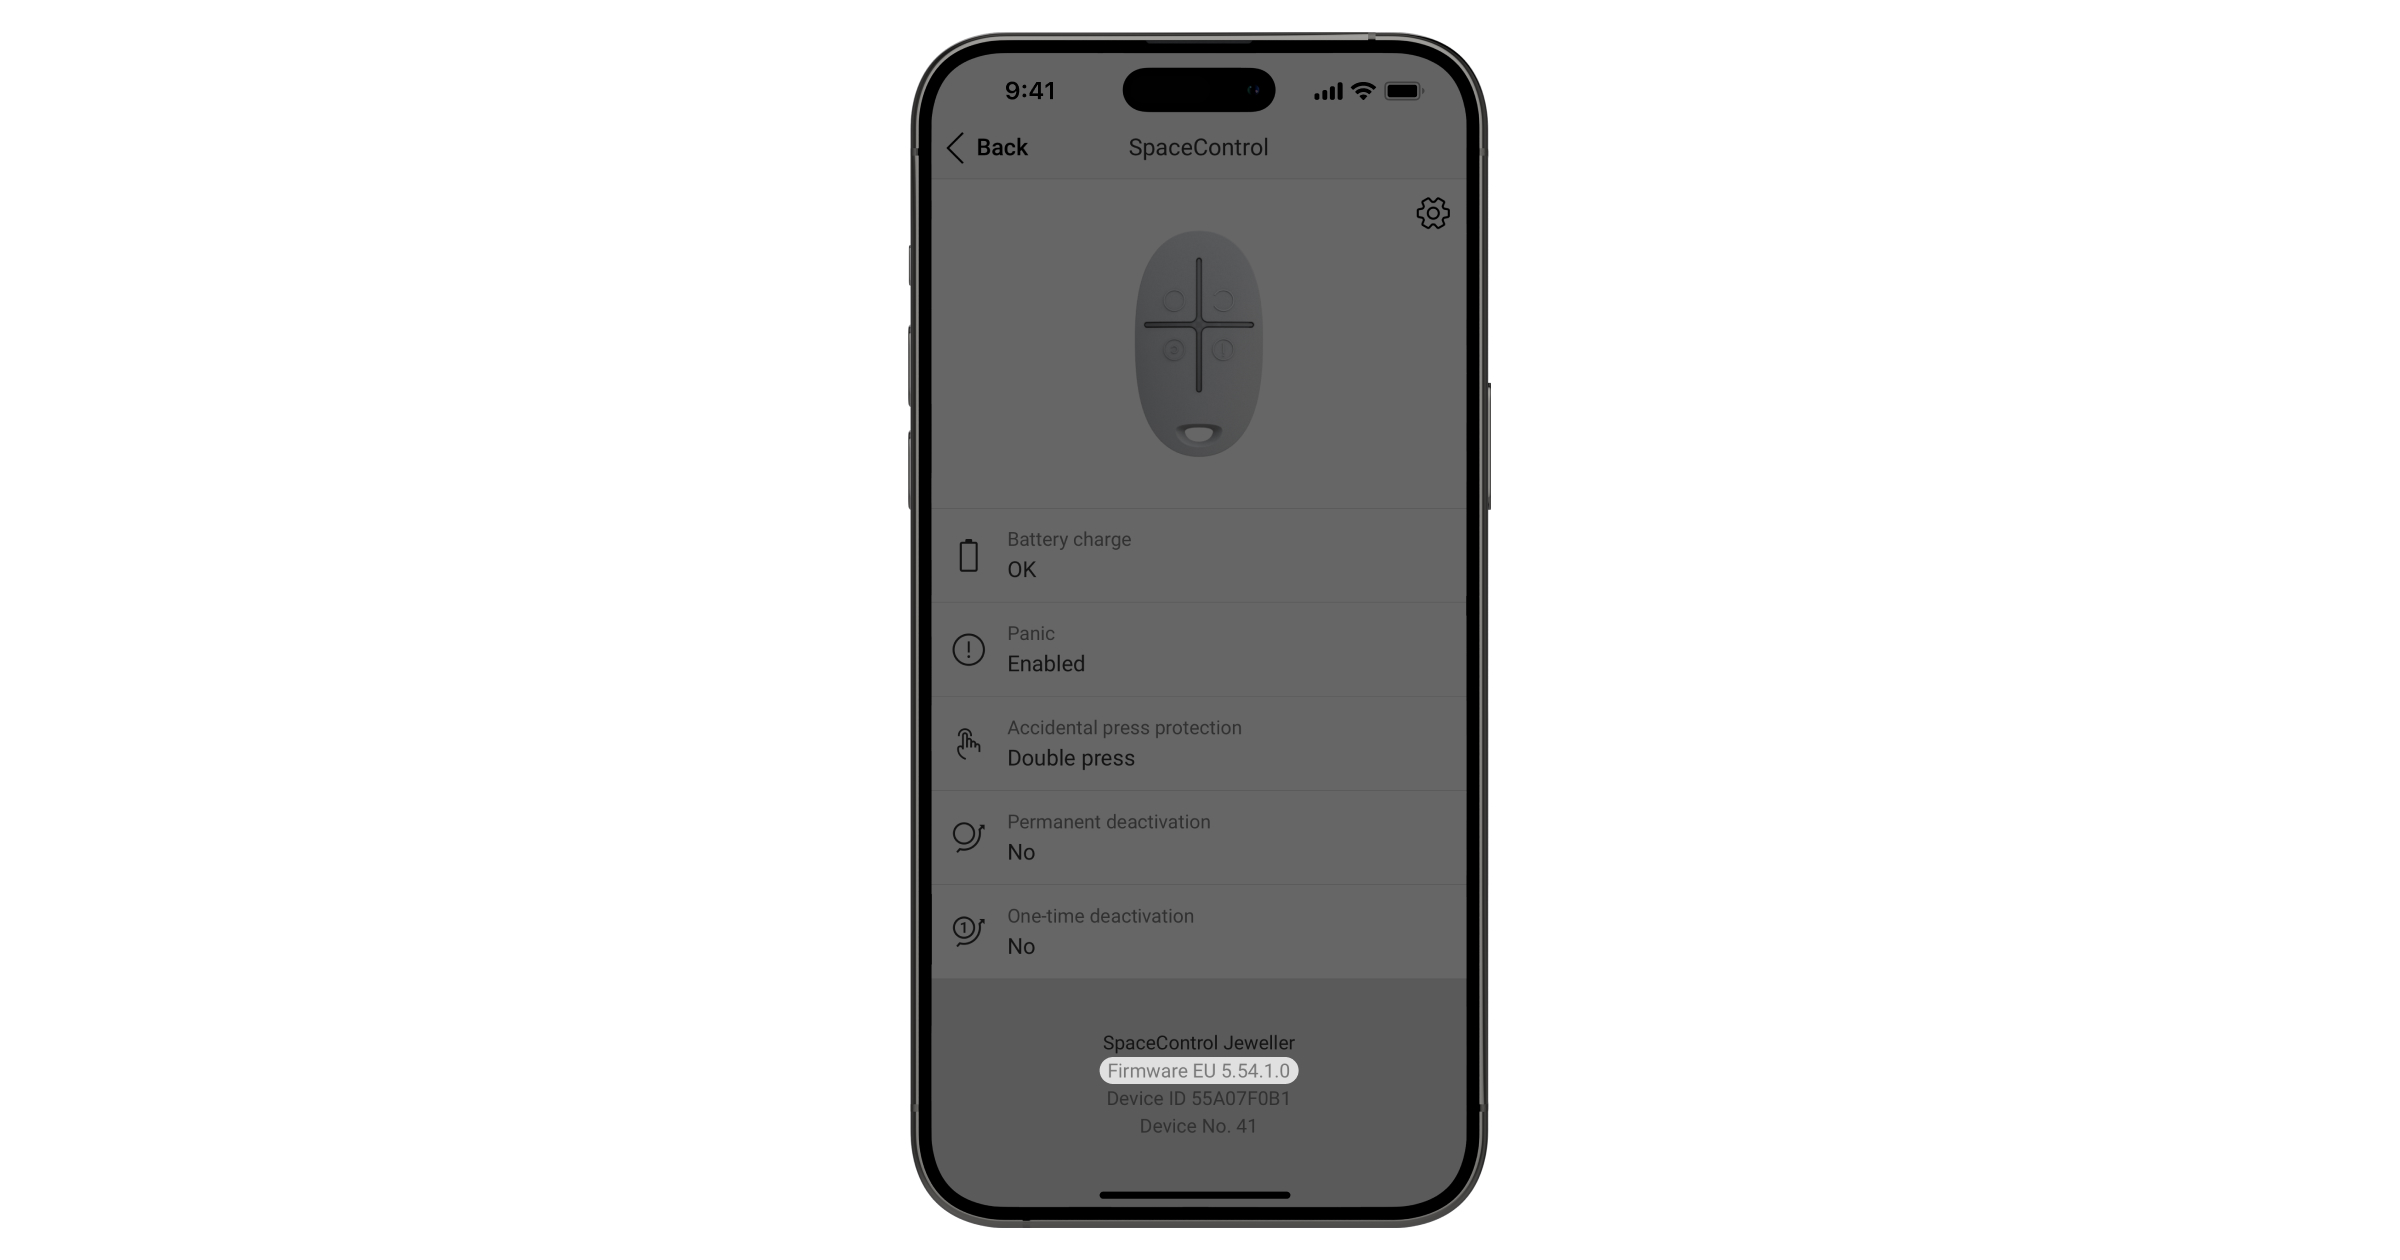
The firmware version can be found in the device states in the Ajax app.

  1. Sign in to the Ajax app.
  2. Select the required space from the list if you have several of them or if you are using a PRO app.
  3. Go to the Devices menu.
  4. Select a device from the list. The firmware version information is located on the status screen at the bottom.
Copied

Featured articles

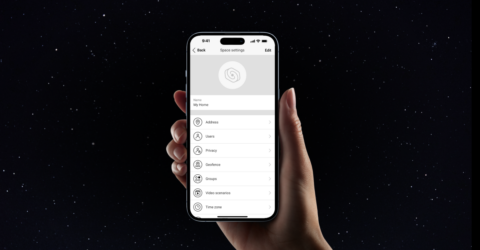
How to configure a space

How to set up the ANSI/SIA CP-01-2019 compliant system

How to disable device events once for a time the armed mode is active

Spelling error report

The following text will be sent to our editors: