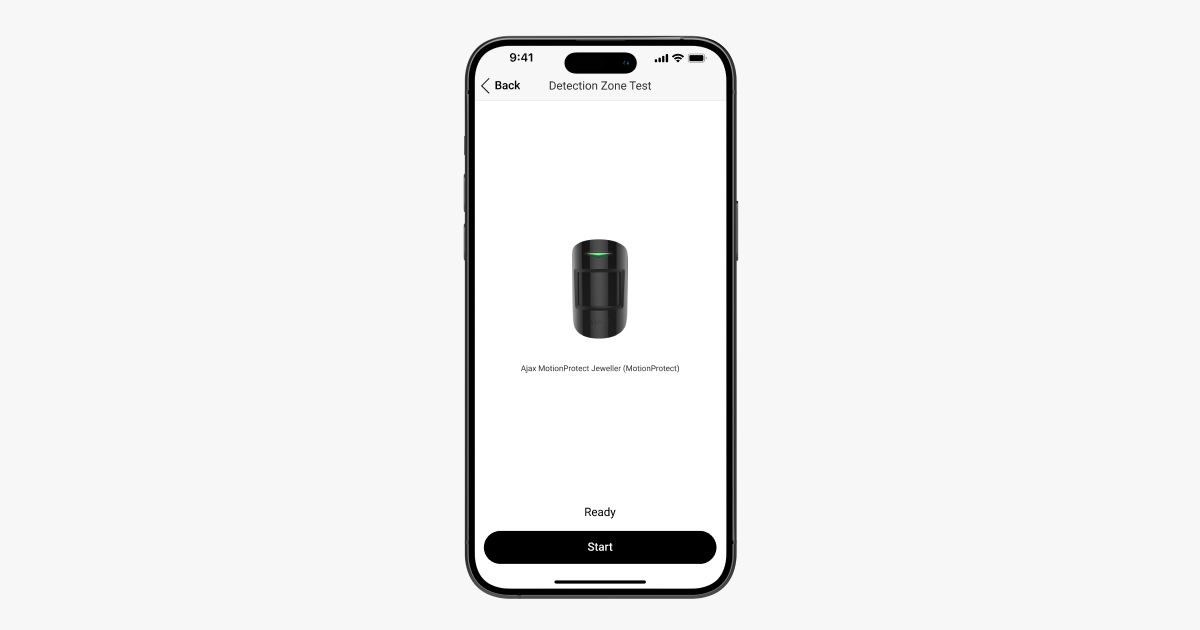
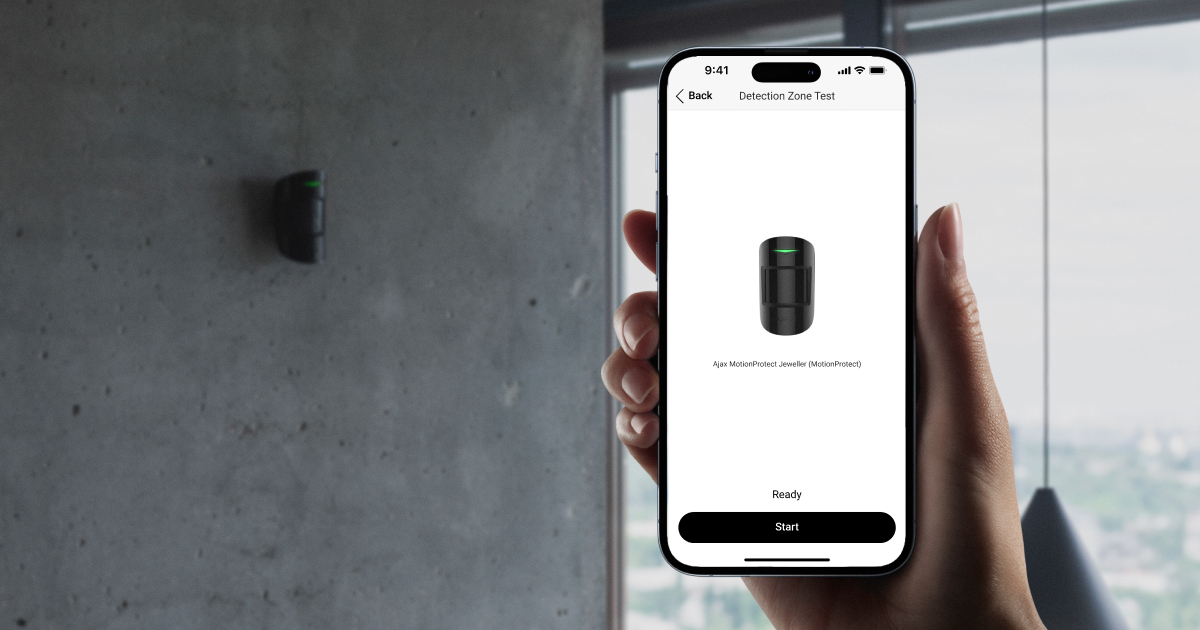
The detection zone test allows you to determine whether the detector responds appropriately to an alarm at the selected installation location. You can run the test in two ways:
- Ajax app → Devices
→ Select relevant device → Settings
→ Detection zone test → Start

- Ajax app → Devices
→ Select the hub → Settings
→ Detection zone test → Select relevant devices → Run the test for them
To determine the detection area, refer to the device’s LED indication or the notification in the app after the test is started. During the test, the device’s LED indicator is constantly on and turns off in case of an alarm. At the same time, a pop-up window appears in the app with information about which device was triggered.
In-app notifications are available for hubs with firmware version Malevich 2.26 and later and in apps of such versions and later:
- Ajax Security System 3.11 for iOS;
- Ajax Security System 3.11 for Android;
- Ajax PRO: Tool for Engineers 2.11 for iOS;
- Ajax PRO: Tool for Engineers 2.11 for Android;
- Ajax PRO Desktop 4.11 for macOS;
- Ajax PRO Desktop 4.11 for Windows.
If the device’s tamper is triggered during the detection zone test, the system will notify all users (push notifications in the Ajax apps and SMS) and CMS.
| Device | Procedure of testing |
|
In order to check the opening detector at the suggested installation place, open and close the door/window. If the detector responds to all actions, it is installed correctly. If the third-party wired device is connected to the opening detector’s external contact, each device should be checked separately. For example, check the opening detector first and then the connected device. |
|
|
In order to check the motion detector, walk across the room, following the LED reaction, and determine the detector detection area. Maximum motion detection distance is 12 meters. If the detector does not always respond to the motion during the test, it should be mounted elsewhere. |
Contains motion detector and sensor masking tests.
|
|
|
In order to check the detector at the intended installation location, cross the detection zone while observing the LED reaction. Follow these steps for the right and left sides of the detector. If the detector does not respond to motion as required, adjust its settings on each side:
In order to check the masking sensors, block the view of the detector in the zone of its detection with a possible obstacle on each side. For example, use a sheet of A4 paper. Contact the Ajax support service if the detector does not respond to masking |
|
|
The glass break detector registers an alarm if it detects two components: a low-frequency component (sound of impact against glass) and a high-frequency component (impacts of shards against each other). Therefore, in order to check the glass break detector, bang the hard surface with your fist (preferably the glass plane, but without breaking it). The detector must respond to the low-frequency sound of the impact against the glass, turning off the LED for 0.2 s. If this happens, throw a metal object (for example, a spoon) at the hard surface or hit it with a glass tumbler within one and a half seconds. The detector will turn off the LED for a second; this means that in armed mode the glass break detector will normally respond to the glass breaking. Decrease the detector sensitivity and keep checking until the detector stops responding to the alarm sounds. After this, bring the sensitivity level back to the previous limit at which the detector responded normally. In this way, the probability of the detector being falsely triggered is minimized and at the same time provides reliable protection for the facility. To provide maximum protection against false triggering, turn on all appliances that usually operate in the room: generators, air conditioners, etc. If switching on these devices intermittently causes the detector to activate, its installation place should be chosen more carefully. If the third-party wired device is connected to the glass break detector’s external contact, each device should be checked separately. For example, check the glass break detector first and then the connected device. |
|
|
Combines MotionProtect and GlassProtect testing procedure. If the detector responds poorly to the alarms during the tests, it is necessary to choose another location. |
