
Ajax system can send an alarm triggered by an attempt to open a door lock. Therefore, the robbers will be detected before gaining access to the premises. The sirens are likely to interrupt the robbery attempt. The sooner the intruder is detected, the higher the chances are of preserving the property and the health of the residents.
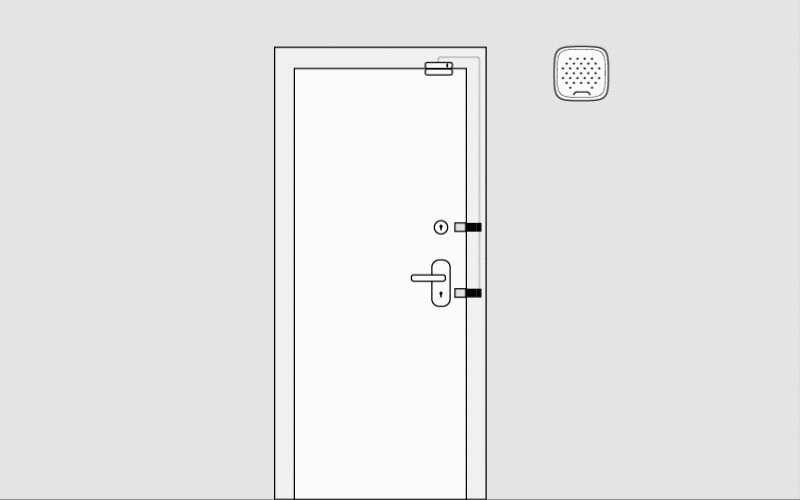
The door lock alarm operates as follows. Miniature switches are installed inside the holes intended for crossbars of the locks inside the door frame. These switches are connected to the opening detectors, glass break detectors, or integration modules.
Also, the Ajax system supports the integration of a Yale smart lock.
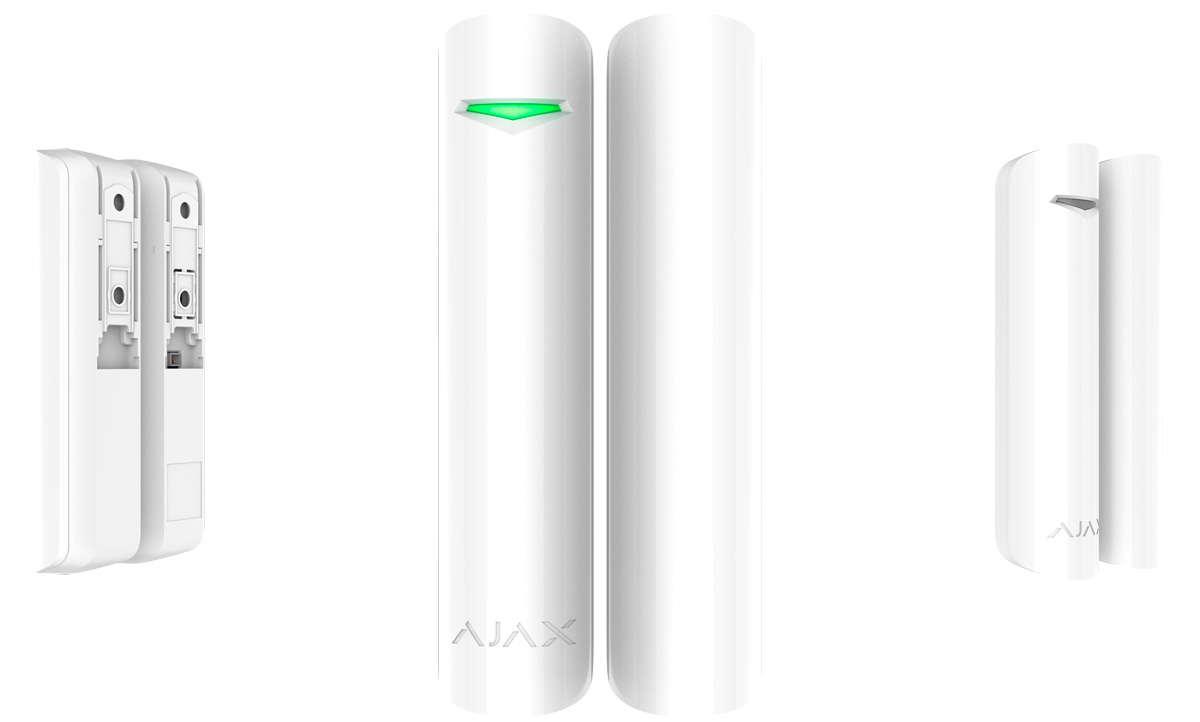
- Superior DoorProtect Jeweller / DoorProtect Jeweller / Superior DoorProtect Fibra
- Superior DoorProtect Plus Jeweller / DoorProtect Plus Jeweller / Superior DoorProtect Plus Fibra / Superior DoorProtect G3 Fibra
- Superior GlassProtect Jeweller / GlassProtect Jeweller / Superior GlassProtect Fibra
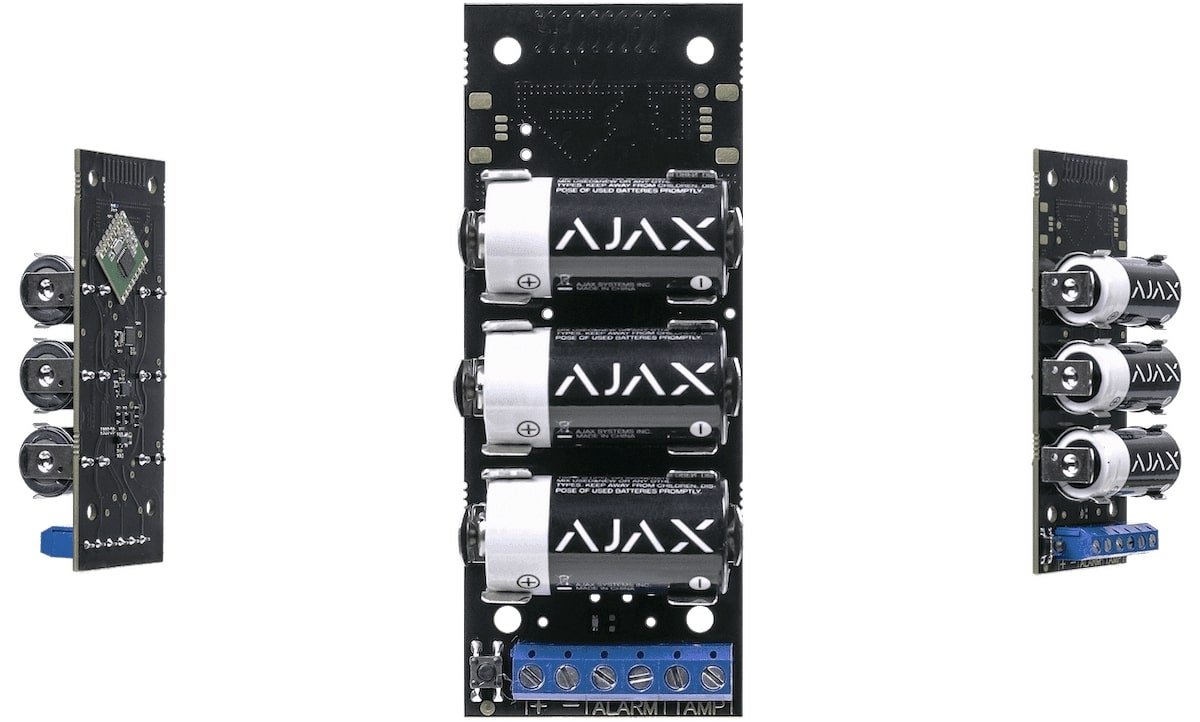
- Transmitter Jeweller / Superior Transmitter Fibra
- MultiTransmitter Jeweller / Superior MultiTransmitter Fibra
- Superior MultiTransmitter IO (4X4) Fibra
When an attempt is made to open the lock, the switch button is released, and the detector raises an alarm — the sirens are switched on, and the hub notifies users and the security console. However, even if one of the locks is opened, the remaining ones will keep the door closed.
The Ajax portfolio includes a wide range of integration modules that allow connections from 1 to 18 third-party devices to the Ajax system.
In order to detect the opening of the lock, microswitches or limit switches can be used:
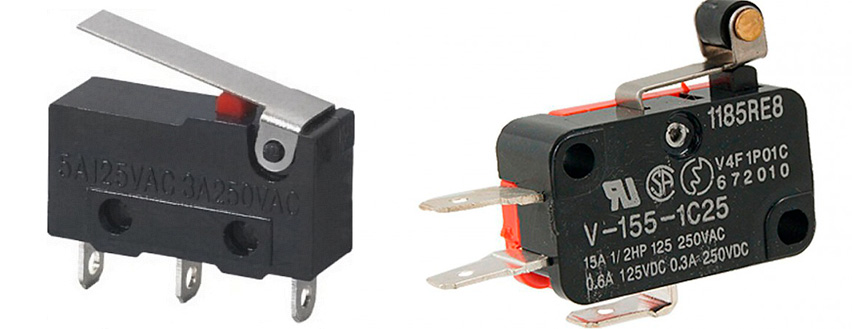
A microswitch (on the left) and a limit switch (on the right)
It is recommended to use switches with a wheel on the lever as they last longer.
If you use a door lock alarm, the Ajax system must be disarmed prior to opening the lock via the App, the Ajax key fob, or the Ajax keypad installed in the vestibule in front of the entrance or outside.
If your hub is connected to a centralized monitoring station, the installation of a door lock alarm must be coordinated with your security company.
How to choose devices to detect the opening of the lock
Door lock alarm can be implemented using opening detectors, glass break detectors, or integration modules. In any case, when the switch button is triggered, the users of the security system and the security company will receive an alarm notification indicating the source of the alarm: opening detector (remote contact terminal) or integration module.
Opening and glass break detectors application features:
+ You do not need to buy a new Ajax device if the door has an opening detector installed or a glass break detector is installed nearby.
– It is not recommended to use cables longer than 5 meters to connect switches.
– NO (normally open) or NO / NC switches can be connected to the detector.
Integration modules application features:
+ The maximum cable length for connecting switches is:
- 3 meters for Superior Transmitter Fibra;
- 150 meters for Transmitter Jeweller;
- 400 meters for MultiTransmitter Jeweller / Superior MultiTransmitter Fibra, and Superior MultiTransmitter IO (4X4) Fibra.
+ Switches of any type (NC / NO) can be connected to the integration module.
– You must purchase an integration module.
In order to ensure correct operation of the door lock alarm, use switches of the same type (NC or NO).
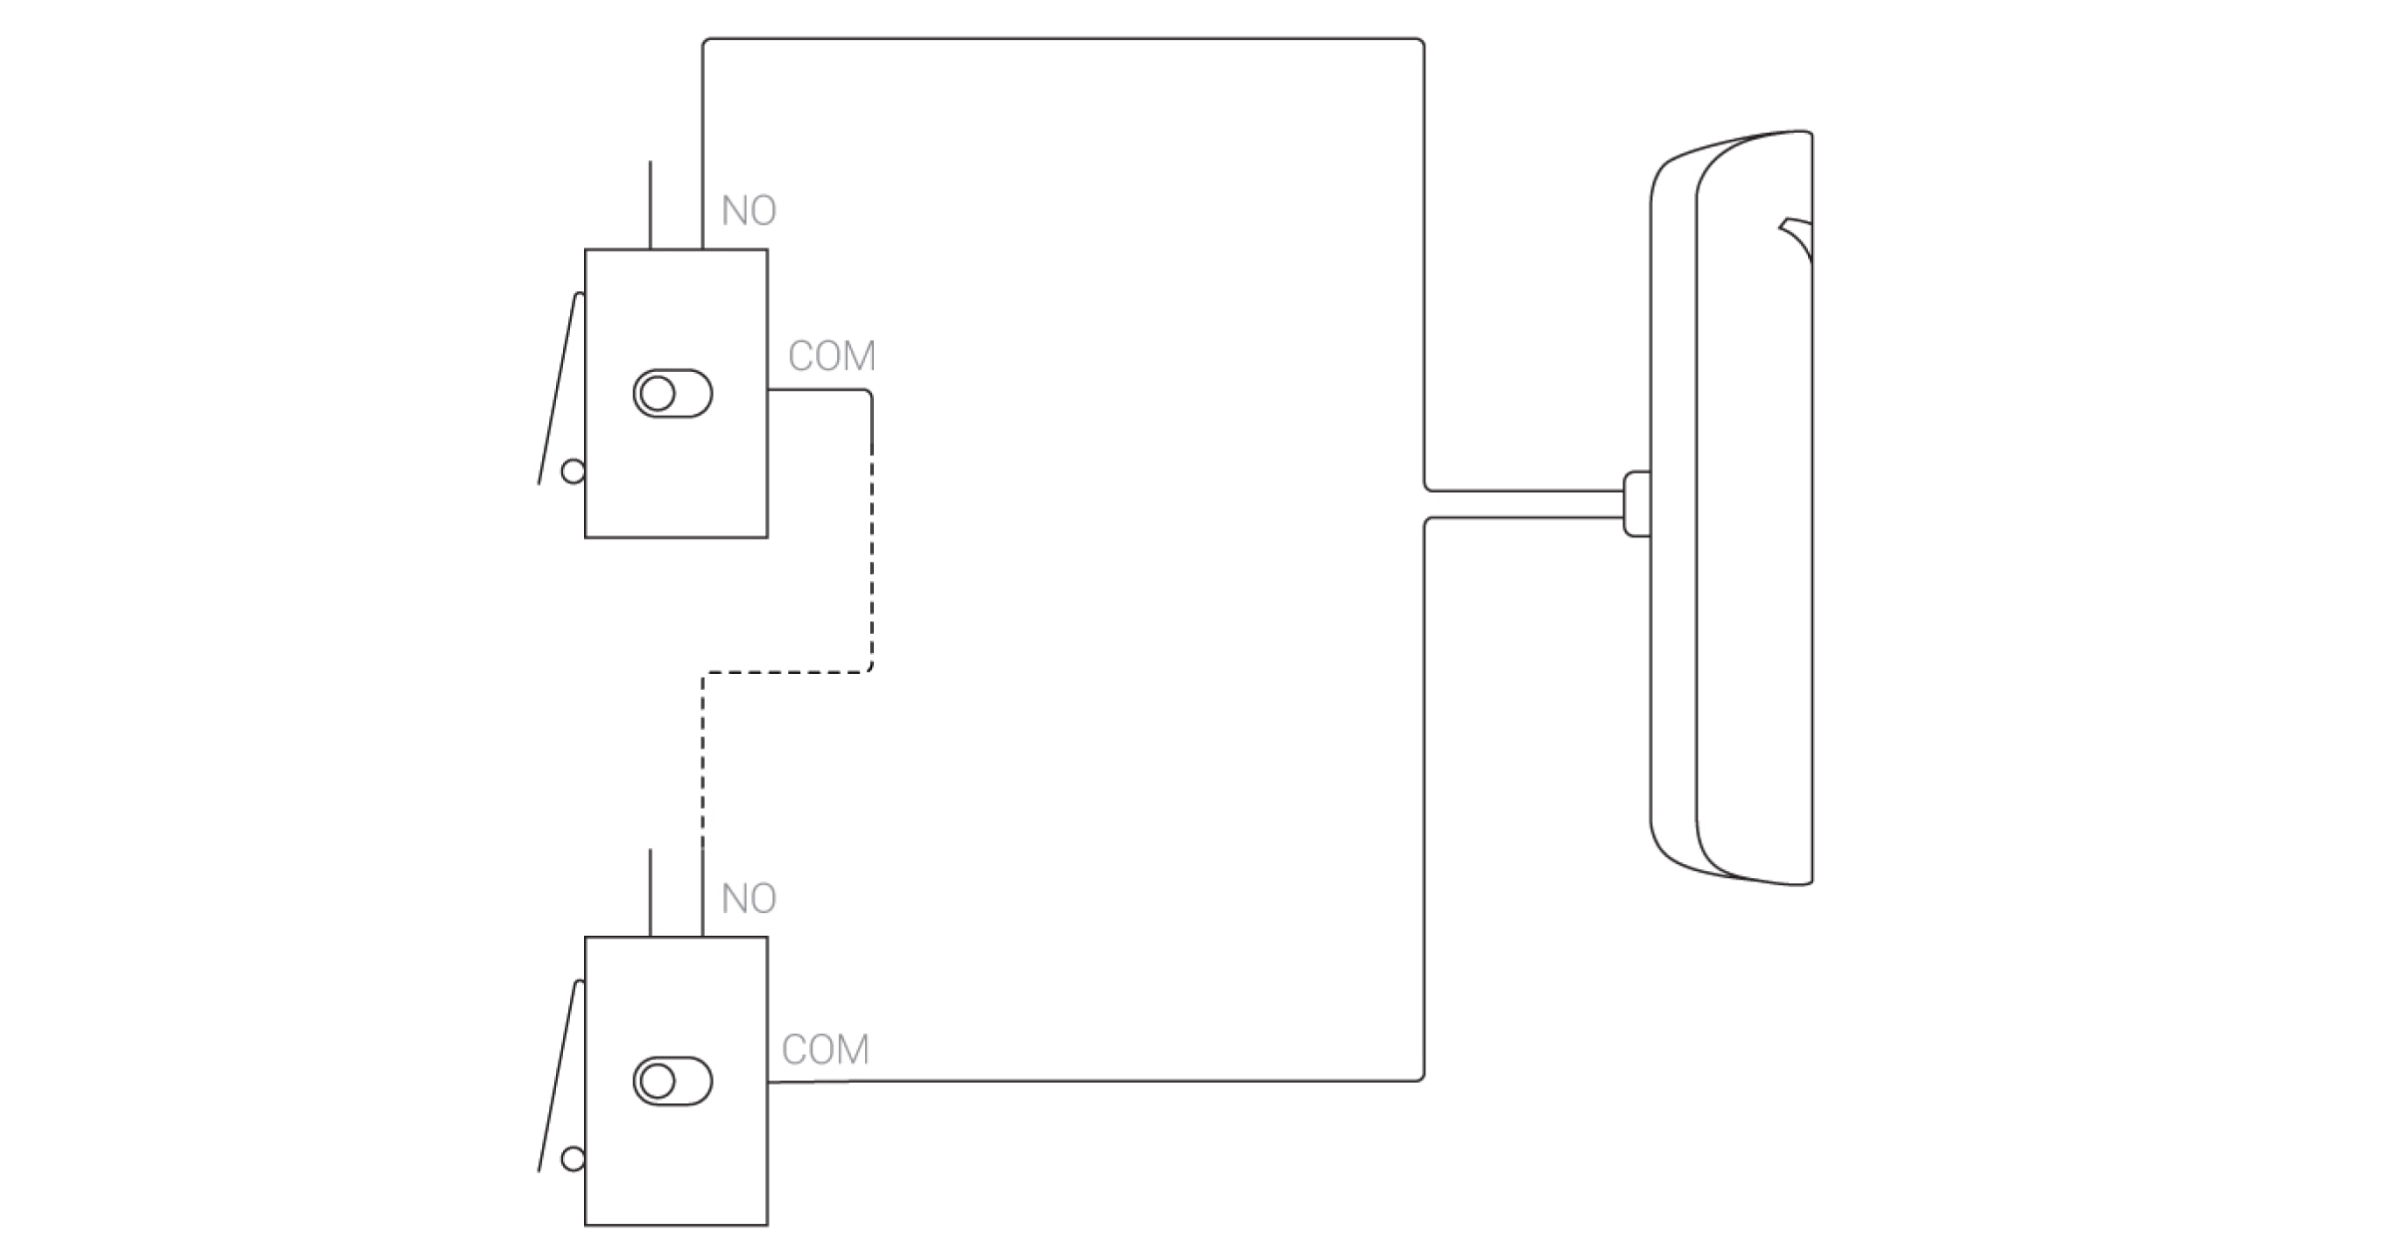
Option 1: How to connect switches to the opening detector
Measure the cable length in advance to connect the switches to the detector. When measuring the length, keep in mind that NO type switches are connected in series.
Connect the switches in series and connect to the remote contact terminal of the detector as shown in the diagram:
In the Ajax app:
- Go to the detector settings (Devices
 → opening or glass break detector → Settings
  ) and enable the External Contact option.
 - Disable the Delay When Entering, if enabled. When the delay is enabled, the alarm does not arrive instantly.
- Click Back to save the settings
- Open the detector menu (Devices → opening or glass break detector). The External Contact field shows status Open. Simulate closing of the door by holding down the buttons of all switches. The status will change to Closed. If the status does not change, check the connection of the switches to the detector.
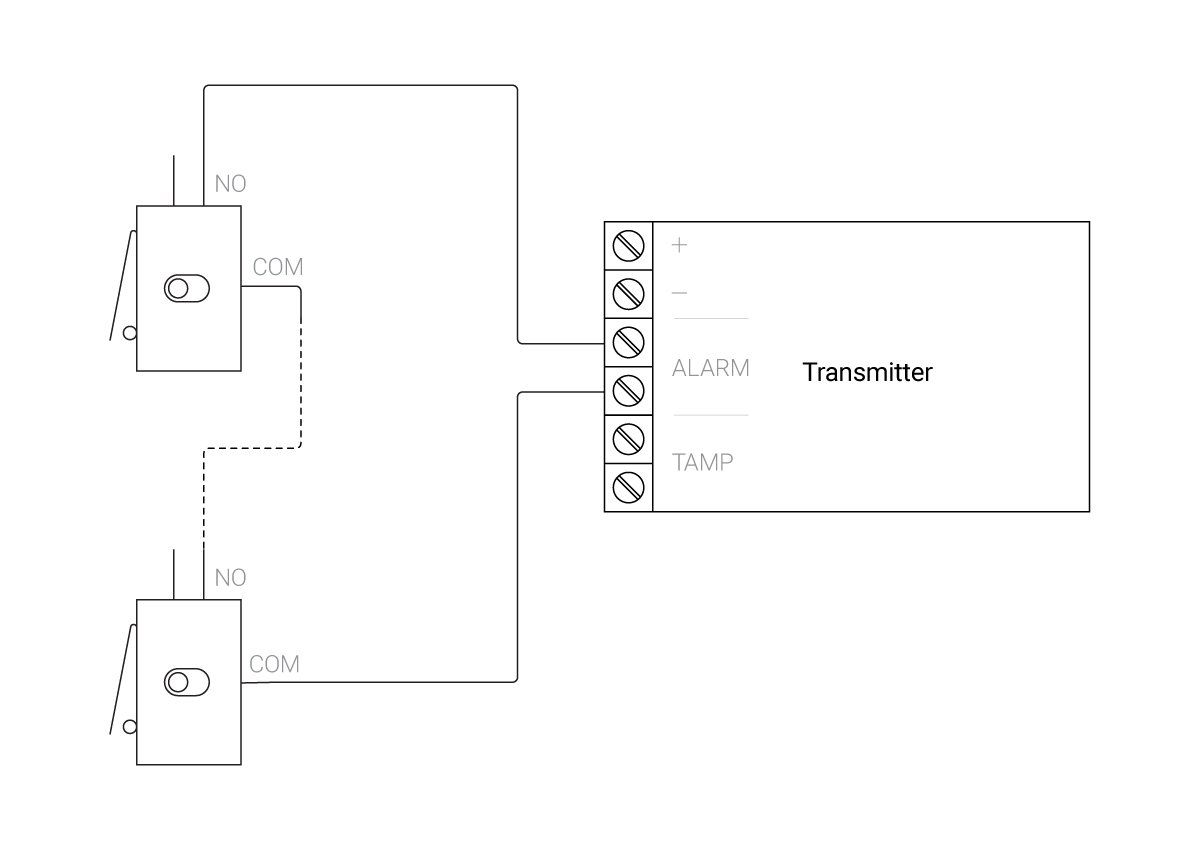
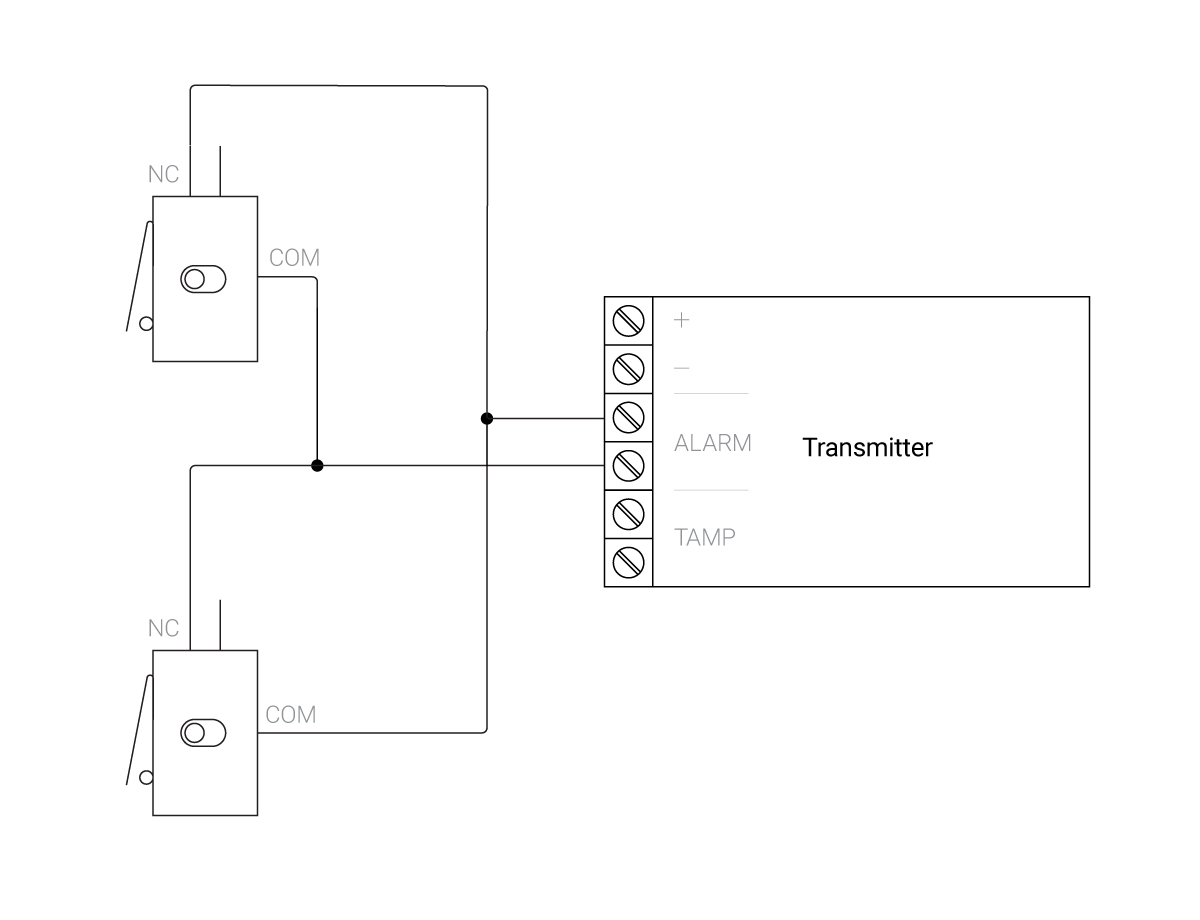
Option 2: How to connect switches to the integration module
Measure the cable length in advance to connect the switches to the device. When measuring the length, keep in mind that NO switches are connected in series, and NC are connected to the integration module in parallel.
If you use NO switches: connect the switches in series and then connect to the alarm contact terminals of the integration module as shown in the diagram.
If you use NC switches: connect the switches in parallel to the alarm contact terminals of the integration module as shown in the diagram.
In the Ajax app:
- Go to the integration module settings (Devices → integration module (device connected to the integration module) → Settings ) and select the External Detector Type according to the type of switches: Normally Open (if you use NC switches) or Normally Closed (if you use NO switches).
- For Transmitter Jeweller change settings: Tamper status → Normally Open (to avoid receiving messages about the open tamper of the device) and Power Supply for Connected Detectors — Always disabled.
- Disable Alert with a siren if alarm detected and Delay When Entering. When the delay is enabled, the alarm does not arrive instantly.
- Click Back to apply the settings.

Learn more about connecting third party detectors to the integration modules in Transmitter Jeweller, Superior Transmitter Fibra, MultiTransmitter Jeweller, Superior MultiTransmitter Fibra, and Superior MultiTransmitter IO (4X4) Fibra user manuals.
- If you are connected to the security console, inform the security company in advance about the device test.
Hold down the buttons of all switches and arm the security system. Wait 30 seconds for the system to become armed and release the button of one of the switches — an alarm will be received by the Ajax app. If the alarm does not arrive, check the connection of the switches to the device. - After ensuring that the system is functioning properly, enable the activation of the siren in the settings of the integration module if you want the siren to respond to an attempt to open the lock.
How to install switches within the door frame
If you have not installed or plan to change a door, provide a place for switches and cabling inside the door frame.
In order to mount switches inside an already installed door, implement the following for each of the locks:
- Make holes for cable routing through the door frame in advance.
- If several turns are required to close a lock, select the number of turns (preferably more than one) taking into account the length of the crossbars in the relevant lock state.

Note that the specified number of turns will be required to close the lock. With a larger number of turns, there is a risk of breaking the switch, and with a smaller number of turns, the crossbars will not clamp the switch button, and, therefore, the lock will be considered open.
- Check if there is enough space to install the switch in the crossbar hole. If there is not enough space, provide a cavity for the switch.
- Temporarily fasten the switch in the crossbar hole so that the crossbars clamp the switch button when the door is closed.
- Draw the wires through the door frame and connect to the device.
- Test the operation of the door lock alarm. If the alarm is working properly, hide the wires, and fasten the switches and the detector securely.
If the system does not respond to the opening and closing of the locks, check the connection of the switches with the detector and also make sure that the crossbars clamp the switch button.
In order for the door lock alarm to respond to the opening of a door lock, even if the system is disarmed, enable the Always Active option in the detector settings.