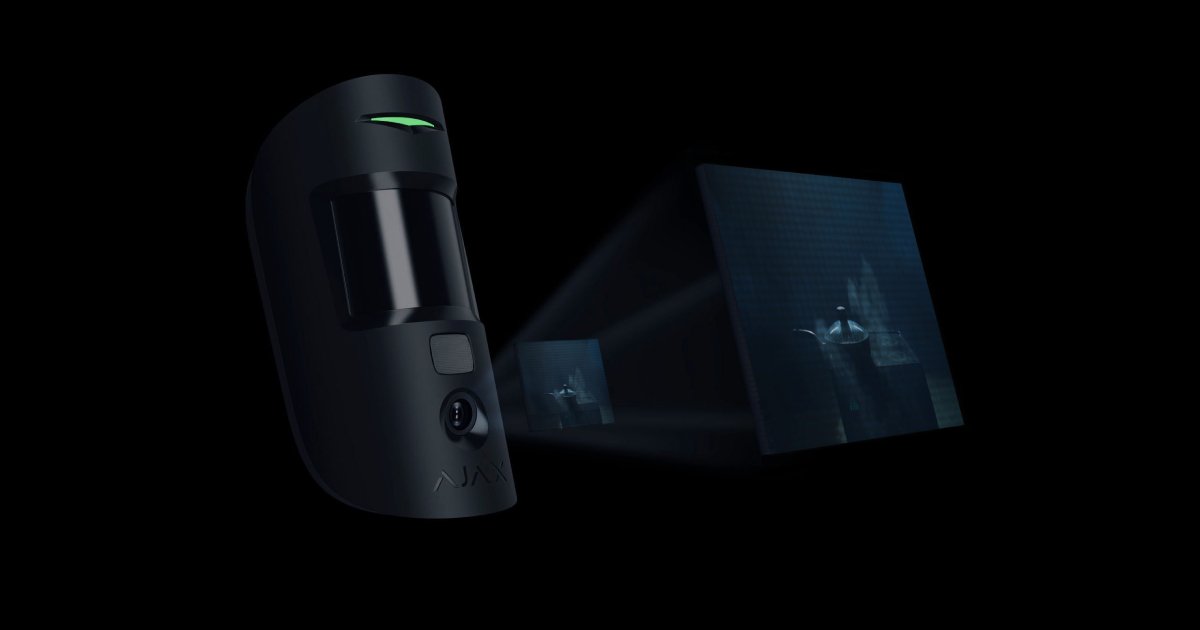
Thanks to the Photo by Scenario feature, detectors with photo verification can take pictures when Ajax fire detectors are triggered. This allows clients and security company employees to find out the situation at the facility and check the cause of the alarm. The function is available with OS Malevich 2.12.1 firmware version and higher.
By default, the Photo by Scenario feature is disabled for all detectors. This feature can be configured by a user or a PRO with administrator rights. With the system settings, you can also set the exact time the detector with photo verification can take photos by scenario: always or when the detector is armed.
Access to photos by scenario
Photos by scenario are available to all system users with access to the events feed. A photo by scenario event is sent to the security company monitoring station via SIA (DC-09) and other proprietary protocols. The event code is 730.
The photos taken by scenario are available to the CMS engineers if the CMS software supports photo verification. Photos by scenarios are also available in PRO Desktop.
Photos by scenario will not be sent to the CMS software if only a direct connection with the monitoring station of the security company is used.
What devices support photo by scenario
Hub models on OS Malevich 2.12.1 and higher:
Detectors with photo verification, regardless of the firmware version:
Temporarily disabled detectors with photo verification cannot take photos by scenario. Also, temporarily disabled fire detectors do not trigger the scenario for taking photos.
How to enable and configure photos by scenario
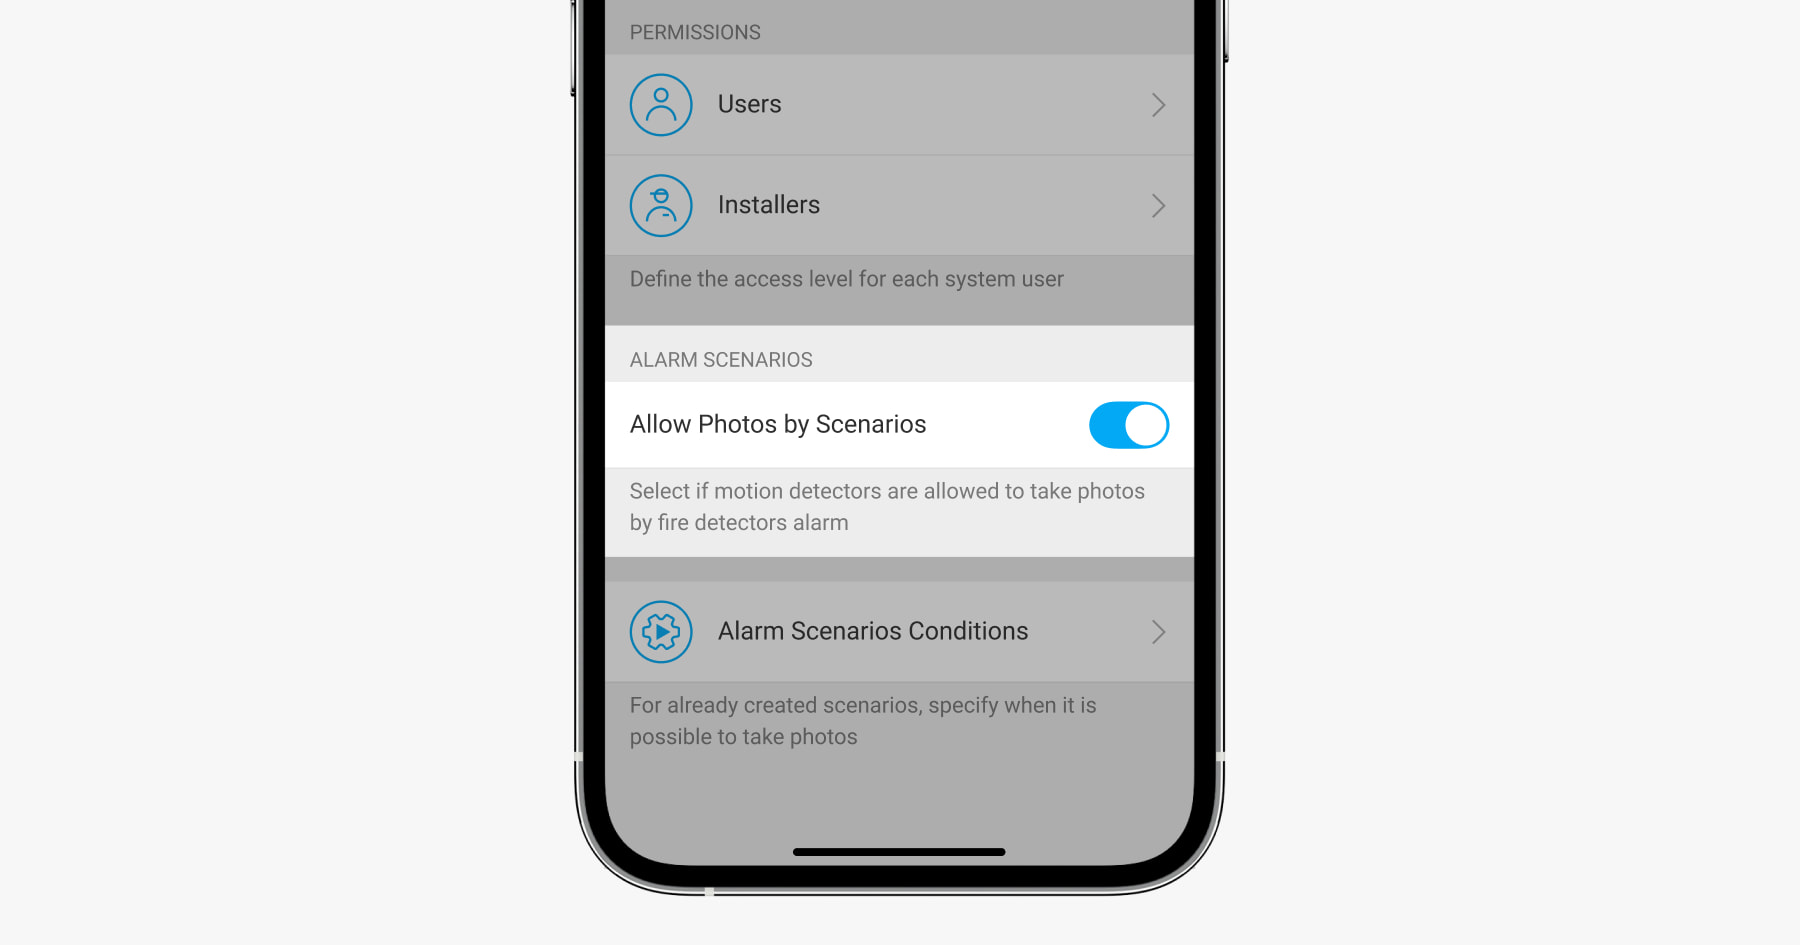
A user or a PRO with administrator rights can enable and configure photos by scenario.
- In the Ajax app, select the hub if you have several facilities or using a PRO app.
- Go to the Devices
 tab and select a detector with photo verification.
 - Click on the gear icon
 in the upper right corner of the screen to go to the detector settings.
 - Select the Scenarios item from the list.
- Define Ajax fire detectors and the types of alarms for which the detectors will take photos:
 — exceeding the temperature limit.
 — temperature spikes (30°C in 30 minutes or less).
 — smoke detection.
 — dangerous concentration of carbon monoxide (CO). Available for FireProtect Plus only.
- Click Next.
- Specify:
- Name of the scenario.
- A number of devices running the scenario. Any — the scenario will be triggered when at least one of the devices is alarmed. All selected — the scenario will be triggered when all the selected devices are alarmed.
- Actuating time for all devices. If the devices don’t raise the alarm within a specified time, the timer will reset, and the scenario will not run. If you select All selected in the block Devices running the scenario, the option will be available.
- When the detector can take photos: always or when it is in the armed mode. The option is only available to the users with the right to control privacy settings. By default, the detector takes photos by scenario only in the armed mode.
- Click Save. The scenario will appear in the list of device scenarios.
To delete or edit a scenario, click on it in the list. You can also turn off the scenario, and its settings will be saved. To do this, use the toggle to the right of the scenario name.
How to set the resolution and the number of images when taking photos by scenario
- In the Ajax app, select the desired facility if you have several facilities or using a PRO app.
- Go to the Devices tab and select a detector with photo verification.
- Click on the gear icon in the upper right corner of the screen to go to the detector settings.
- Determine the number of shots in case of an alarm. The same number of shots will be taken by the detector in case of motion alarms.
- Specify the resolution of the photo.
- Repeat steps 2–4 for other detectors for which you want to adjust the resolution and the number of photos to be taken by scenario.
Delivery speed for photos by scenario
Photo delivery time for MotionCam Outdoor detectors
| Image resolution | Image delivery time |
| 320 × 176 (default) | Up to 9 seconds |
| 640 × 352 | Up to 20 seconds |
Photo delivery time for MotionCam detectors
| Image resolution | Image delivery time |
| 160 × 120 | Up to 7 seconds |
| 320 × 240 (default) | Up to 9 seconds |
| 640 × 480 | Up to 20 seconds |
The tables show the delivery time for one photo when the signal strength between the hub and the detector are 2–3 bars and the hub is connected via Ethernet or 4G (LTE). Delivery time when the detector is connected via a radio signal range extender is available here.
How to view photos by scenario
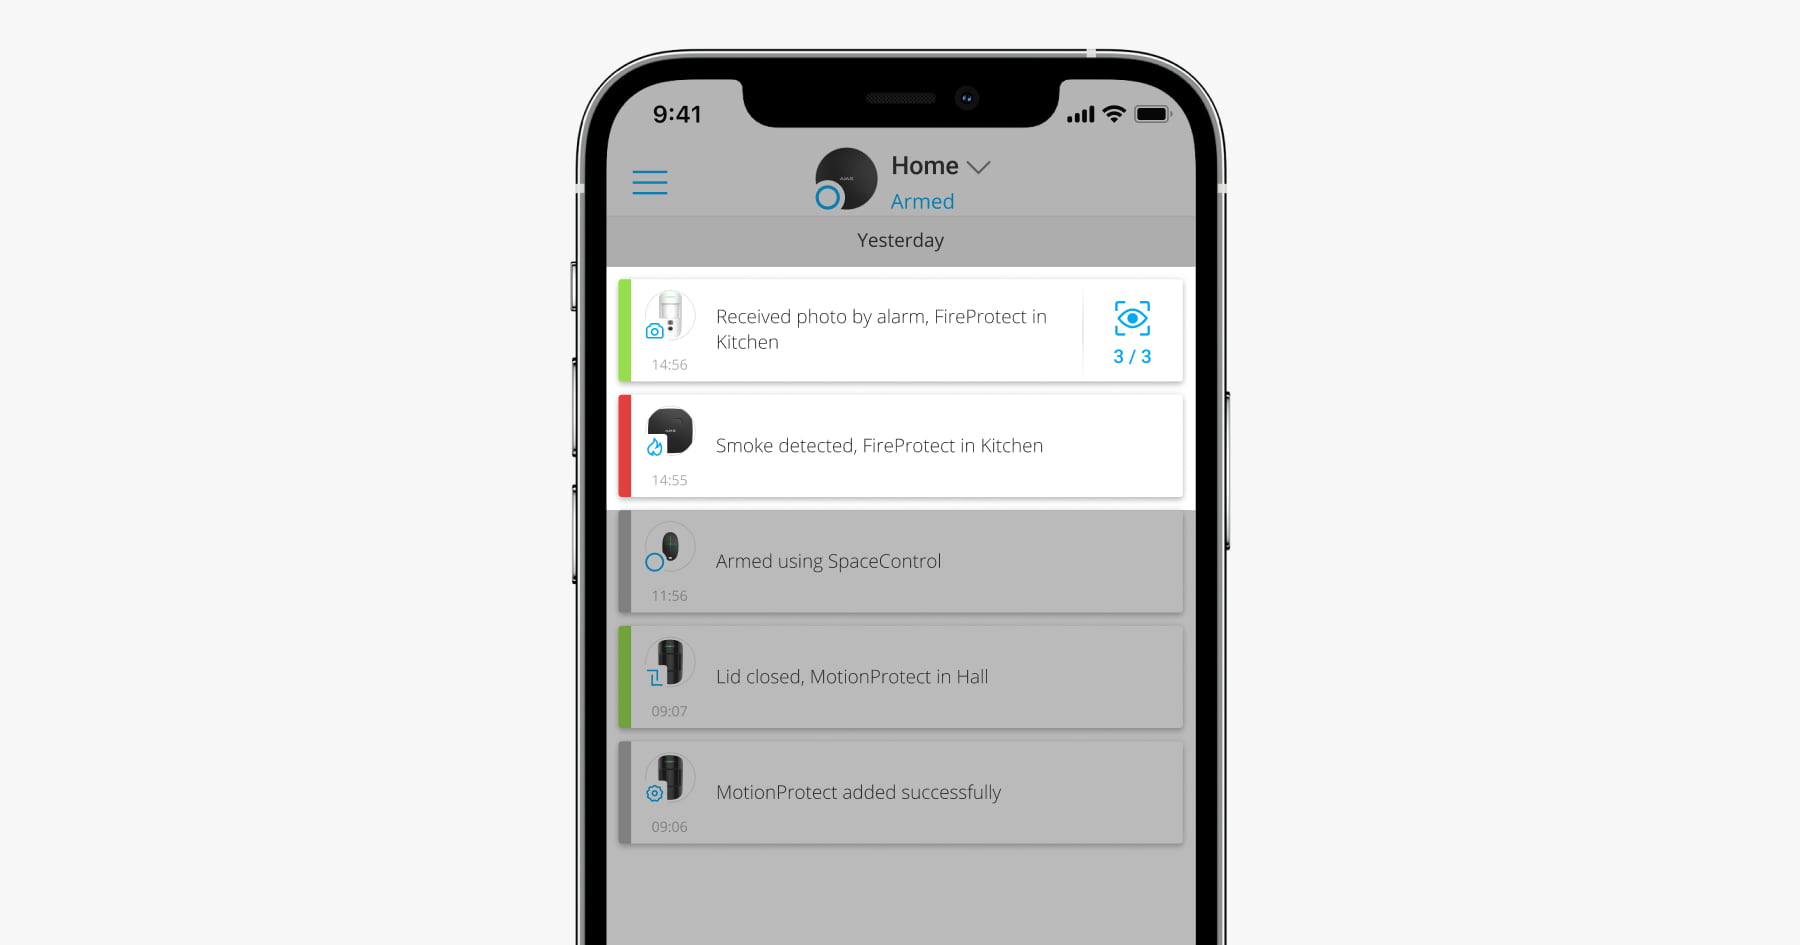
Photos by scenario are automatically taken and sent to Ajax apps as soon as the selected fire sensors detects an alarm. System users who have push notifications and SMS event notifications enabled will receive notifications on taking photo by scenario.
Photos by scenario will not be taken instantly, but within one hub–detector ping period (36 seconds at default settings).
Photos by scenario are available to all system users with access to the events feed. As soon as the picture is available for viewing, a corresponding notification will appear in the events feed. An eye icon with a delivered images counter is displayed opposite the notification. To view the photos, click the notification.
Additional features and useful links
The Ajax security system can also take photos on demand.
Learn more about the features of photo verification in the Ajax security system available here.
Cameras and DVRs can be connected to the Ajax security system. Fast integration with Dahua, Hikvision, Safire, Uniview, and EZVIZ brands is supported. Connection of third-party cameras and DVRs can be implemented using RTSP.