You can connect any IP camera supporting RTSP protocol to the Ajax system. Connection and configuration are achieved in several steps:
- Configuring network equipment (a router or a routing device).
- Configuration of an IP camera.
- Obtaining an RTSP link for the video stream.
- Connecting the camera in the Ajax app.
RTSP is a real-time streaming protocol used for remote stream playback from a video surveillance device.
If you use EZVIZ, Hikvision, Safire, Dahua or Uniview cameras already, use quick connection:
- How to connect Uniview DVRs or cameras to Ajax
- How to connect a EZVIZ, Hikvision or Safire camera or DVR
- How to connect a Dahua camera or DVR
How video is transmitted from IP cameras to the Ajax apps
An IP camera captures the video and broadcasts it in real time via a closed channel. The channel can be accessed by means of specialized software using an RTSP link to the camera video stream. The Ajax apps access the video by connecting to the camera via this link.
rtsp://admin:[email protected]:554/Streaming/Channels/101
explanation of the link:
- rtsp — the type of the protocol
- admin — the login for the Hikvision account
- 12345 — the password for the Hikvision account
- 192.168.200.11 — the IP address of the camera
- 554 — the RTSP port of the camera
- 101 — the identifier of the camera and channel number. The first digit: camera number (if a video recorder is used), the last one: video stream number (201 means the first stream of the second camera).
The total number of cameras that can be connected to the Ajax system:
| Hub | up to 10 cameras |
| Hub 2 | up to 25 cameras |
| Hub Plus | up to 50 cameras |
| Hub 2 Plus | up to 100 cameras |
What should you determine prior to connection of an RTSP camera?
Does the camera support the RTSP protocol
This information is usually specified on the manufacturer’s site in the device specifications section. If such information is missing, use online services:
- Choose the manufacturer of the camera.
- Locate your device model. If the device is missing from the list, it does not support this protocol and cannot be connected to the Ajax system using an RTSP link.
Does your internet provider provide a public static IP address
In order to be able to view the camera video from anywhere in the world, you must have a public IP address. The public IP address can be permanent or dynamic. We recommend using a permanent IP address as changing of a dynamic IP address leads to a change of the camera RTSP link. Consequently, the video from the camera will not be available until a new RTSP link is generated. Information about the public IP address will be provided by your internet provider.
If you want the video to be viewable only in the local area network, use a private static IP address.
If your internet provider does not provide a public static IP address or you are not comfortable with its conditions, use DDNS services. They allow viewing camera streams from anywhere in the world even if you do not have a public static IP address.
Does the camera and your network equipment support UPnP
In order to make the camera video viewable from the Ajax app, you must redirect the external network port to the internal port of your camera. UPnP function simplifies this process significantly.
UPnP is an automatic network equipment configuration function for facilitating device management.
After UPnP function is enabled, the ports will be automatically redirected. If the function is not supported by the IP camera or router or something goes wrong with the automatic configuration, the ports can be redirected manually.
How to configure network equipment
Although the configuration process is similar for many routers, the names of the parameters and the settings may differ for different manufacturers. Before initiating the configuration process, familiarize yourself with the equipment manual. The article describes the connection of the camera to a TP-Link router (model: TL-WR842N, firmware version: 150921).
If you connect the IP camera within a corporate network, contact your system administrator. The administrator will help you with the configuration process.
Router configuration consists of two parts:
- IP address reservation for a camera.
- Redirection of network ports.
How to assign an IP address to a camera
There are two methods for assigning a permanent IP address to a camera:
- In the router settings
- In the camera settings
We will examine the first method using an example.
Before you proceed to IP address reservation, enable DHCP in your IP camera settings. The procedure is described in the manufacturer’s instructions.
The IP address reservation procedure:
1. Connect the power cable and the router network cable to the camera.
2. In order to enter the settings of your router, enter its IP address in the browser address bar.
The IP address of the router may depend both on the network settings and the network equipment model. The IP address is usually specified in the router documentation (most often, it is 192.168.0.1 or 192.168.1.1). You can also discover it by using a computer or a laptop connected to your network.
1. Open the command line
Method 1: press WIN and R simultaneously, enter cmd, and press Enter.
Method 2: go to the Start menu, enter command line in the search box and select it from the search results.
2. Enter the ipconfig command and press Enter. The IP address of the router will be specified in the Main gateway line.
- Open System settings.
- Select the Network menu and click the Advanced button.
- Open the TCP/IP tab. The IP address of your router is specified in the Router line.
When you access the settings, the router will ask for login and password. They are specified in the instructions, on the device box or the body.
3. Go to DHCP settings. If DHCP is disabled, enable the function and reboot the router.
4. Go to DHCP Client List. You will see a list of devices connected to the router. You need to locate your camera in this list and copy its MAC address.
In the majority of cases, the camera is labeled as Unknown or is named after its model or the manufacturer’s brand.
5. Go to the Address Reservation menu and click Add New. Insert the MAC address of the camera and specify its IP address. In order to avoid IP address conflicts, we recommend that you reserve the IP address for the camera that has been issued by the router to that camera automatically. Keep in mind that, when connecting several cameras, you have to reserve an IP address for each of them.
IP address reservation is necessary to ensure that the IP address of the camera remains the same after its reconnection or router rebooting.
6. Reboot the IP camera or reconnect it to the router. It has a static IP address within your network now.
How to redirect network ports
If your equipment features the UPnP function, enable it in the settings of the IP camera and the router. After that, the ports will be redirected automatically.
- Go to the router settings.
- Select the Forwarding category.
- Go to the UPnP tab and click Enable if this option has been disabled.
If your equipment does not support the UPnP function or you want to redirect the ports manually:
1. In the router settings, go to the Forwarding section. Select Port Triggering and click Add New.
2. Specify the network ports: the internal port (that is used by the camera within the network, the value is specified in the manufacturer’s instruction)s and the external port (that will be accessible from the outside world).
It is not recommended to use the following network ports: 20, 21, 22, 53, 80, 110, 138, 139, 443, 3306, 3128, 3389, 5900 as they are most often used by various utility services.
Keep in mind that the external port must be accessible (open in the router settings and not occupied by any service). This can be checked using online services, for example: 2ip.io. If you have problems with the determination of an open port, contact your internet provider.
IP cameras use port 554 by default but the port number may differ for different manufacturers. The exact value can be found in the device manual.
3. Save the settings and reboot the router. The ports are redirected.
When connecting several IP cameras, you have to allocate and configure individual network ports for each of them.
Instructions on port redirection configuration:
How to configure an IP camera
IP camera configuration depends on its model and can be implemented via a browser, an app or a video recorder. Therefore, we recommend following the manufacturer’s instructions when configuring video equipment.
Instructions on configuring IP cameras:
How to obtain an RTSP link to a video stream
There are two methods for obtaining an RTSP link to a video stream:
Method 1: Using the manufacturer’s documentation
The RTSP link format is typically specified in the manufacturer’s documentation or in the camera web interface. If such information is missing or you have failed to locate it, use the second method.
Method 2: Using online services
For example, http://www.ispyconnect.com/:
1. Select the corresponding camera from the list on the website.
2. Fill in the form having specified the external IP address, the network port, login and password for the camera.
Do not disclose the data for obtaining the RTSP link or the video stream link itself to any third parties.
It is recommended to specify incorrect data when generating an RTSP link and change them to correct ones after the generation is complete. So you will secure yourself against stream link interception by third-party services or keyloggers.
3. Click Generate. You will obtain a link to your video stream. If necessary, replace the incorrect data in the link with the correct ones.

You can check the functioning of the RTSP link using VLC media player or any player that allows viewing streaming video.
How to view a video from an IP camera using VLC media player
- Open VLC media player.
- Click File — Open network.
- Enter the RTSP link and click Open.
If the video is not being transmitted, there is a problem in the settings of the camera or the network equipment. Check all the settings.
If the equipment is configured correctly but the stream from the video camera is nevertheless not displayed, contact the service support of the video surveillance system manufacturer.
Save the link to the video stream that you have obtained. You will need it to add the IP camera to the Ajax app.
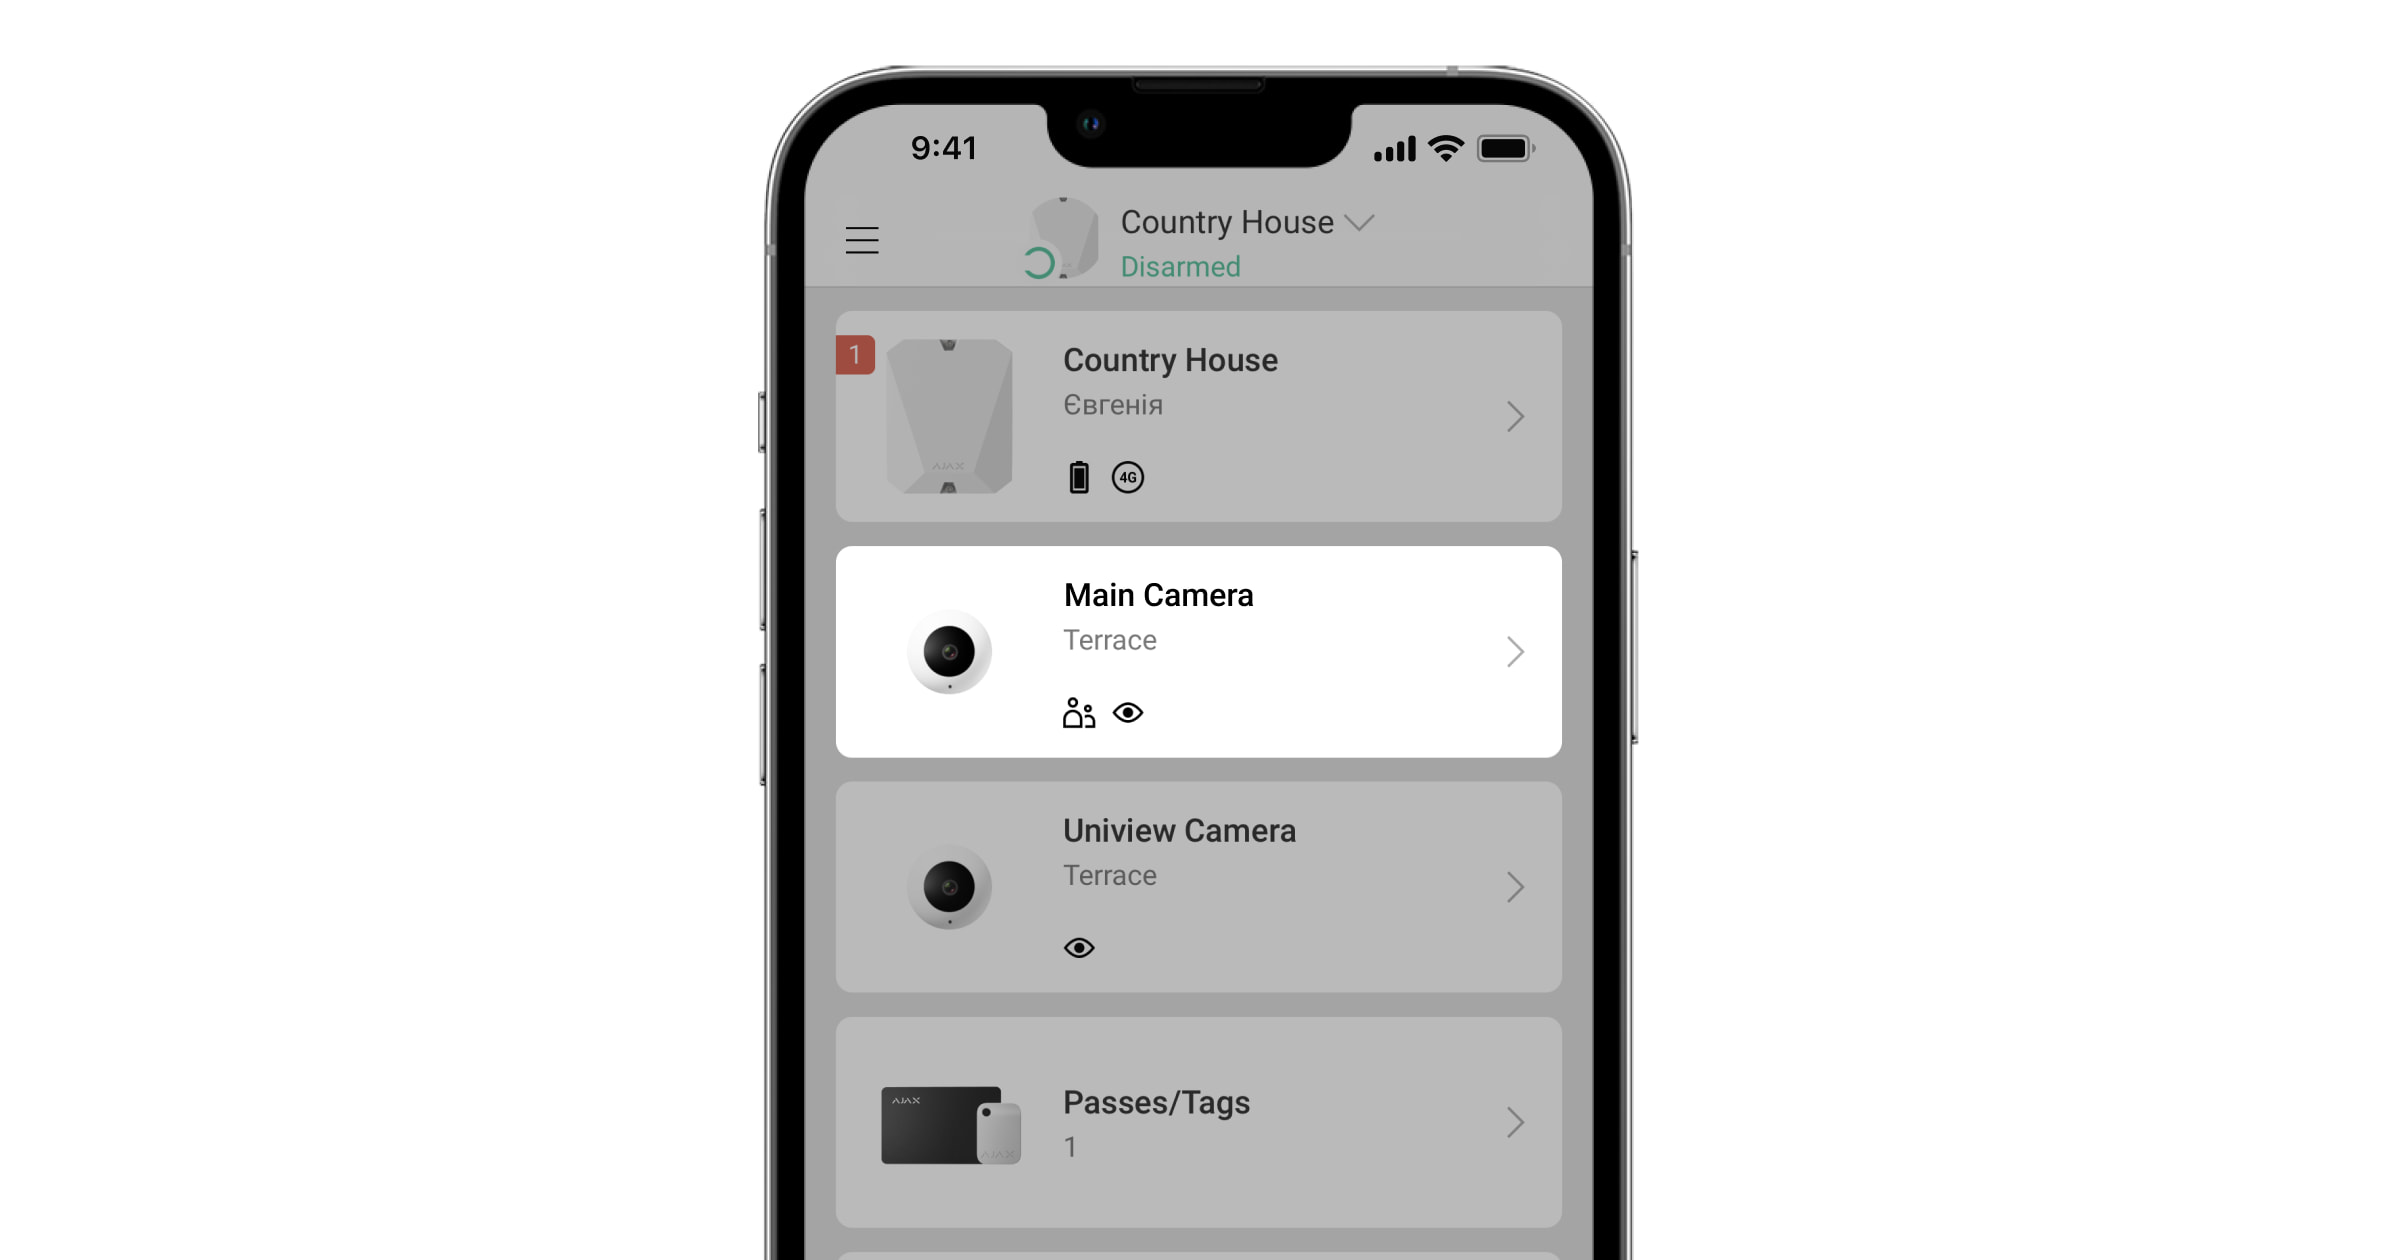
How to add an IP camera to the Ajax app
- Go to the Devices
 tab .
tab . - Press:
- If you use iOS: Add device — Add camera
- If you use Android: Add camera
- Select the RTSP camera option.
- Specify:
- camera name
- link to the video stream
- the room that the video surveillance device is being linked to
- Press Add. The video stream will be added to the Ajax app and will be available for viewing.
The Ajax app capabilities during viewing video streams
When viewing video streams in the Ajax app, the video quality does not deteriorate. The video quality depends on the camera and its settings.
For certain cameras, you can specify video quality in the RTSP link.
In order to view a video, click on the stream icon in the Ajax app.
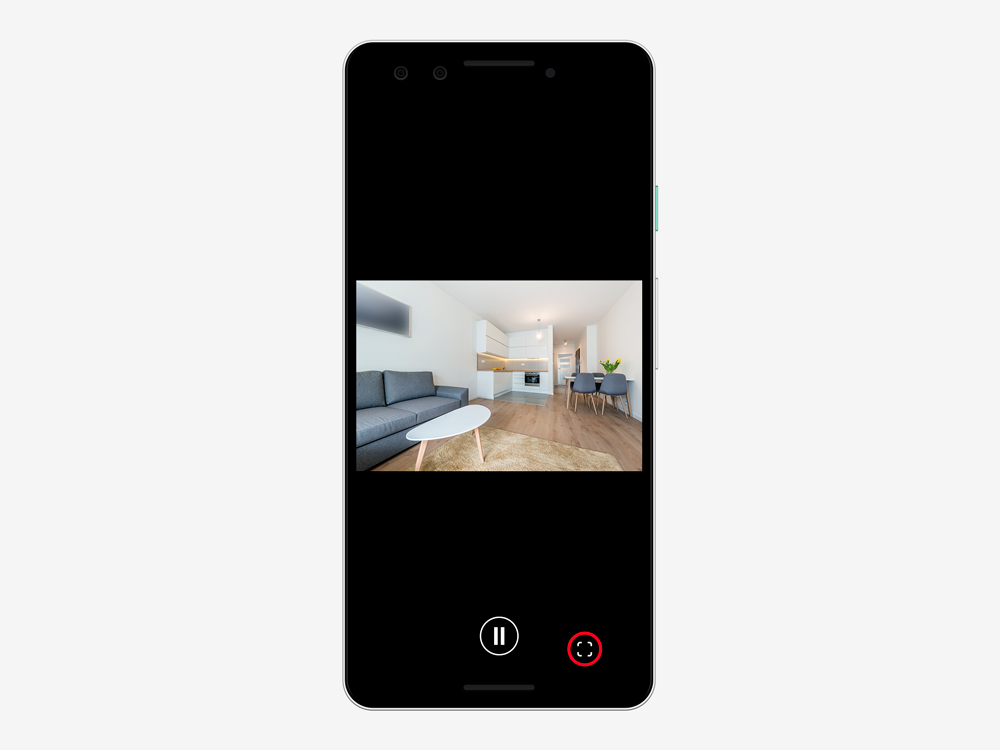
In order to expand the stream to full screen, change the smartphone orientation to landscape. Meanwhile, the auto-rotate function must be enabled in the smartphone settings.
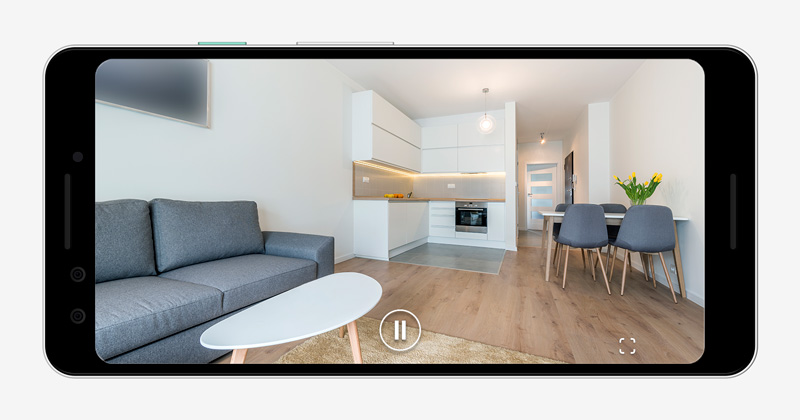
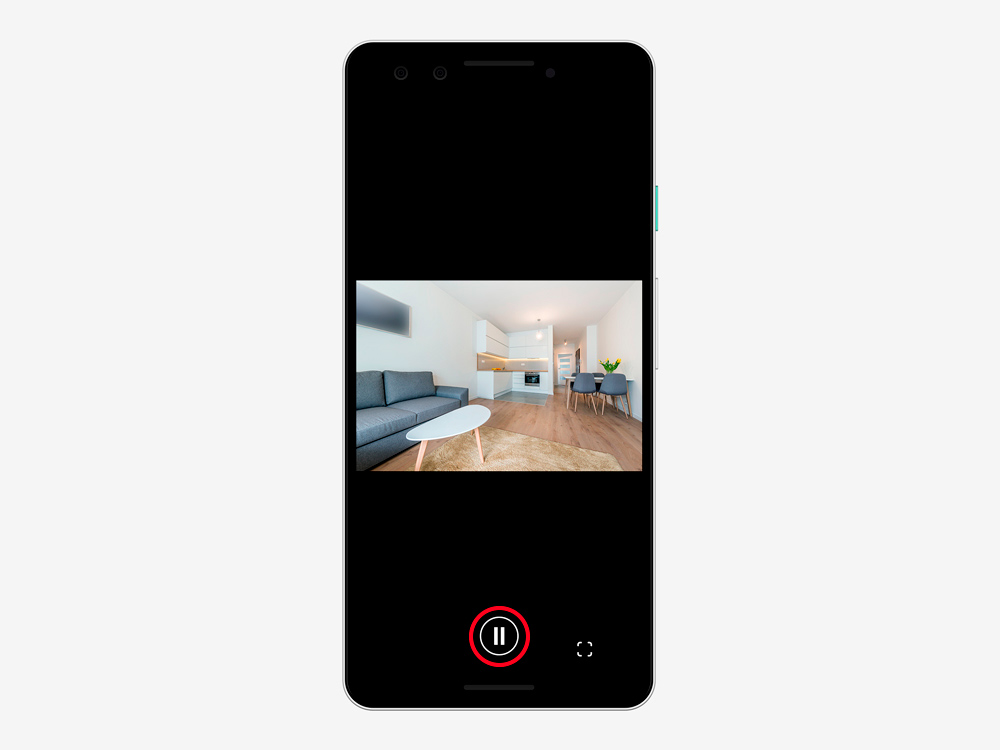
In order to pause a video, click the pause button.
In order to take a photo, click on the button indicated on the screenshot. The screenshot is saved in the smartphone memory.
The camera image can also be scaled with a pinch gesture.
The connected IP cameras operate independently of the hub. If the hub loses connection with the Ajax Cloud service but the cameras or the video recorder continue to operate, the video streams will be available for viewing in the Ajax app.
In the camera settings ![]() , you can change its name, RTSP link, redefine the location room, and delete the camera.
, you can change its name, RTSP link, redefine the location room, and delete the camera.
How to configure user access to camera streams and archives
Ajax apps allow you to configure which users can access the video stream and archive. Privacy settings can be managed by:
- System user with admin rights (by default).
- System user with no admin rights, if they were granted such a right.
The users of the PRO apps cannot manage the privacy settings but can determine access type for other users.
To configure user access to cameras:
- Log in to the Ajax Security System or Ajax Desktop app.
- Select a space.
- Tap on the gear
 icon to go to the space settings.

In Ajax Security System app, go to the Control
 tab first, and then open the space settings.
 - Go to the Privacy settings.
- Select the user category: Users, Installers and Companies.
- Select the system user.
- Select the camera.
- Enable or disable the toggle Watch camera livestream.
- Configure other access rights if the Watch camera livestream toggle is enabled:
- View camera archive.
- Download video from archive (available after enabling the View camera archive toggle).
- Watch with sound.
- Use pan-tilt-zoom (PTZ) feature.
- Specify when the user has access to the camera possibilities: at any time or when the device is in the armed mode.
It is also available to grant temporary access to video surveillance devices only after an alarm for company employees.
- Tap Back / click Save to apply changes.
- Repeat steps 4–11 for other cameras and users.