ONVIF is the global standard for integrating IP security devices into a unified system. The standard ensures seamless communication between video cameras, NVRs, video management systems (VMS) platforms, and other security solutions, regardless of the manufacturer. Previously, an Ajax system allowed connecting third-party cameras, but now Ajax video devices also support ONVIF authorization. This means that you can now integrate Ajax video devices with the existing infrastructure.
ONVIF groups its standards into profiles that cover different needs:
- Profile S for basic video streaming and recording.
- Profile G for video storage and retrieval.
- Profile T for access to advanced video streaming features, such as H.265 compression.
- Profile M for metadata and analytics event transmission, including AI recognition.
- Profile A for access control.
Ajax video devices support Profile S, which means they can:
- transmit live video and audio to third-party clients securely, bypassing Ajax Cloud;
- use H.264 encoding for video compression;
- support the pan-tilt-zoom (PTZ) feature.
In addition to the basic functionality of Profile S, Ajax video devices support the most requested features included in Profile T and Profile M:
- H.265¹ (HEVC) encoding, which improves bandwidth efficiency;
- transmission of motion detection events and AI² recognition;
- control over wide dynamic range (WDR) and other image settings.
All the aforementioned functionality allows you to integrate Ajax video devices with VMSs such as Milestone, Genetec, Axxon, and Digifort.
¹ For video devices that support the H.265 video codec.
² AI recognition will be available later.
Ajax video devices operating within an Ajax system use passwordless authentication and proprietary video streaming. Authentication via Ajax Cloud ensures reliable protection of all sensitive data. When you use an Ajax video surveillance system, we strongly recommend connecting all devices directly to Ajax Cloud via our apps.
When ONVIF is enabled, potential risks of data vulnerability arise:
- Connecting an Ajax video device to a third-party VMS via ONVIF requires bypassing Ajax Cloud.
- The login and password of each user with access to the video stream can be a weak spot.
If you connect Ajax video devices via ONVIF, please keep passwords secure.
Availability
An admin or PRO with rights to configure the system can set up a connection via ONVIF in:
- Ajax Security System with the app version 3.25 or later.
- Ajax PRO: Tool for Engineers with the app version 2.25 or later.
- Ajax PRO Desktop with the app version 4.20 or later.
- Ajax Desktop with the app version 4.21 or later.
ONVIF authorization is supported by all Ajax video devices, though some require specific firmware versions:
ONVIF user roles and rights
| User access | Administrator | Operator | User |
| Get the network information (ports, IP, etc.) | |||
| Get sensitive data (certificates, keys, system configuration information) | — | ||
| Get confidential system configuration information from the device | — | — | |
| Change the device’s system settings | — | — | |
| Reset video devices to default settings | — | — | |
| View a live stream |
How to configure a connection via ONVIF
To configure ONVIF authorization for Ajax video devices:
- Open an Ajax app.
- Log in to your account or create a new one.
- Select a space or create a new one.
- Add the required Ajax video devices to the space. You can find detailed information in the user manual of the respective device.
- Go to the Devices
tab.
- Select the video device you want to connect via ONVIF.
- Go to its Settings
.
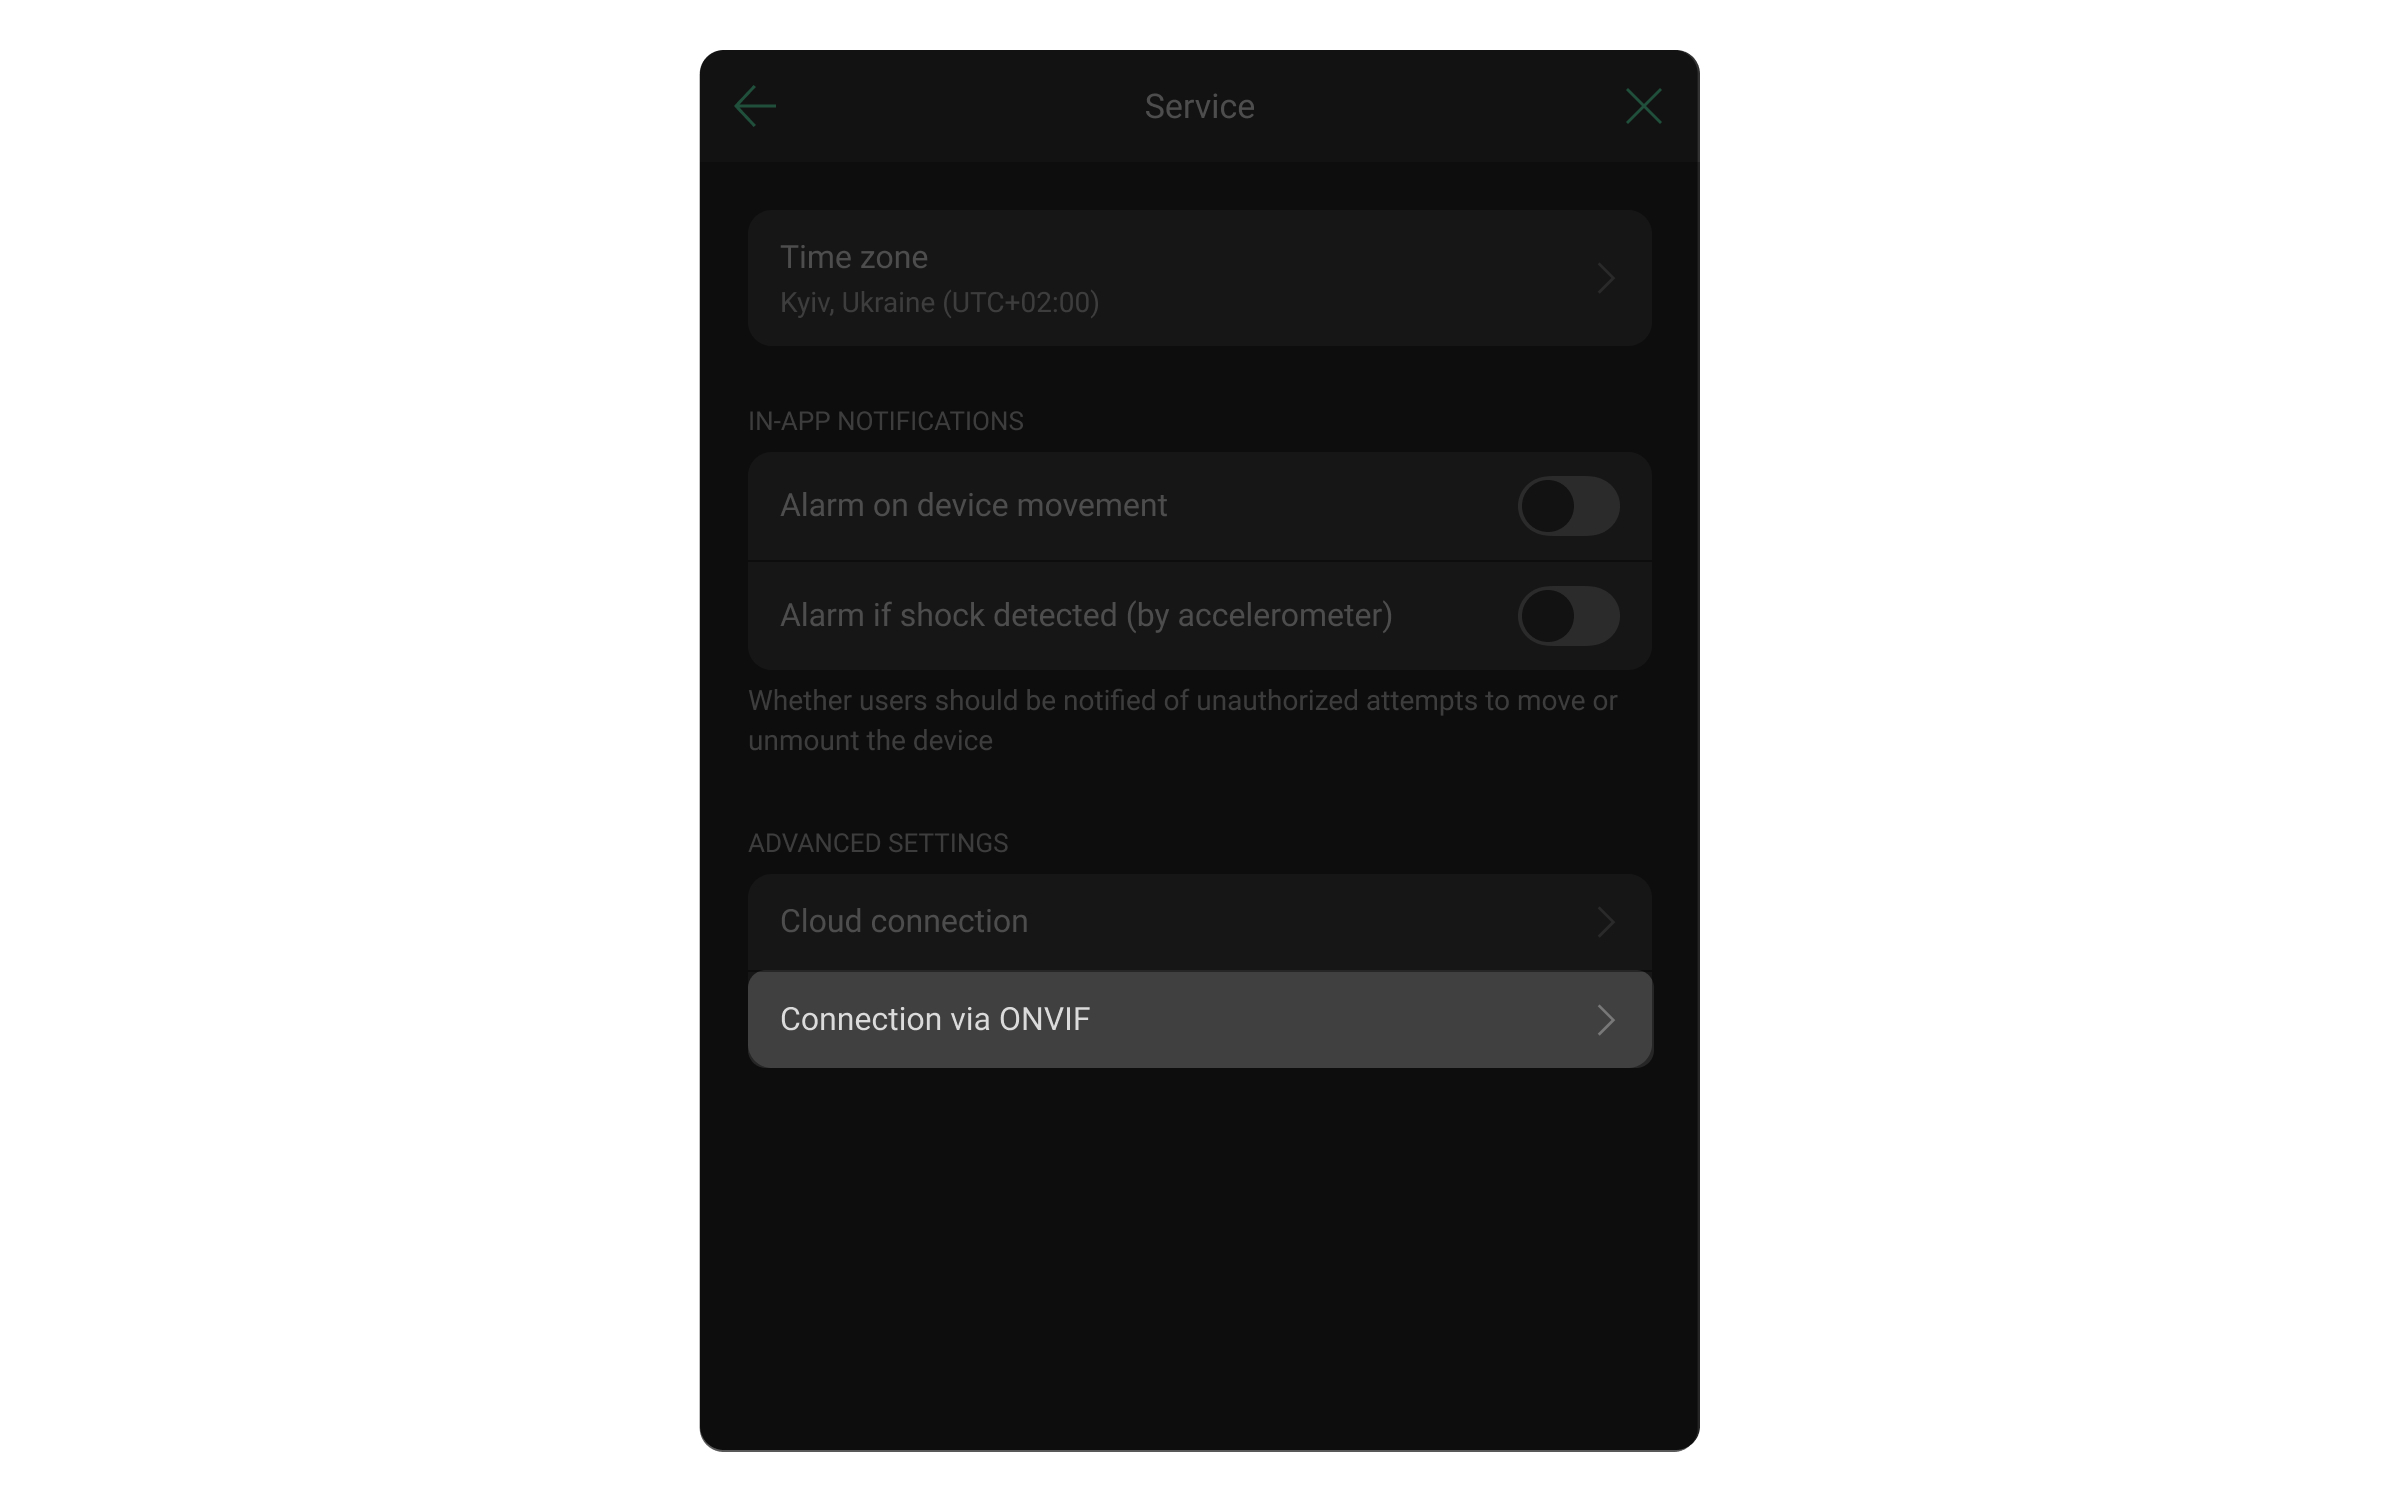
- Select Service settings.
- Click Connection via ONVIF.
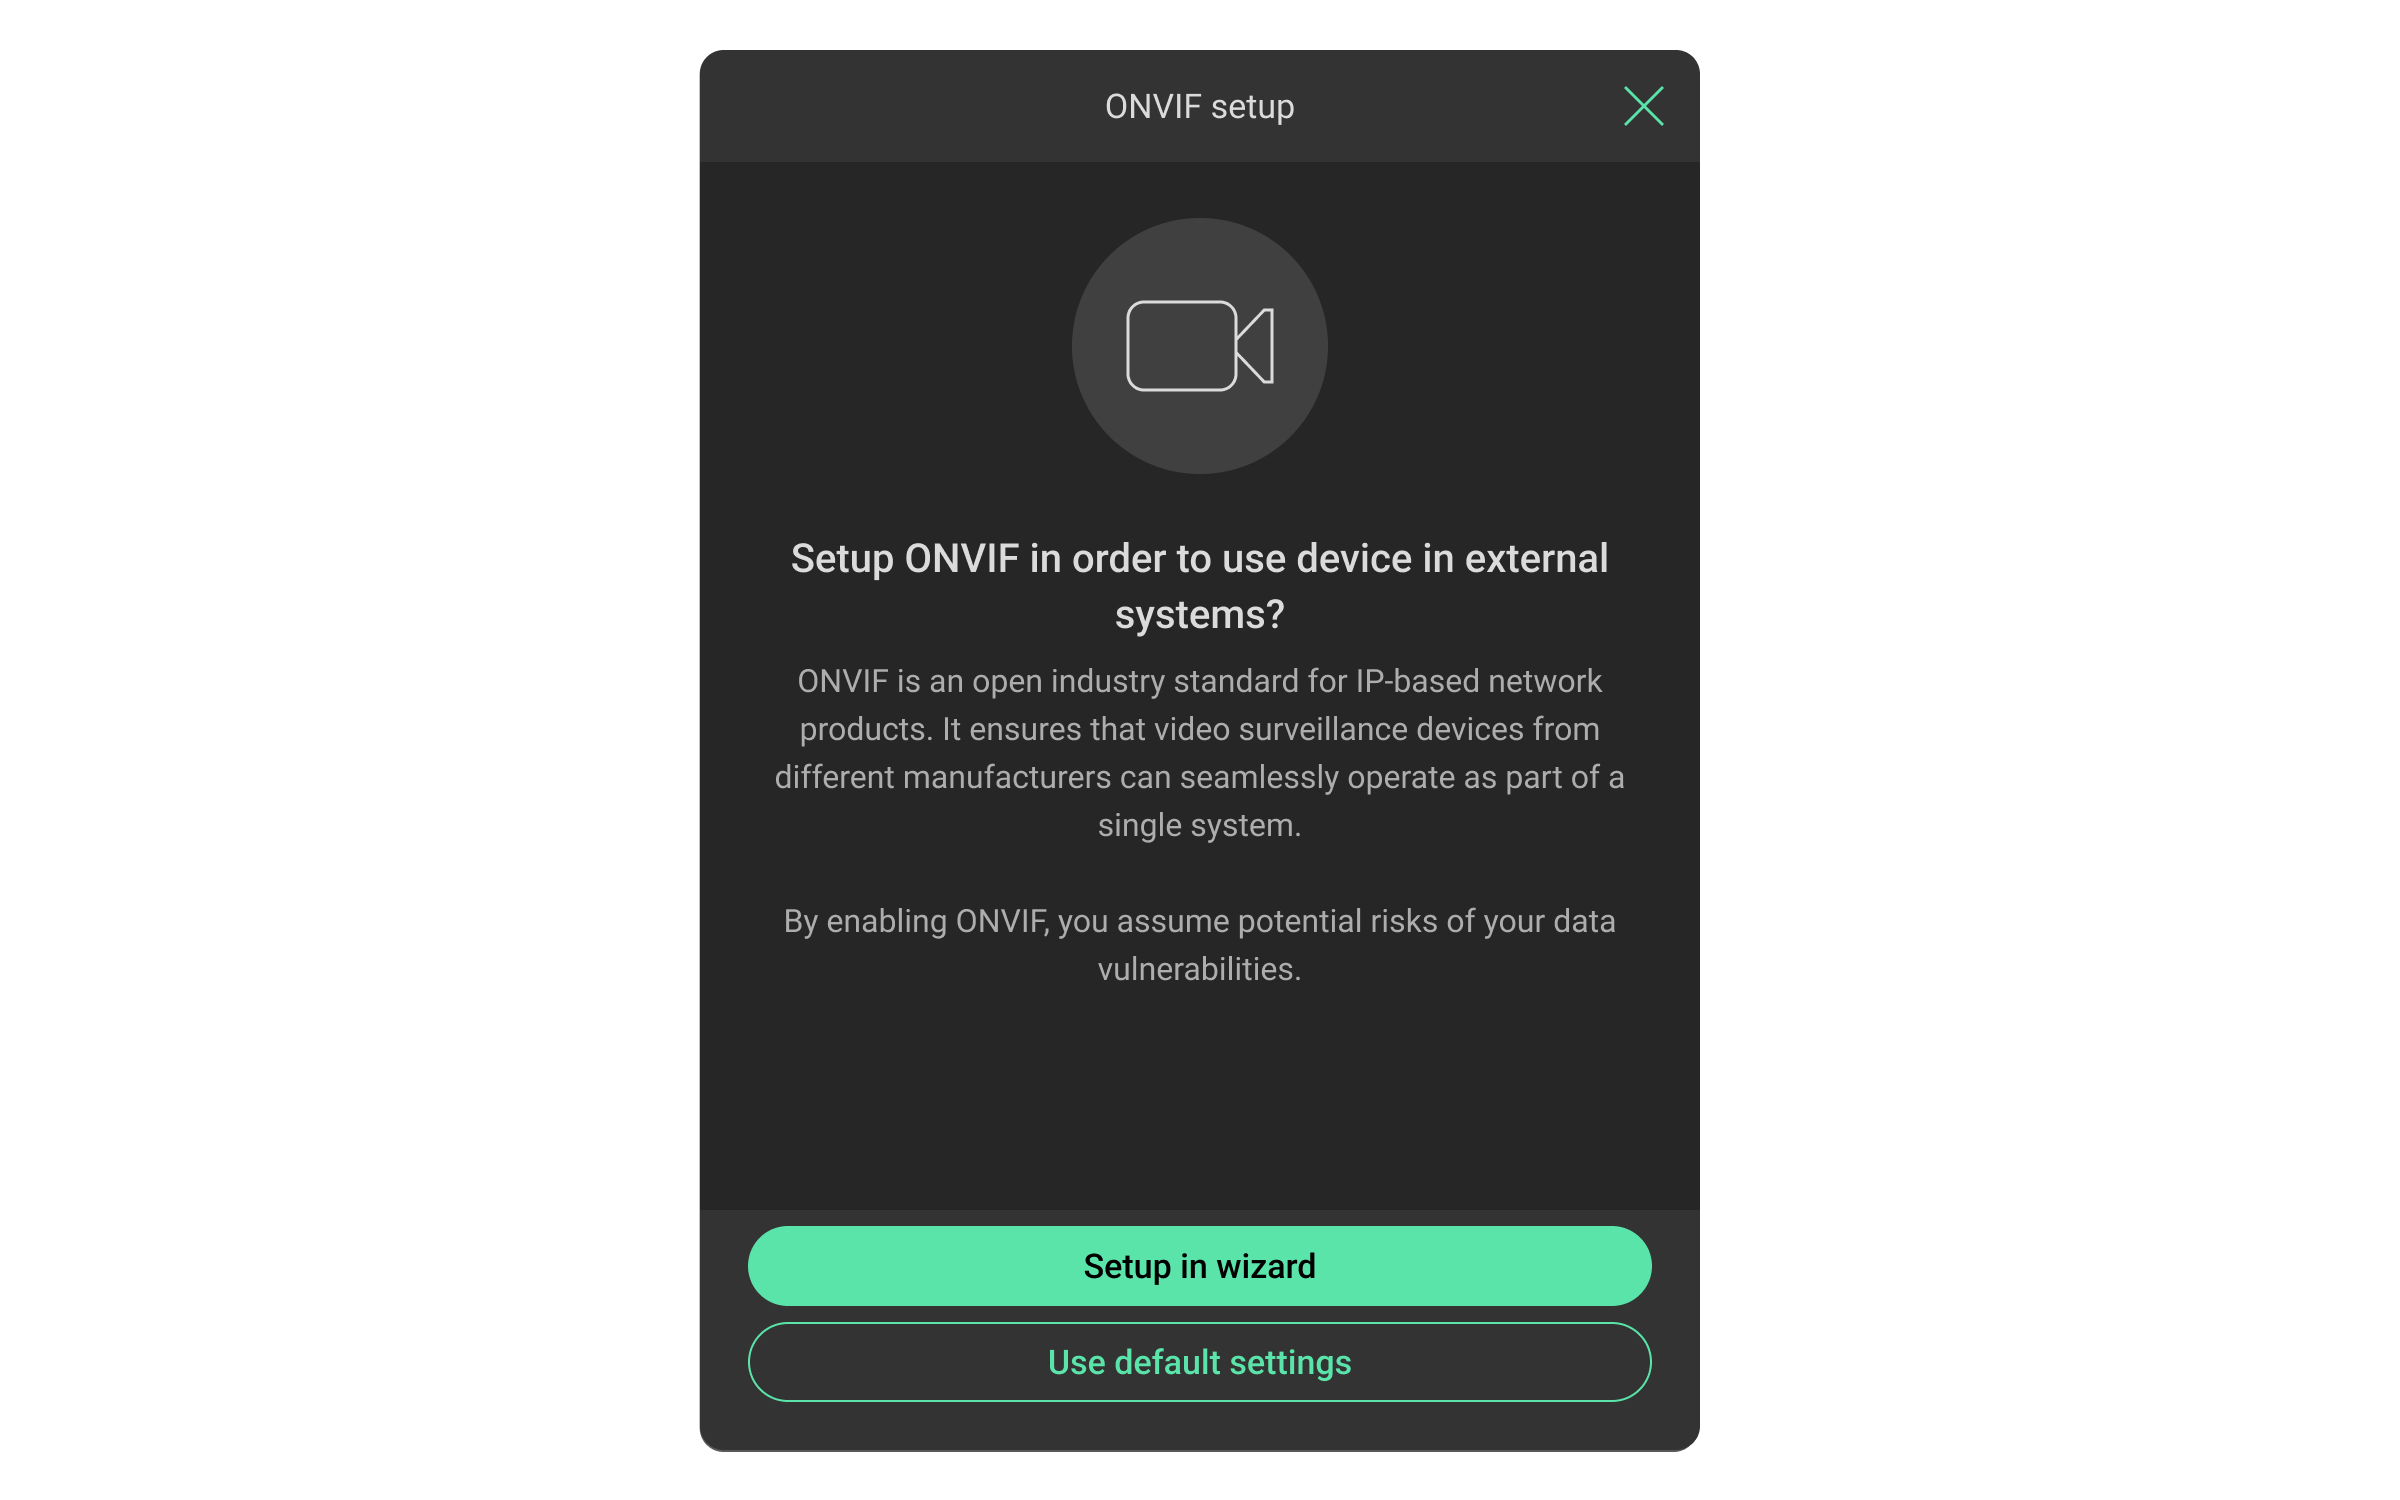
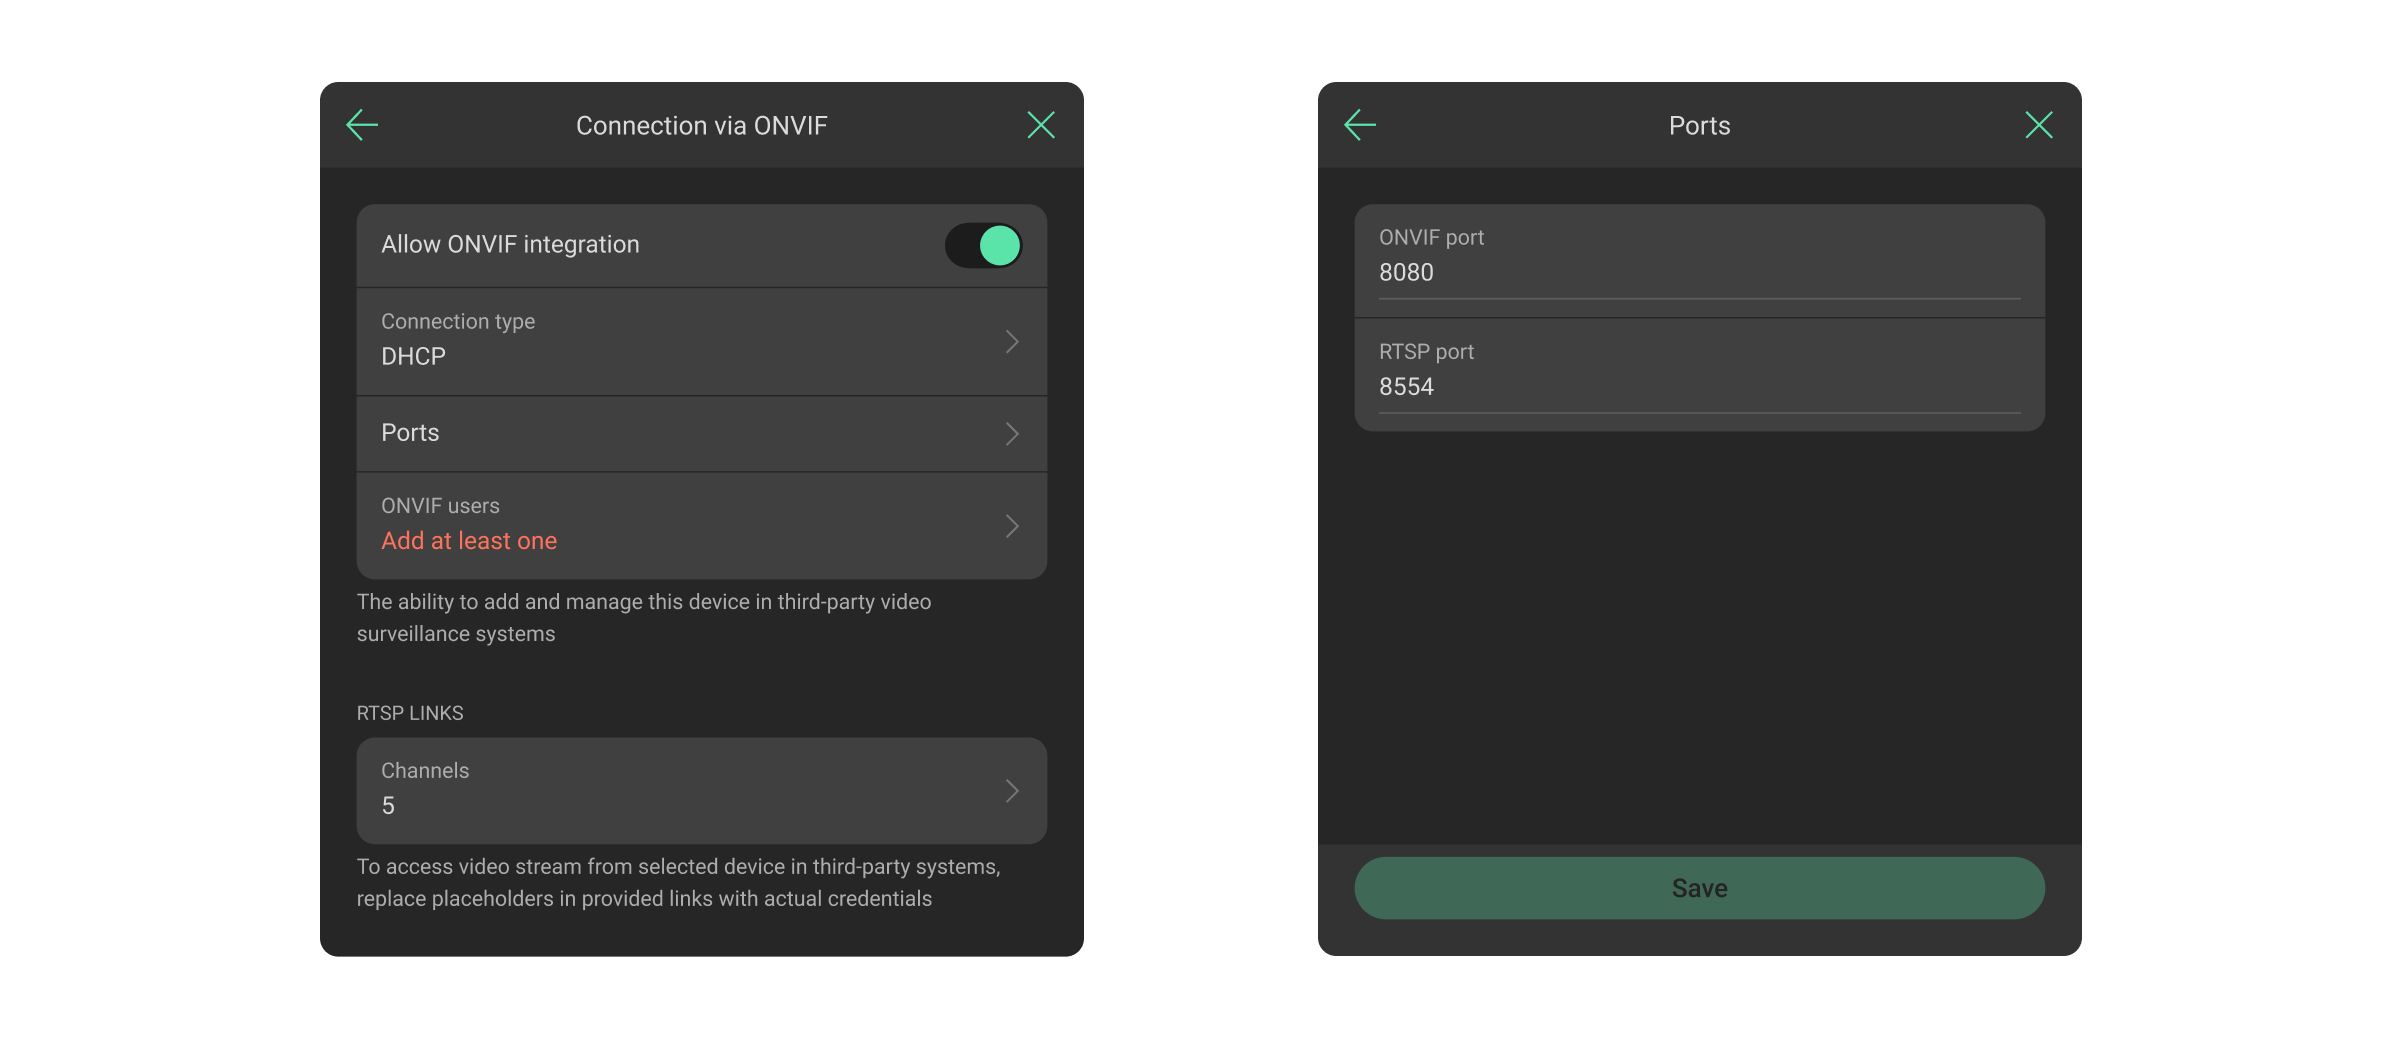
- Enable the Allow ONVIF integration toggle.
- Select the setup method:
- Setup in wizard;
- Use default settings.
If you select Setup in wizard, you can specify all the necessary settings, such as network, users, etc., step by step.
Please create strong passwords and keep them secure to reduce the risk of data vulnerability.
If you select Use default settings, the default network settings are applied:
- Connection type: DHCP.
- ONVIF port: 8080.
- RTSP port: 8554.
You can change the default network settings at any moment.
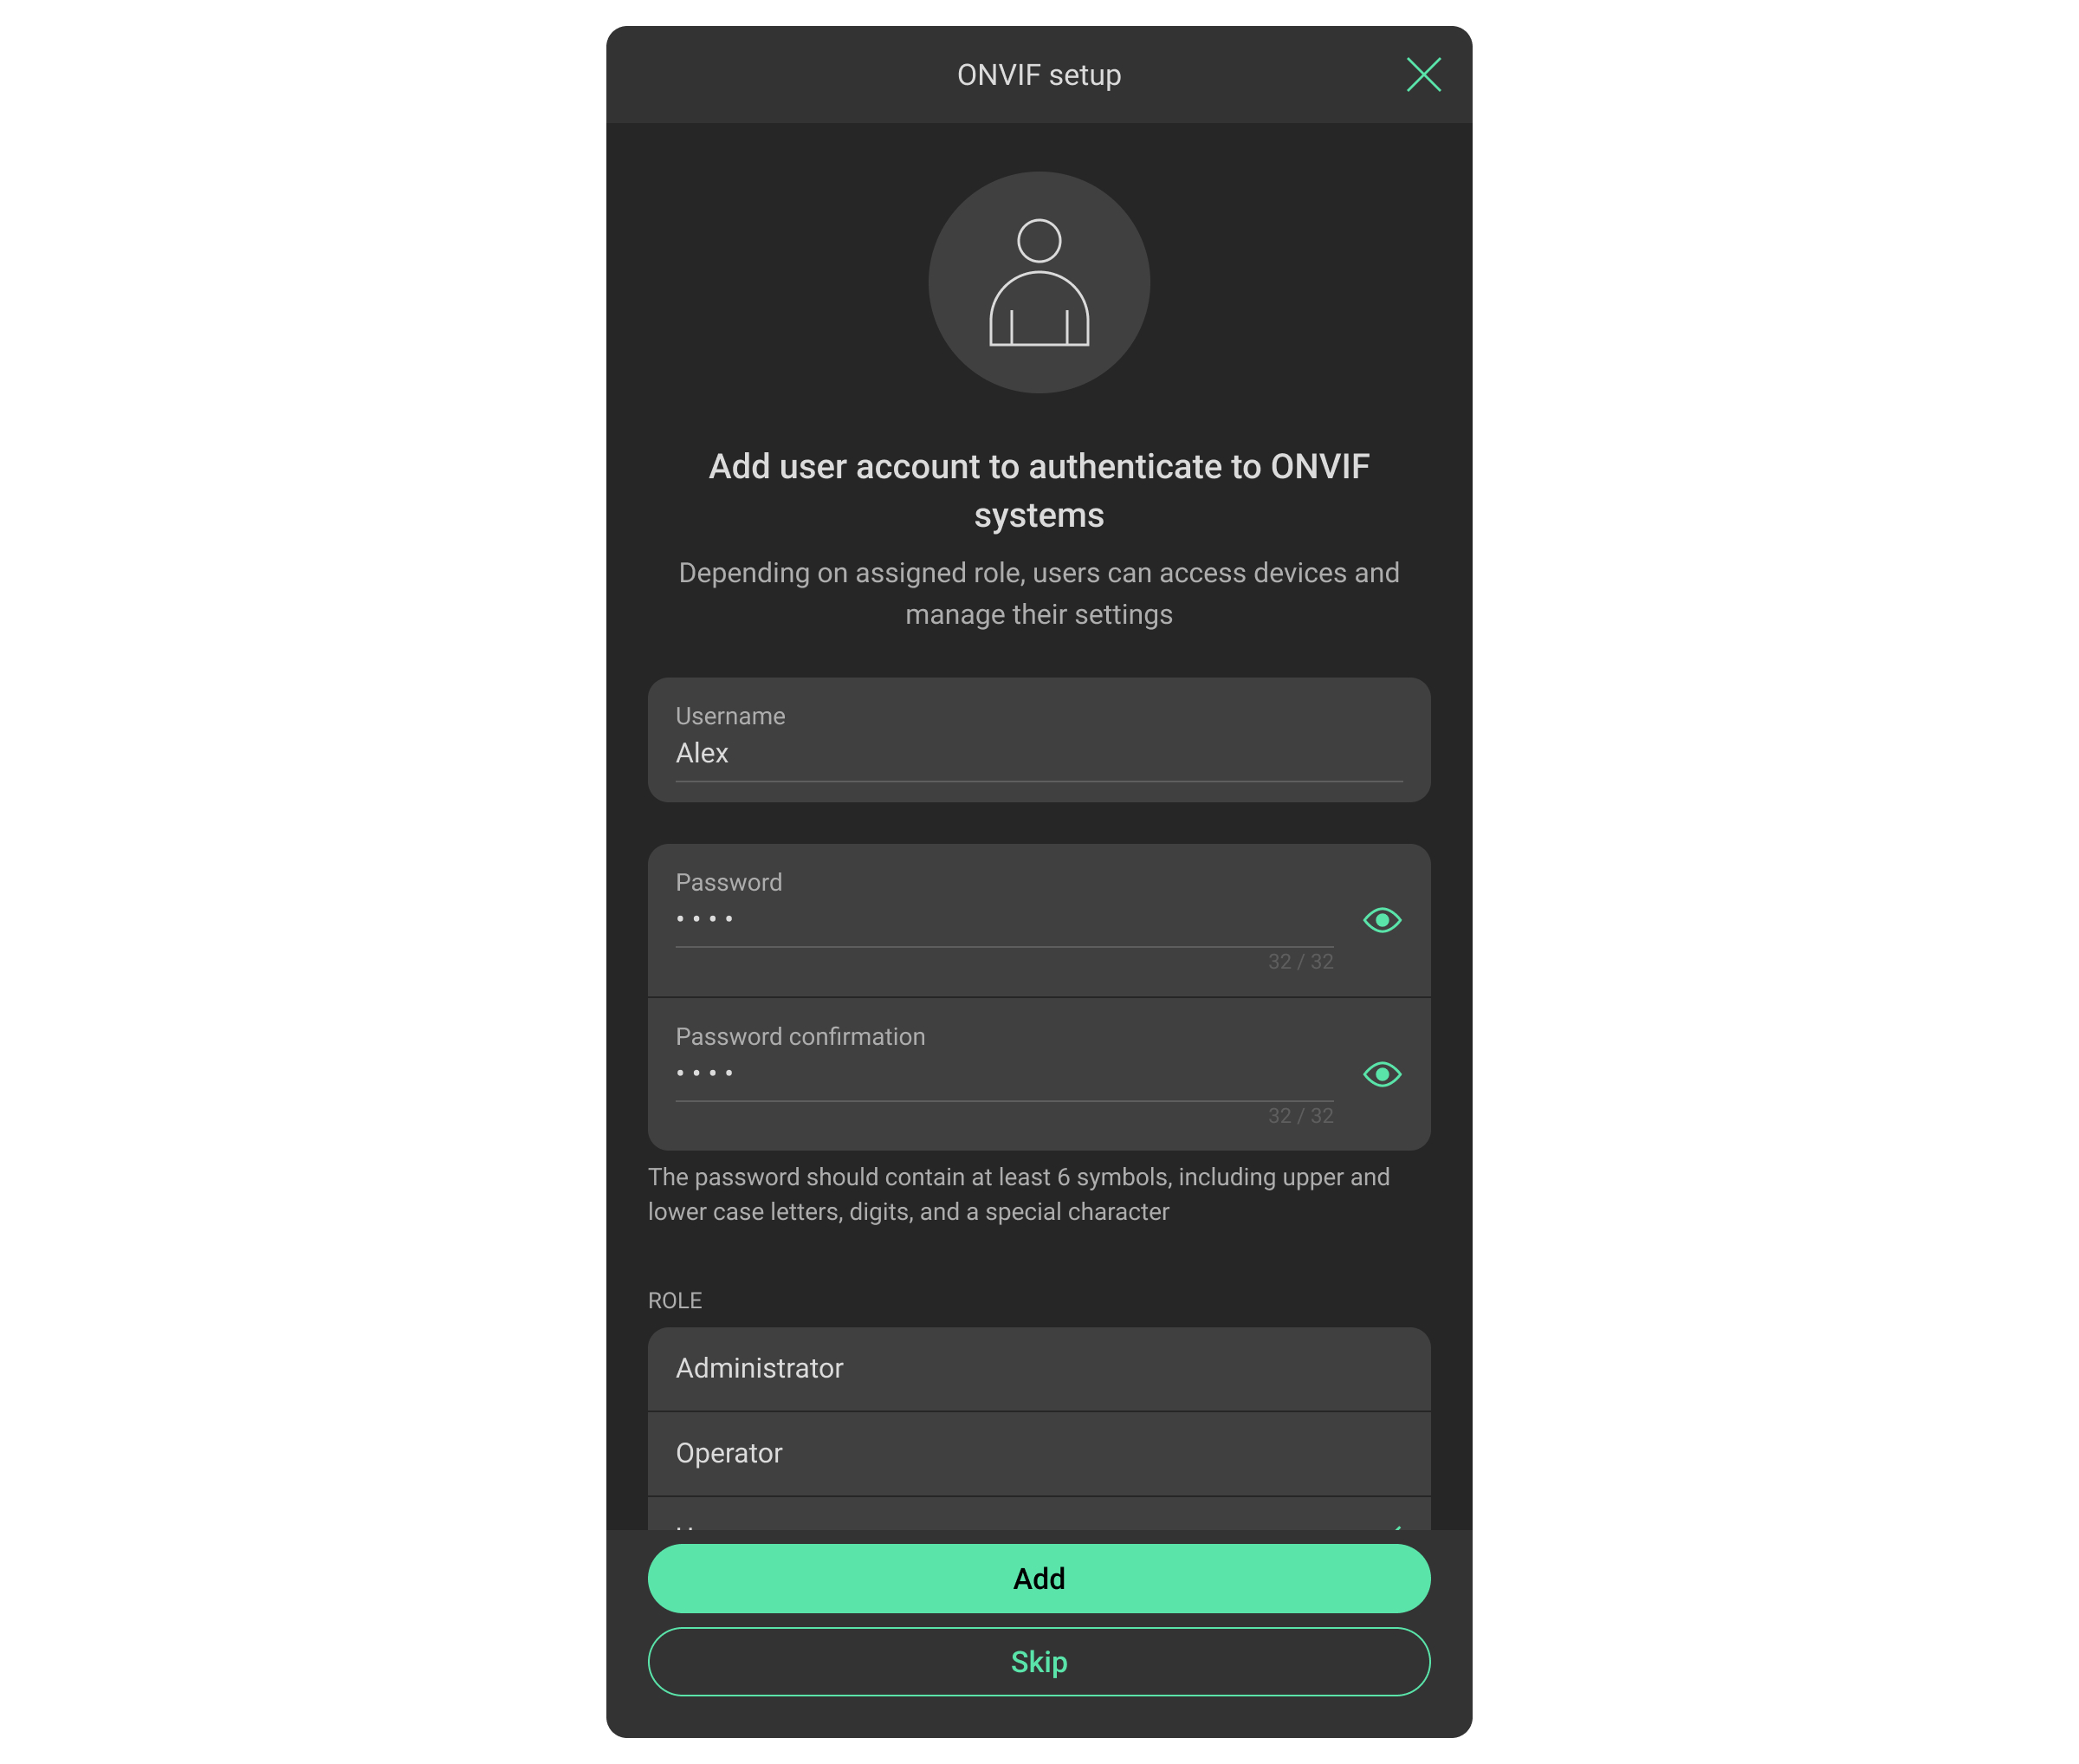
- Add at least one user, specify their role, and enter a username and password.
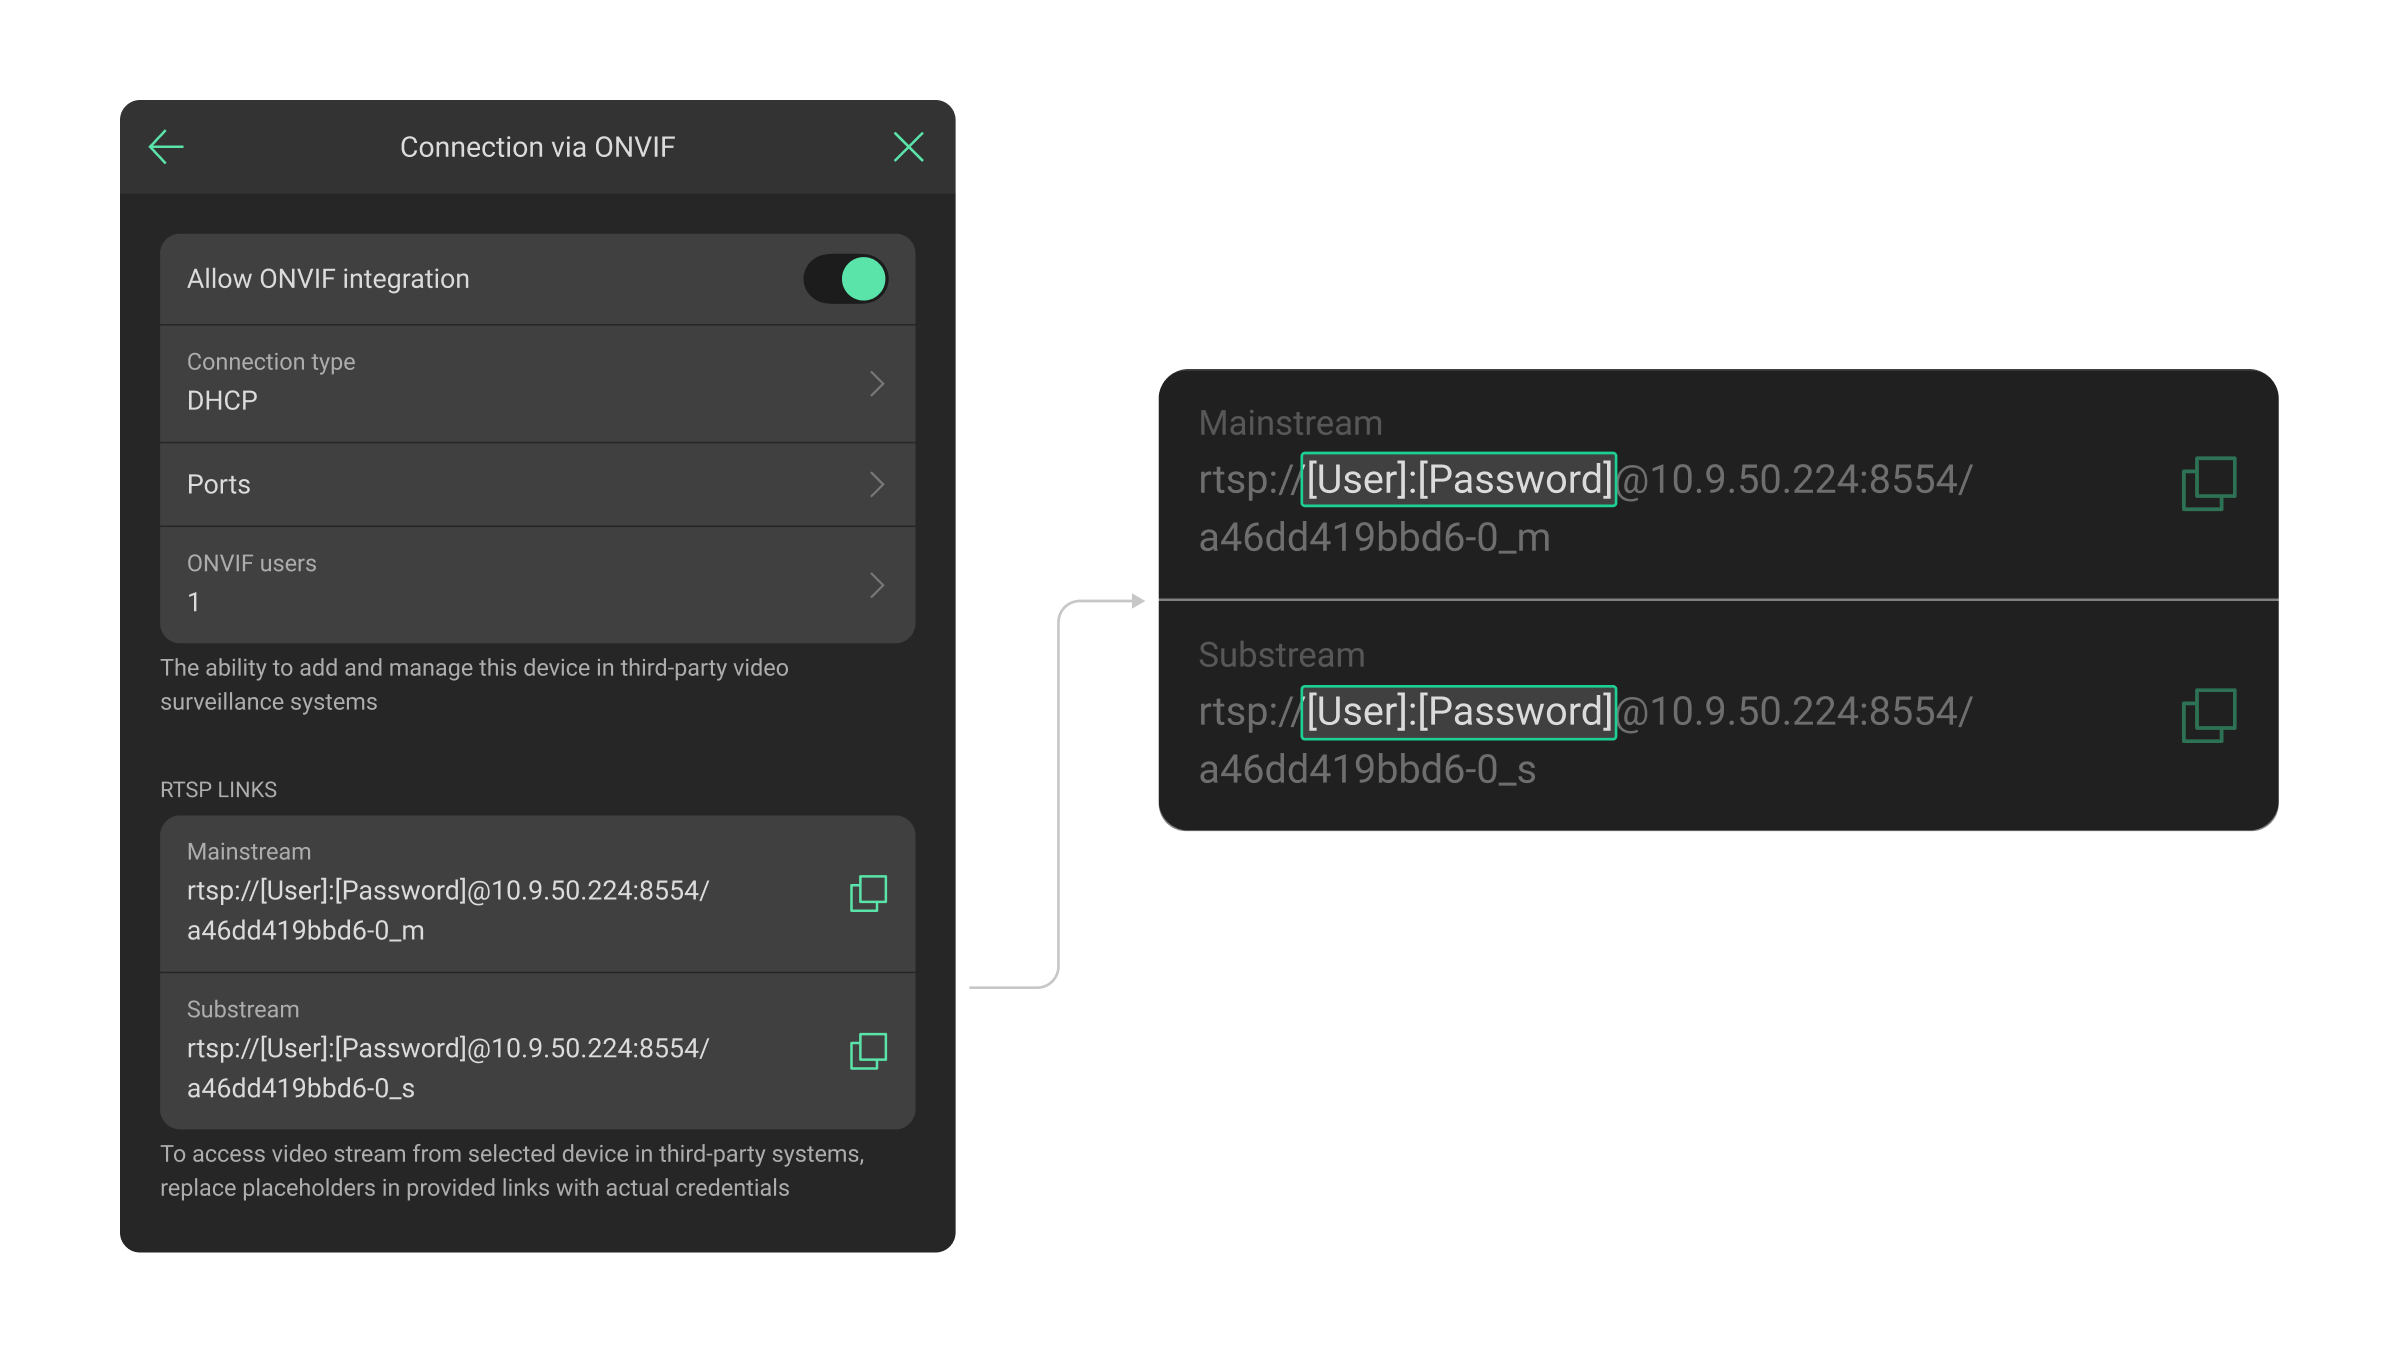
- If you plan to use a connection via RTSP, copy RTSP links from the Mainstream and Substream fields.
- To access a video stream from the selected device in third-party systems, replace placeholders in provided links with actual credentials.
How to change ONVIF user settings
- In an Ajax app, select a space with a video device whose ONVIF user settings you want to change.
- Select a video device.
- Go to its Settings
.
- Select Service settings.
- Click Connection via ONVIF.
- Click ONVIF users.
- Select a user.
- Change the necessary settings, such as a username, role, or password.
- Click Save.
How to delete an ONVIF user
- In an Ajax app, select a space with a video device whose ONVIF user account you want to delete.
- Select a video device.
- Go to its Settings
.
- Select Service settings.
- Click Connection via ONVIF.
- Click ONVIF users.
- Select a user.
- Click Delete account.
- Confirm or cancel your action.
How to disable a connection via ONVIF
- In an Ajax app, select a space with a video device where you want to disable connection via ONVIF.
- Select a video device.
- Go to its Settings
.
- Select Service settings.
- Disable the Allow ONVIF integration toggle.
