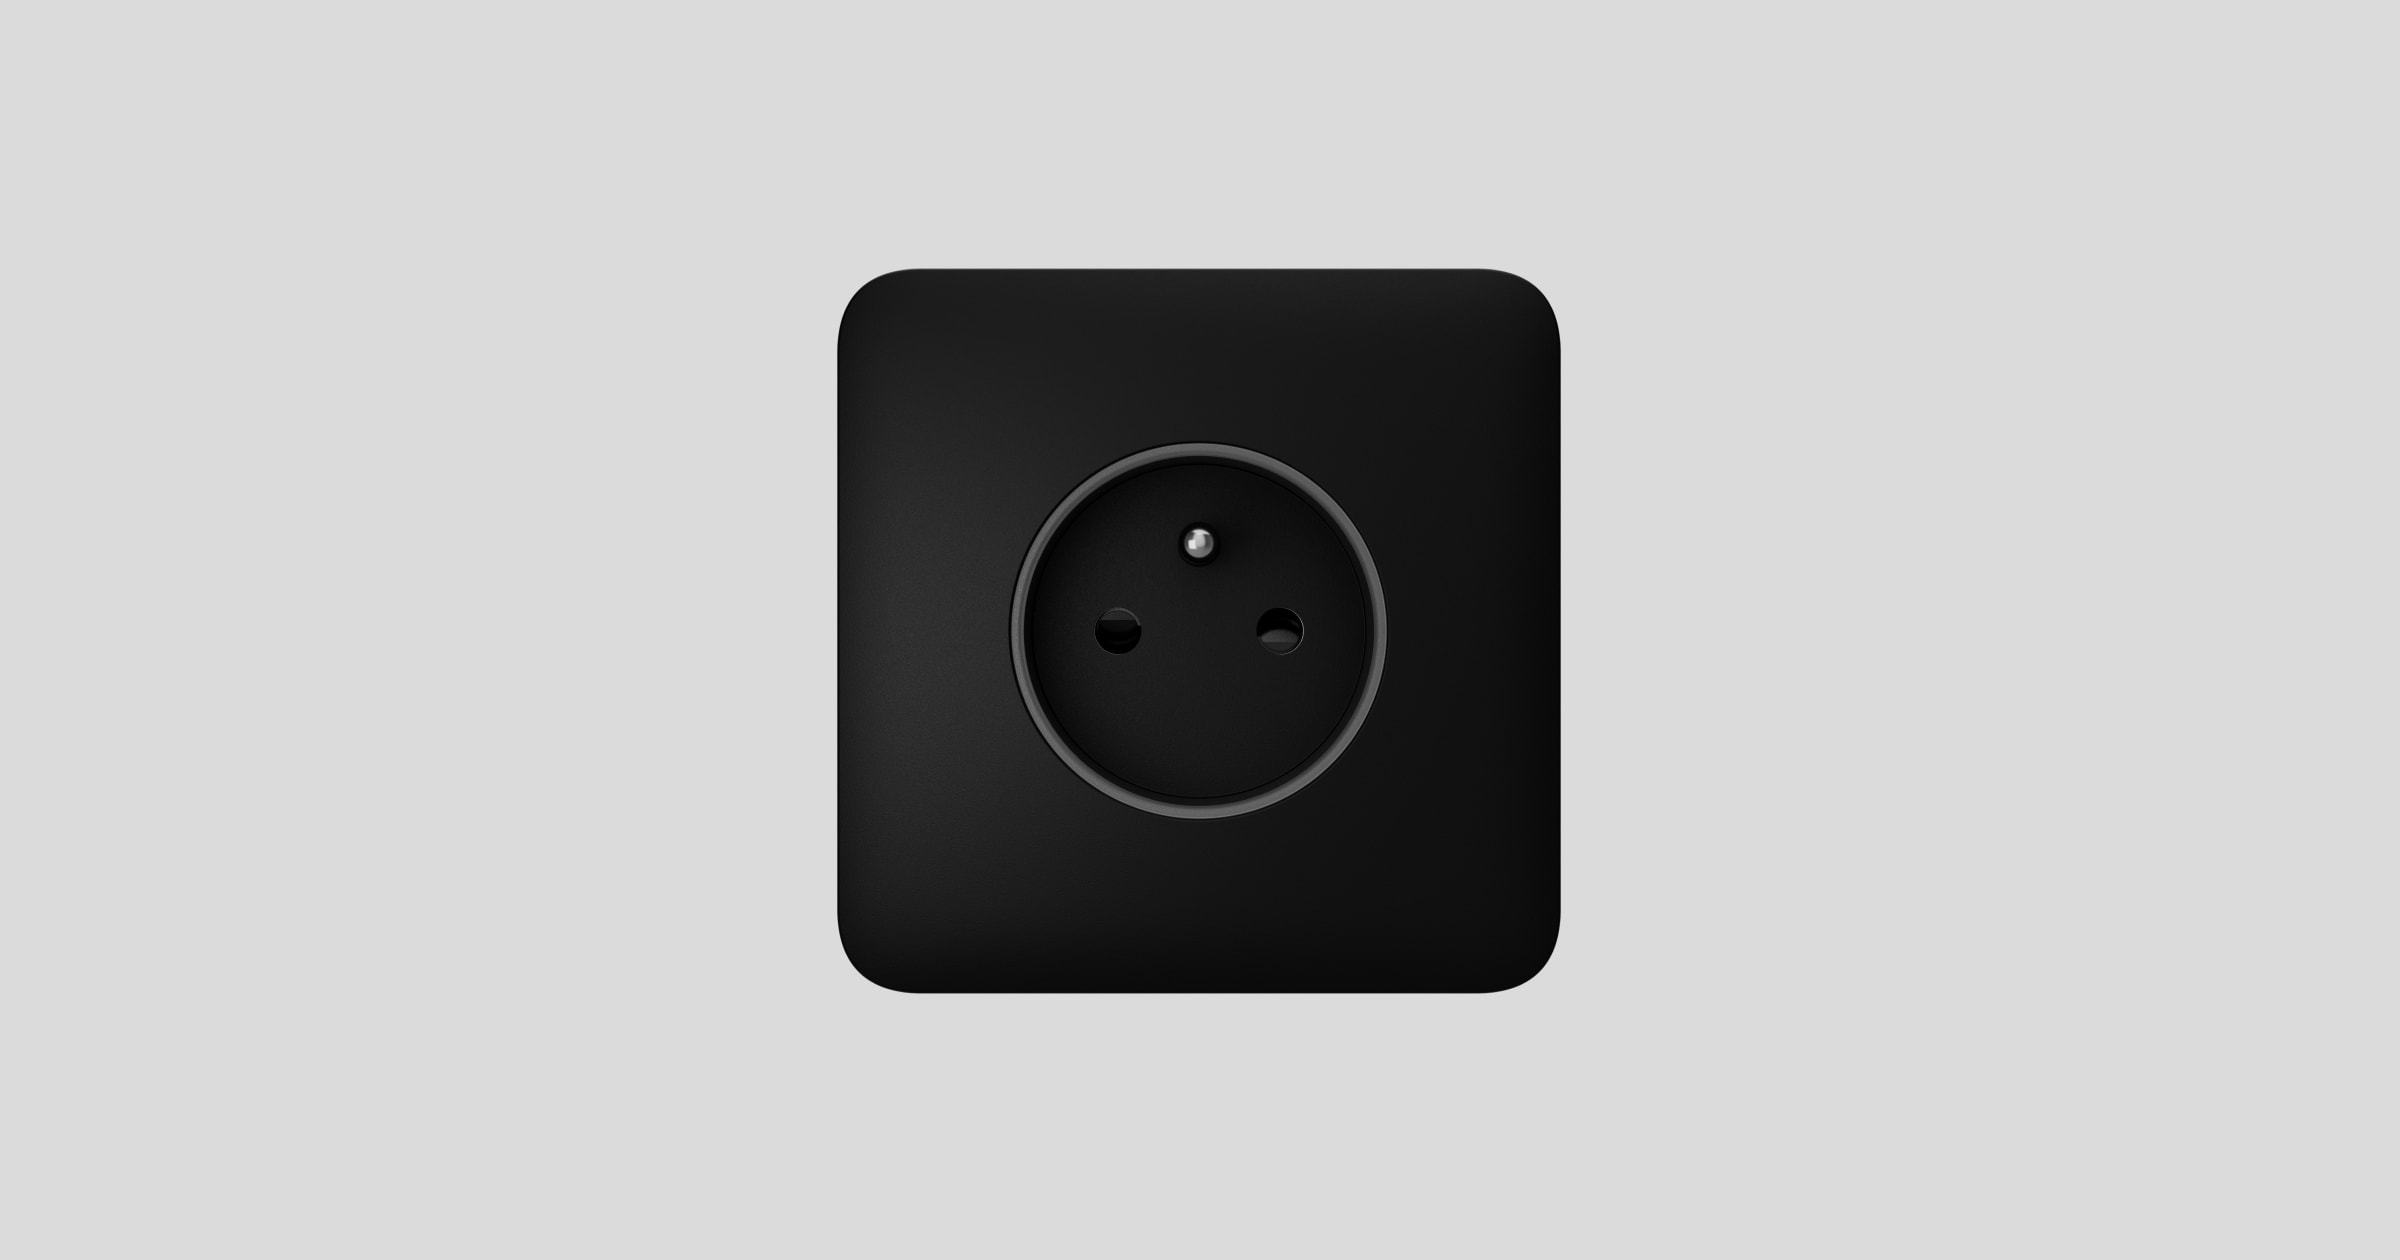
Outlet (basic) [type E] is a regular built-in outlet that cannot be added to an Ajax system and controlled through the app. It has a design and colors identical to Ajax smart outlets and switches and can be installed side by side in the same frame. Compliant with the European plug type E, it features a grounding terminal and protective shutters against dust and splashes that also prevent inserting objects like screwdrivers, scissors, or pins into the outlet.
Use the online Ajax switches and outlets configurator to assemble your custom set. Combine devices into a frame, pick the color, and download your configuration as PDF.
A basic outlet for a type F plug is also available — Outlet (basic) [type F].
Design
Outlet (basic) [type E] is a prefabricated device that consists of the following components:
- Core options:
- OutletCore (basic) [type E]
- OutletCore (basic) vertical [type E]
- Cover options:
- SoloCover (basic) [type E]
- SideCover (basic) [type E]
- СenterCover (basic) [type E]
- Frame options:
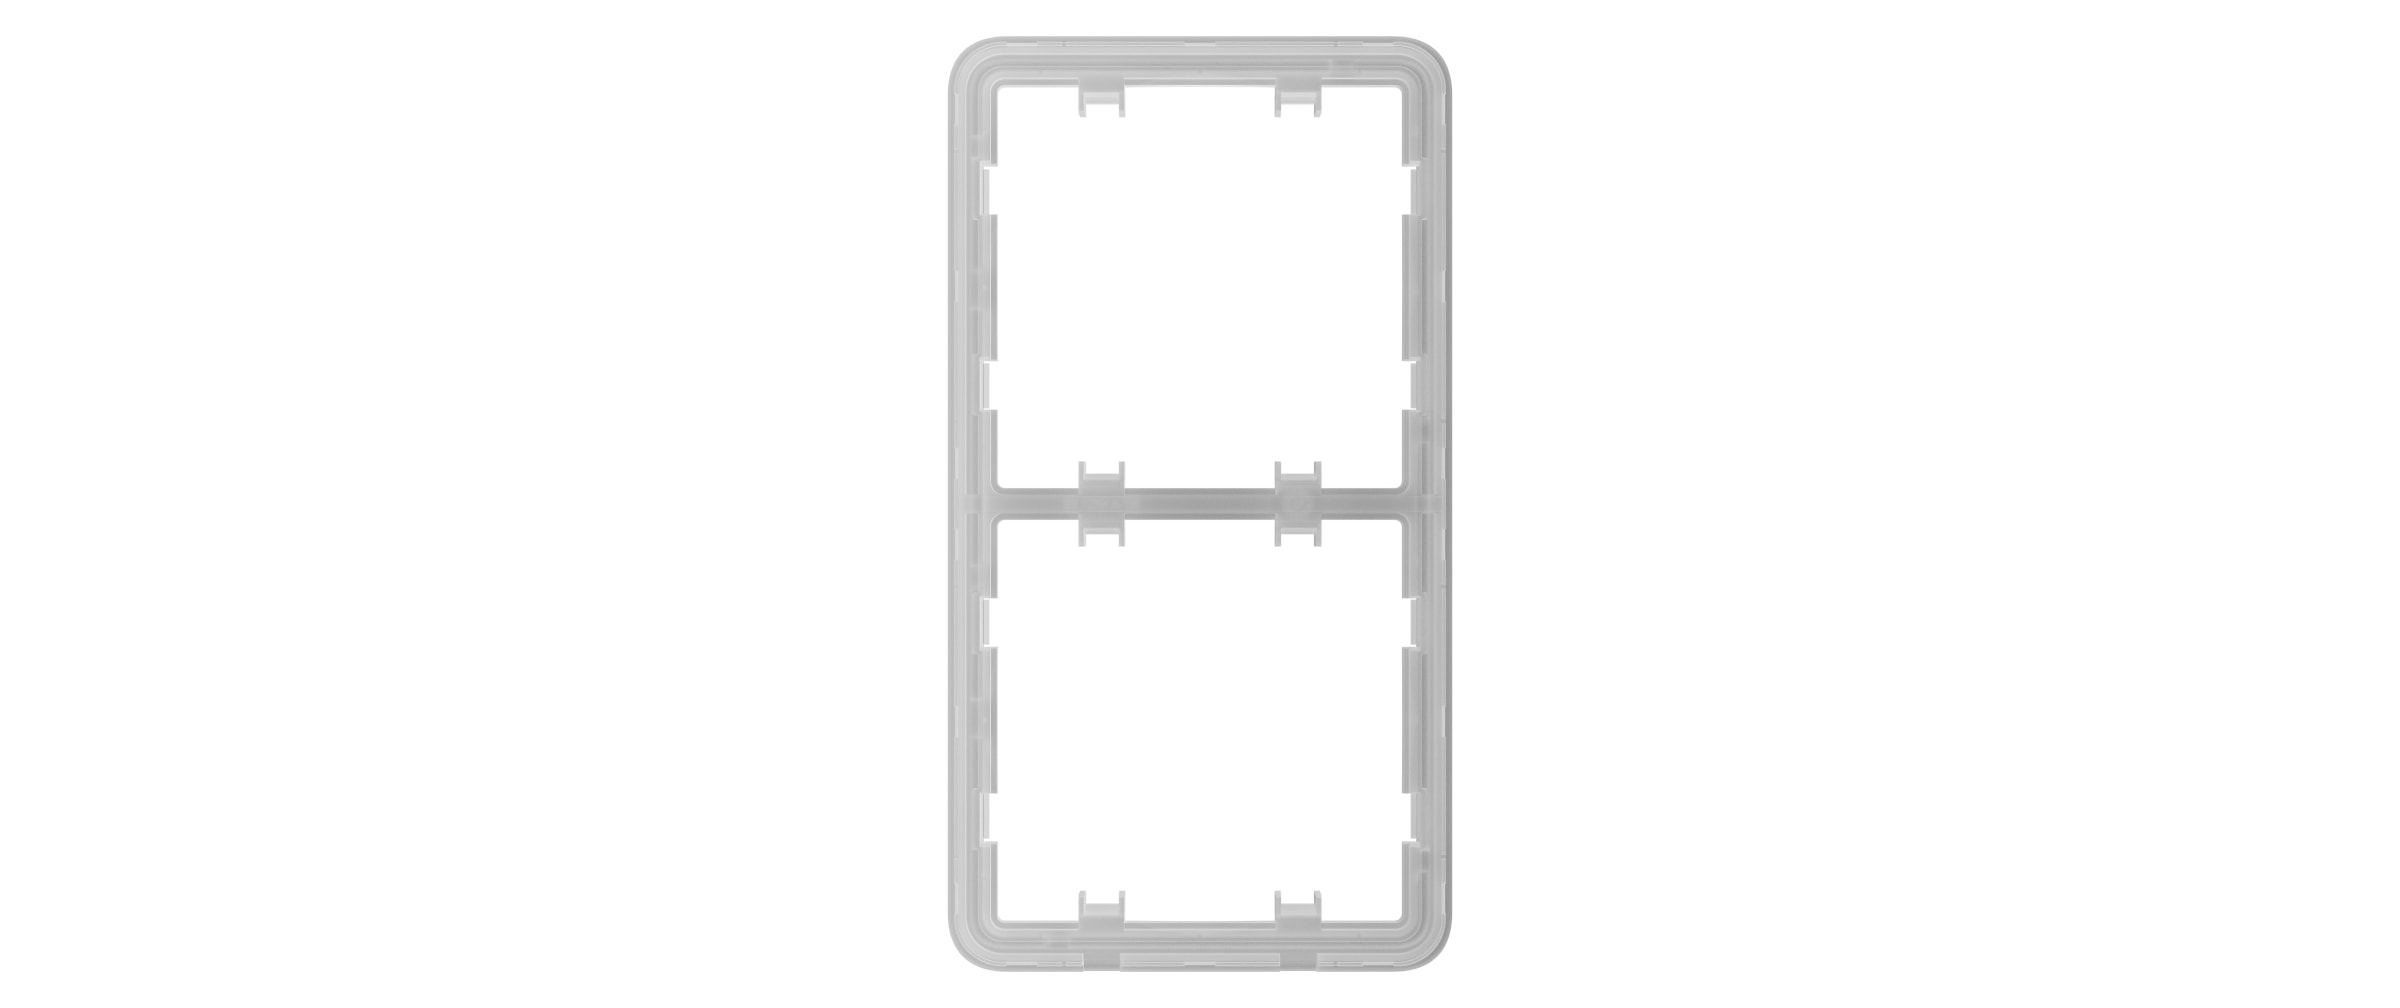
- Frame (2 seats)
- Frame (2 seats) vertical
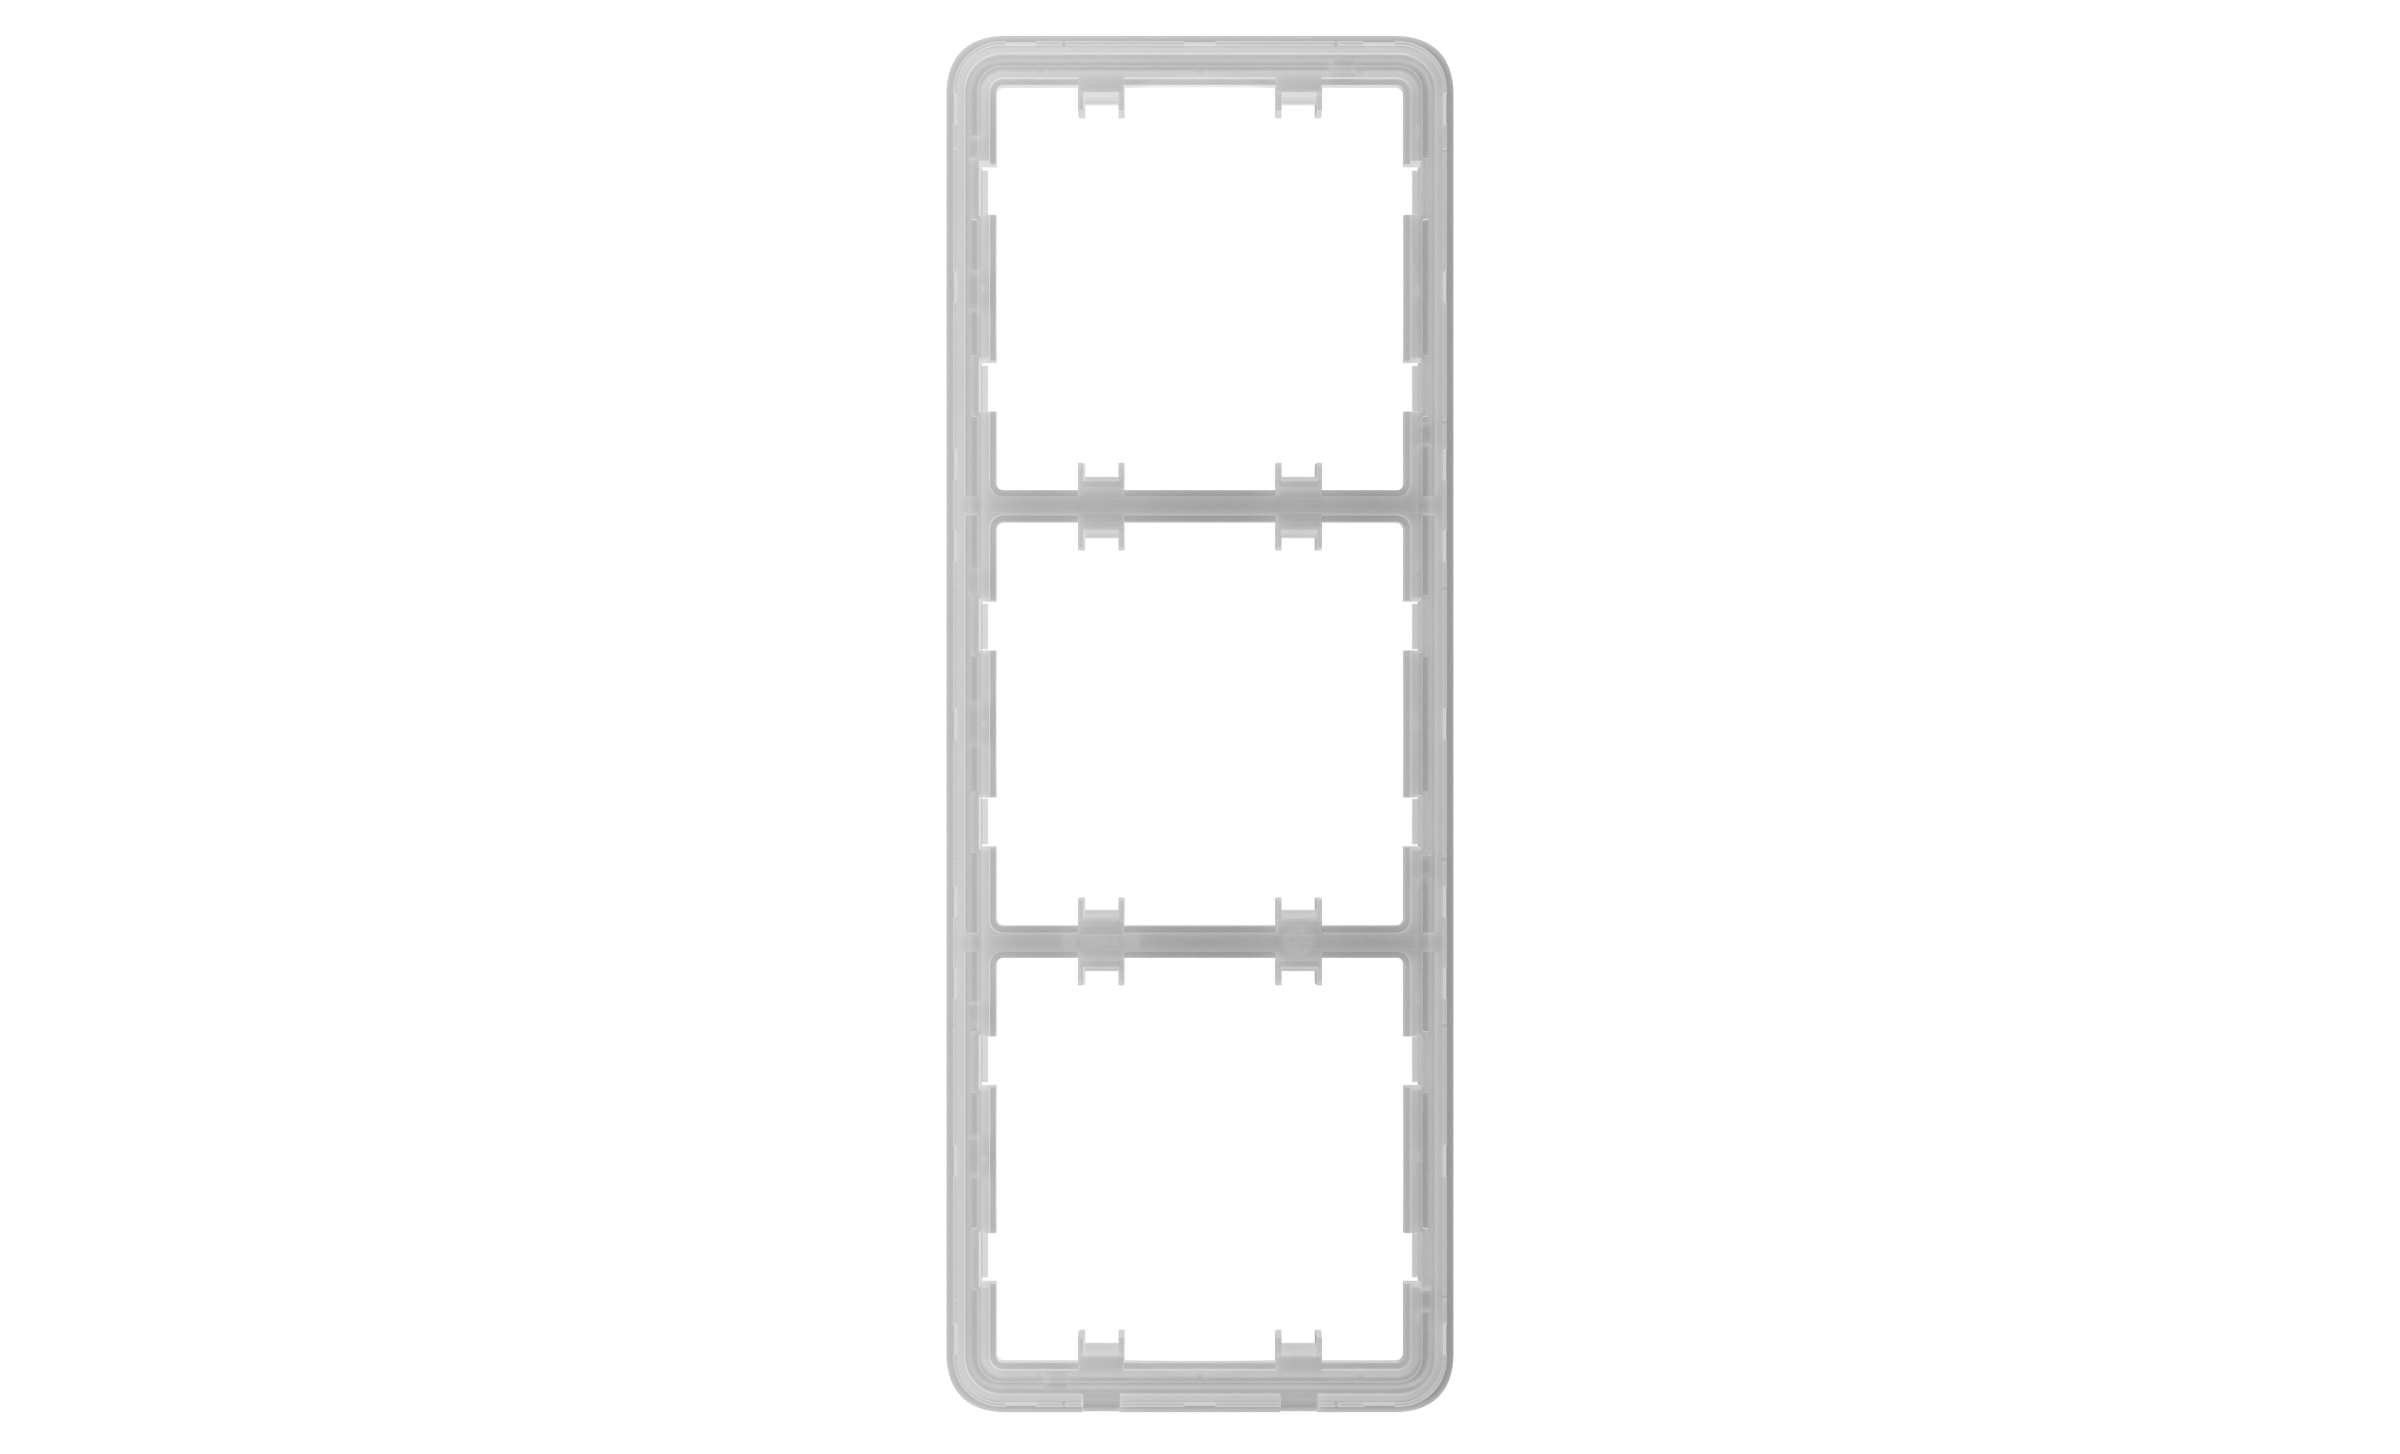
- Frame (3 seats)
- Frame (3 seats) vertical
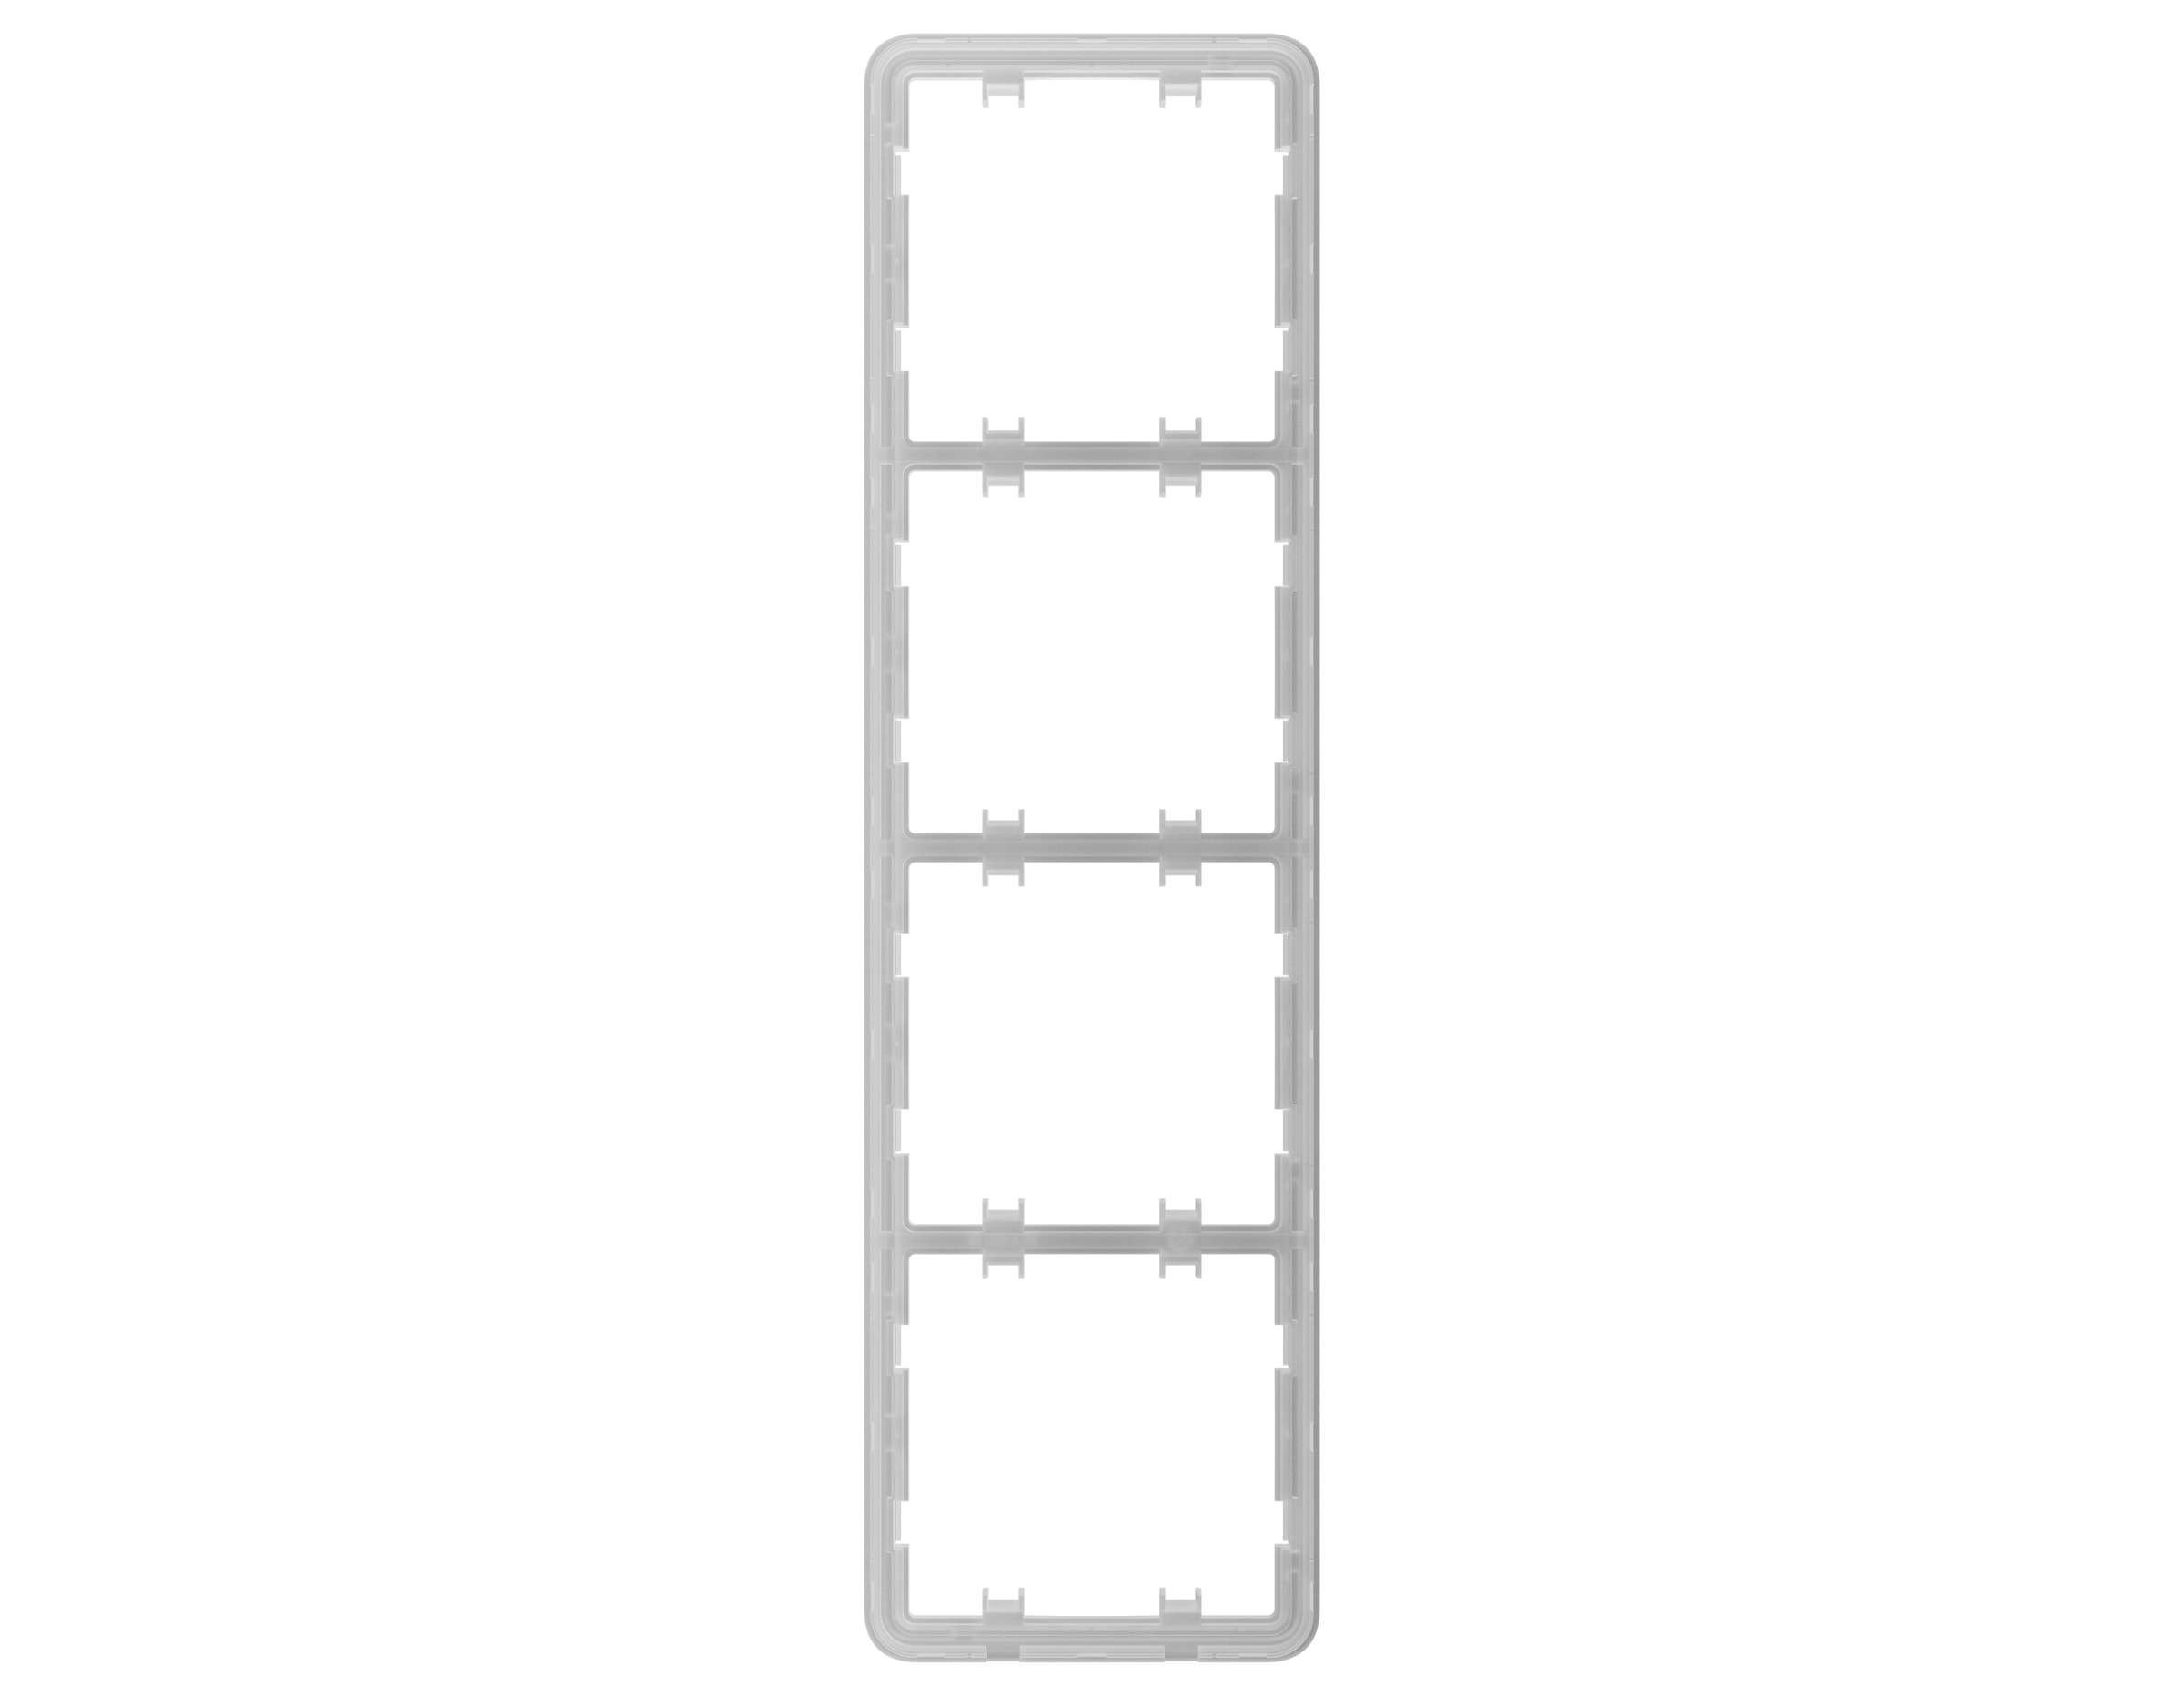
- Frame (4 seats)
- Frame (4 seats) vertical
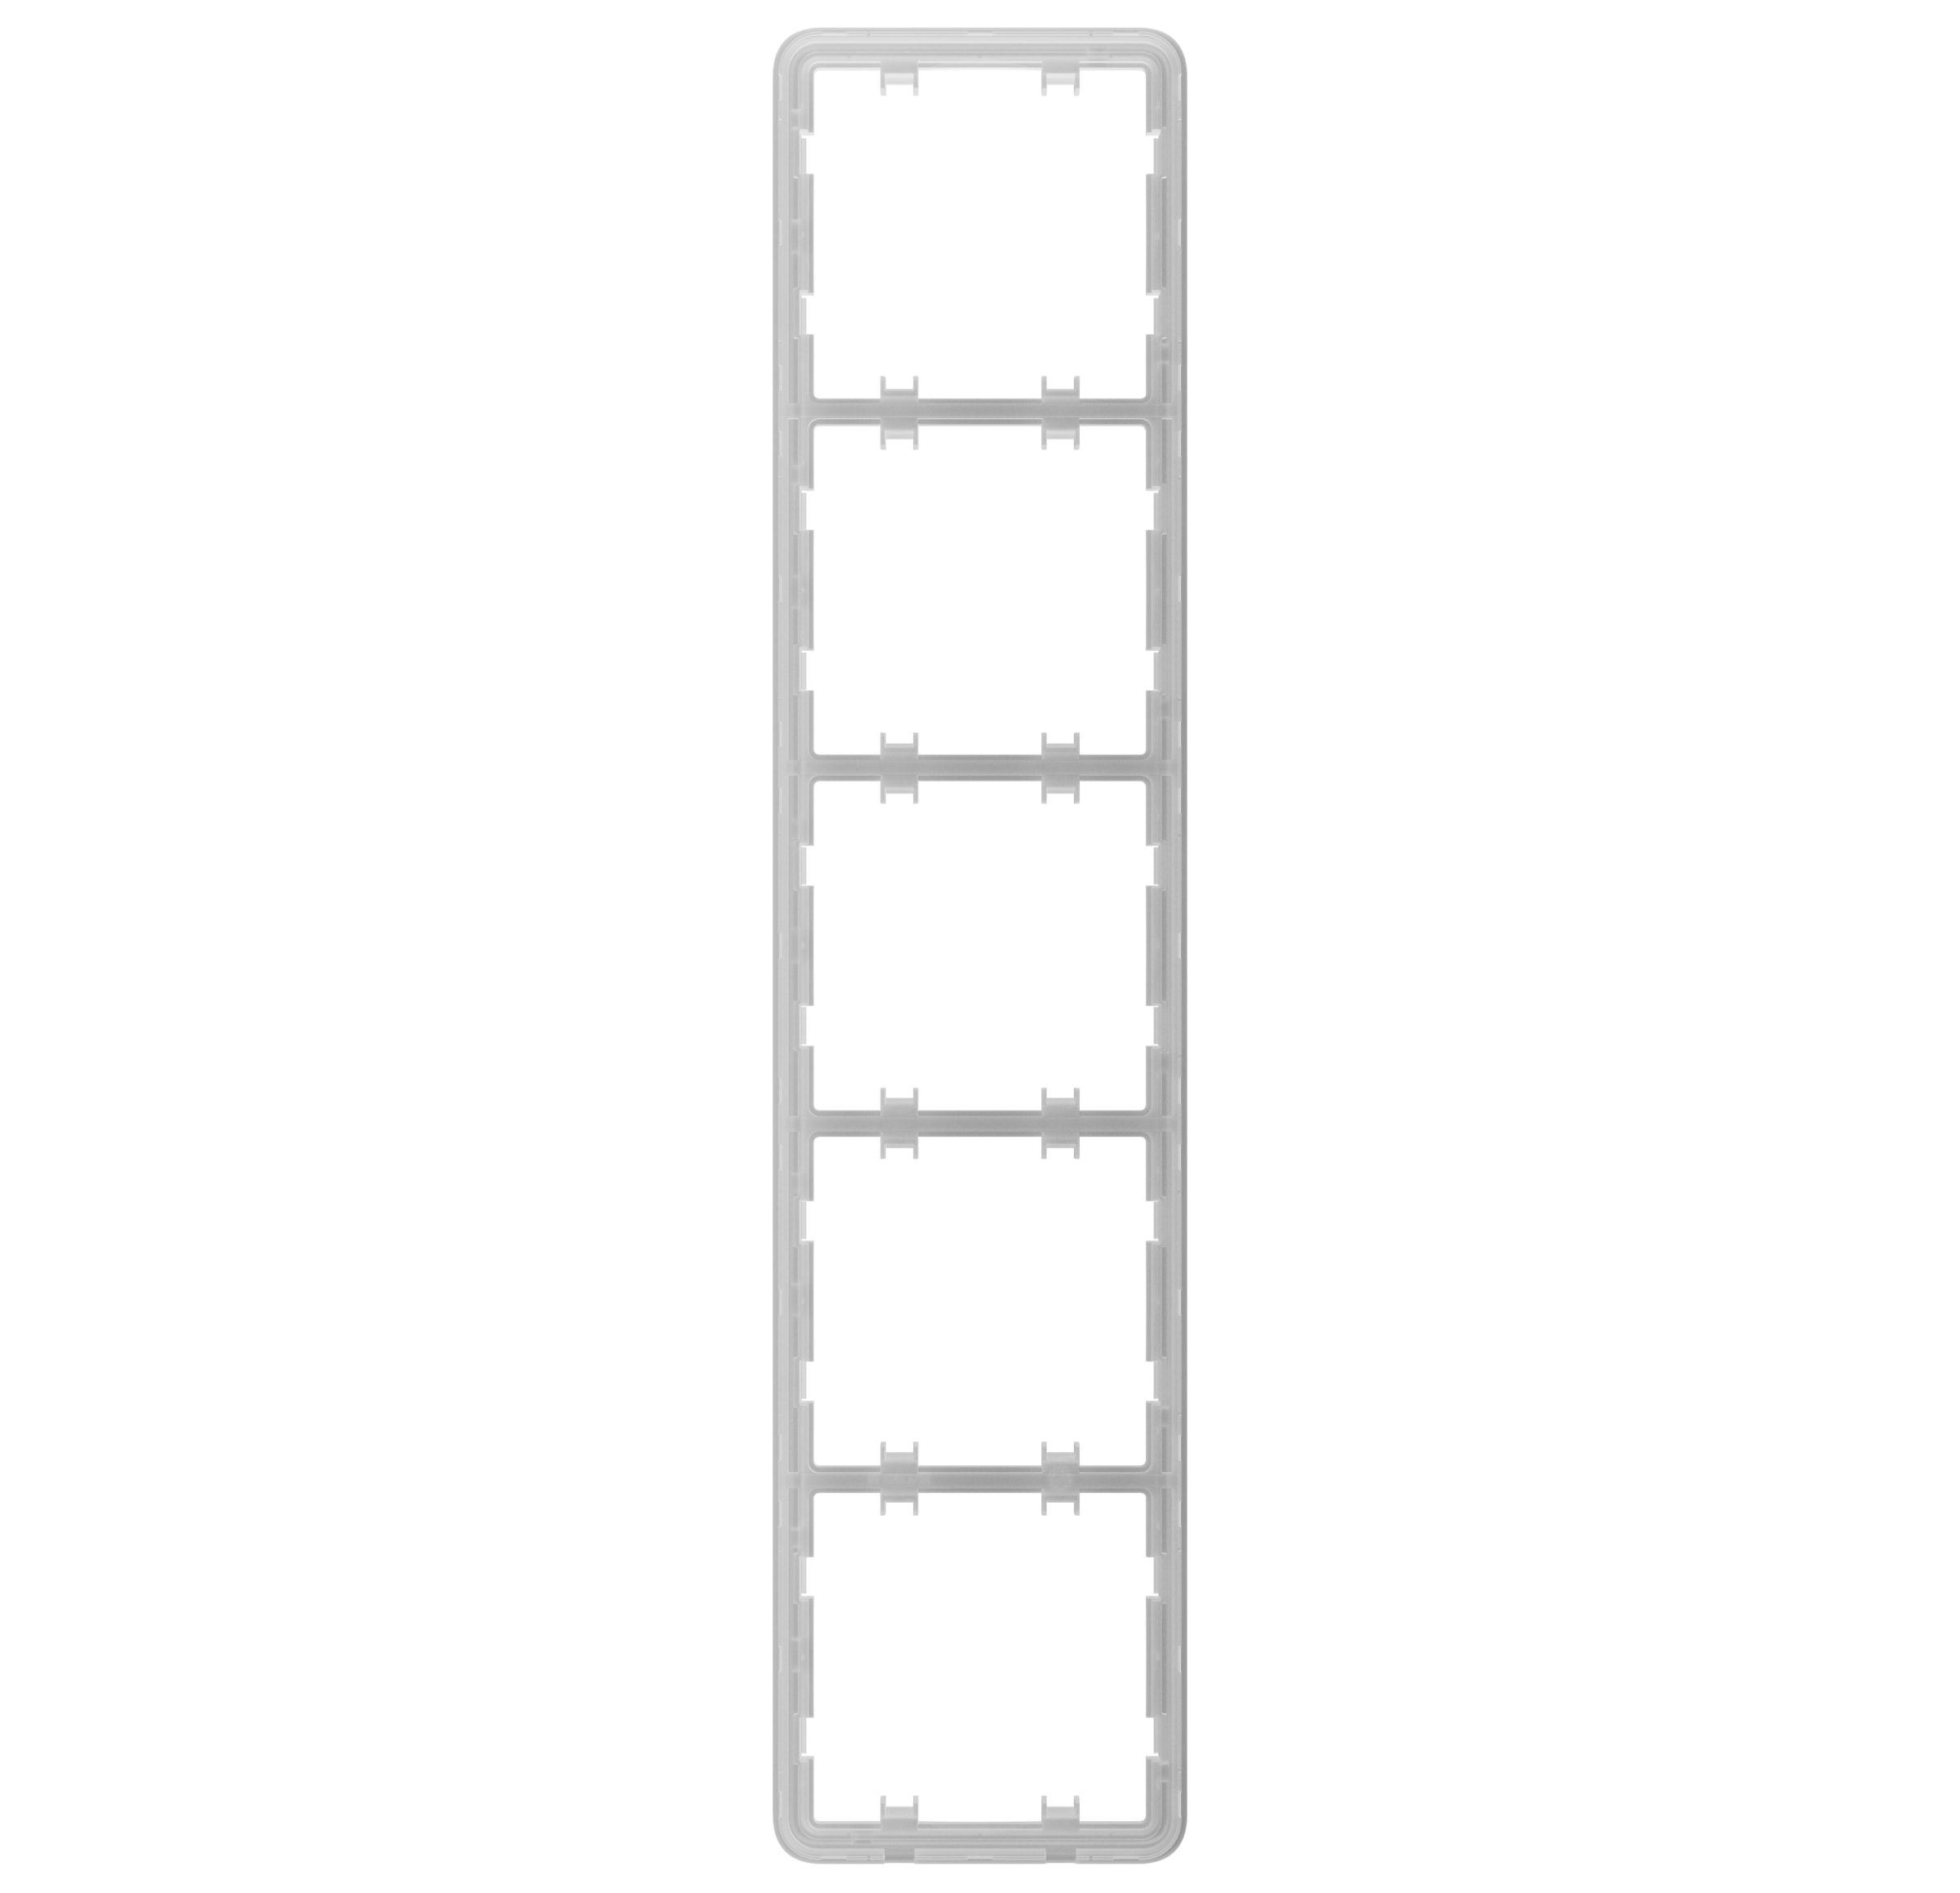
- Frame (5 seats)
- Frame (5 seats) vertical
All components are sold separately and can be installed by attaching them to each other.
Choose the appropriate cover for Outlet (basic) [type E] based on your installation plan:
- as a separate device — SoloCover (basic) [type E];
- to the right or left (top or bottom) of other Outlets* or LightSwitches — SideCover (basic) [type E];
- between devices — CenterCover (basic) [type E].
Each cover comprises two parts: the front panel and the receptacle cap. For side-by-side installation of two or more devices, you will also need Frame.
Devices combined in a frame can be installed horizontally and vertically. Vertical installation is supported only by cores and frames with the label “vertical” in the name. SideCover (basic) and СenterCover (basic) can be used for horizontal and vertical combinations of devices.
Use the online Ajax switches and outlets configurator to assemble your custom set. Combine devices into a frame, pick the color, and download your configuration as PDF.
* Combinations with smart outlets are available only in a horizontal orientation.
Colors
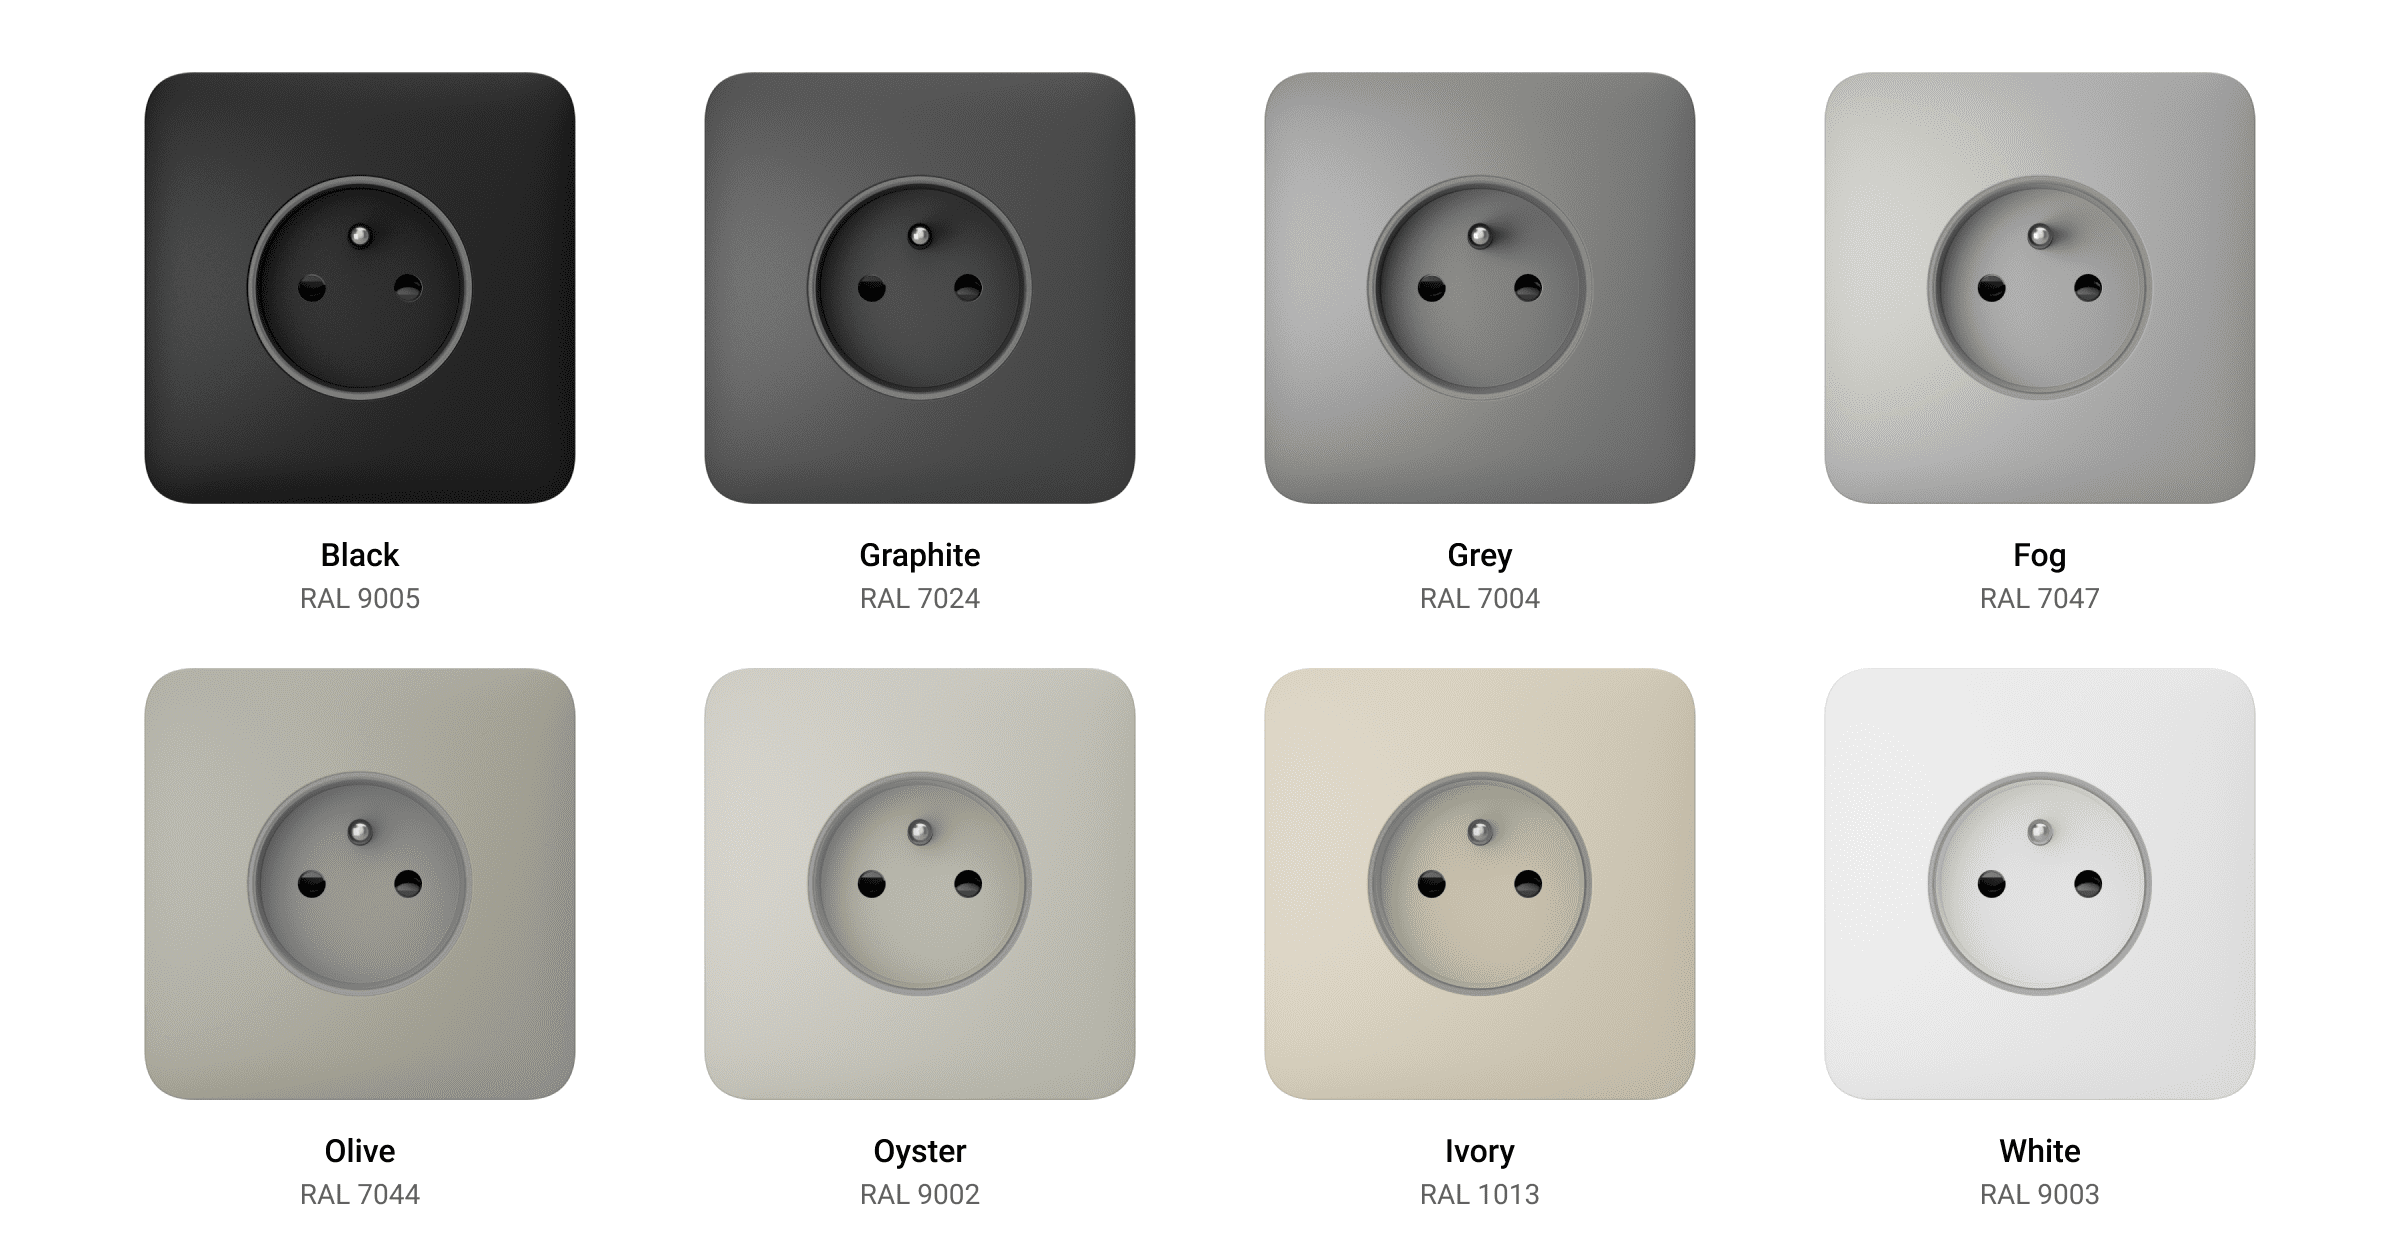
The product line includes 8 colors of touch-sensitive panels: White, Fog, Grey, Graphite, Ivory, Oyster, Olive, and Black.
The RAL colors below are as close as an approximation of the actual color. However, they may slightly differ, so please only use them as a guide to the color choice.
Functional elements
Core
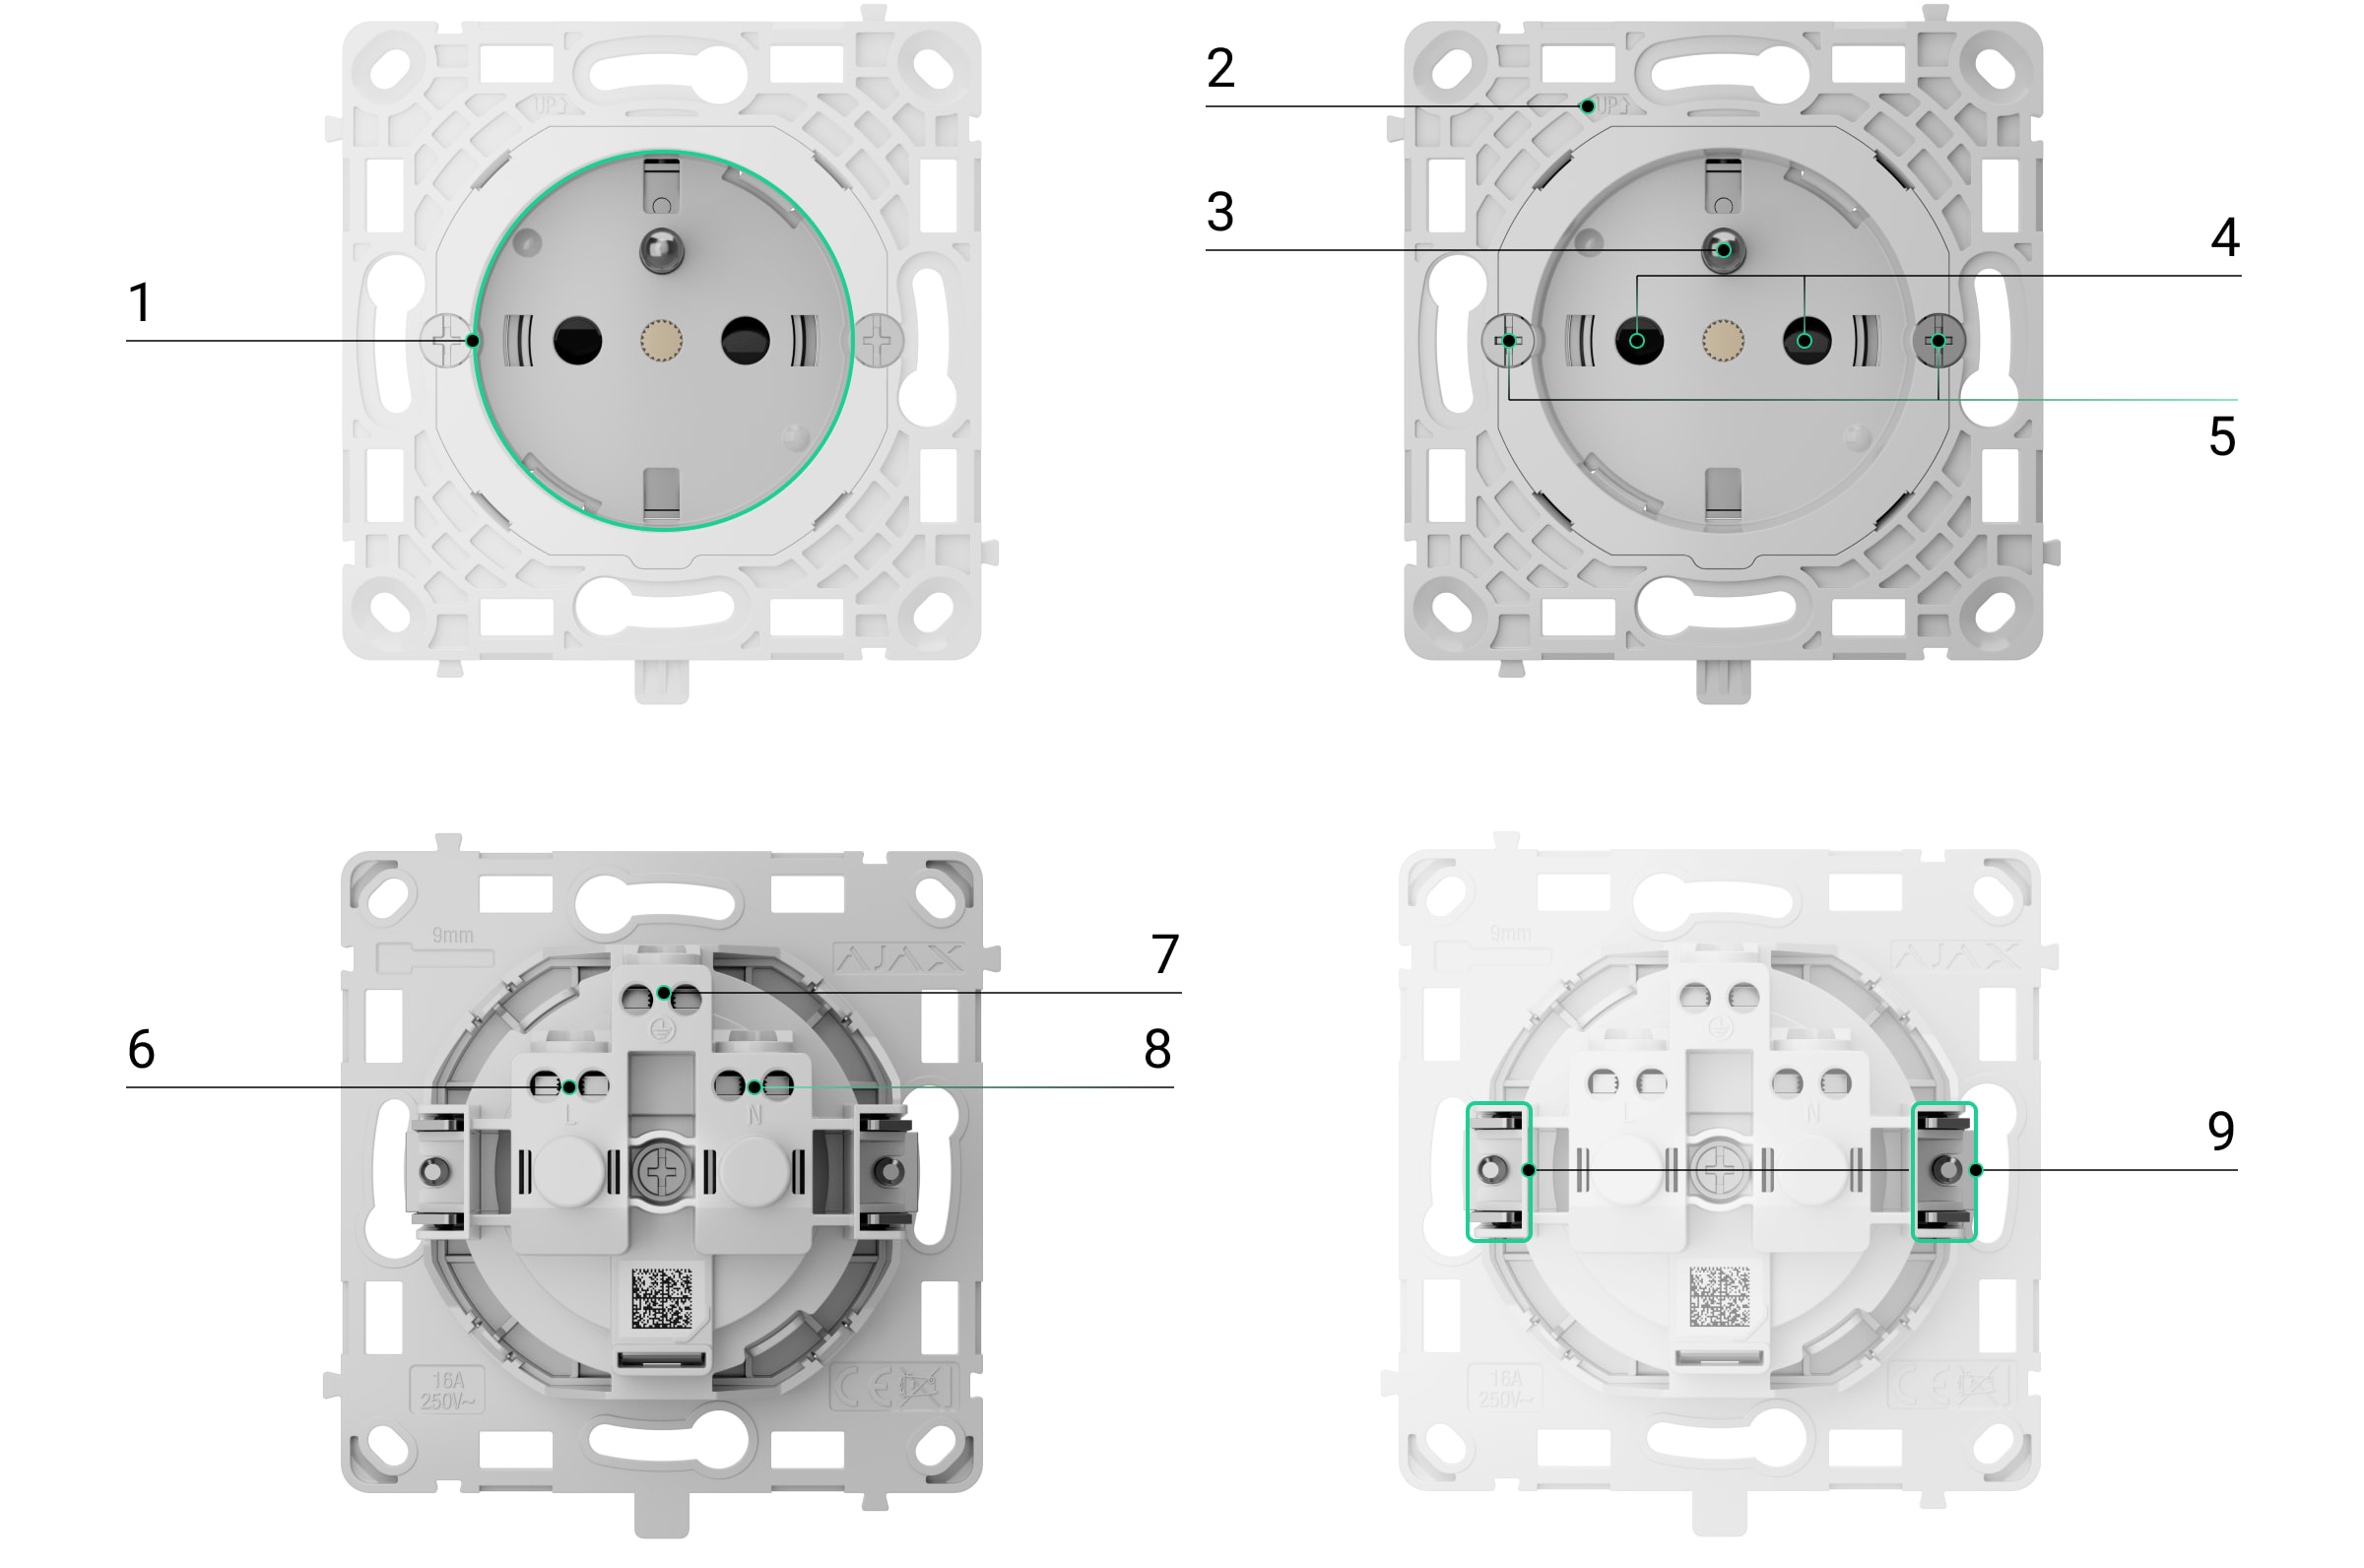
OutletCore (basic) [type E]
- Outlet (type E).
- The UP key, which marks the top of the outlet enclosure.
- Grounding terminal.
- Protective shutters.
- Screws for fixing mounting claws.
- Terminal for connecting the power supply phase (L).
- Terminal for connecting the ground.
- Terminal for connecting the power supply neutral (N).
- Mounting claws to secure the outlet in the mounting box.
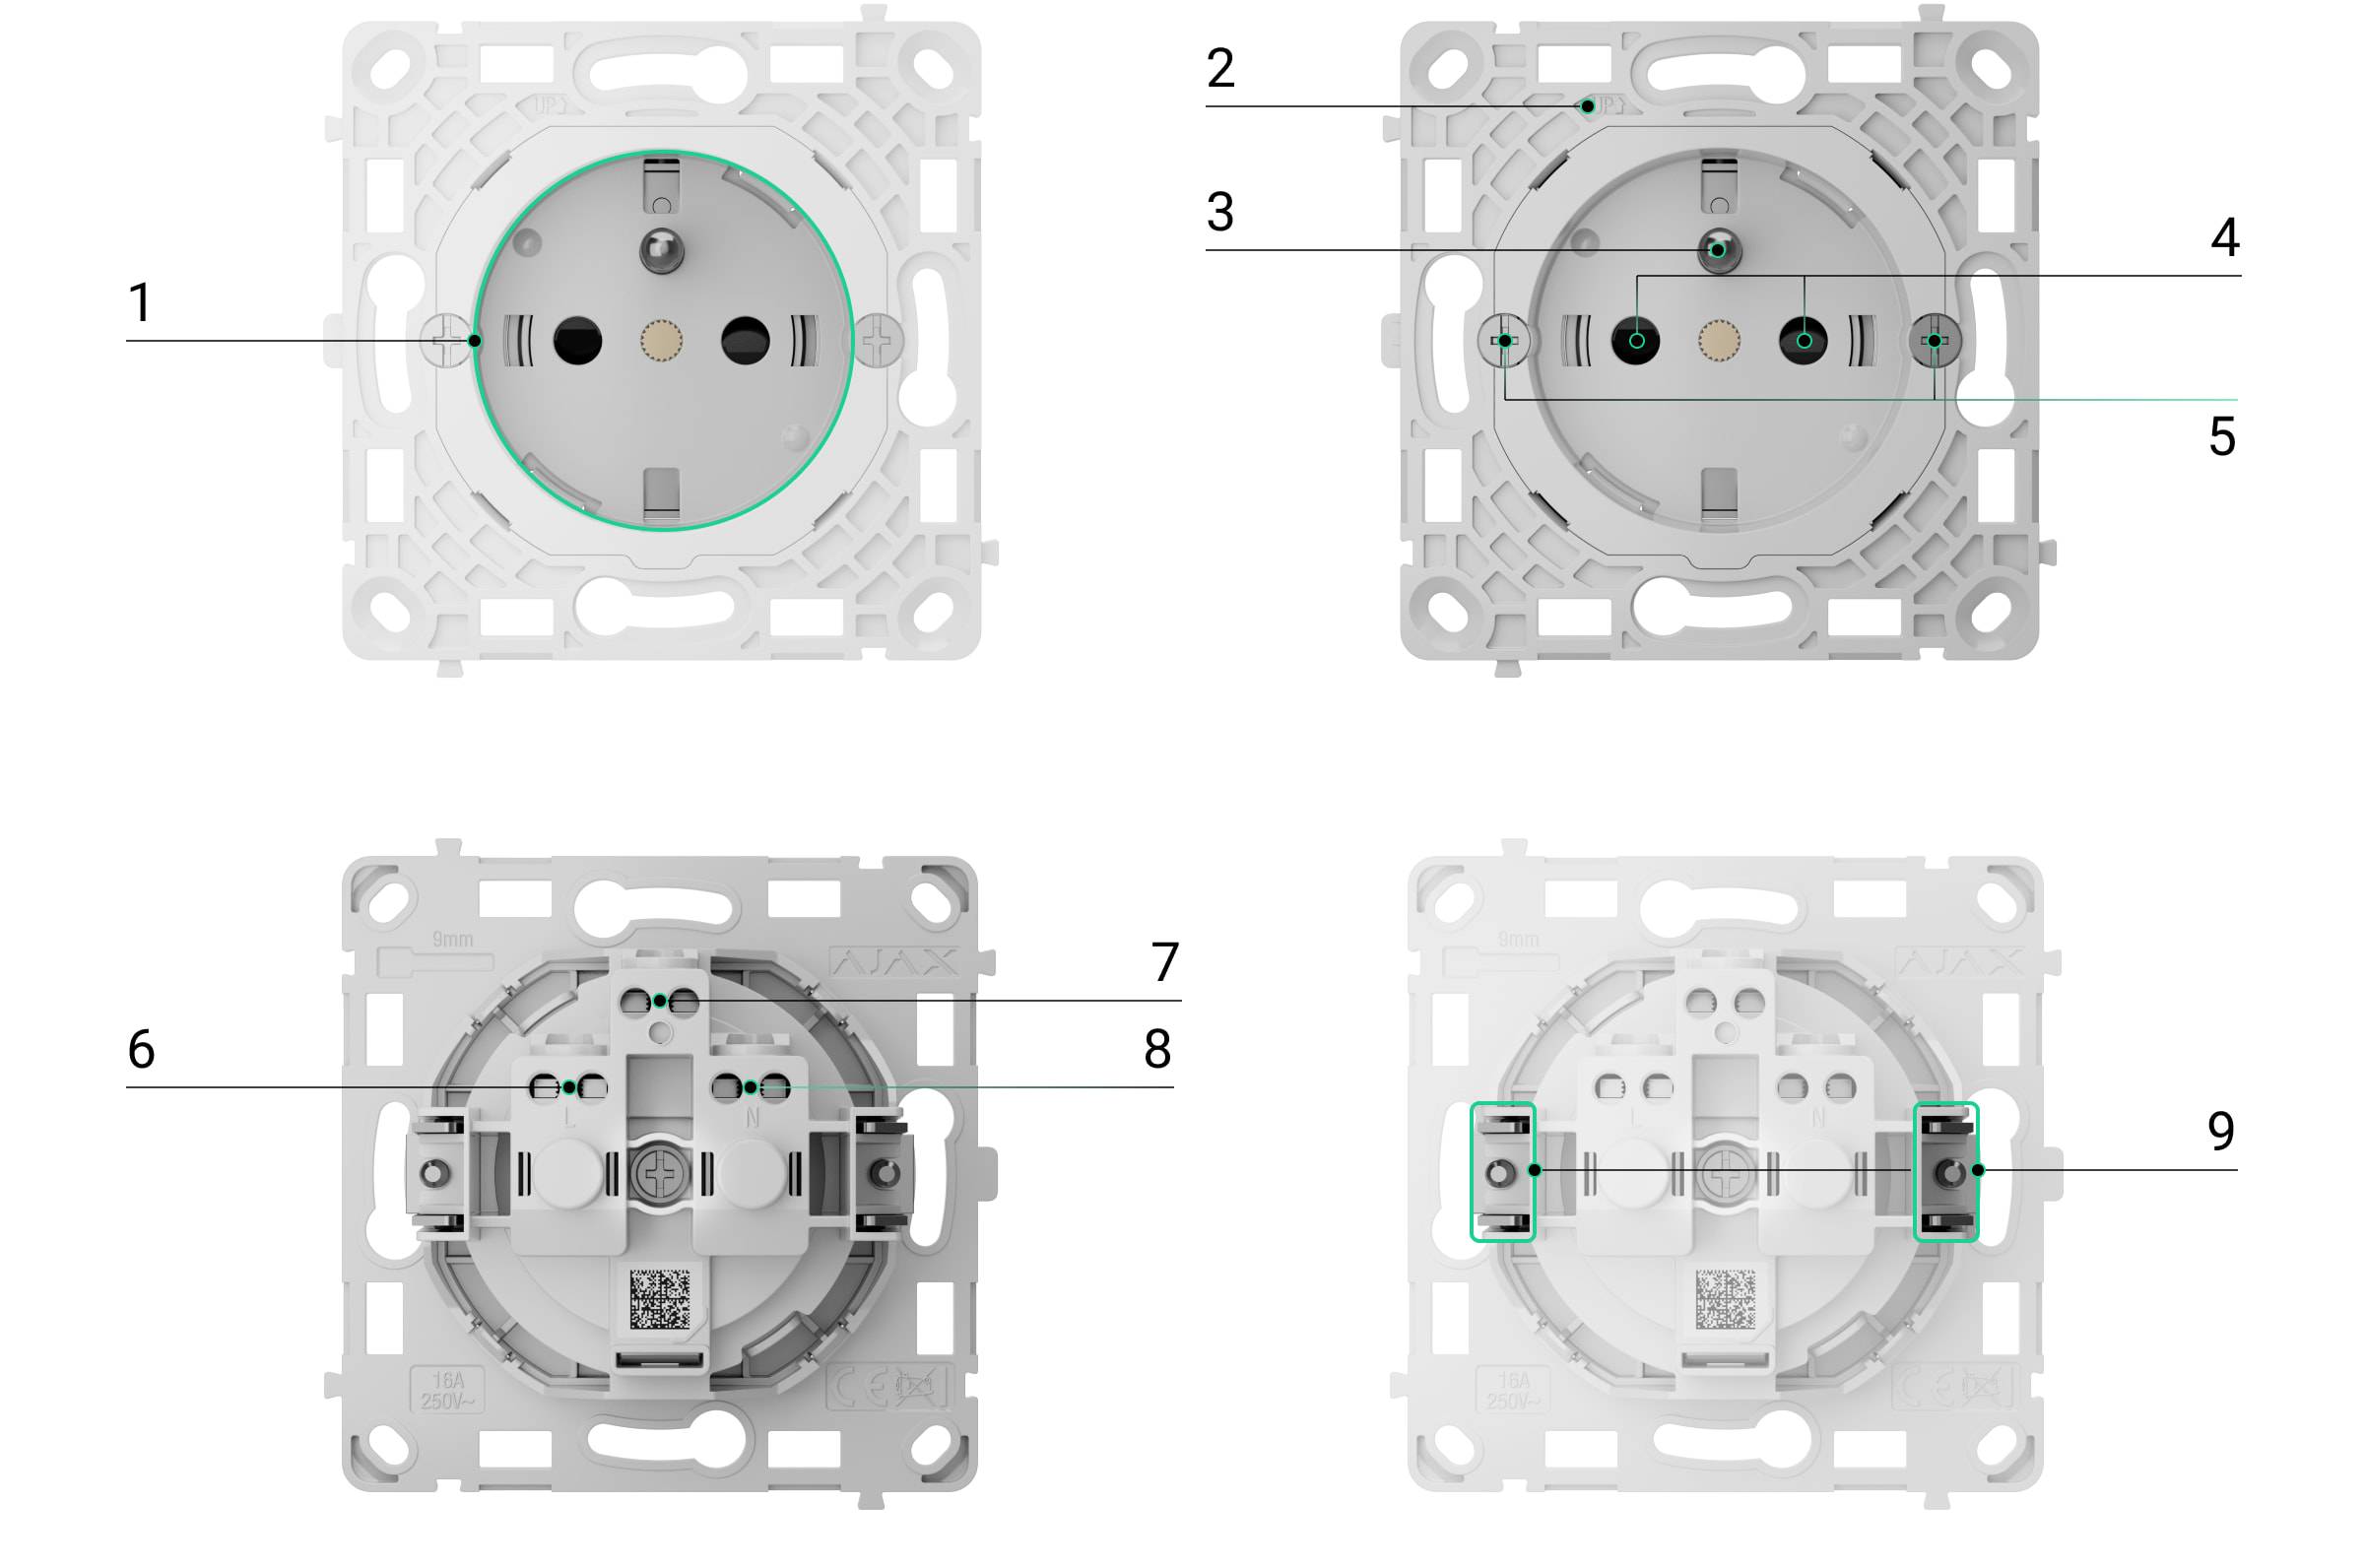
OutletCore (basic) vertical [type E]
- Outlet (type E).
- The UP key, which marks the top of the outlet enclosure.
- Grounding terminal.
- Protective shutters.
- Screws for fixing mounting claws.
- Terminal for connecting the power supply phase (L).
- Terminal for connecting the ground.
- Terminal for connecting the power supply neutral (N).
- Mounting claws to secure the outlet in the mounting box.
Covers
Frames
Frames are available with 2 to 5 seats in horizontal and vertical orientations. These frames are used when installing multiple Outlet and/or LightSwitch devices* in a row.
* Combinations with smart outlets are available only in a horizontal orientation.
Dimensions
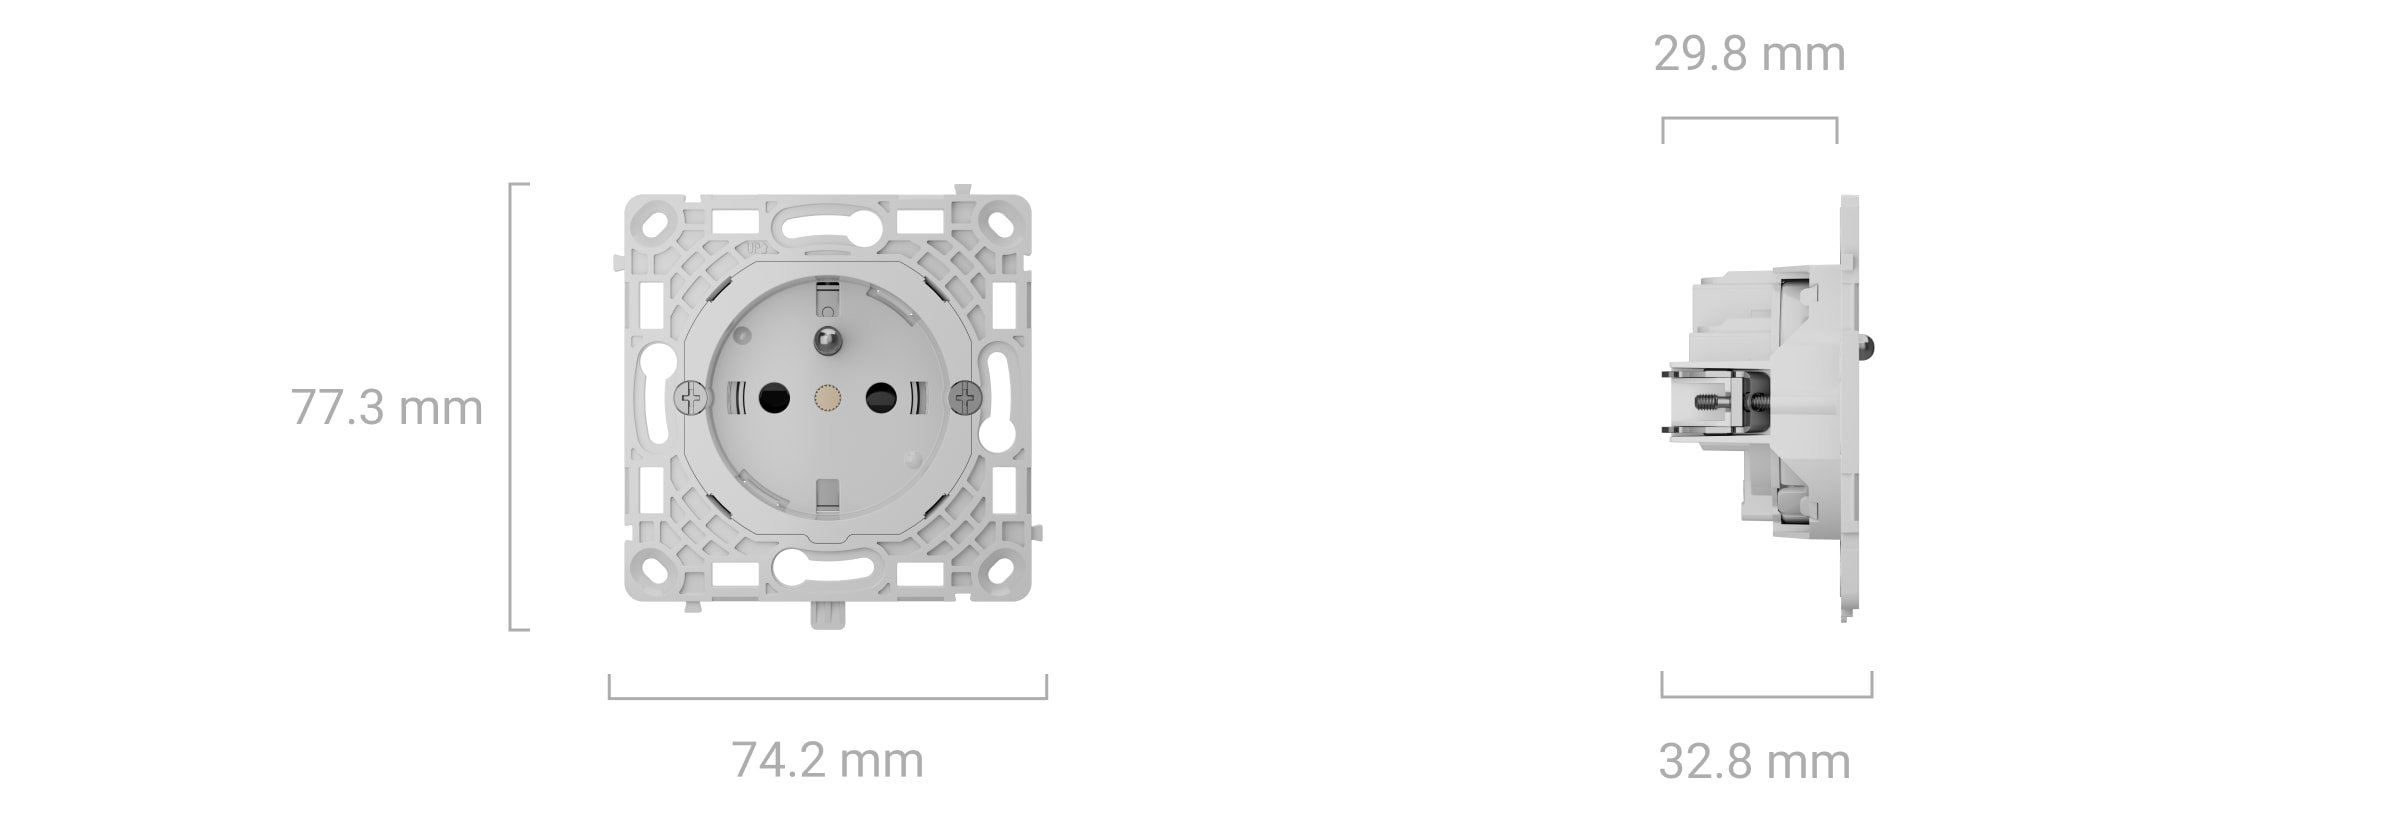
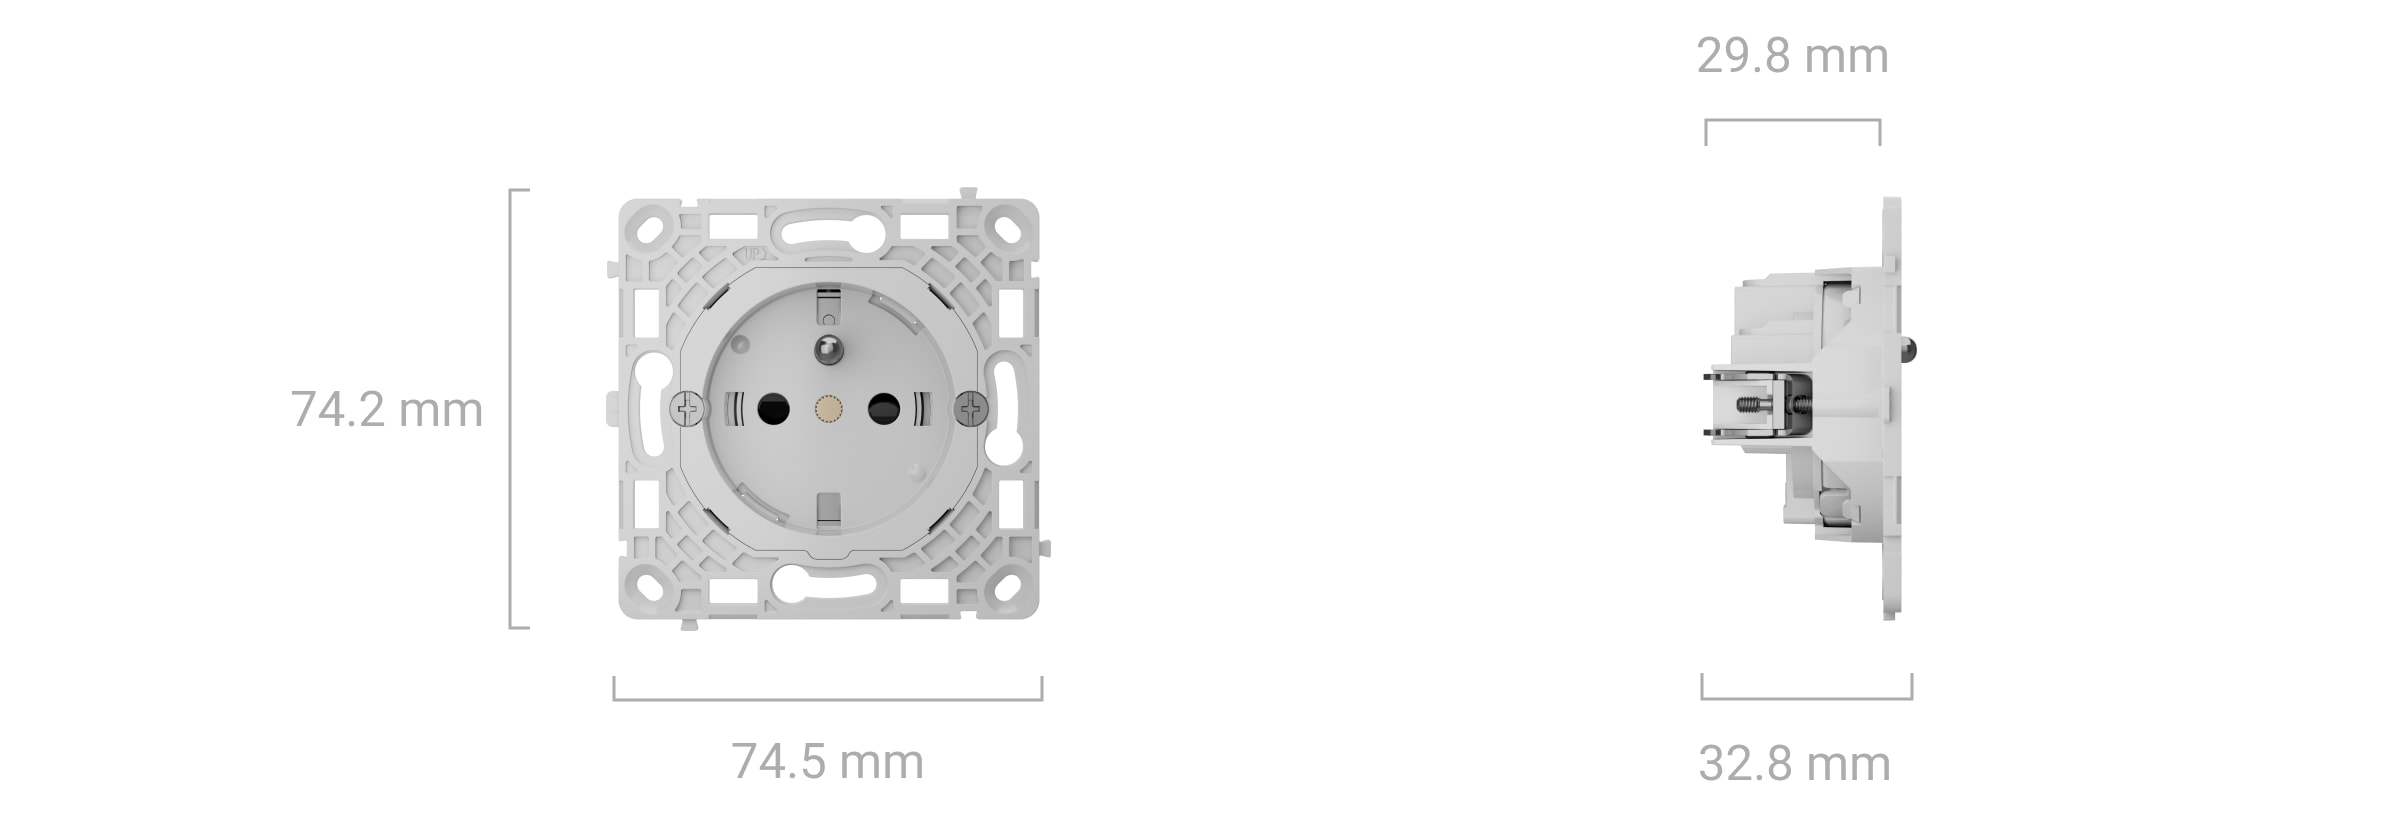
Core
Covers
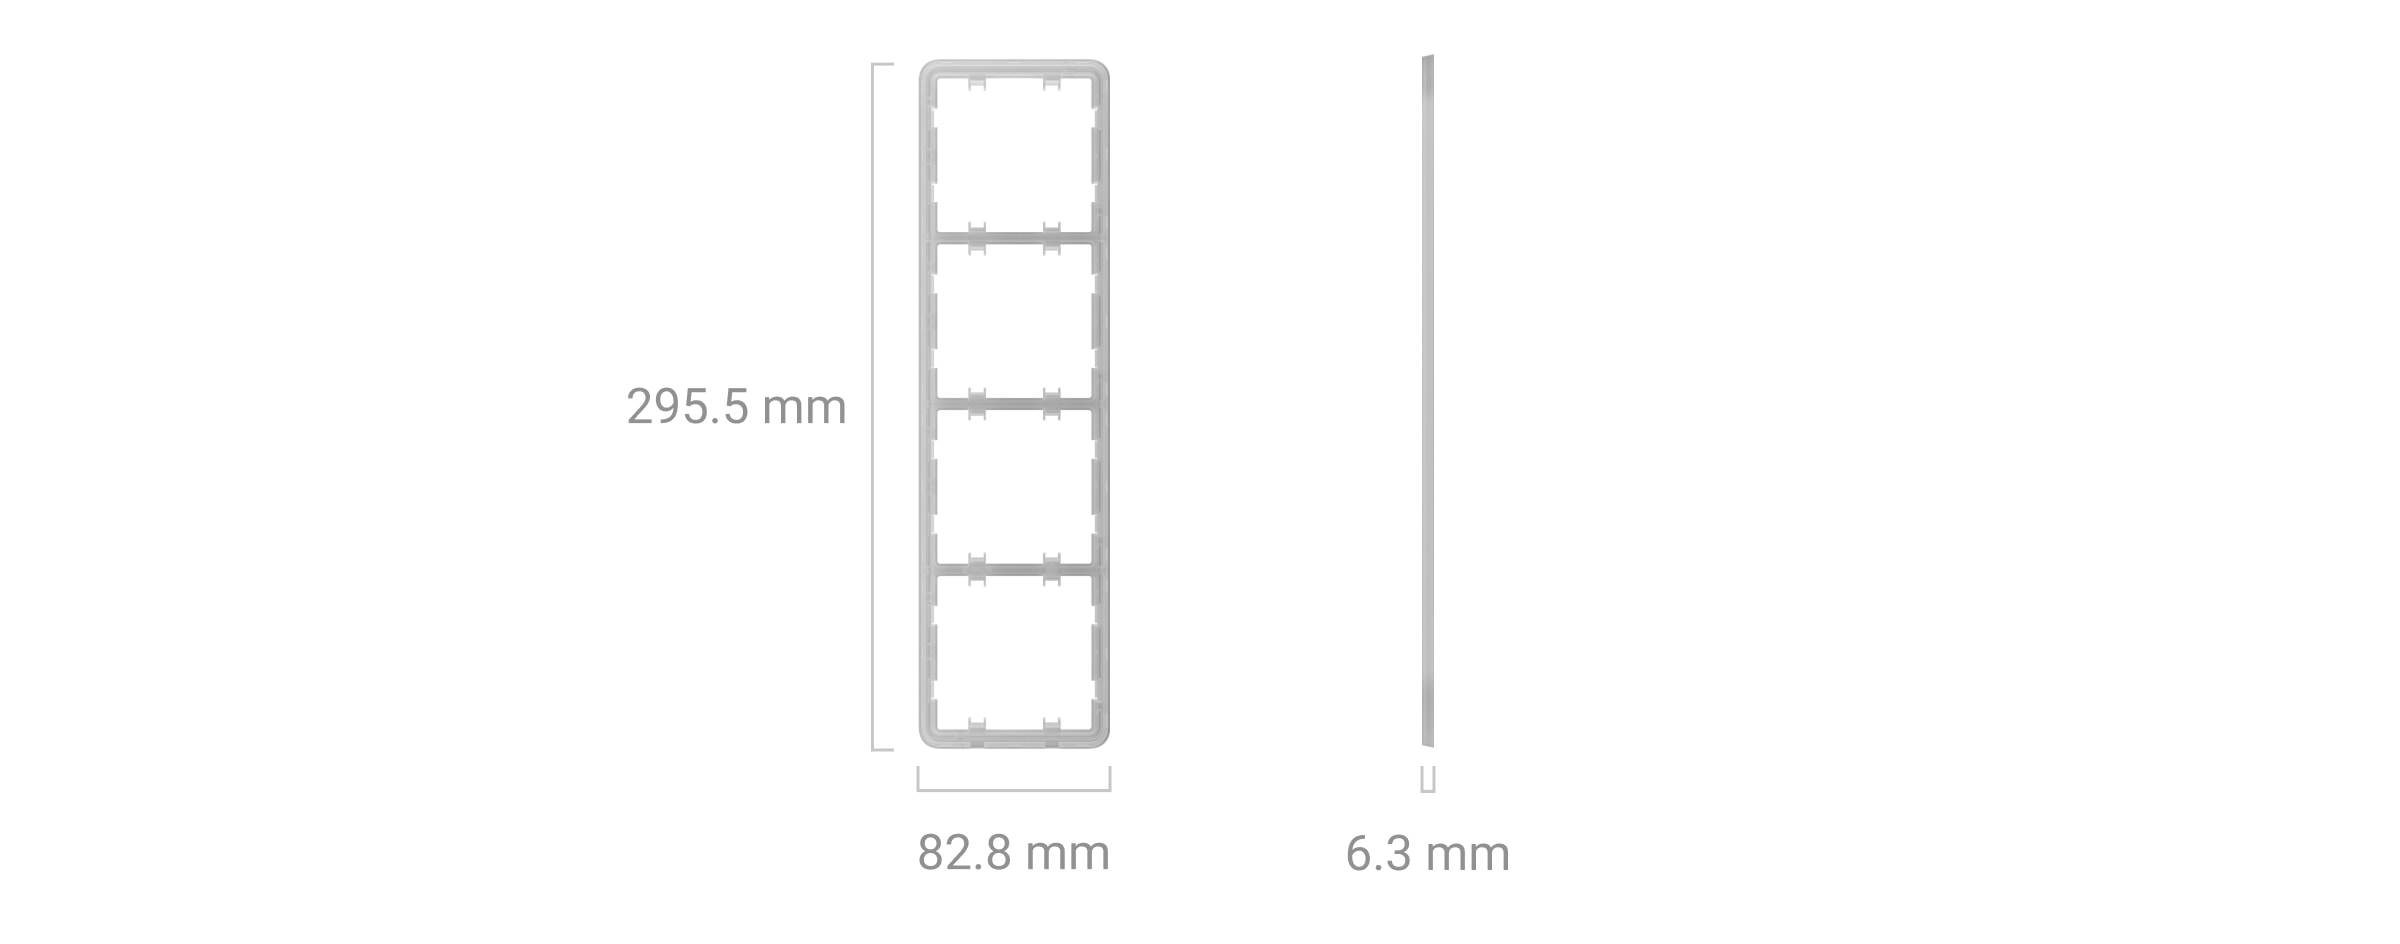
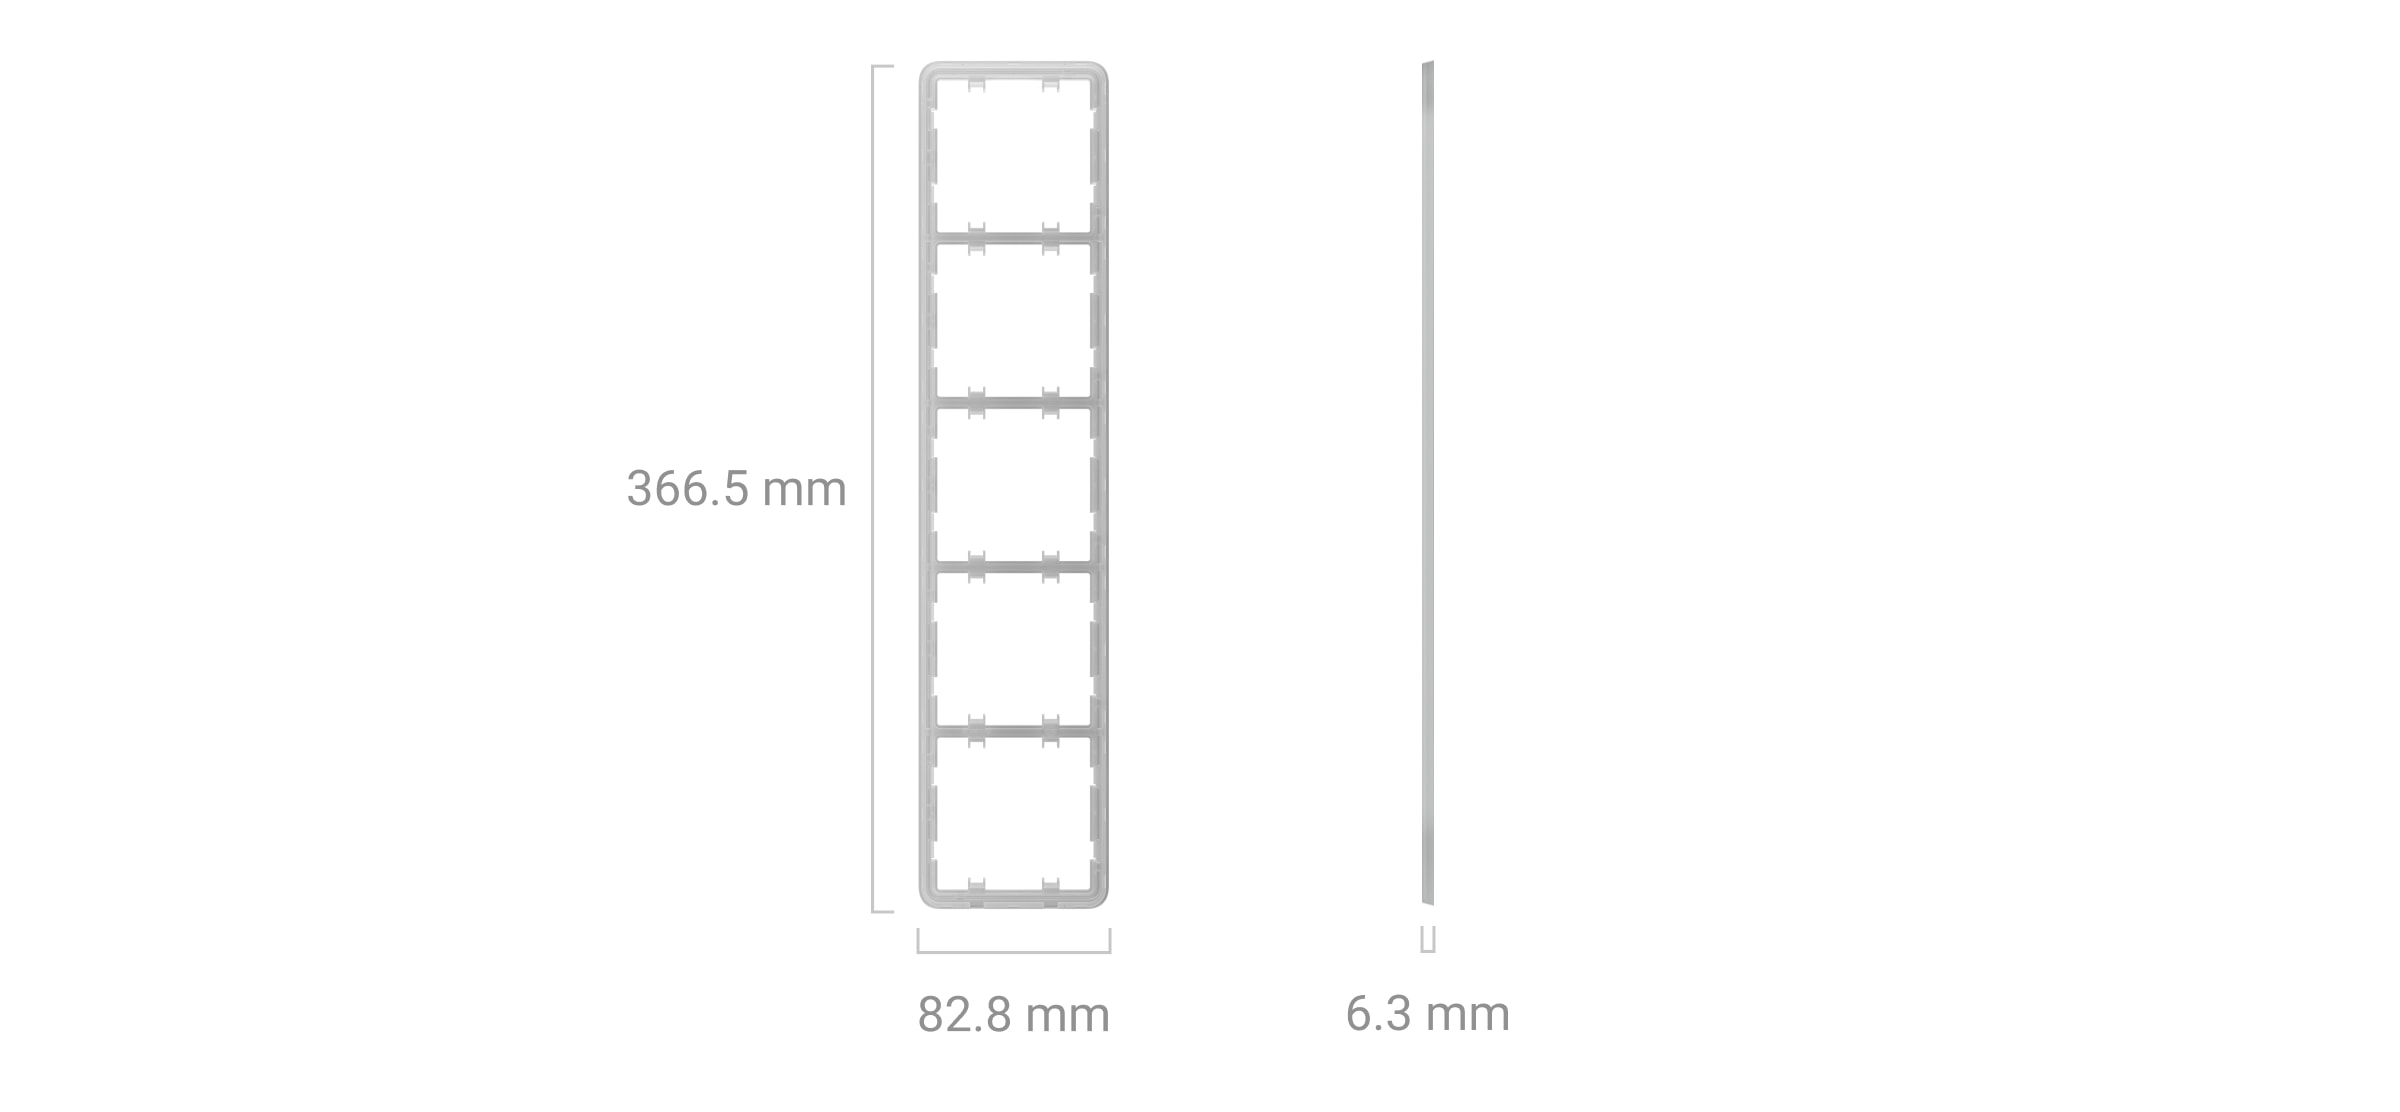
Frames
Compatible hubs and range extenders
Outlet (basic) [type E] is not compatible with hubs and range extenders. It is a regular built-in outlet that cannot be added to an Ajax system and controlled through the app.
A smart built-in outlet that can be added to an Ajax system and controlled through the app is also available — Outlet [type E] Jeweller.
Operating principle
Outlet (basic) [type E] supplies the power to the connected electrical appliances. It operates with a 250 V~, 50/60 Hz voltage with a maximum load current of 16 A. The maximum outlet resistive load is 3.6 kW.
The outlet complies with the European plug type E and features a grounding terminal and protective shutters.
Outlet (basic) [type E] should be connected to the power neutral, phase, and ground cables. Note that the device is designed for indoor use only.
Installation
When installing and operating Outlet (basic) [type E], follow the general electrical safety rules for using electrical appliances, as well as the requirements of electrical safety regulations.
Only a qualified electrician or installer should install Outlet (basic) [type E]. Avoid energizing the power to the outlet until the cover is securely installed.
To install Outlet (basic) [type E]:
- De-energize the power cables to which Outlet (basic) [type E] will be connected.
- Prepare the mounting boxes and remove any pre-installed outlets, if present. Disconnect the wires, ensuring about 9 mm of bare wire is exposed.
- Install the receptacle cap. For proper alignment, match the UP key on the receptacle cap with that on the core’s front panel.
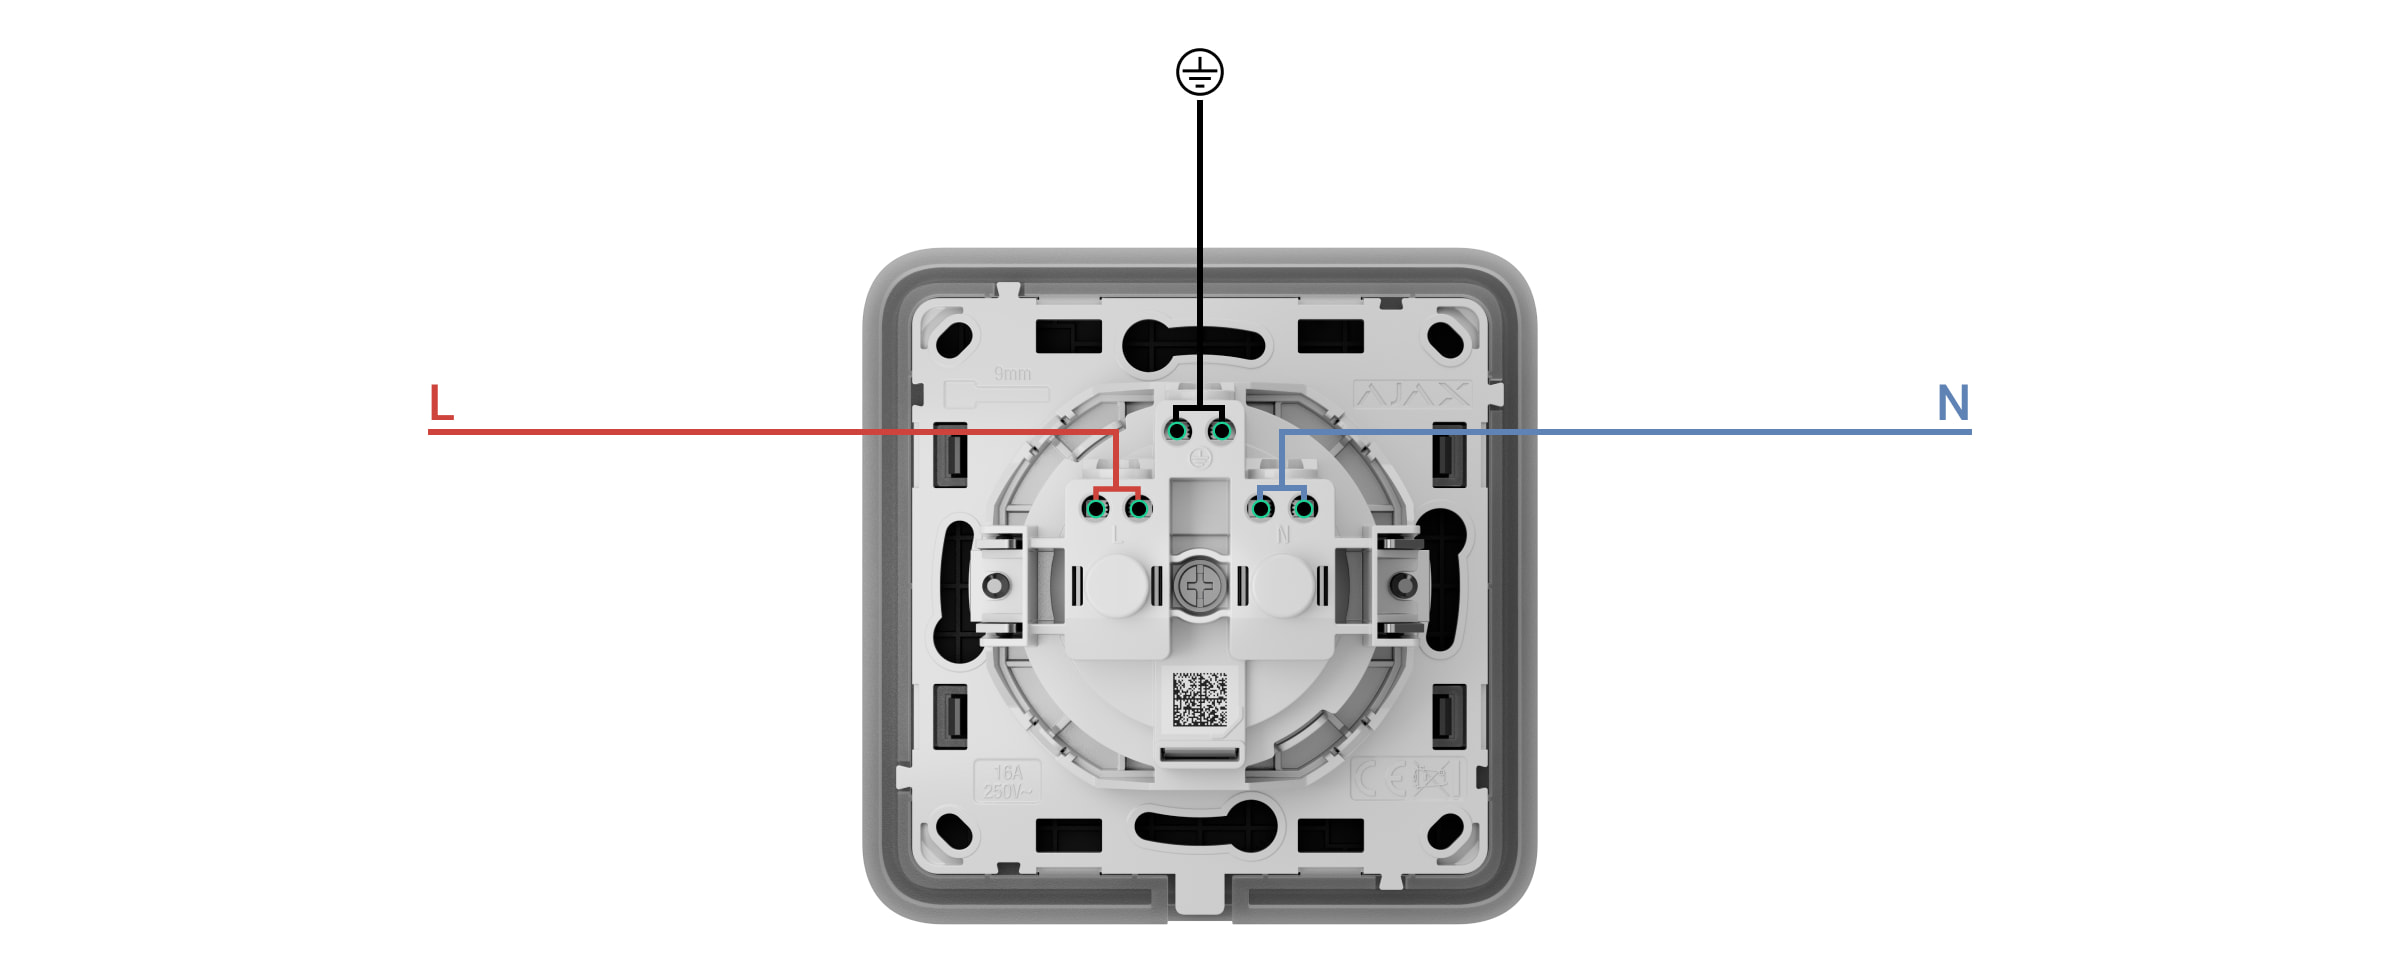
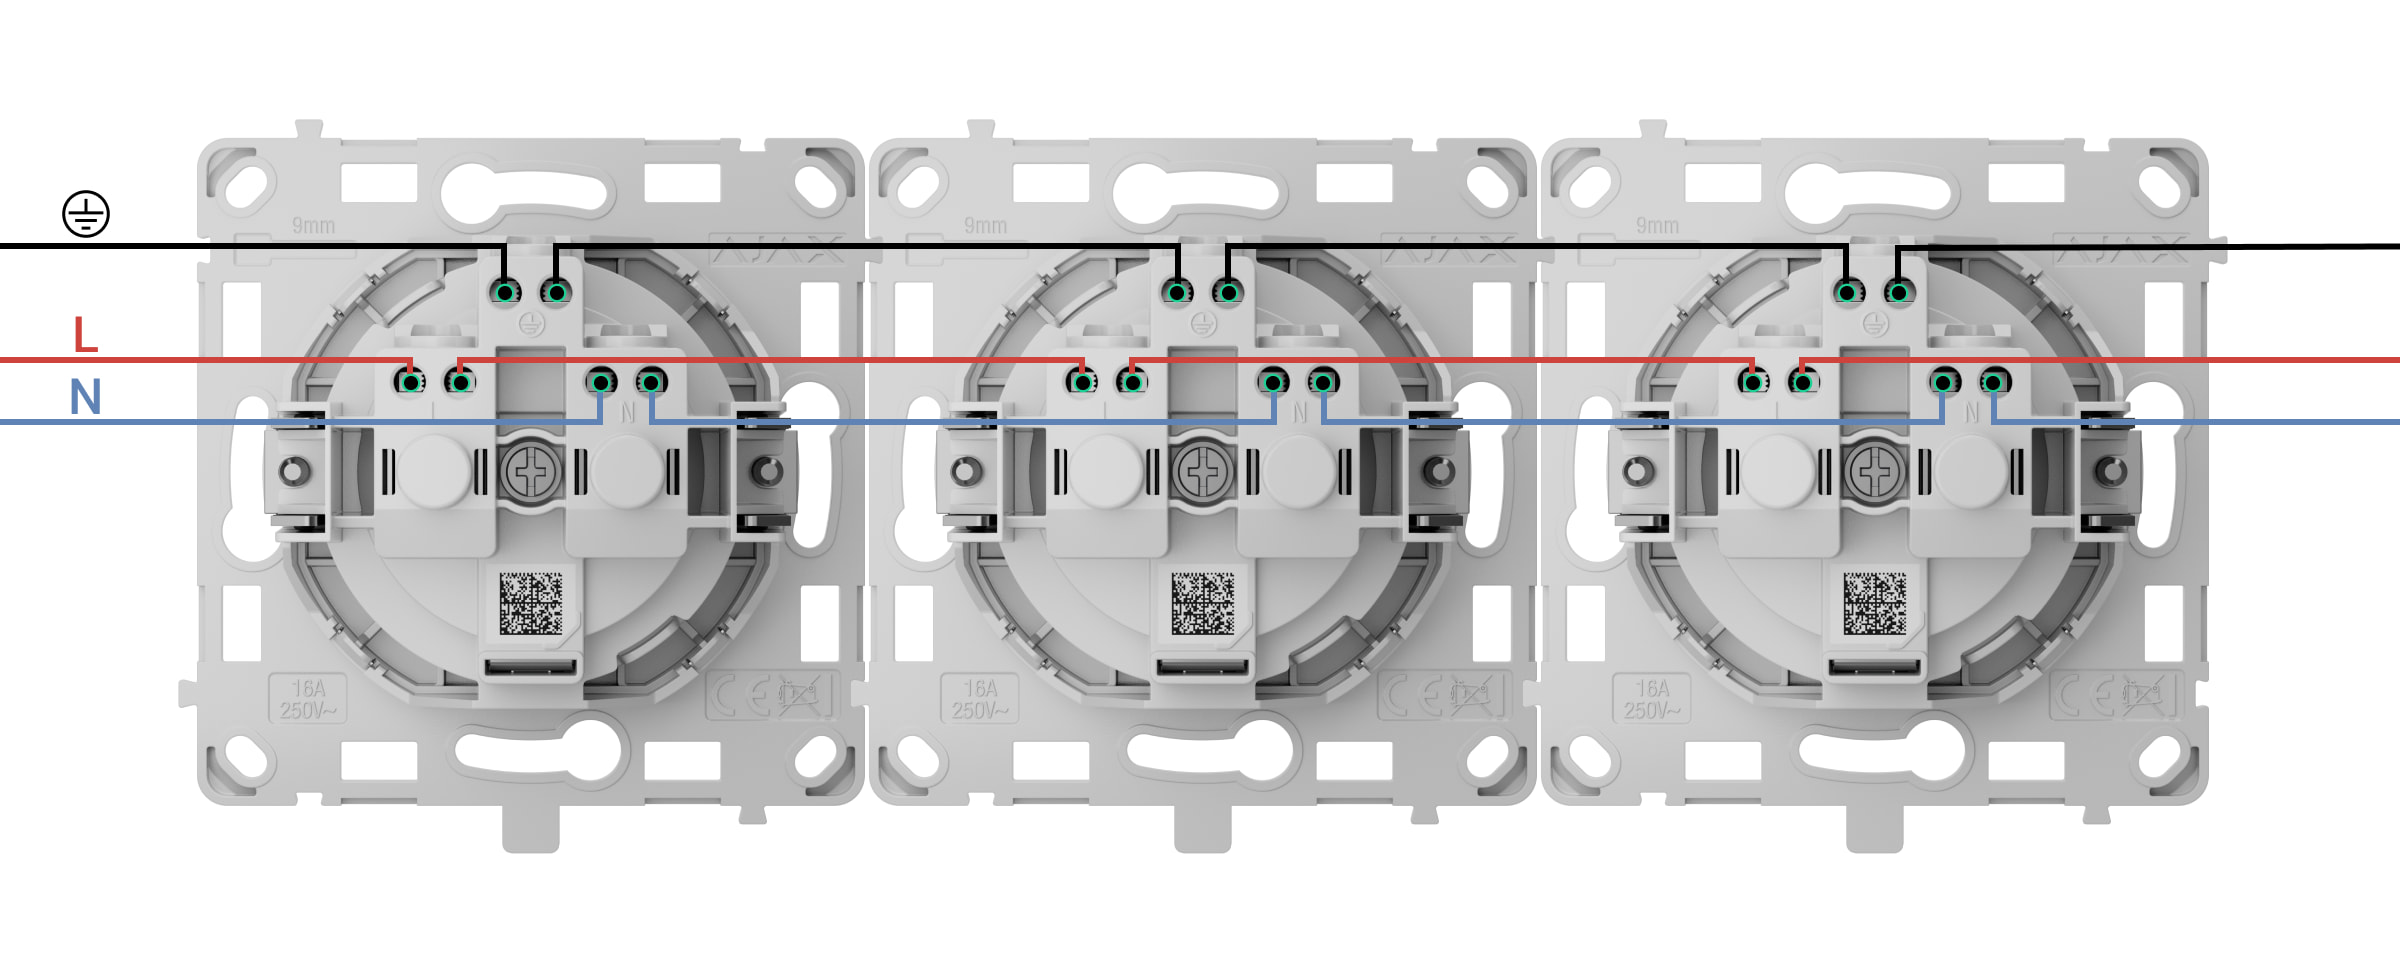
- Connect the cables to OutletCore (basic) [type E] as per the following wiring diagrams:
- Connect the power supply phase to terminal L.
- Connect the power supply neutral to terminal N.
- Connect the grounding cable to the designated terminal
.
- Install OutletCore (basic) [type E] in the mounting box and carefully insert cables. Tighten the screws to secure the mounting claws. Fasten the outlet core using the bundled screws.
- Install the remaining outlet cores, if necessary.
- If installing multiple outlets or LightSwitch Jeweller switches, mount the frame with the appropriate number of seats.
- Install the necessary front panels.
- Turn on the power.
Do not install Outlet (basic) [type E]:
- Outdoors, as it can lead to outlet failure.
- Inside premises with temperature and humidity levels outside the permissible limits, as this can damage the device.
Maintenance
Regularly check the functioning of the device. Clean the device’s enclosure to remove dust, cobwebs, and other contaminants as they emerge. Use a soft, dry cloth suitable for cleaning electronic equipment. Avoid using substances that contain alcohol, acetone, petrol, and other active solvents when cleaning the device.
Technical specifications
Complete set
Outlet (basic) [type E] is a prefabricated device. All parts are purchased separately.
Use the online Ajax switches and outlets configurator to assemble your custom set. Combine devices into a frame, pick the color, and download your configuration as PDF.
Warranty
Warranty for the Limited Liability Company “Ajax Systems Manufacturing” products is valid for 2 years after the date of purchase.
If you encounter any issues with the device’s functionality, we recommend contacting Ajax Technical Support first. In most cases, technical issues can be resolved remotely.
Contact Technical Support:
