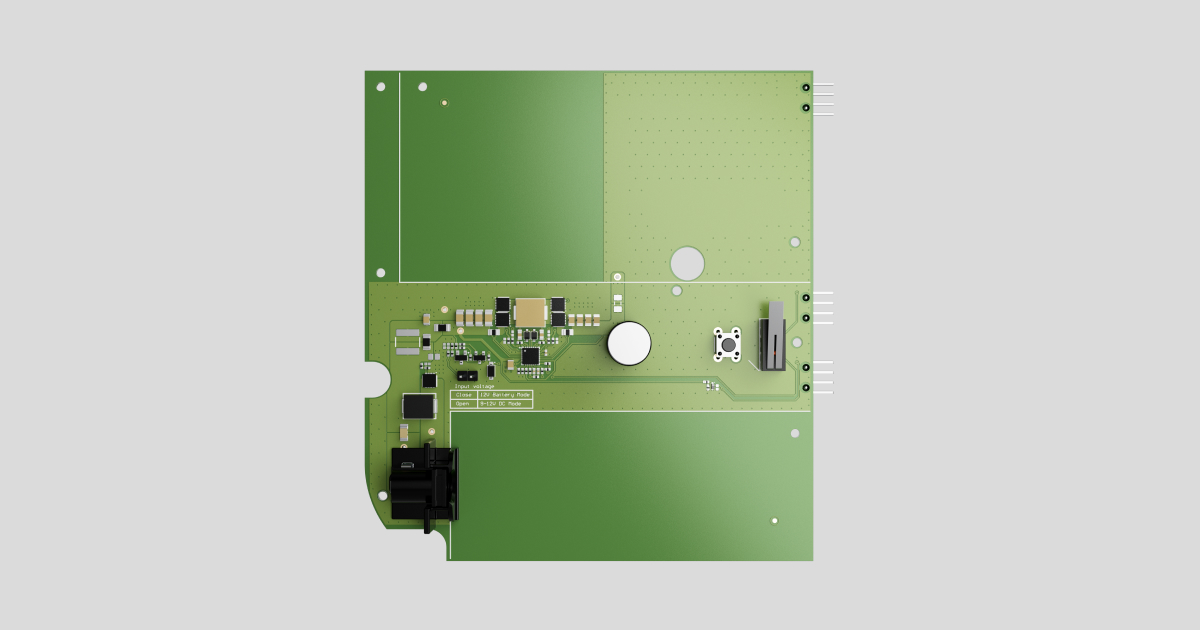
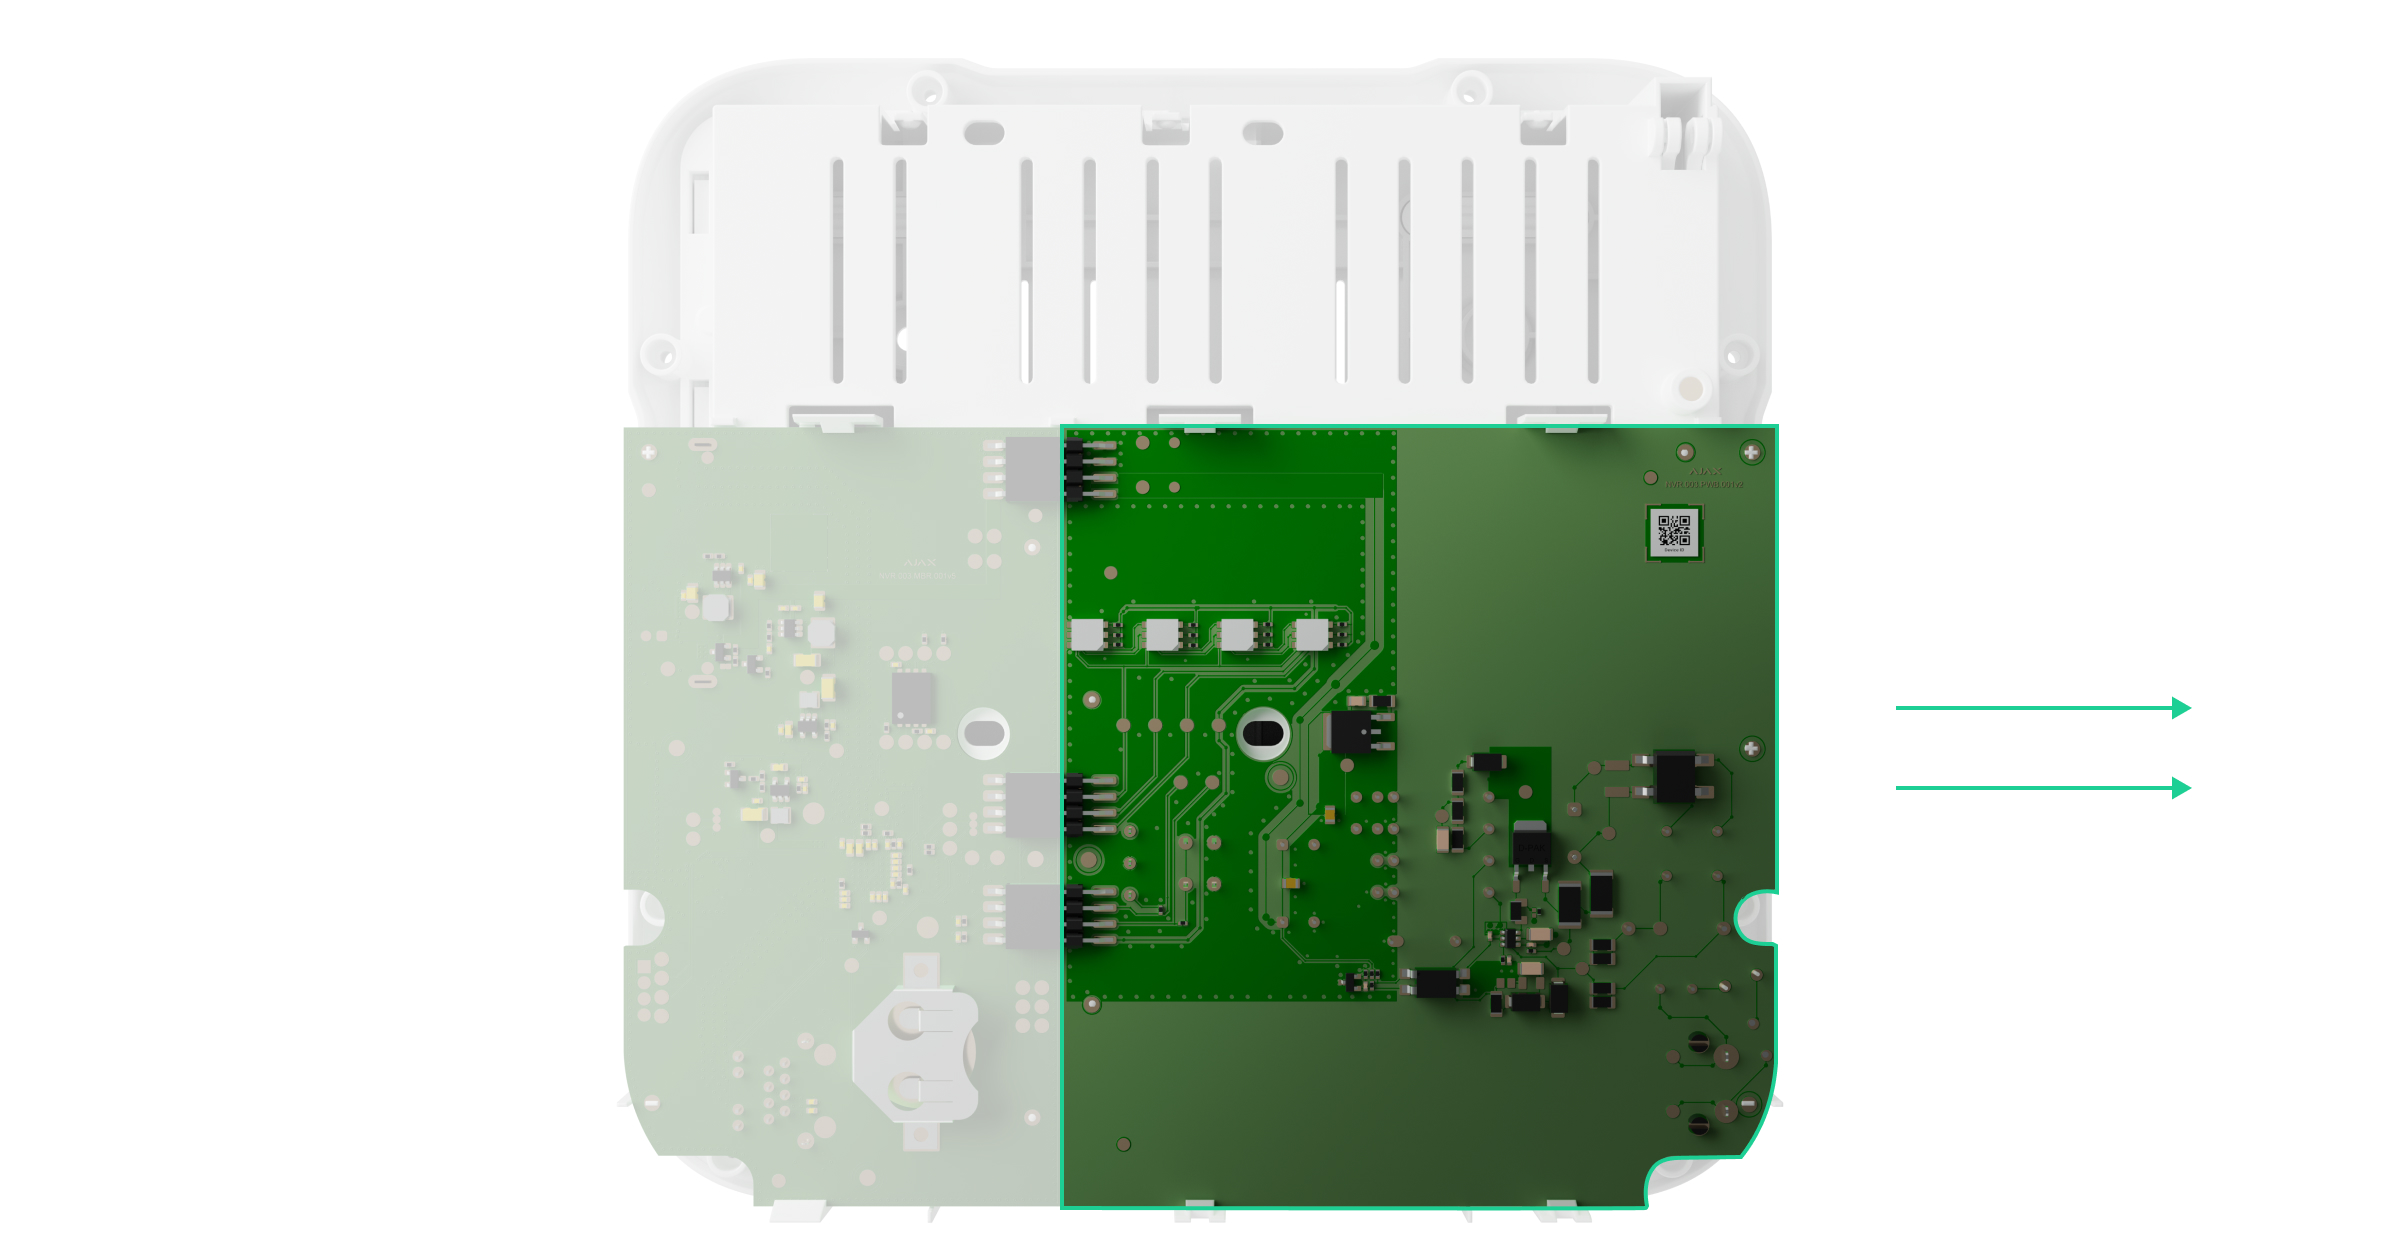
12V PSU for NVR — альтернативный блок питания, предназначенный для подключения видеорегистратора Ajax NVR к источникам питания с напряжением 8—16 В⎓. 12V PSU for NVR является электронной платой, которая устанавливается в корпус видеорегистратора, заменяя стандартный блок питания 110/230 В~.
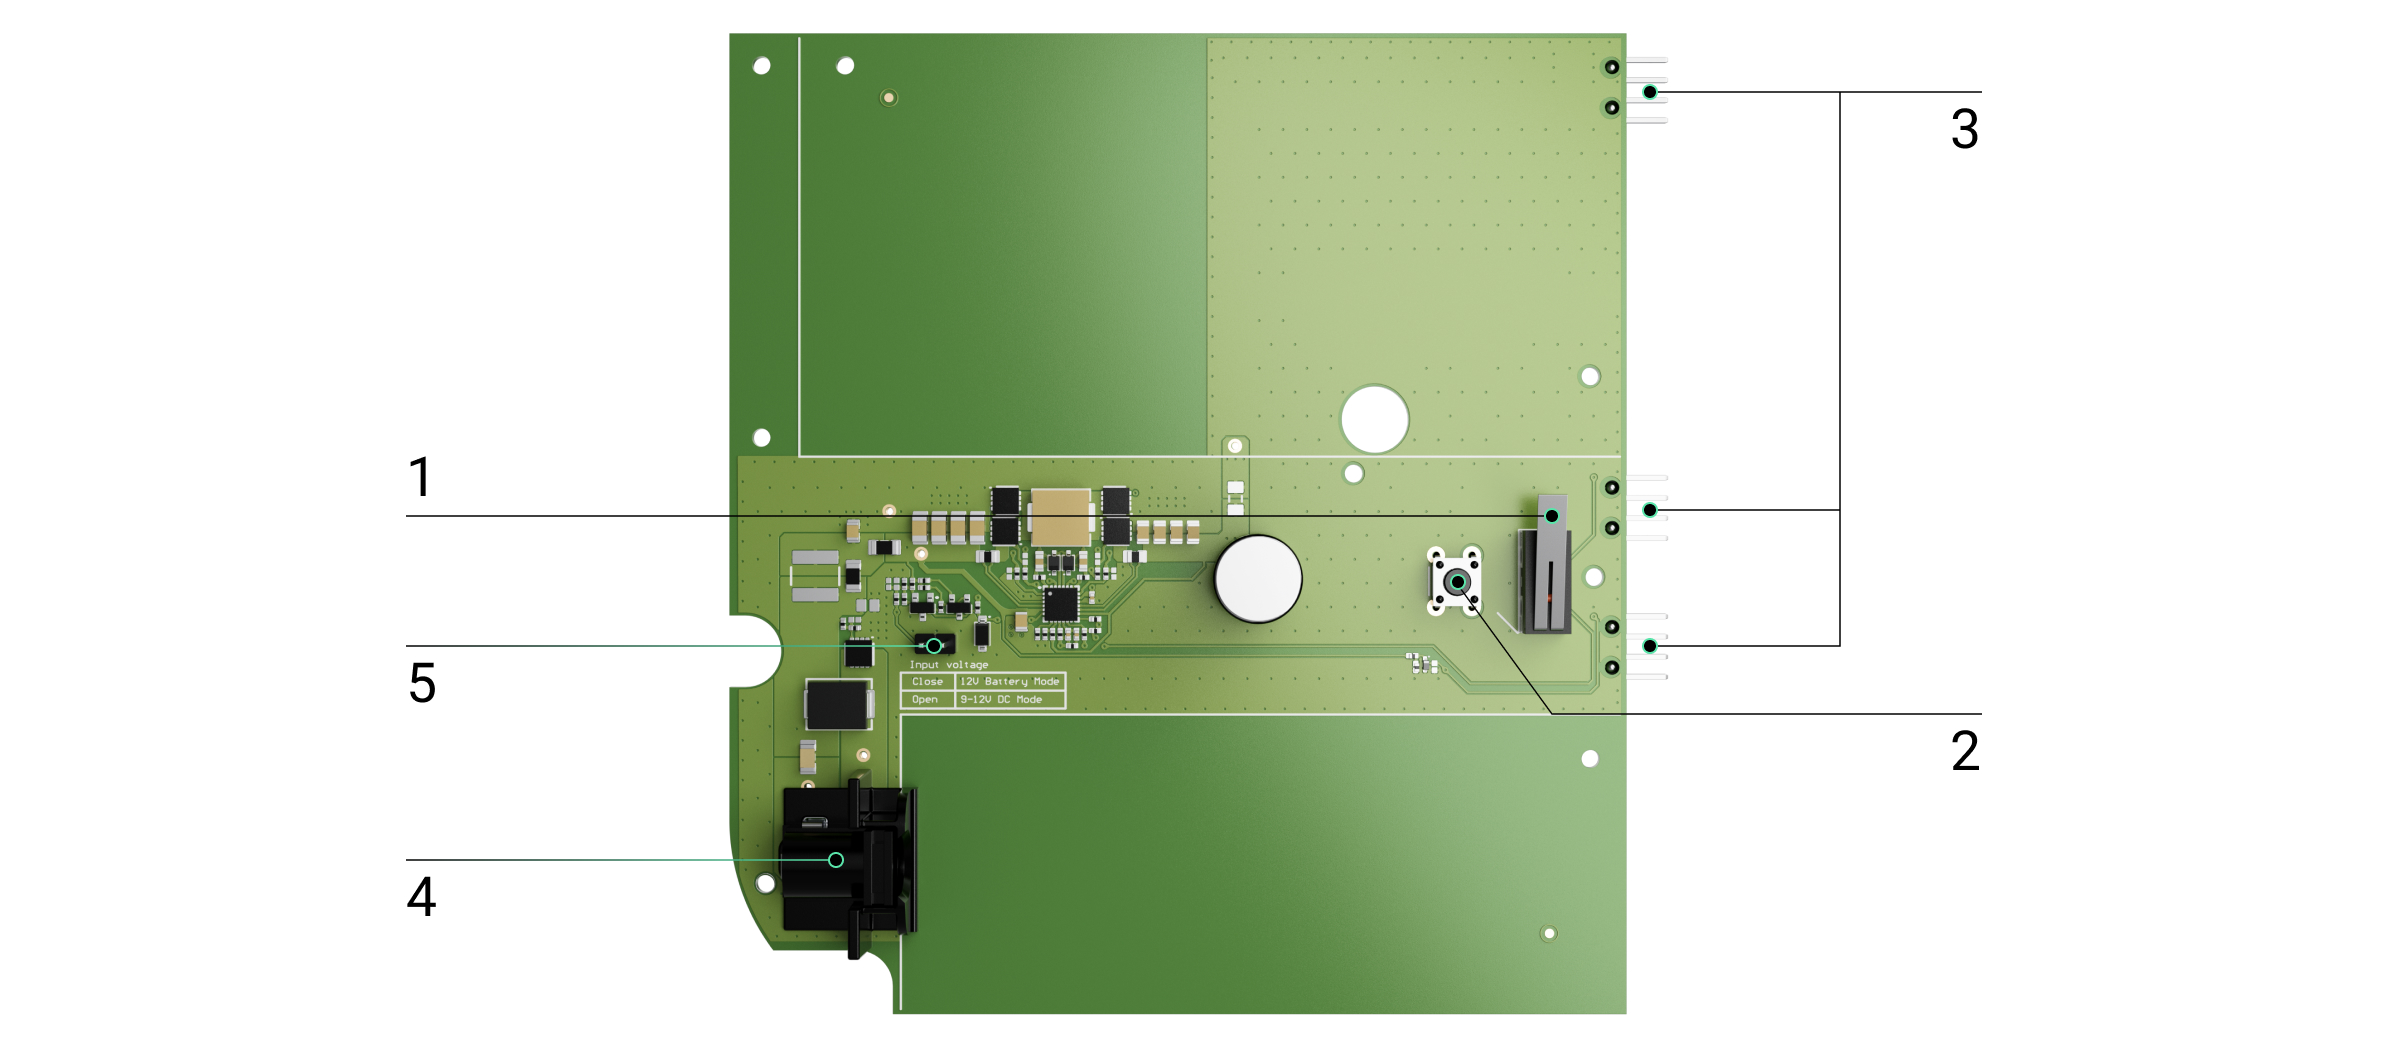
Функциональные элементы
- Кнопка тампера. Срабатывает, если снята крышка корпуса видеорегистратора NVR.
- Кнопка сброса параметров.
- Разъем для подключения платы 12V PSU for NVR к плате видеорегистратора.
- Разъем для установки клеммного переходника.
- Джампер (перемычка). Установите или снимите джампер в зависимости от режима работы.
Монтаж блока питания
Требования безопасности
Устанавливать блок питания 12V PSU for NVR должны только квалифицированные специалисты.
При монтаже 12V PSU for NVR придерживайтесь общих правил электробезопасности при использовании электроприборов, а также требований нормативно-правовых актов по электробезопасности. Перед установкой блока питания убедитесь, что видеорегистратор отключен от электрической сети. При установке не допускайте попадания влаги на платы видеорегистратора и блоки питания.
Как установить 12V PSU for NVR
- Снимите с видеорегистратора крепежную панель SmartBracket, потянув заднюю панель вниз.
- Отключите питание видеорегистратора.
Подождите 10 секунд после того, как отсоедините устройство от источника питания. Жесткий диск содержит быстро вращающиеся пластины. Резкие движения или удары могут вывести механизм из строя, что приведет к повреждению диска и потере данных.
Не передвигайте и не переворачивайте видеорегистратор во время вращения жесткого диска.
- Отсоедините кабели питания и Ethernet.
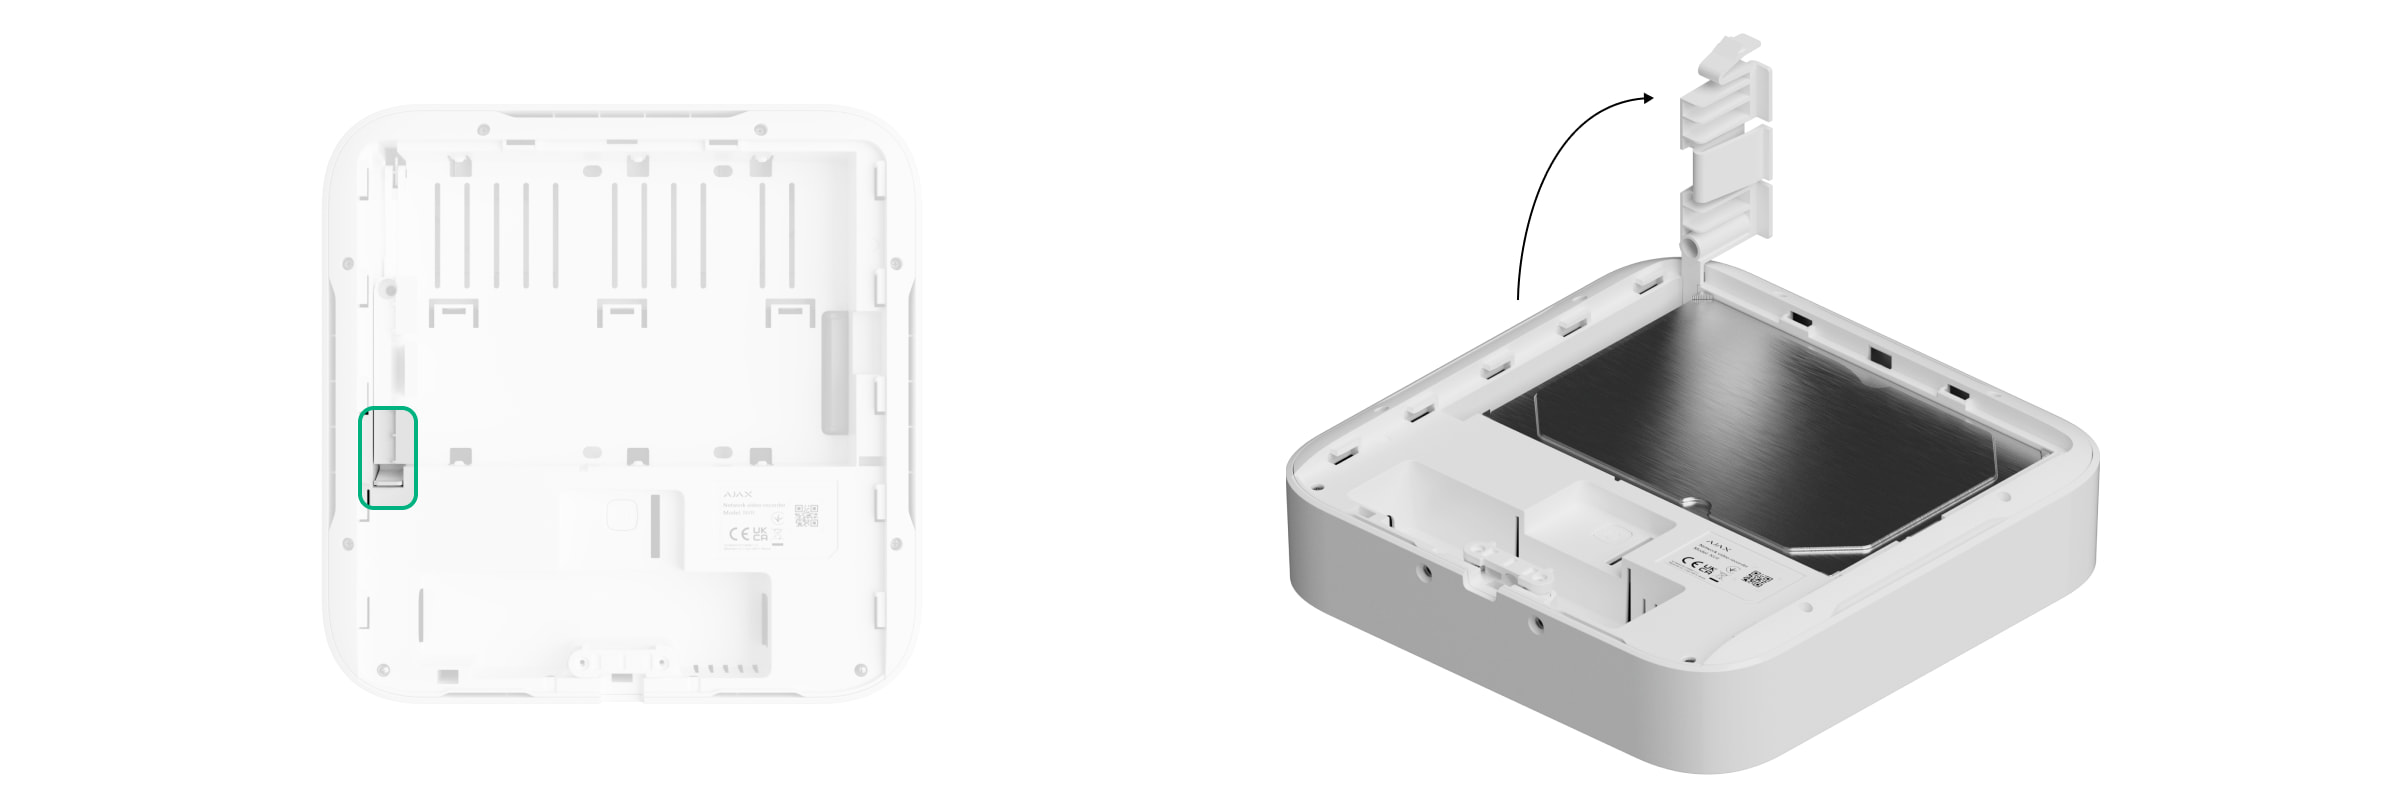
- Открутите комплектный винт, фиксирующий накопитель памяти в корпусе видеорегистратора. Поднимите фиксатор жесткого диска, нажав на кнопку.
- Извлеките жесткий диск из корпуса видеорегистратора.
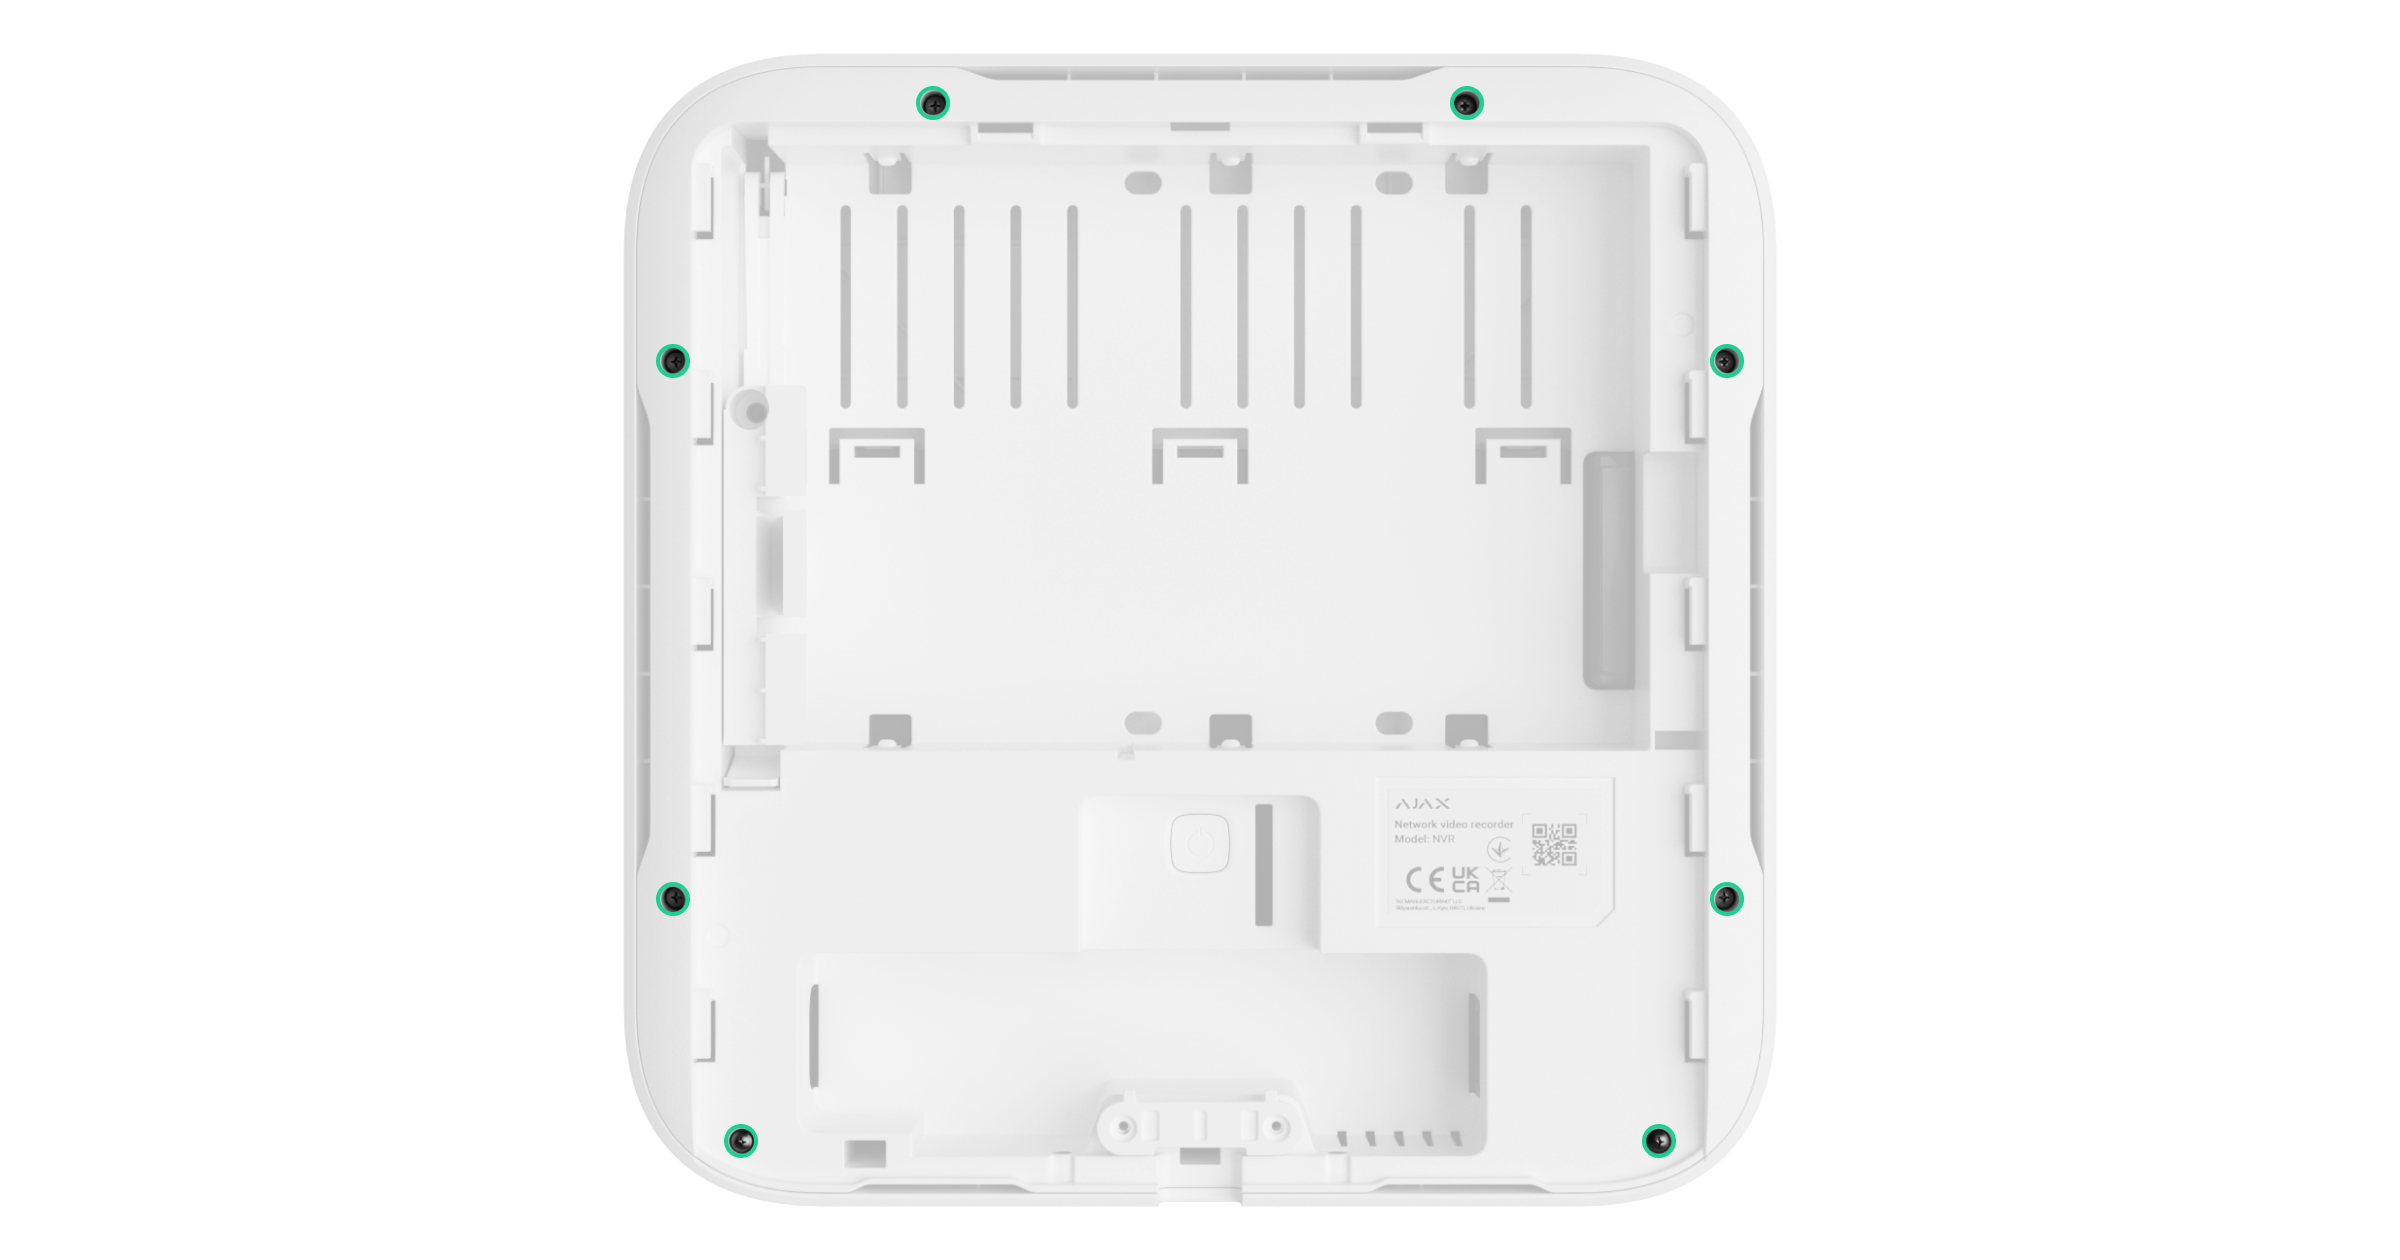
- Выкрутите все винты задней крышки и снимите ее.
- Сдвиньте фиксаторы и осторожно достаньте обе платы, удерживая их на одном уровне и не разъединяя. Платы соединены с помощью разъемов — не сломайте их.
- Отсоедините блок питания (плата большего размера) от основной платы.
- Установите или снимите джампер в зависимости от режима работы.
12V PSU for NVR предусматривает два режима работы:
- 8–16 В⎓ — джампер можно не устанавливать. В таком режиме NVR работает в диапазоне напряжения 8—16 В⎓.
- 12,1 –16 В⎓ — джампер должен быть установлен. В таком режиме NVR работает от напряжения, превышающего 12 В⎓. Чтобы избежать полной разрядки источника питания, NVR выключается, когда напряжение падает до уровня ниже 10,35 В⎓.
- Подключите 12V PSU for NVR к основной плате, используя три четырехконтактных разъема между ними.
Обратите внимание: контакты платы следует подсоединять к нижнему ряду разъемов (ближний к плате). При правильном подключении платы должны находиться на одном уровне.
- Соберите в обратном порядке корпус устройства, закрутив винты.
- Установите накопитель памяти в корпус видеорегистратора.
- Опустите фиксатор жесткого диска.
- Закрепите накопитель памяти в корпусе видеорегистратора комплектным винтом.
- Подключите к видеорегистратору кабели внешнего питания и Ethernet.
- Подайте питание на видеорегистратор.
Не подключайте кабель питания с напряжением, превышающим допустимые пределы входного напряжения блока 12V PSU for NVR.
- Включите устройство.
- Вставьте видеорегистратор в SmartBracket.
Проверьте состояние внешнего питания в приложении Ajax. Если питание отсутствует, и при этом вы используете клеммный переходник, проверьте полярность подключения проводов. Если питания нет и после повторного подключения, обратитесь в службу поддержки Ajax.
Обслуживание
Устройство не требует технического обслуживания.
Технические характеристики
Гарантия
Гарантия на продукцию общества с ограниченной ответственностью «Аджакс Системс Манюфекчуринг» действует 2 года после покупки.
Если устройство работает некорректно, рекомендуем сначала обратиться в службу технической поддержки: в большинстве случаев технические вопросы можно решить удаленно.
Связаться с технической поддержкой:
Произведено ООО «АС МАНЮФЕКЧУРИНГ»
