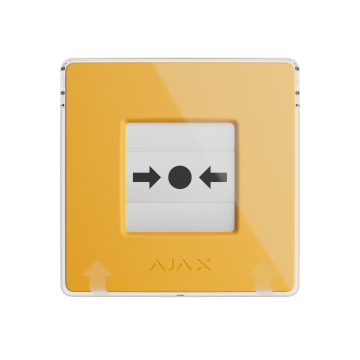
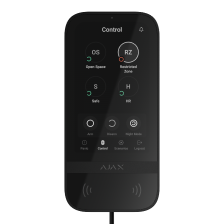
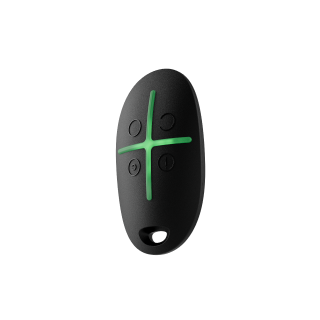
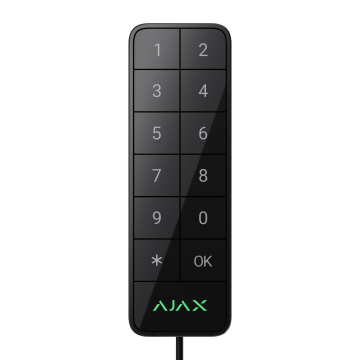
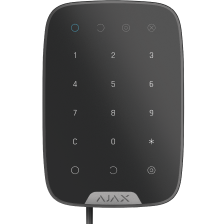
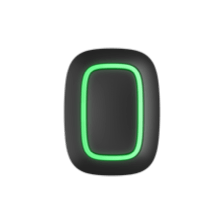
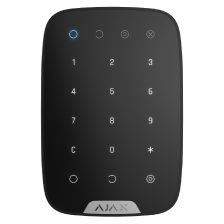
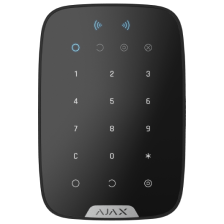
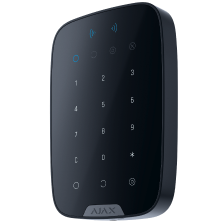
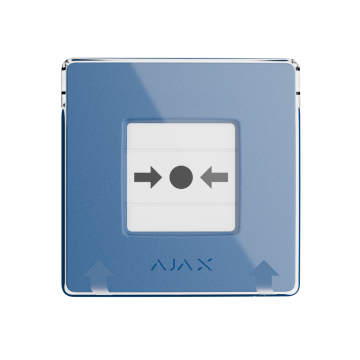
Controls and panic buttons

Arm the premises, open gates, and turn the lights off with one tap. And if you are threatened, use the panic button to call for help and notify your family about the danger.

FAQ

The identifier (ID) is the serial number of the device. It is located under the QR code on the body, board, and packaging of the device.

ID at the bottom of the box

ID under the lid

The ID can also be found in the device states in the Ajax app.

  1. Sign in to the Ajax app.
  2. Select the required hub from the list if you have several of them or if you are using a PRO app.
  3. Go to the Devices menu.
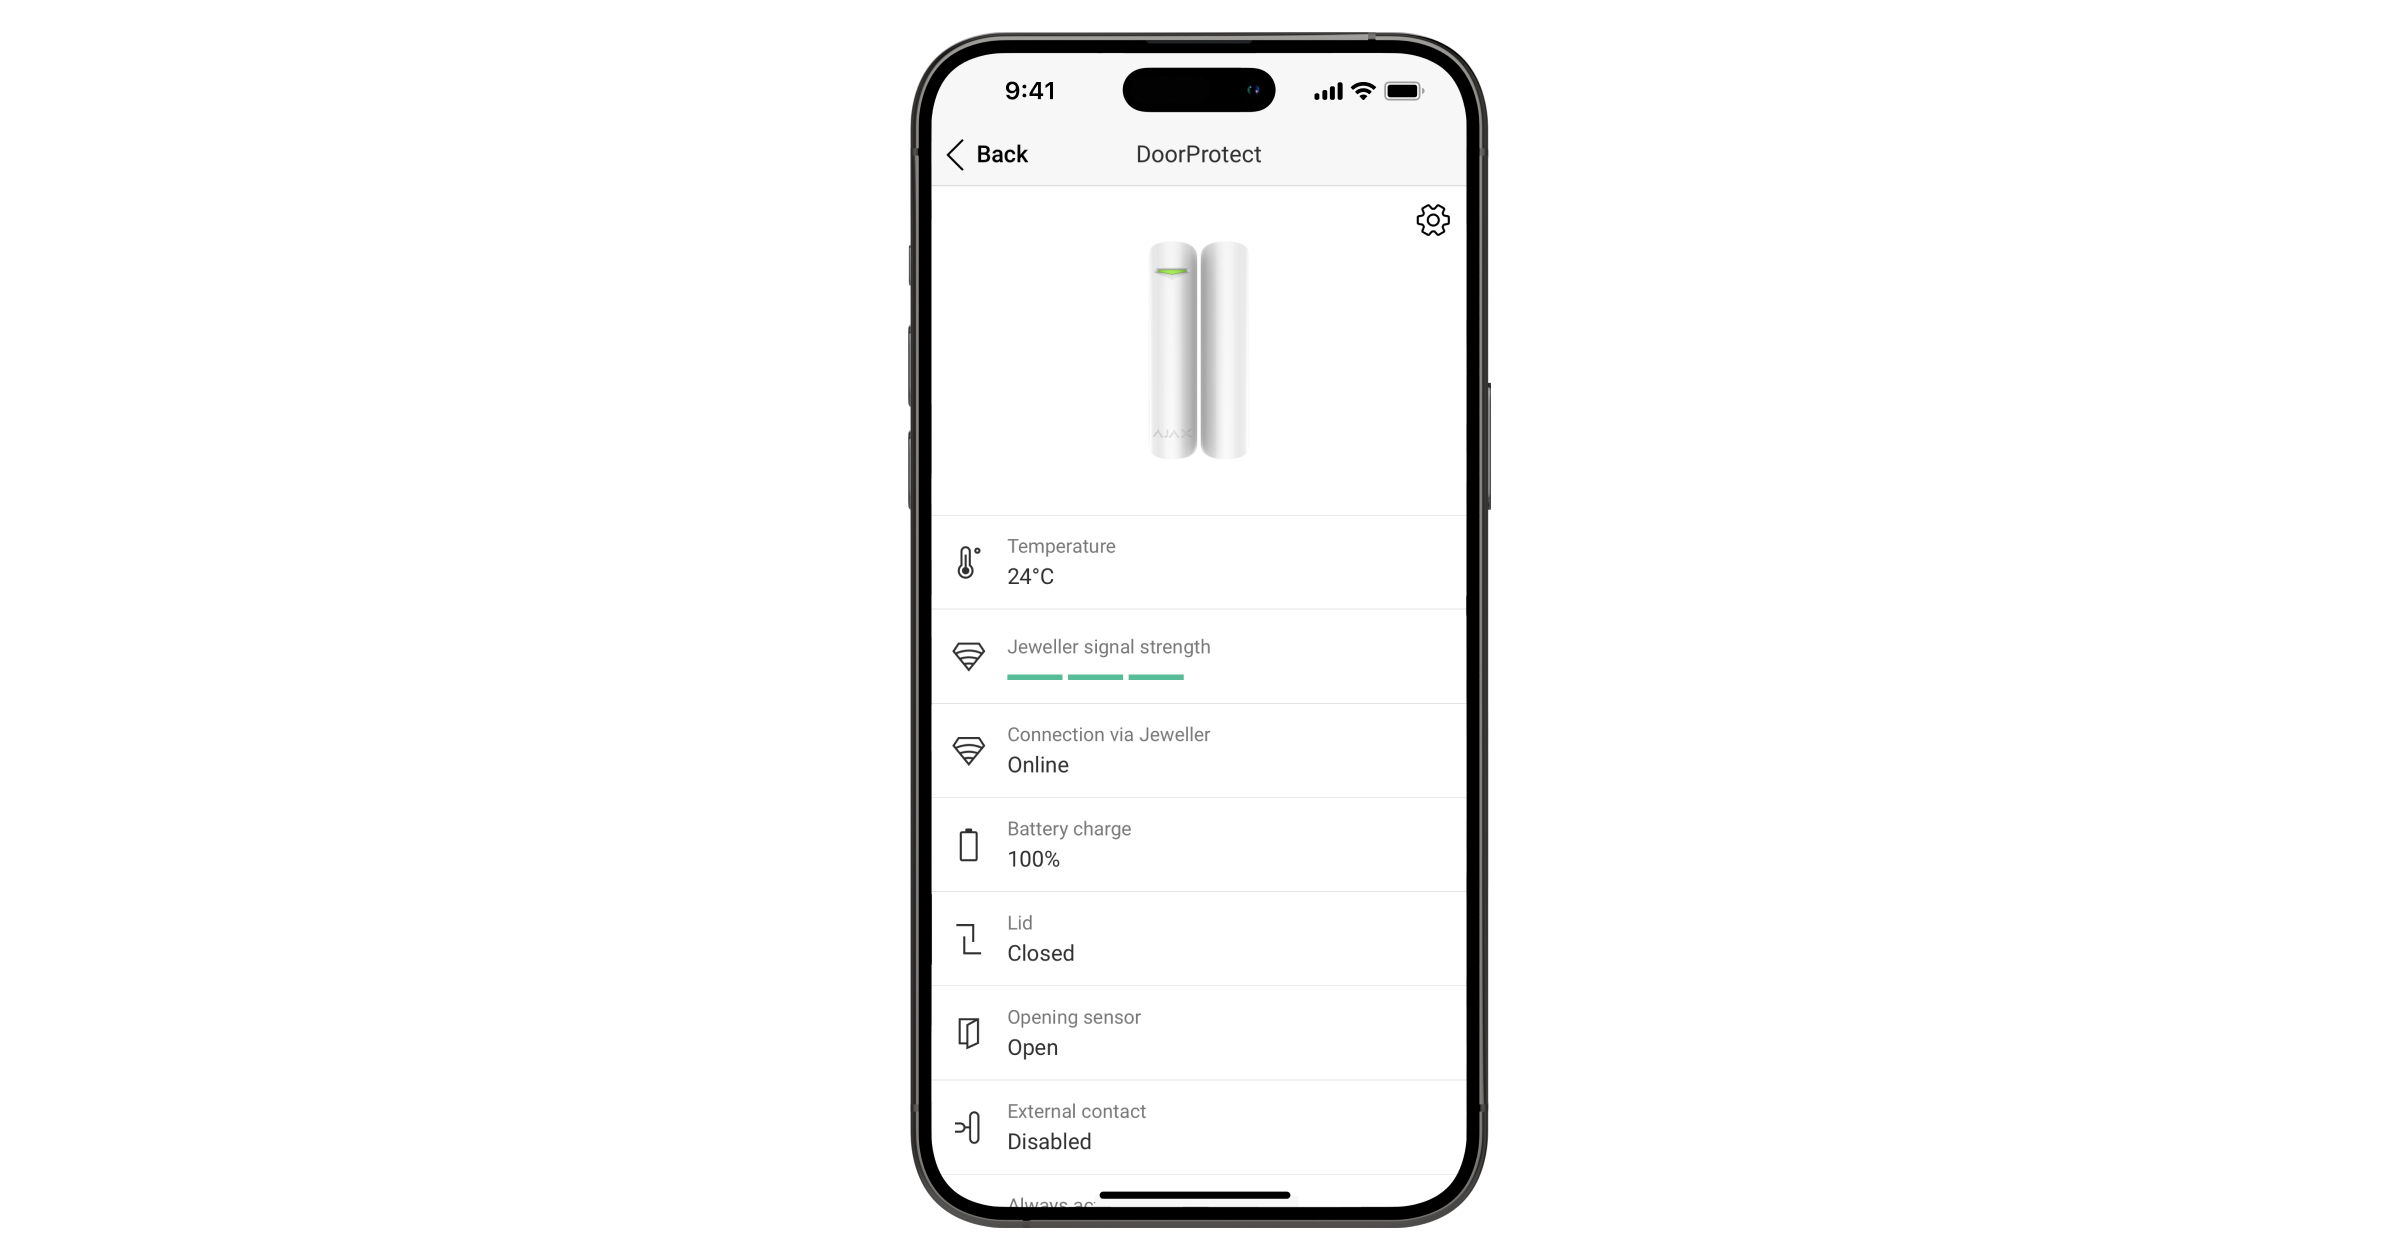
  4. Select a device from the list. Device ID information is located at the bottom of the status screen.
Copied

Two types of scenarios can be bound to SpaceControl, KeyPad Plus or KeyPad:

  1. by alarm;
  2. reaction to arming/disarming.

If you choose scenario by alarm, an automation device (Relay, WallSwitch or Socket) will be triggered by pressing SpaceControl or KeyPad panic button.

Also, the automation device can respond to arming/disarming using SpaceControl or KeyPad. However, in this case, the device will also respond to automatic arming/disarming according to the schedule or using the app. In this type of scenario, the determining factor will be the system status, not the control device.

Learn more: How to create and configure a scenario in the Ajax security system

Copied

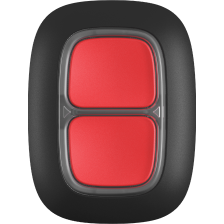
Button operates in two modes: as a panic button and as a control button. In the panic button mode, pressing the Button raises an alarm, which, in turn, can trigger a scenario. In the control button mode, the Button controls automation devices by long or short pressing, without raising an alarm.

To change the Button operation mode:

  1. Open the Ajax app and go to the Devices tab.
  2. Select Button in the list of devices and go to settings by clicking on the gear icon .
  3. Select the needed mode (Panic or Control) in the Operating mode section.

Learn more: How to create and configure a scenario in the Ajax security system

Copied

Without obstacles, the communication range between the hub and the device is up to 1,300 meters.

If key fob commands are not delivered to the security system, relocate the hub to minimize obstacles between the hub and the key fob.

If the key fob range is insufficient after relocation, use a security system radio signal range extenders

Copied

The QR code is on the lid of the key fob box. If you don’t have the box at hand, disassemble the key fob, separating the halves of the body via a thin flat object. You will find another QR code inside.

Copied

When using SpaceControl with Ajax hub, you can disable only the panic button. To disable the panic button:

To disable the alarm button:

  1. Go to the SpaceControls settings.
  2. Disable the panic button with toggle.

Reassignment of the SpaceControl buttons is not provided. It is possible to adjust buttons’ settings to control the third-party central unit when SpaceControl is connected to it via ocBridge Plus.

Copied

You can’t assign the key fob to the several hubs. It can only work with one device it was assigned last.

Copied

Yes, you can. The keyfob is compatible with wired and wireless systems using Ajax ocBridge Plus or Ajax uartBridge.

Copied

The duress code allows simulating the security system disarming. In this case, a user won’t be given away by the Ajax app and sirens installed at the facility, and the security company and other security system users will be warned about the incident.

Alarm special features when entering the duress code:

  1. The security company’s Central Monitoring Station (CMS) will receive a “disarming under duress” alarm event. A rapid response team goes to the object.
  2. All the security system users receive the notification about the system disarming (marked with a red icon ).

If the security system is disarmed by mistake, contact the security company CMS.

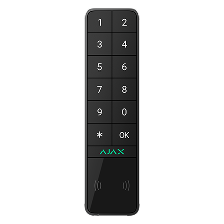
The keypad supports both a general duress code and a personal one. The general duress code is set in the keypad settings.

You can set a personal code in the user settings. Each user sets this code individually.

Learn more about controlling security modes with access codes in the keypads’ User Manuals on the Support website.

Copied

To change the security mode of a group using a personal access code:

  1. Activate the keypad by touching any touch-sensitive button.
  2. Enter the user ID.

  3. Press * (Function button).
  4. Enter your personal code.
  5. Press * (Function button).
  6. Enter the group ID.

Press the Arm / Disarm / Night Mode button .

Copied

To control a specific group using the keypad, in the Ajax app:

  1. Go to the Devices menu.
  2. Select the keypad from the list of devices.
  3. Go to its settings by clicking on the gear icon .
  4. Find the Group Management option and select the group that the keypad will control.
  5. Click Back to save your settings.
Copied

Tamper is a miniature button on the device board. It reports an alarm in case of opening the device enclosure, removing the device from the mounting panel, or detaching it from the surface.

The tamper status is displayed in Ajax apps, in the Enclosure section in the states of each device. When the body status is Open, a fault symbol appears on the device icon.

Copied

By default, the hub is set to a hub–detector ping interval of 36 seconds and 30 undeliverable data packets to consider the device lost. With these settings, the hub will detect the loss of the detector in 18 minutes.

To reduce this time, go to the hub settings in the Jeweller section and change the settings. The minimum time for detecting loss of connection with the device is 36 seconds (3 polls of 12 seconds each).

The time before raising the alarm by the communication loss between hub and device is calculated with the following formula:

Detector Ping Interval × Number of missed pings to determine connection failure

Note that with the minimum ping interval, short-term interference can lead to loss of connection with the device. Therefore, set the minimum values only if it is critically important to promptly inform about events in the system.

Copied

The loop (zone) number is required to describe all devices connected to the hub when adding a protected facility to the security company monitoring station.

The number is assigned when adding a device to the hub. The first added device has the first loop (zone) number. After removing the device from the system, its number becomes available. This number can be assigned to the next device to be added to the system.

The loop (zone) number is available in the states of each device in the Ajax app:

Copied

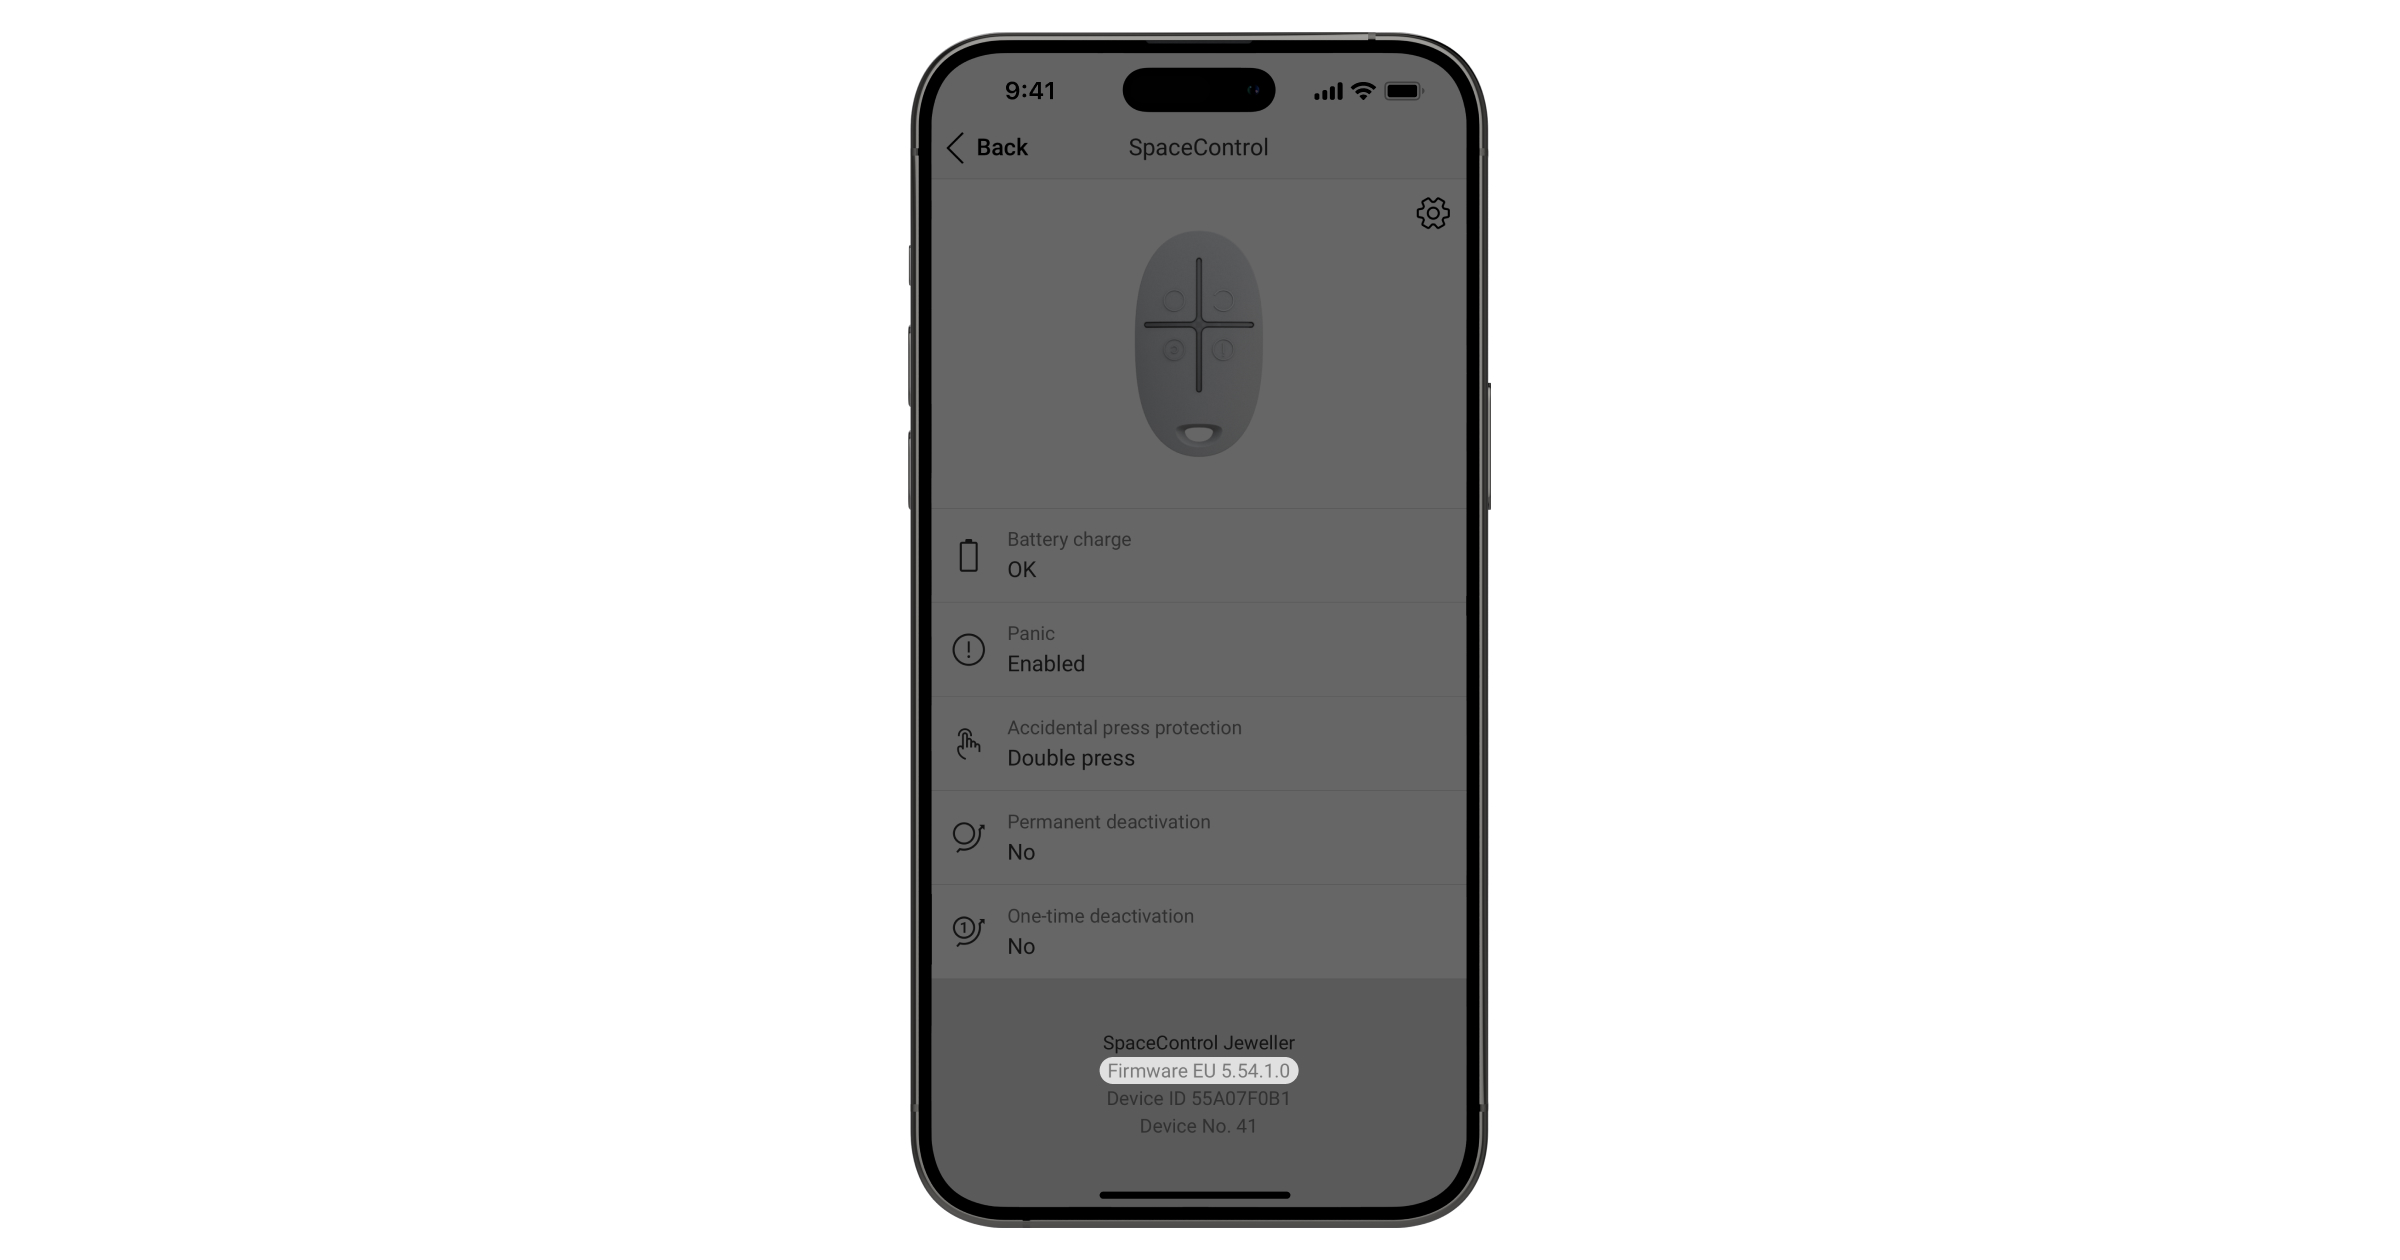
The firmware version can be found in the device states in the Ajax app.

  1. Sign in to the Ajax app.
  2. Select the required space from the list if you have several of them or if you are using a PRO app.
  3. Go to the Devices menu.
  4. Select a device from the list. The firmware version information is located on the status screen at the bottom.
Copied

Go to the Devices tab , select the device you want to check.

ajax security system application
Copied

Spelling error report

The following text will be sent to our editors: