As câmaras Ajax oferecem deteção de objetos com tecnologia de IA para uma gravação eficiente de eventos, uma utilização reduzida do armazenamento e uma navegação fácil no arquivo de vídeo. Isto ajuda o sistema de vigilância a registar apenas eventos importantes, como a entrada de alguém numa divisão ou a passagem de um carro num parque de estacionamento.
As câmaras podem ser armadas seletivamente e todo o processamento ocorre na câmara, minimizando a carga da infraestrutura. A procura eficiente de pessoas e automóveis acelera significativamente o processamento de incidentes nos centros de monitorização.
As câmaras Ajax devem ser corretamente instaladas e configuradas para um funcionamento eficaz e reconhecimento de IA. Leia o artigo para saber como melhorar o reconhecimento da IA e evitar falsos alarmes.
Requisitos de integração
O posicionamento e o teste da câmara antes da instalação são fundamentais para minimizar os falsos alarmes e obter os melhores resultados de deteção.
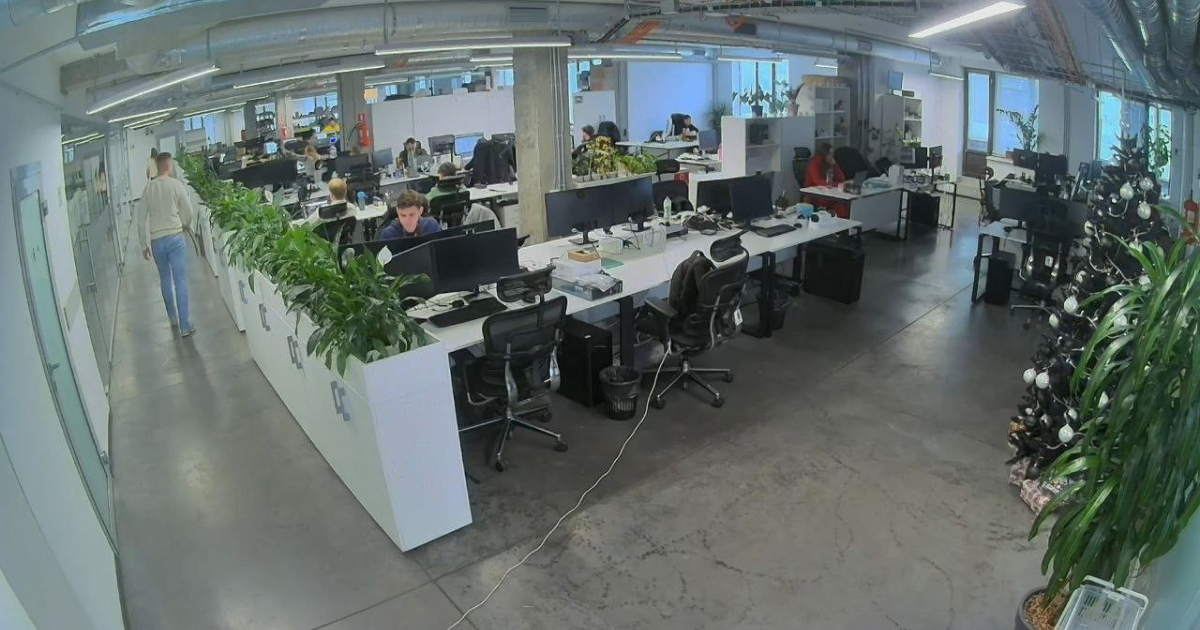
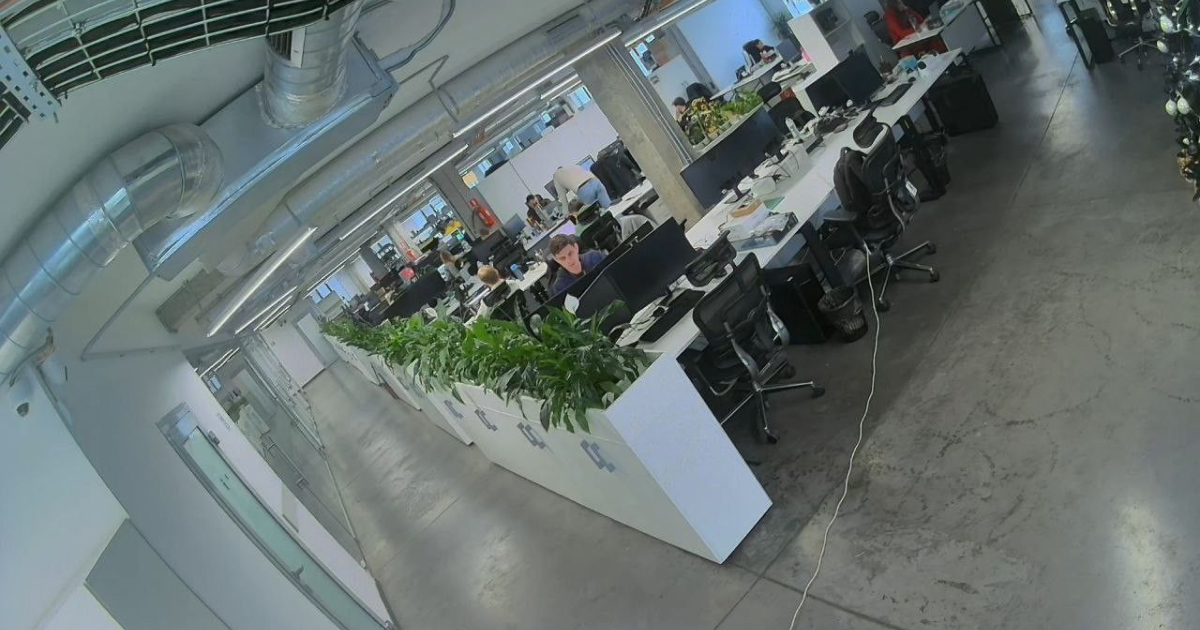
Ao escolher o local de instalação, tenha em conta a direção da lente, os ângulos de visão do detetor e a presença de obstáculos que dificultem a visão. Certifique-se de que os móveis, colunas, plantas e elementos decorativos ou de vidro não obstruem a visão da câmara.
O diagrama abaixo mostra os parâmetros a considerar ao instalar a câmara.
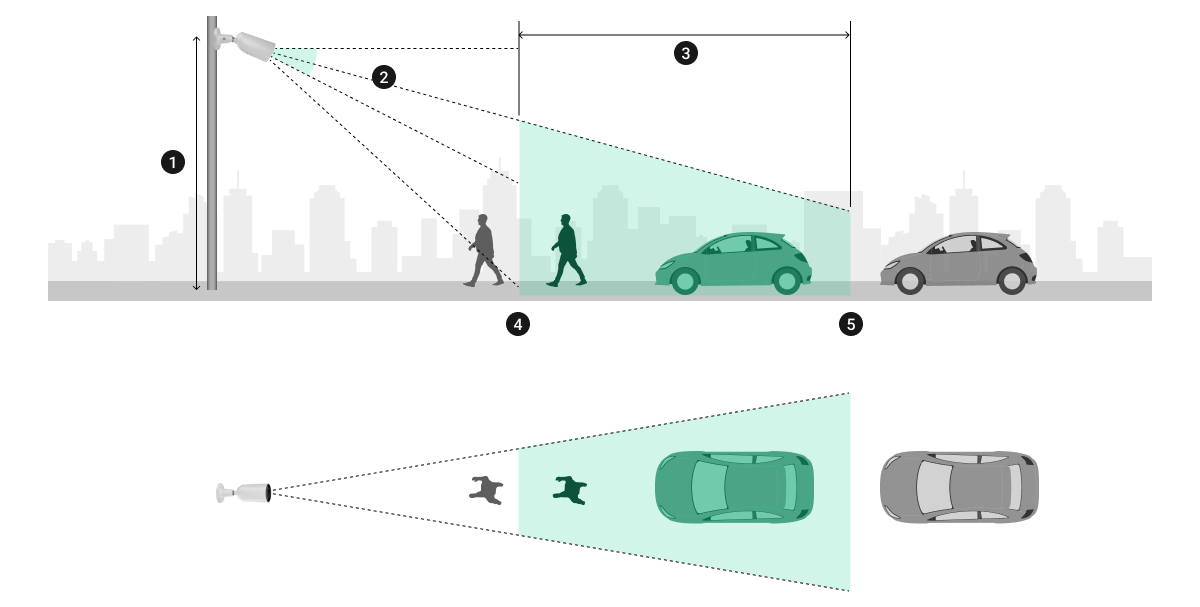
- Altura de instalação.
- Inclinação da câmara.
- Área de deteção.
- Distância de deteção de movimentos.
- Distância de deteção de movimentos.
As câmaras Ajax devem ser montadas por um instalador profissional qualificado.
Altura de instalação
As câmaras devem ser montadas a uma distância de 3-4,5 m do horizonte. Não instale a câmara em objetos em movimento (por exemplo, gruas de construção) ou que vibrem. O campo de visão da câmara deve estar sempre fixo.
| Instalação correta | A câmara está demasiado alta | A câmara está demasiado baixa |
 |
 |
 |
Instale a câmara de modo a que a distância mínima de deteção seja Superior a metade da altura de instalação da câmara.
Inclinação da câmara
A câmara deve estar suficientemente inclinada para baixo para que o centro da imagem fique abaixo do horizonte. A trajetória prevista do intruso deve ser perpendicular ao eixo da lente do detetor.
| Instalação correta | Instalação incorreta |
 |
 |
 |
 |
As câmaras não devem ser inclinadas mais de 45° em relação ao plano horizontal. A inclinação ideal é de aproximadamente 30°. Alguns objetos podem não ser reconhecidos se instalar a câmara num local confinado ou com uma inclinação de 90 graus.
| Instalação correta (30°) | Instalação correta (45°) | Instalação incorreta (90°) |
 |
 |
 |
Requisitos do objeto
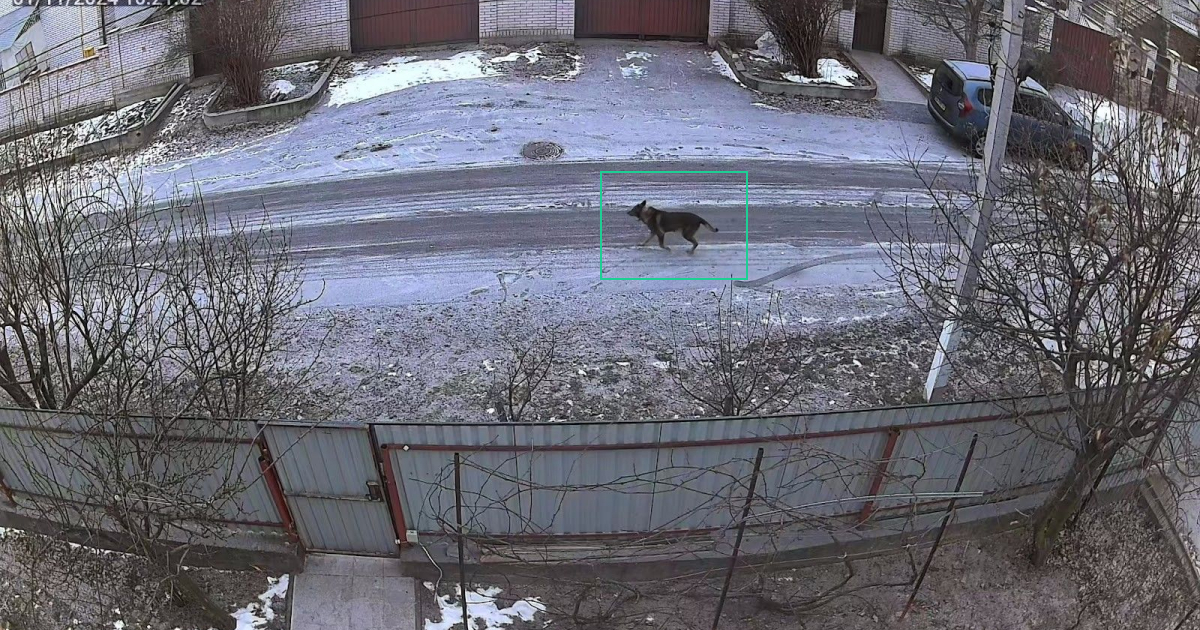
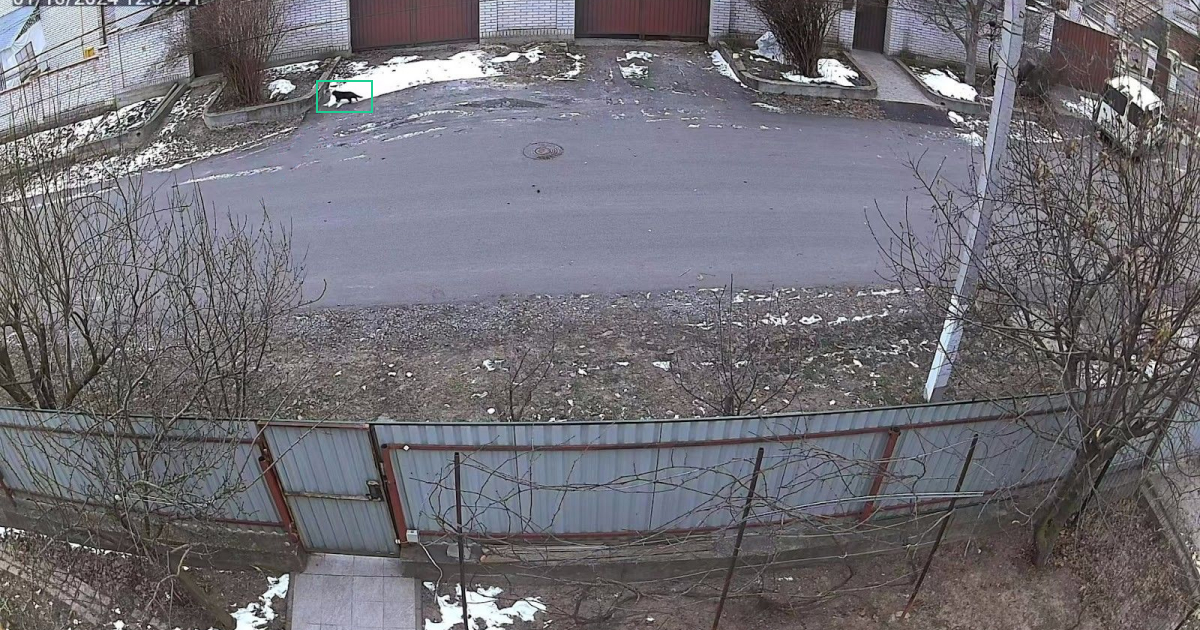
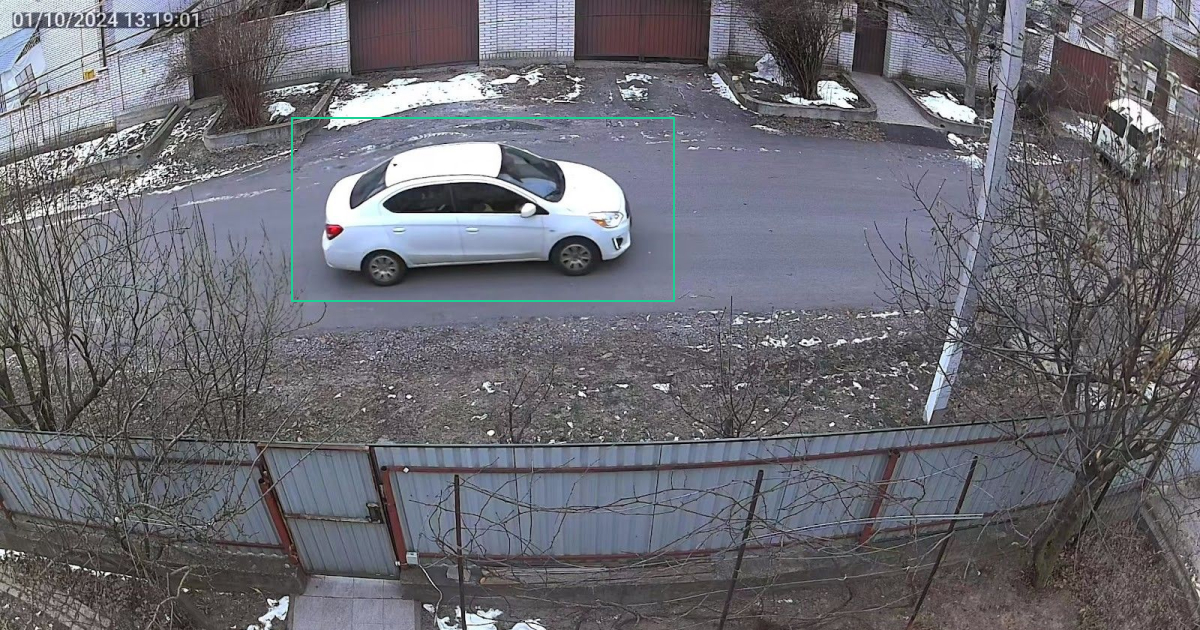
O tamanho do objeto deve ser inferior a 2/3 e Superior a 1/10 do campo de visão da câmara.
| Instalação correta (o tamanho do objeto é normal) | Instalação incorreta (o objeto é demasiado pequeno) |
 |
 |
 |
 |
 |
 |
Selecione o intervalo de deteção máximo recomendado de acordo com a tabela.
| Tipo de objeto | Hora do dia | Intervalo de deteção recomendado (por defeito) | Alcance máximo de deteção (sensibilidade máxima) | ||
| De, m | Para, m | De, m | Para, m | ||
| Pessoas | Dia | 2 | 25 | 1 | 28 |
| Noite | 2 | 21 | 1 | 23 | |
| Veículos | Dia | 4 | 35 | 3 | 44 |
| Noite | 4 | 26 | 3 | 32 | |
O objeto deve estar no campo de visão da câmara durante pelo menos 2 segundos para ser detetado. Por isso, instale a câmara num local onde o objeto não possa aparecer de repente.
| Instalação correta | Instalação incorreta |
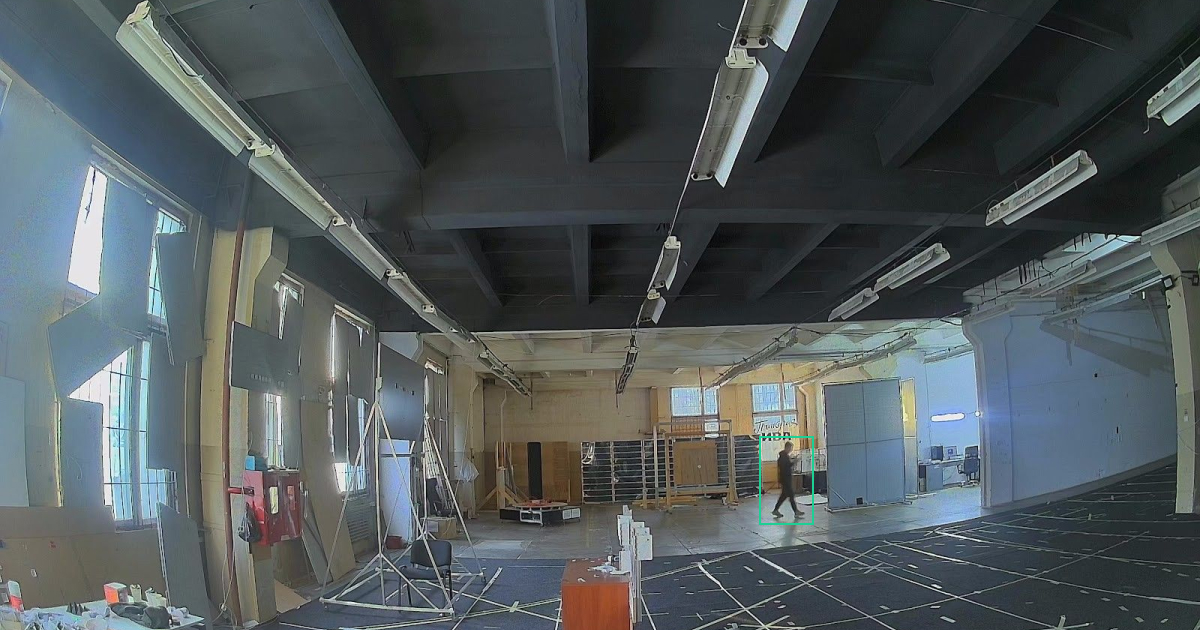
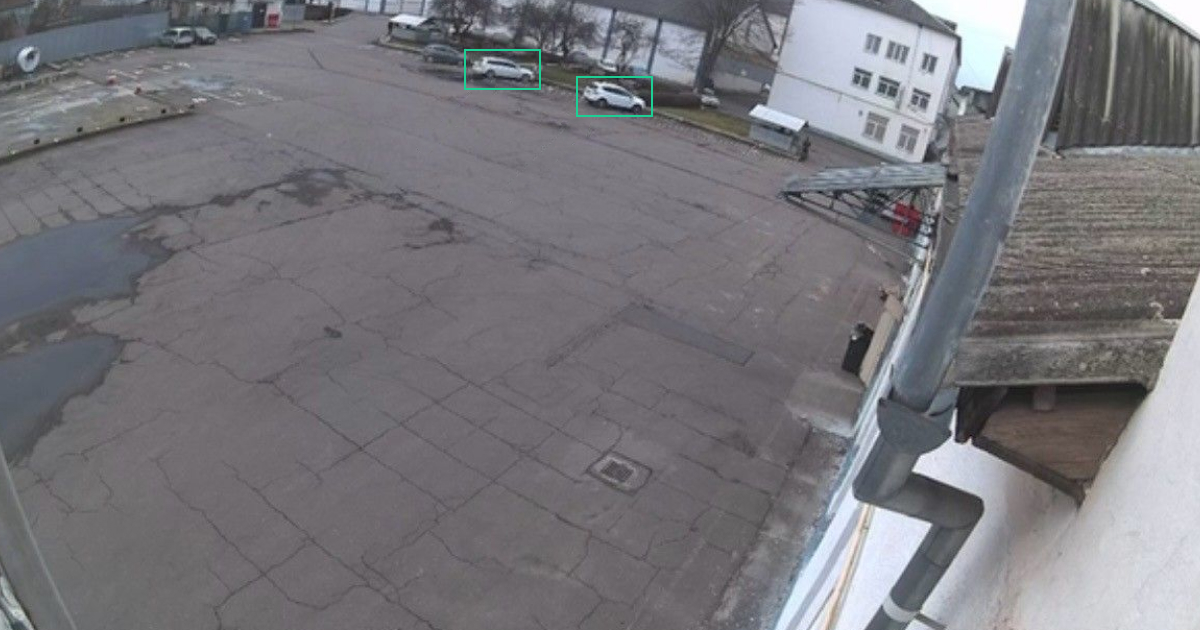
O objeto não deve ser parcialmente obscurecido ou sobreposto para obter os melhores resultados de deteção. Isto significa que todo o objeto deve ser visível no campo de visão. Os elementos característicos do objeto, como as rodas dos veículos ou as cabeças e ombros das pessoas, não devem ser obstruídos por folhagem, vedações ou outros obstáculos. Caso contrário, a precisão da deteção será afetada.
A sobreposição de objetos num ambiente cheio de gente pode diminuir a precisão do reconhecimento. Assim, é provável que alguns objetos não sejam detetados se estiverem sobrepostos.
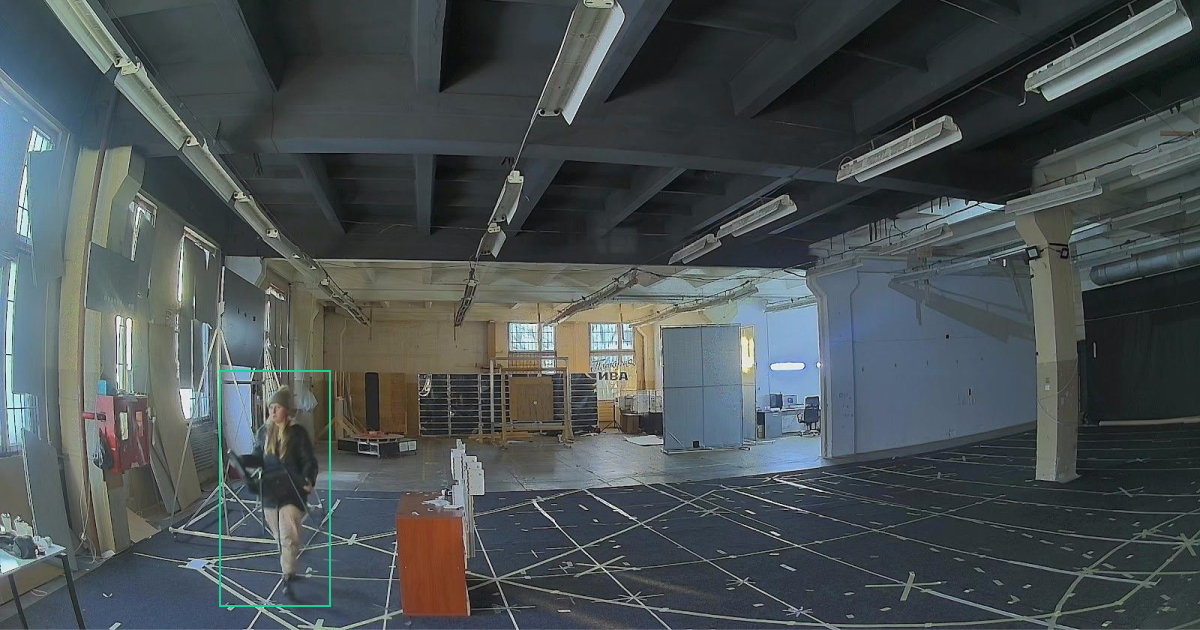
A pessoas devem estar na posição mais vertical para obterem o melhor reconhecimento.
Impactos da iluminação
Evite fontes de luz, uma vez que a câmara pode ficar temporariamente cega se uma luz brilhante incidir diretamente sobre ela. As fontes de luz direta mais comuns são o sol, os faróis e a iluminação exterior/interior. Posicione a câmara de modo a que essas fontes não incidam diretamente na objetiva da câmara.
Não instale a câmara num local onde as condições de luz mudem abruptamente ao longo do dia (por exemplo, em frente a uma janela que tenha luz solar direta durante parte do dia). Além disso, evite espelhos e outras superfícies refletoras, como estradas molhadas, que podem causar falsos alarmes.
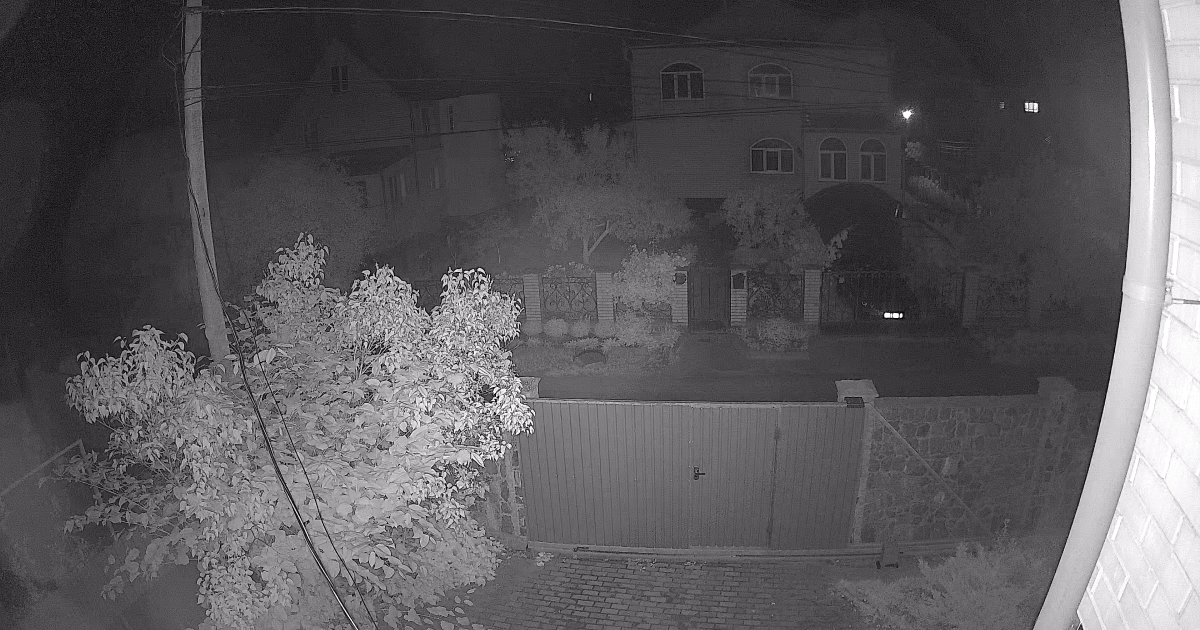
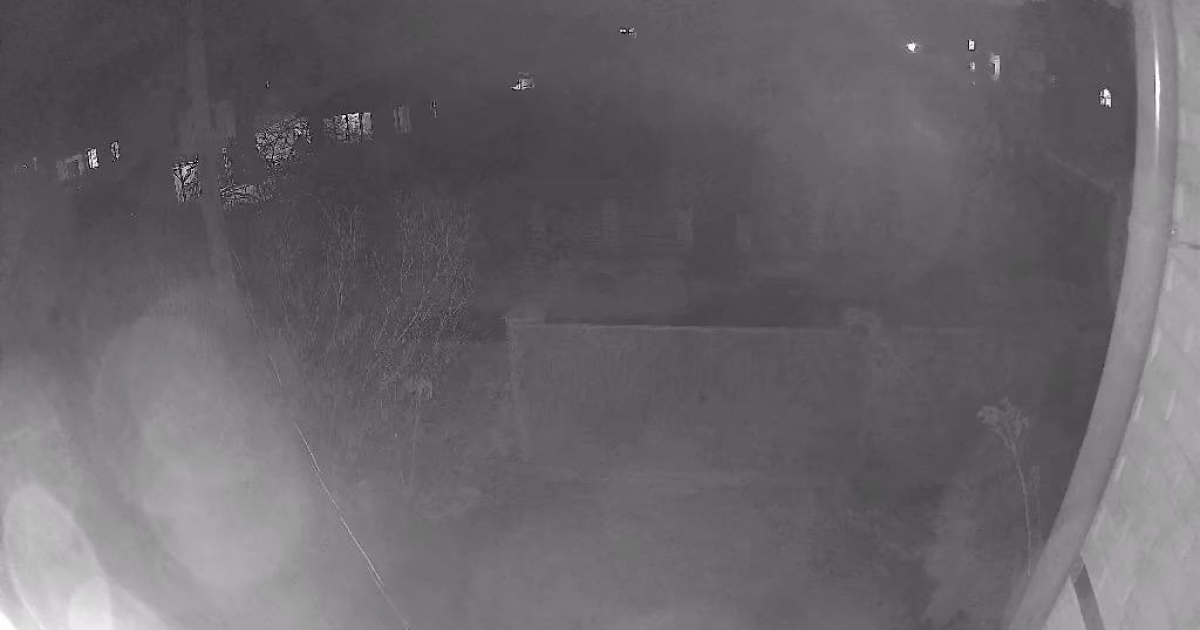
As fontes de luz indiretas, como a luz IV incorporada, também podem afetar a deteção. Não coloque a câmara demasiado perto da parede. Caso contrário, as suas luzes IV vai o cegar durante o modo noturno.
O iluminador IV não deve brilhar sobre elementos diretamente adjacentes, tais como paredes ou outros objetos no campo próximo da câmara. Isto leva à sobre-exposição de grandes planos e a uma iluminação insuficiente do alvo.
| Instalação correta | Instalação incorreta |
 |
 |
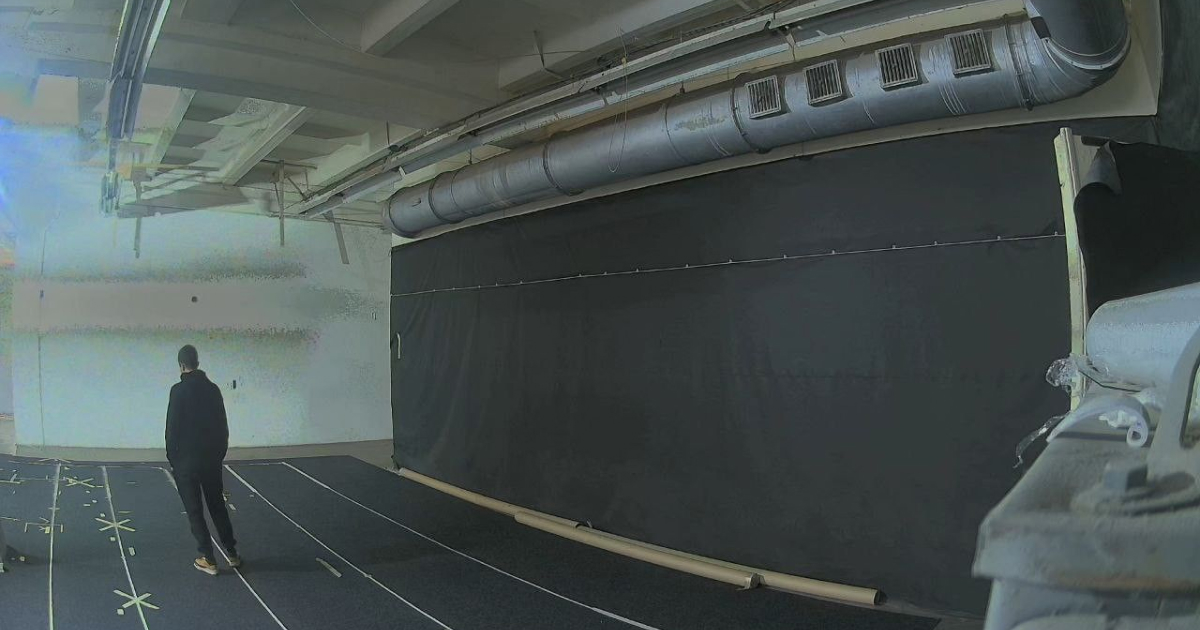
Utilize a tecnologia de amplo alcance dinâmico (WDR) se posicionar a câmara num local onde as condições de luminosidade mudam.
| WDR ativado | WDR desativado |
 |
 |
Para ativar a opção WDR, em apps Ajax:
- Aceda o separador Dispositivos
 .
. - Selecione o utilizador na lista. Se estiver ligado ao gravador de vídeo em rede, selecione NVR e clique em Câmaras.
- Aceda a Definições clicando no ícone
 duas vezes.
 - Aceda ao menu Imagem.
- Ative a opção Amplo alcance dinâmico (WDR).
- Ajuste a Estabilização de luminosidade.
- Toque em Fechar.
- Clique em Voltar para guardar as novas definições.
Como reduzir os falsos alarmes
Os falsos alarmes podem ser causados por:
- Objetos que obstruem o campo da visão.
- Câmaras posicionadas perto de superfícies refletoras.
- Objetos parados que acionam alarmes (por exemplo, carros estacionados).
É possível reduzir os falsos alarmes ajustando a zona de atividade. Ao configurar esta opção, a câmara é focada em áreas específicas do seu campo de visão, para que a câmara detete movimentos apenas nessas zonas. Para isso, em apps Ajax:
- Aceda o separador Dispositivos .
- Selecione a câmara na lista. Se estiver ligado ao gravador de vídeo em rede, selecione NVR e clique em Câmaras.
- Aceda a Definições clicando no ícone duas vezes.
- Selecione o menu Deteção.
- Aceda ao menu Definições de deteção de movimento. Selecione a área pretendida.
- Toque no ícone
 . Regresse às definições da câmara.
Além disso, os falsos alarmes podem ser causados por outras razões:
- As condições climatéricas podem causar falsos alarmes e influenciar a distância de reconhecimento. Chuva forte, nevoeiro ou neve reduzem significativamente essa distância.
- A presença de insetos e aranhas atraídos pelas luzes IV pode causar falsos alarmes. Limpe as teias de aranha.