

In order to replace batteries:
1. Turn off the siren external power supply, if applicable.
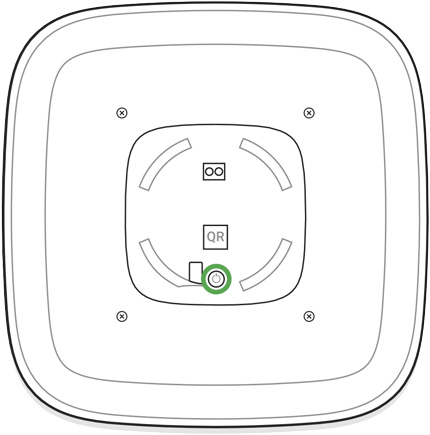
2. Unscrew the locking screw at the bottom of the siren with a PH2 cross screwdriver.

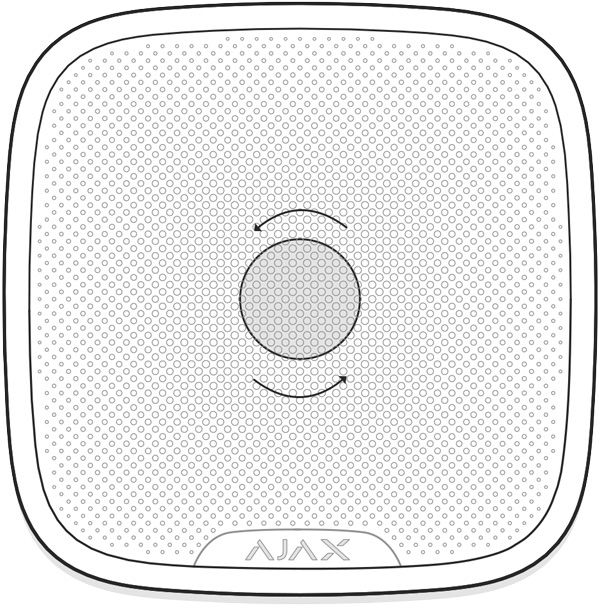
3. Remove the siren from the SmartBracket attachment panel by turning it counter-clockwise.

4. Turn off the device by pressing the power button for 3 seconds.

5. Turn off the external power supply (if applicable) by unscrewing the terminal blocks and disconnecting the power wires.
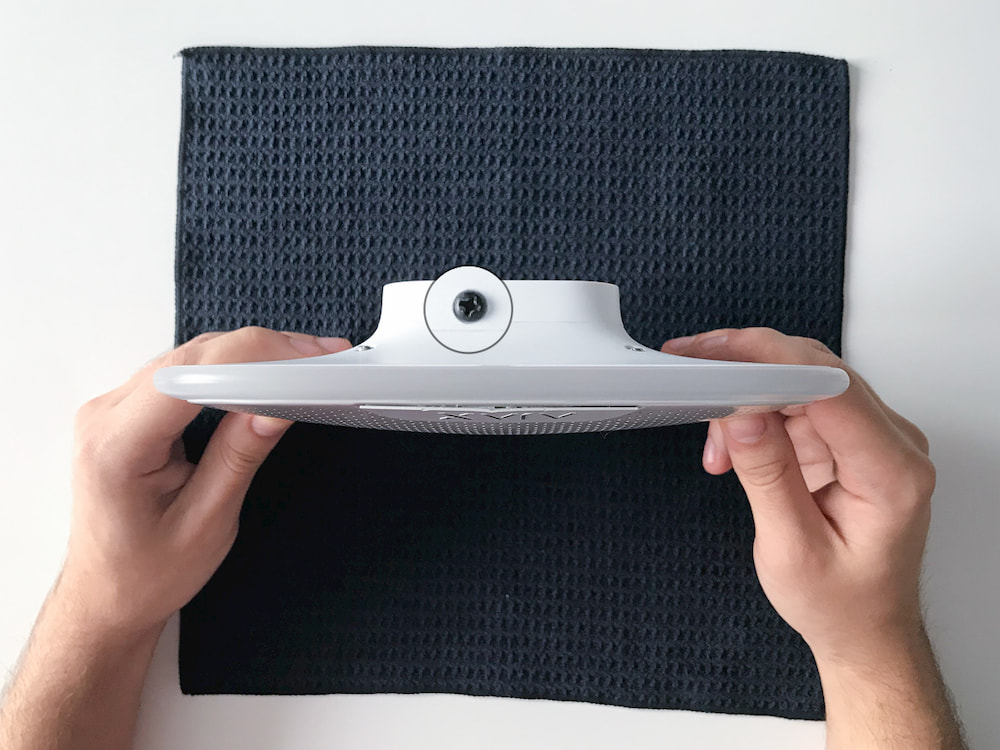
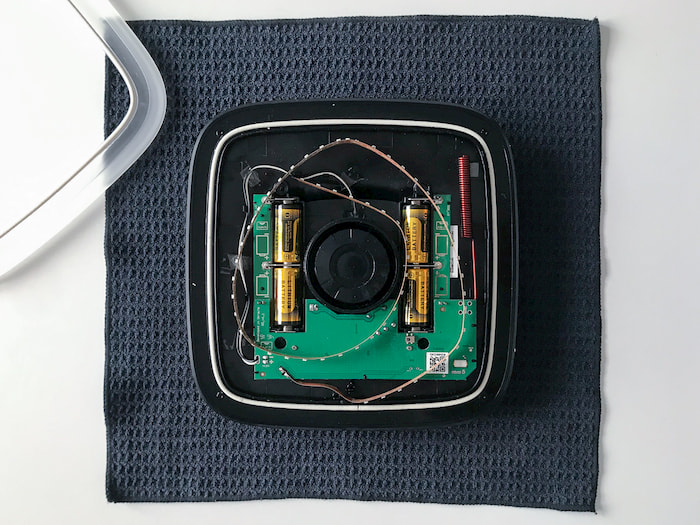
6. Place the siren on a towel folded in several layers so that the metal grating does not become deformed against the hard surface.
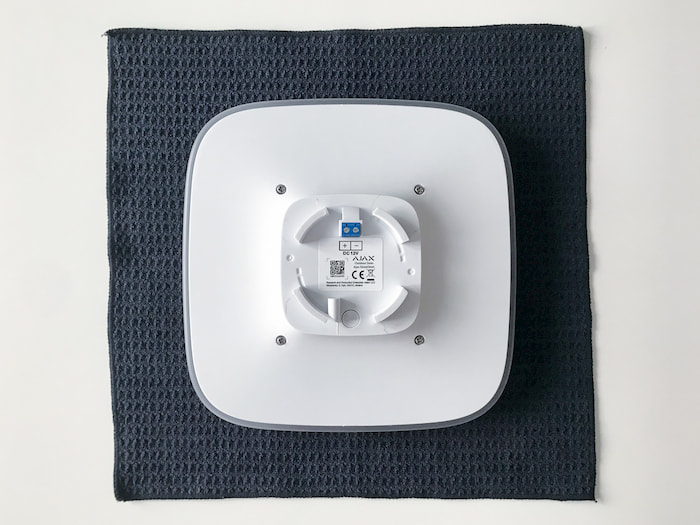
7. Remove 4 screws with a PH2 cross screwdriver.

8. Turn the siren over while holding the front and back of the body. Remove the metal grating by prying up the plate with the Ajax logo. It is recommended to use a plastic card or a plectrum as a metallic object can scratch the siren body.


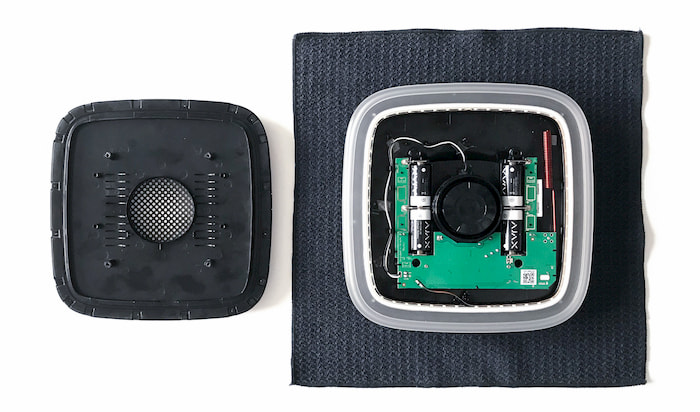

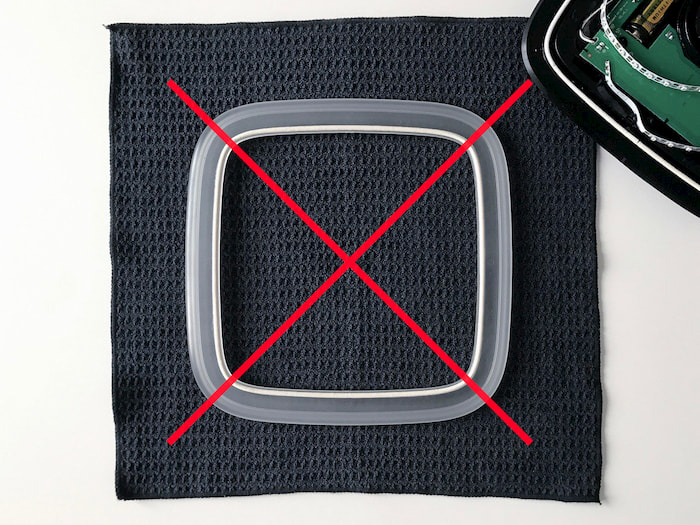
When replacing the batteries, do not remove the plastic frame and do not take out the LED strip from its mounting seat!
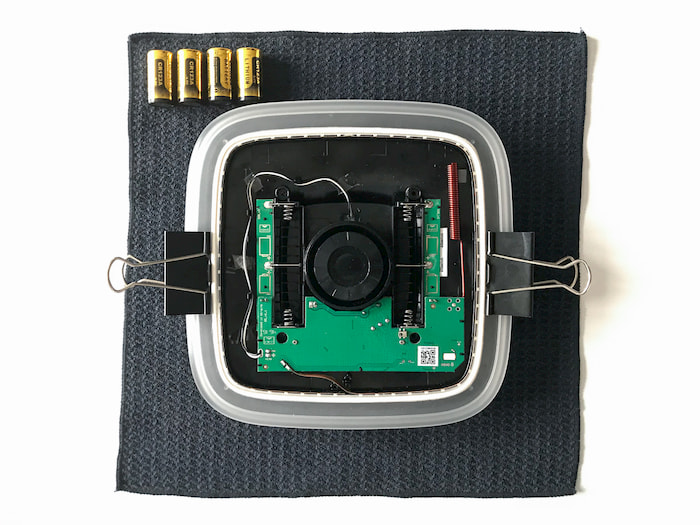
9. Fix the plastic frame in the siren body trying not to clamp the LED strip. For example, using binders (51 mm) or clamps.
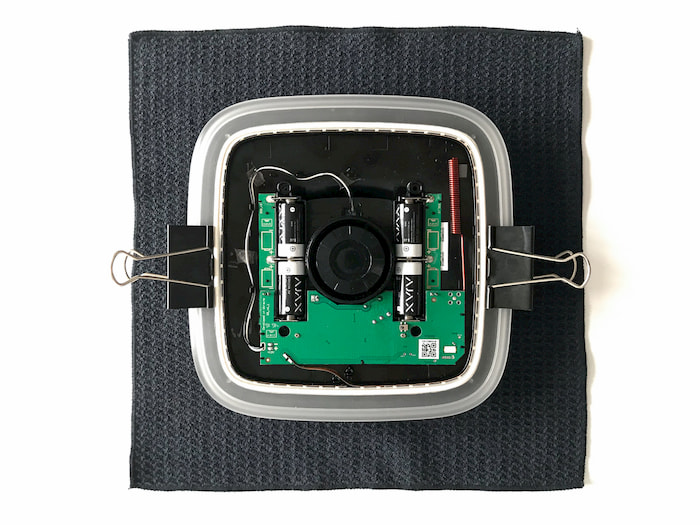
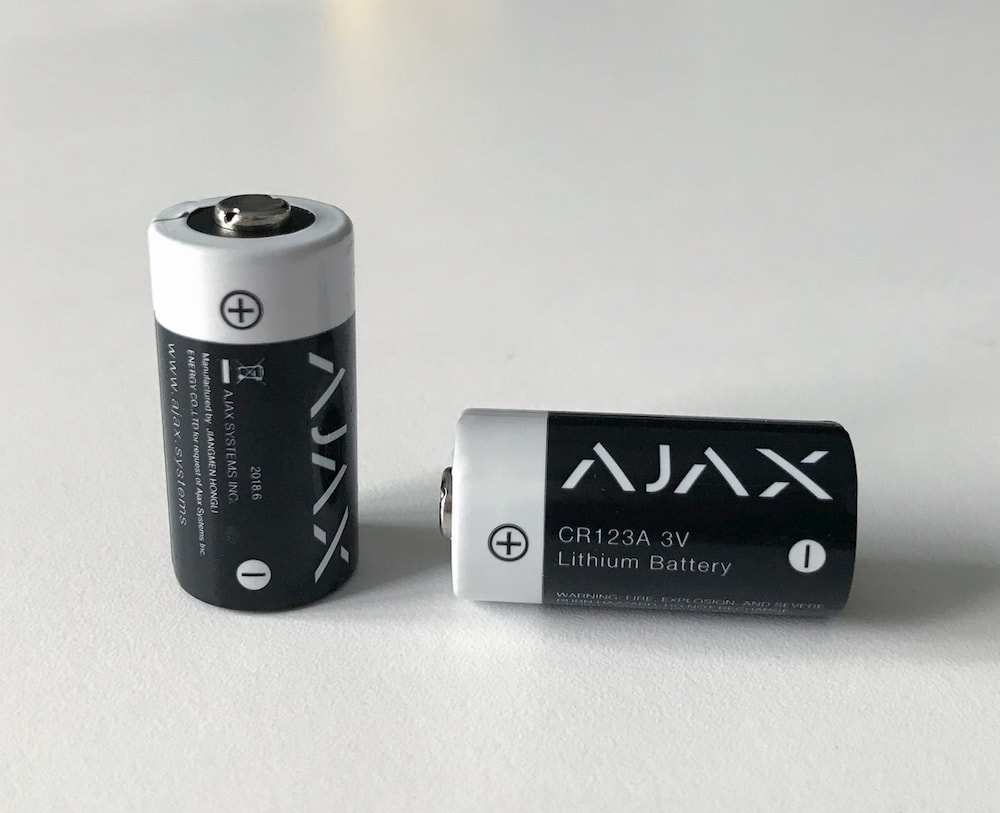
10. Replace 4 CR123A batteries observing the polarity (indicated on the board). We recommend installing the following batteries to ensure that the Ajax device operates for the calculated time:
- Panasonic CR123A Industrial Lithium Battery, 3 V (item model number — 4330203048, manufacturer — Indonesia).
- Huiderui CR123A, 3 V, 1,600 mAh, LiMn02.
If other batteries are installed, the operating time may differ from the calculated time.

There can be a non-hardening sealant on the piezoelectric detector. Do not wipe it! If the sealant contaminates your hands, wipe it off with a napkin.
It is necessary to change all the batteries at once to ensure proper operation of the siren. It is not recommended installing used or damaged batteries.
If battery replacement is successful and the plastic frame and the LED remain in place, move to item 11.
If you remove a plastic frame or LED strip during the battery replacement:
1. Fold and fix the LED strip without twisting it so as not to interfere with the installation of the plastic frame.
2. Install the plastic frame inside the siren body. The joint of the rubber frame gasket corresponds to the LED strip connection site.
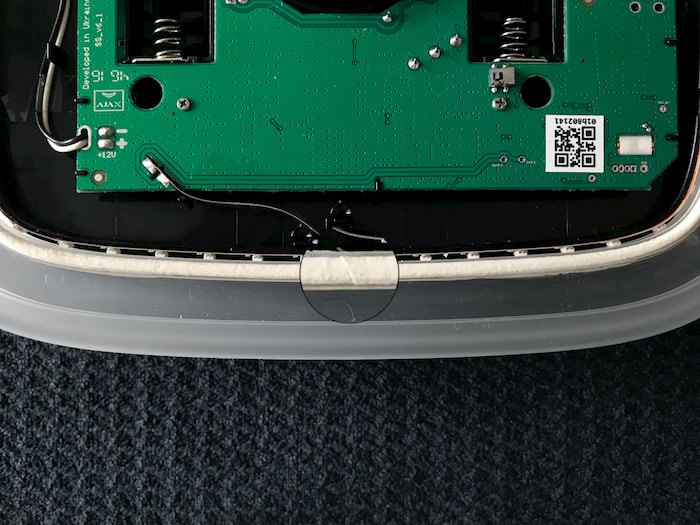

3. Secure the plastic frame inside the siren body with 51 mm binders or clamps and carefully place the LED strip in the gap between the siren body and the frame handling its initial section as shown in the figure.

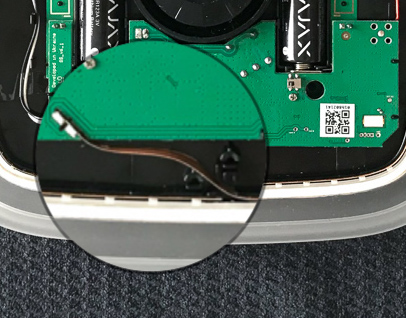


4. If the LED strip is properly installed, the rubber frame gasket will protrude by 1-2 mm over the edge of the strip.
If the rubber sealing cord falls out of the plastic frame lay it back down by stretching it slightly. The ends of the cord must converge with a minimum gap at the site of the LED strip connection.
11. Remove the binders by holding the plastic frame and put back the metal grating (the Ajax logo located on the side of the LED strip connection to the board) exerting slight effort. When properly installed, the metal grating will protrude over the plastic frame by 1-1.5 mm at most.

12. Turn the siren over while holding the front and back of the body, and tighten 4 screws.
13. Turn the siren on and check the battery status in the mobile application. The information regarding the battery status will be updated during the next polling of the siren by the hub (by default — not more than 36 seconds).
14. Install the siren back and connect the external power supply. Secure the siren in the mount with a bundled bolt.