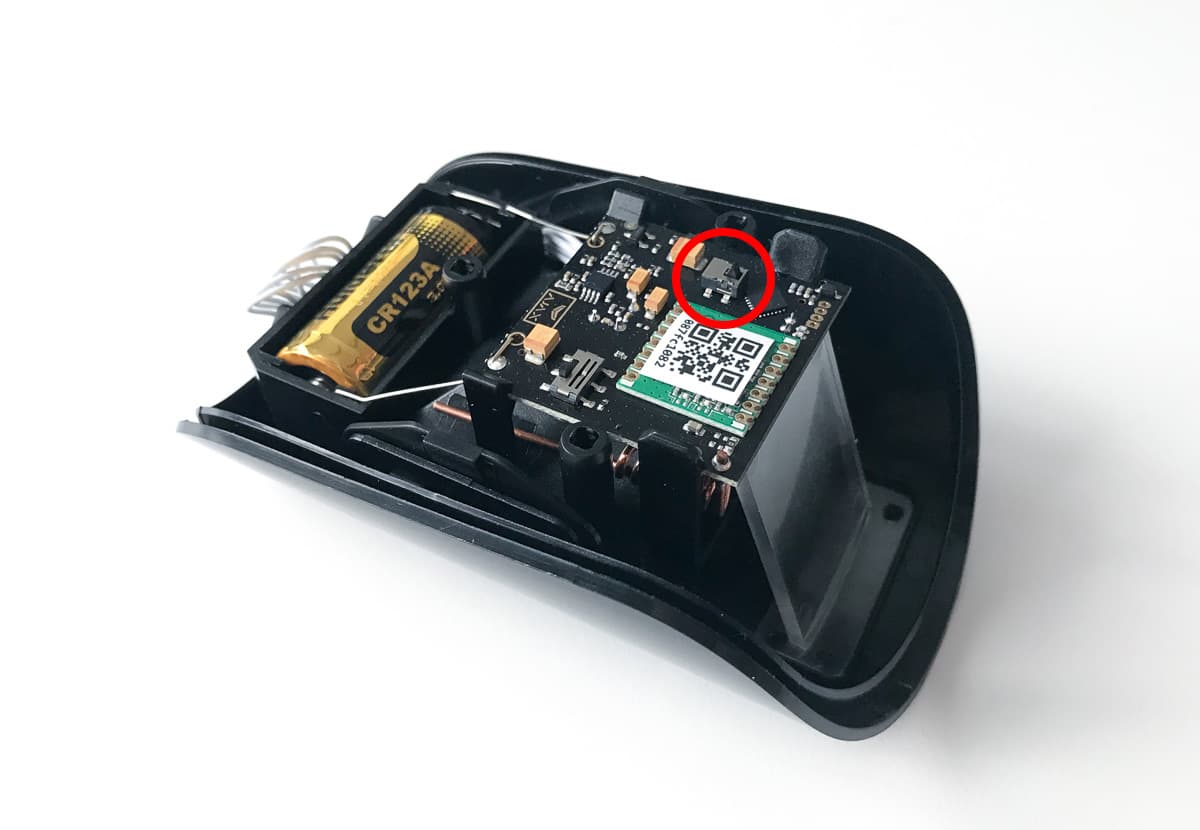


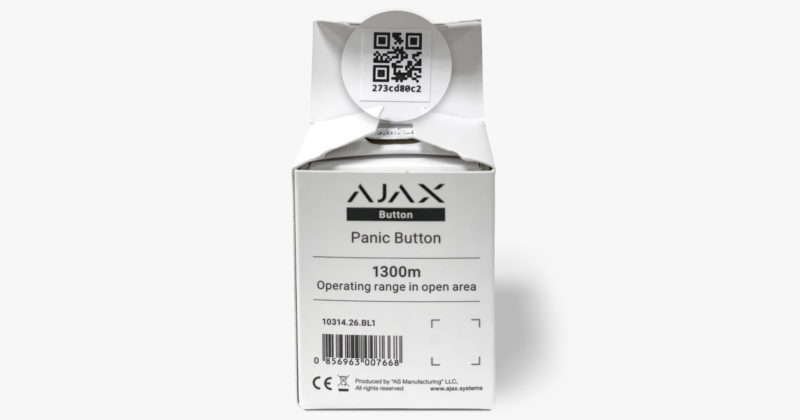
The identifier (ID) is the serial number of the device. It is located under the QR code on the body, board, and packaging of the device.
ID at the bottom of the box

ID under the lid
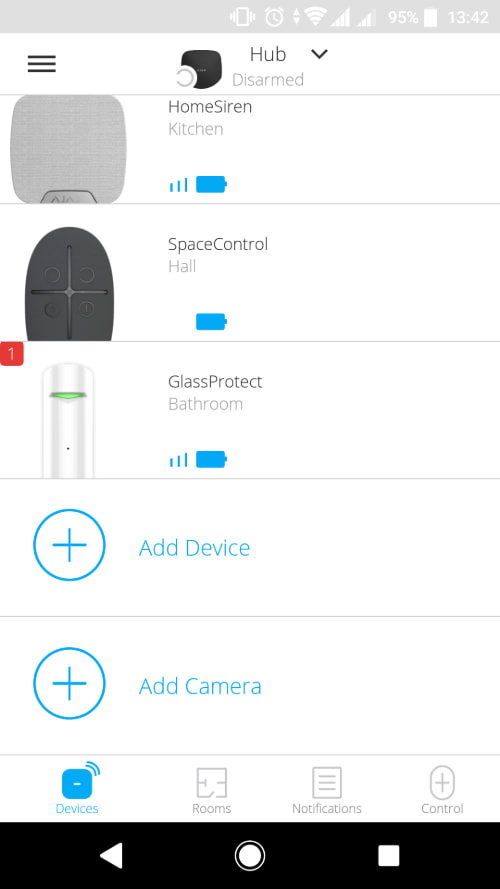
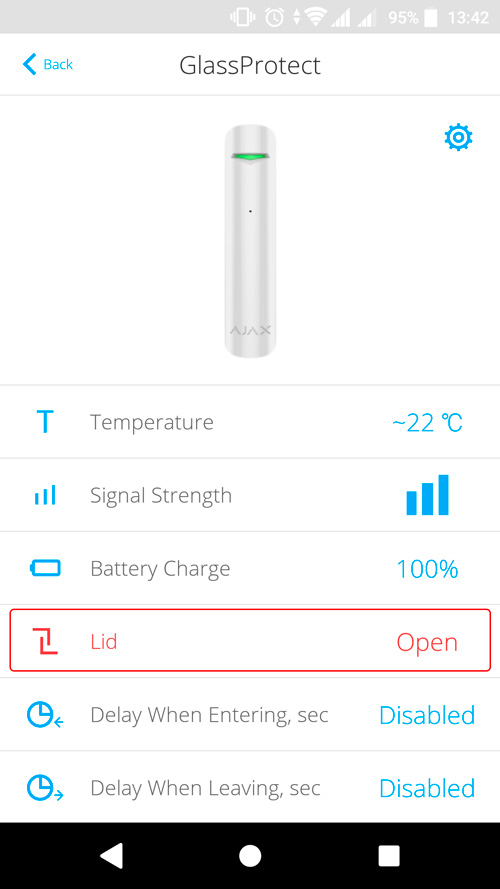
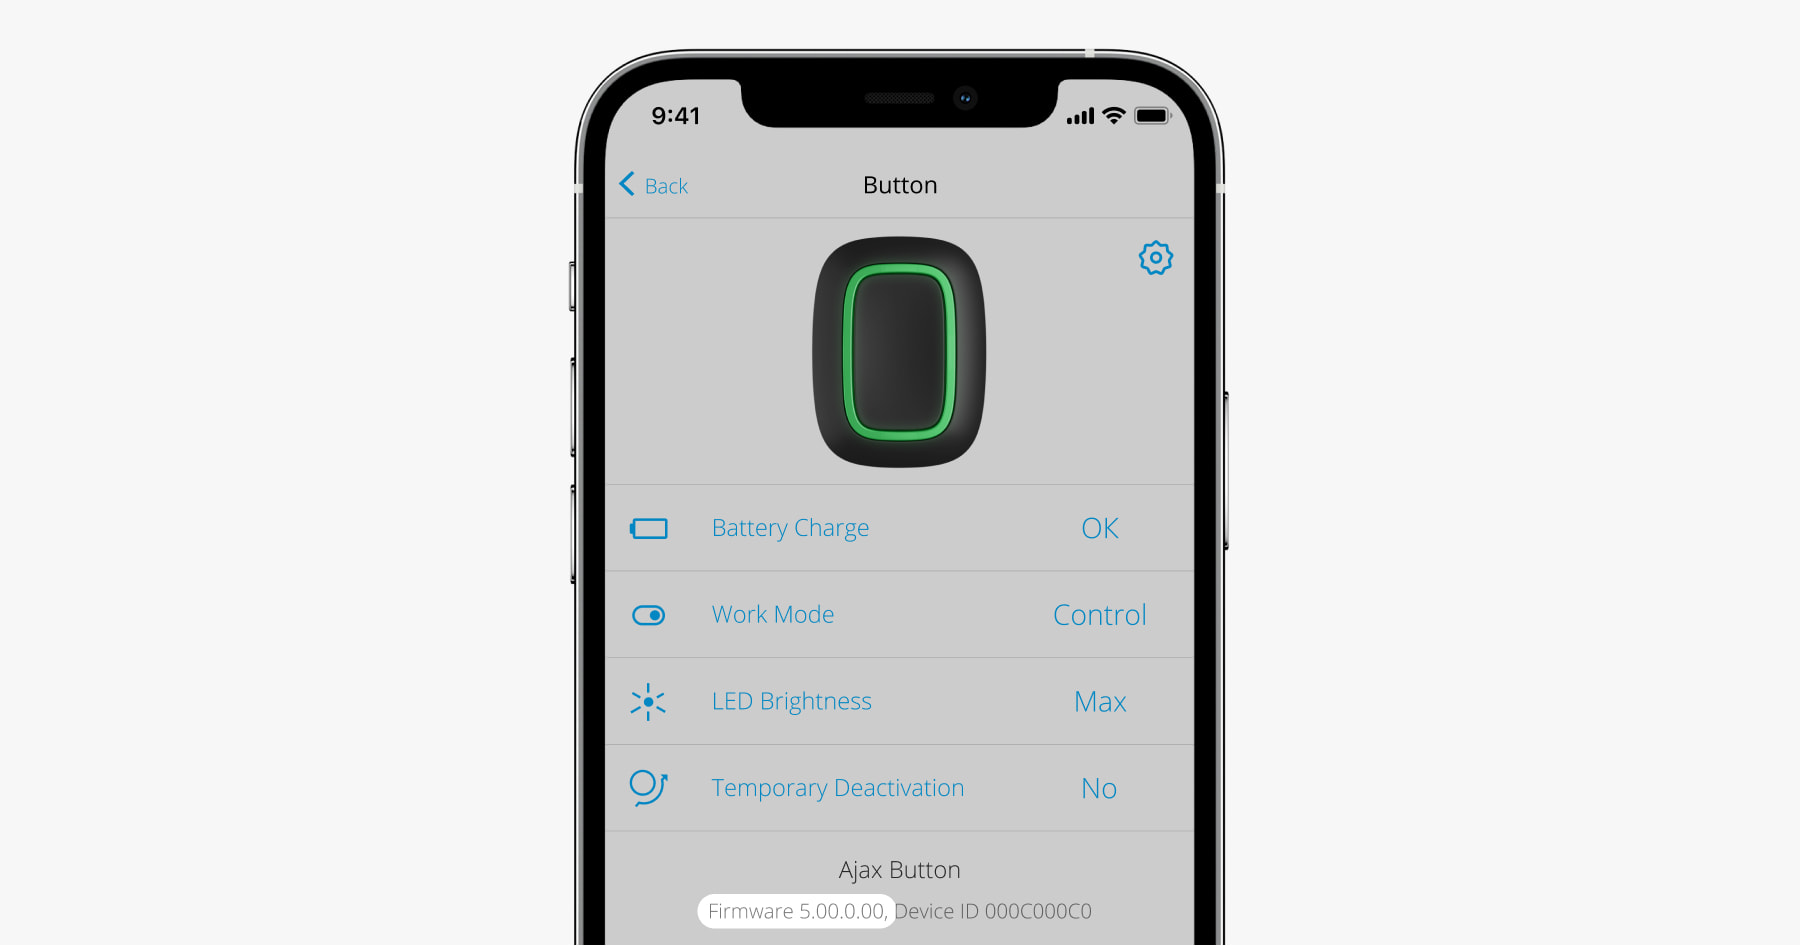
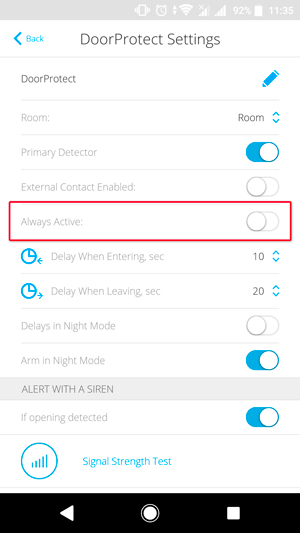
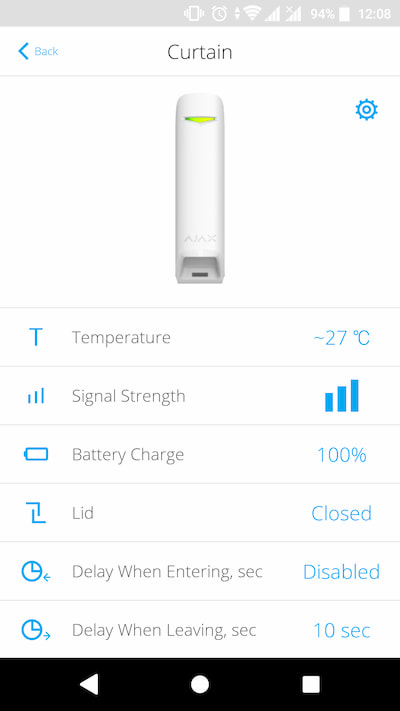
The ID can also be found in the device states in the Ajax app.
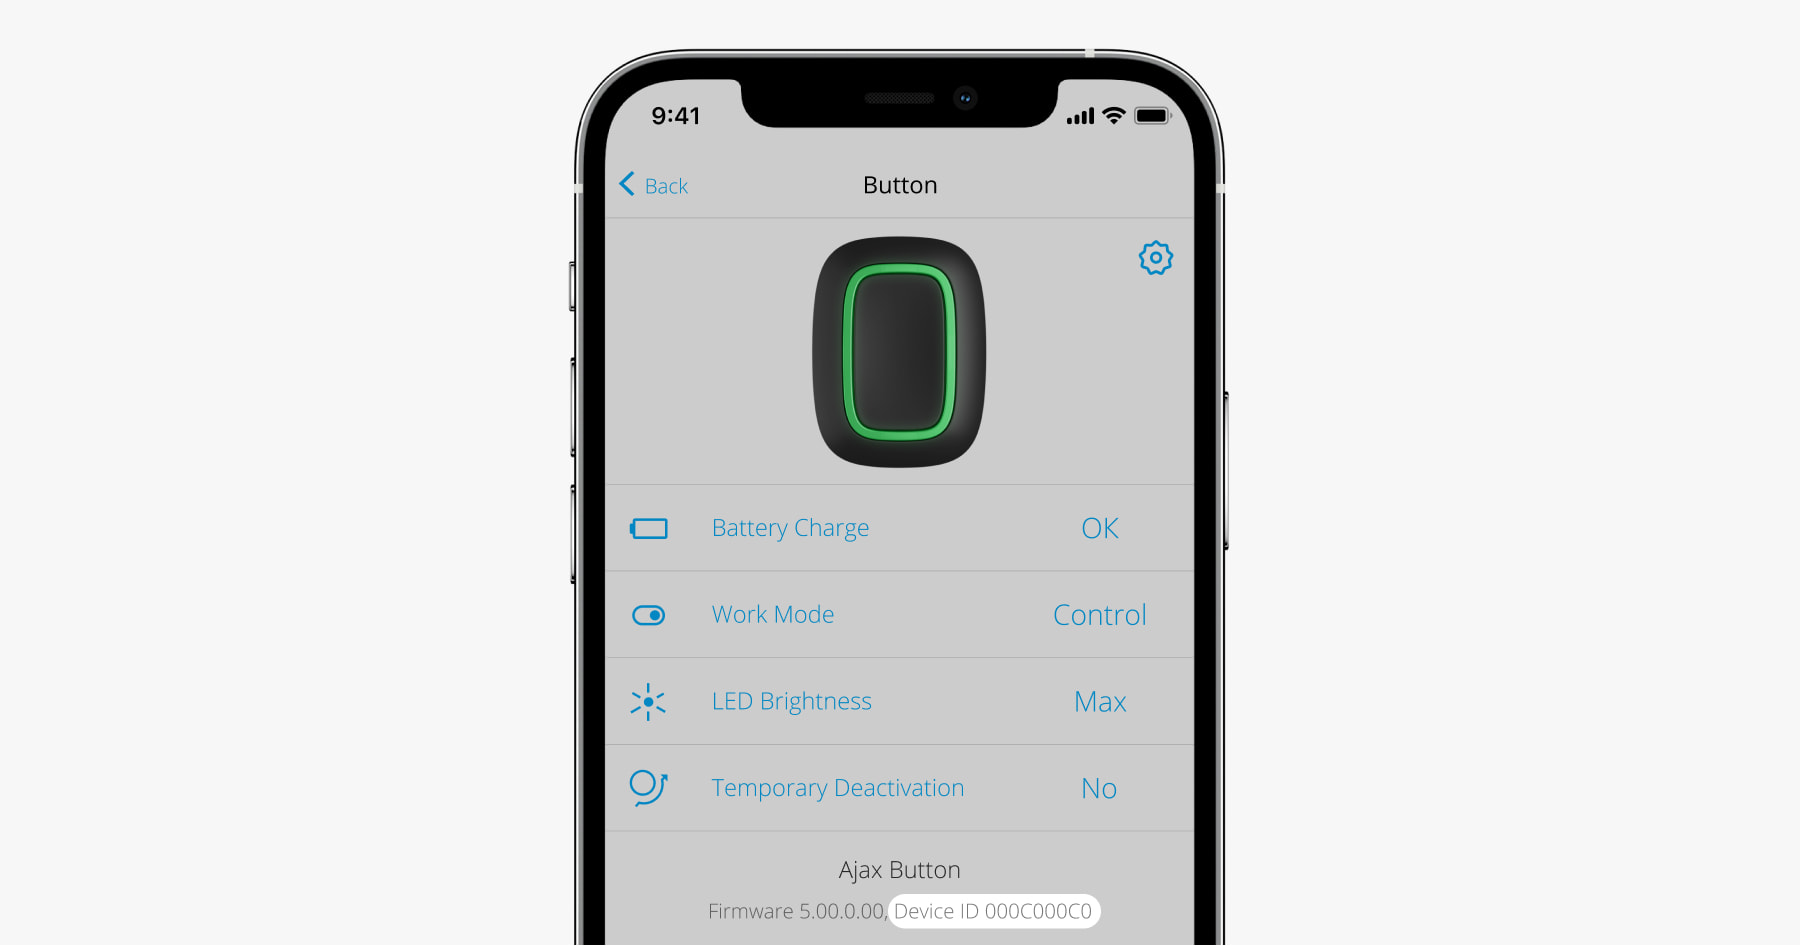
- Sign in to the Ajax app.
- Select the required hub from the list if you have several of them or if you are using a PRO app.
- Go to the Devices
 menu.
menu. - Select a device from the list. Device ID information is located at the bottom of the status screen.
Copied