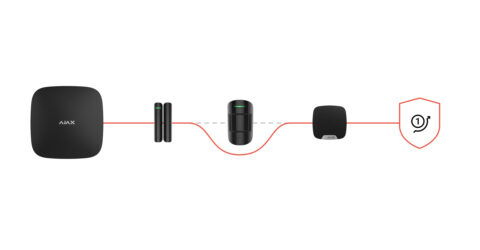
With OS Malevich 2.13.1 update, Ajax keypads support codes for users not connected to the hub. This is convenient, for example, to create a code for a cleaning company.
Access codes are not supported by the Hub control panel.
To create a duress code for a user without an account, you first need to create a personal access code. After that, in the Ajax app:
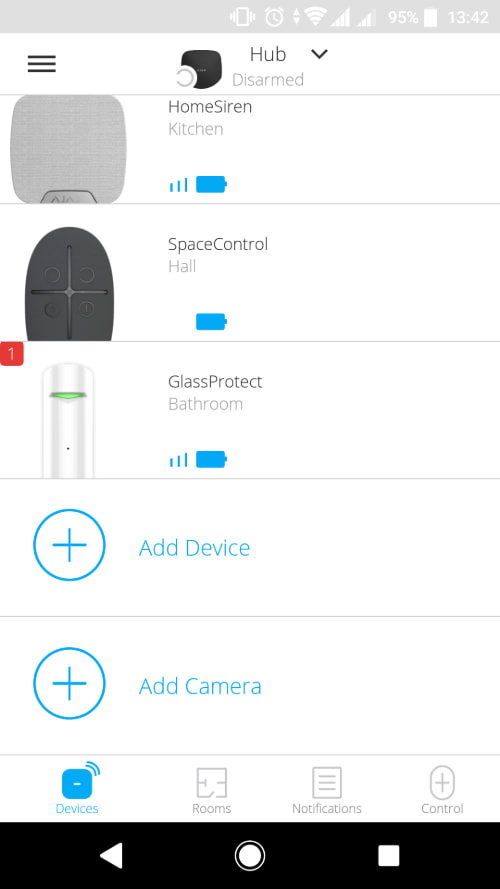
- Go to the Devices menu
 .
. - Select the hub from the list.
- Go to its settings by clicking on the gear icon .
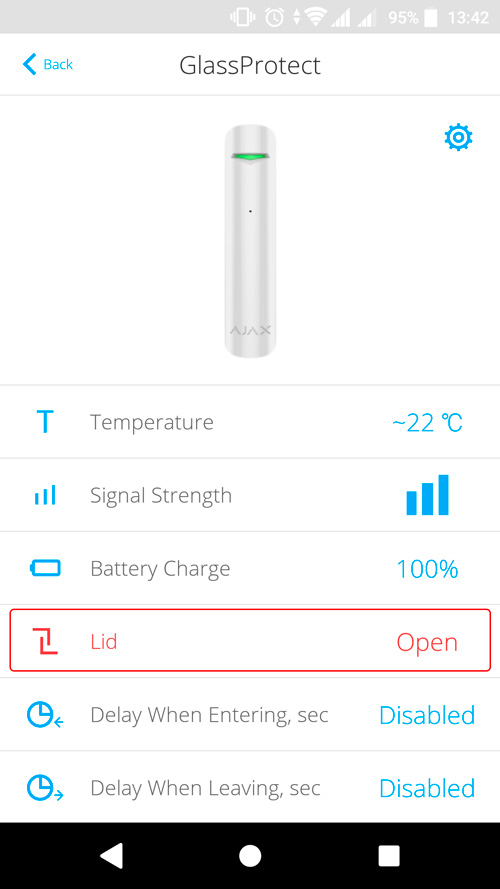
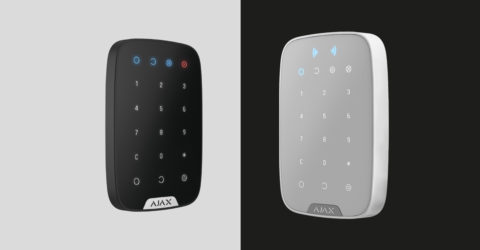
- Go to the Keypad Access Codes menu.
- Select the user from the list.
- Go to the Duress Code menu.
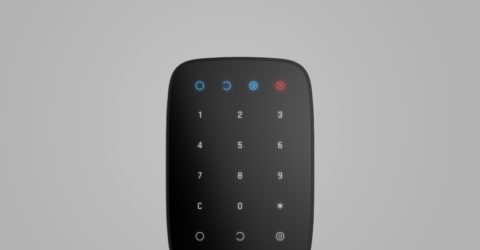
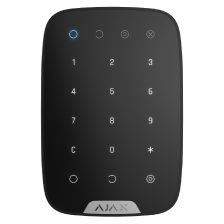
- Set the duress code. The code can contain from 4 to 6 digits.
- Click Done.
- Click Save to save your changes.
When using a duress code, the system users with access to the event feed will be notified about who and when entered the duress code, and the security company will be informed about the incident.
Copied